How to Make a Wooden Tea Box (Plans for 6 or 8 Compartments)
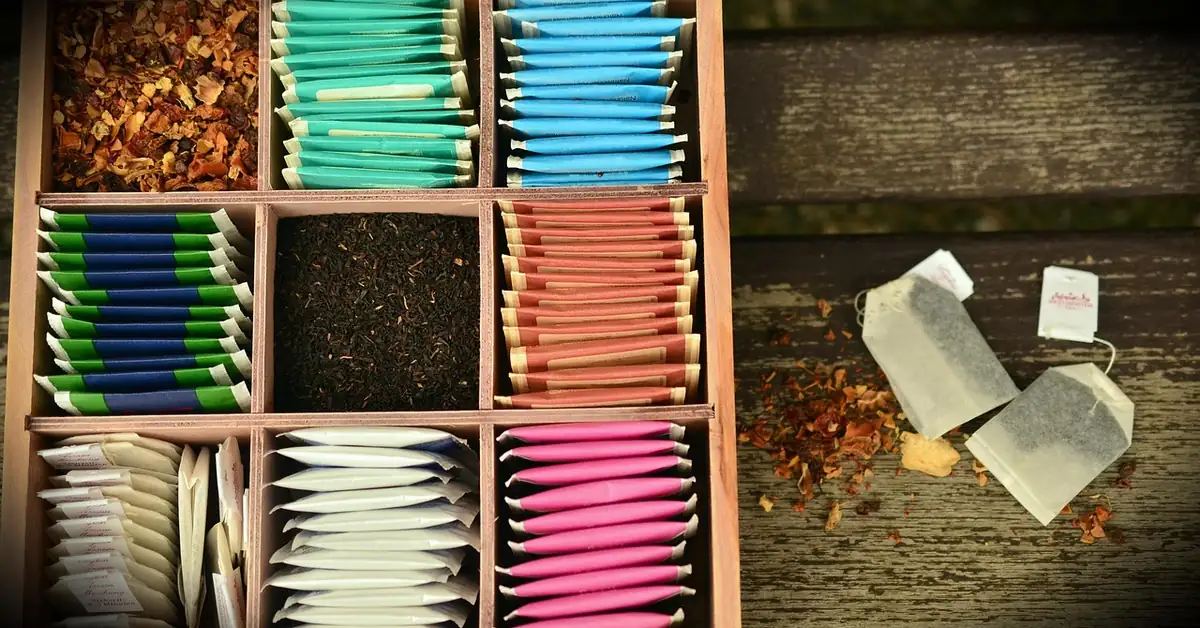
A wooden tea box works best with 6 or 8 compartments sized around 3 by 3 inches each – tight enough to hold standard tea bags upright, loose enough to lift one out without spilling the rest. Skip a food-safe finish like mineral oil, and raw wood tannins can taint delicate green or white tea. This guide covers sizing the compartments, picking wood that won’t affect flavor, and finishing it with something safe to store food beside.
Choosing the Right Wood for a Tea Box
Maple, cherry, and walnut are the safest choices for a tea box because they’re low in strong-smelling extractives that can transfer into stored tea over weeks of contact. Compare wood types in more detail if you’re also picking wood for other projects.
Cedar is a common recommendation for boxes, but its aromatic oils are exactly what make it a poor fit here – that pleasant cedar smell can bleed into delicate teas like green or white tea over a few months of storage. Save cedar for a tool chest or blanket box, not a tea box, unless you only store strong black or herbal blends that won’t pick up the scent.
| Wood | Typical Cost | Food-Contact Notes | Best For |
|---|---|---|---|
| Maple | $6–$8 / board ft | Low odor, tight grain, doesn’t transfer flavor | Any tea, especially delicate green or white |
| Cherry | $7–$9 / board ft | Low odor once cured; slight tannin near raw glue lines | Black tea, herbal blends |
| Walnut | $9–$12 / board ft | Low odor, darker grain hides tea stains | Everyday use boxes, gift boxes |
| Pine | $3–$4 / board ft | Resinous smell fades but is noticeable for months | Painted boxes, practice builds – not delicate tea |
| Cedar | $5–$7 / board ft | Strong aromatic oils transfer into stored tea | Robust black or herbal tea only, or skip for tea use |
Sizing Your Tea Box for 6 or 8 Compartments
A standard tea bag is roughly 2 by 2 inches, so each compartment needs at least a 2.5-inch by 2.5-inch footprint to let you pinch a bag out without disturbing its neighbors. Published shop plans for an eight-compartment caddy commonly finish at 11.5 inches long by 8 inches deep by 4.25 inches tall, which splits into two rows of four roughly 2.75-inch cells once you account for 1/4-inch dividers.
| Layout | Finished Box Size | Compartment Size | Best For |
|---|---|---|---|
| 6-compartment | 13″ L x 6.5″ D x 4″ H | ~3.9″ x 3″ each | Fewer tea types, room for loose-leaf tins |
| 8-compartment | 11.5″ L x 8″ D x 4.25″ H | ~2.75″ x 3.5″ each | A wider variety of tea bag flavors |
Cut every divider slot before you glue the outer box together – test-fitting dividers into an already-assembled box is where most first-time builds go wrong, since there’s no room left to adjust a tight slot.
Cutting and Assembling the Box
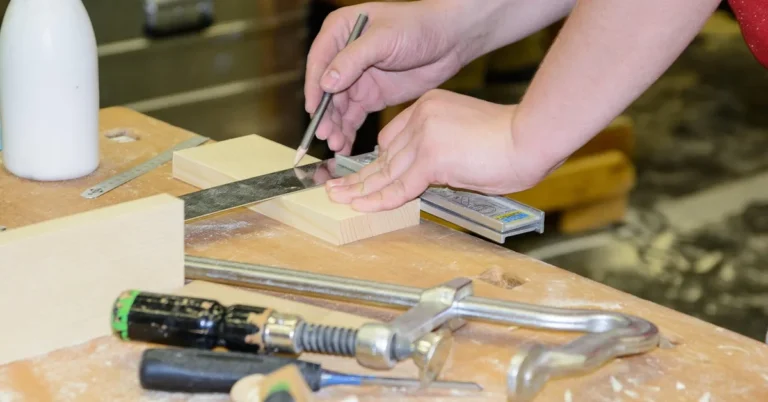
Measure and cut the four side panels, the bottom, and the lid to your chosen dimensions, then plane or sand each edge square before glue-up. A simple glued rabbet joint at each corner, reinforced with a few brad nails, holds a tea box fine – it doesn’t see the daily abuse a tool box does. If you want a stronger, more decorative corner, our hand-tool box joint guide walks through cutting interlocking finger joints by hand instead.
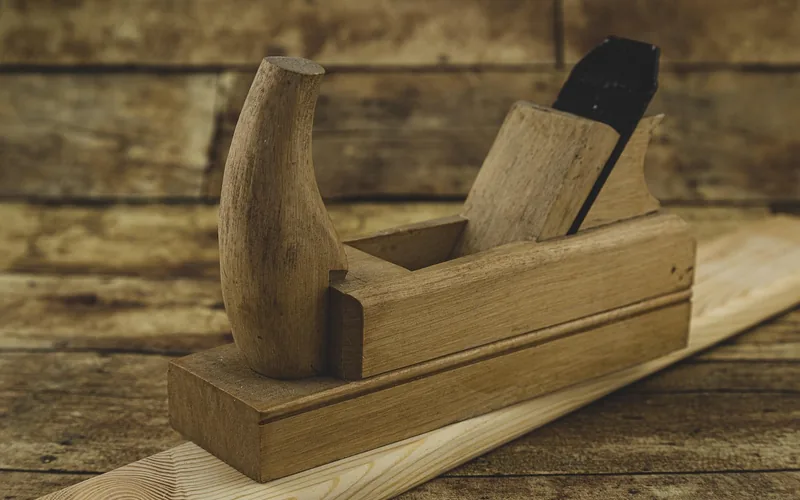
Join the pieces using wood glue, then clamp and check that all four corners read square before the glue sets. Pre-drill for any brads so the wood doesn’t split, and wipe squeeze-out immediately – dried glue blocks stain and finish from soaking in evenly later.
Building the Divider Grid
Cut 1/4-inch plywood or solid wood strips for the dividers, notching each piece halfway through so they slot together in an egg-crate pattern – this is stronger than butting flat strips against the box walls with glue alone. Dry-fit the whole grid before any glue touches it.
For a cleaner, more permanent grid, cut shallow 1/4-inch dado grooves directly into the box’s side walls before assembly, then slide the dividers into the grooves as you glue up the box. This skips separate divider-to-wall glue joints entirely and keeps the grid from working loose if the wood shrinks slightly in a dry winter.
Sanding and Applying a Food-Safe Finish
Sand through 120, then 220-grit sandpaper, working with the grain, before finishing. Wear a dust mask and vacuum the compartments thoroughly – sanding dust trapped in a corner will sit against every tea bag you ever store there.
| Finish | Food-Safe Once Cured | Durability | Odor Risk to Tea |
|---|---|---|---|
| Food-grade mineral oil | Yes | Low – needs reapplying every few months | None – odorless |
| Beeswax/oil blend | Yes | Medium | Very slight, fades in days |
| Shellac (dewaxed) | Yes once cured | Medium-high | Noticeable for 1–2 weeks while curing |
| Polyurethane | Yes once fully cured | High | Noticeable for several weeks while curing |
Food-grade mineral oil is a refined mineral oil that meets FDA criteria for incidental food contact. It has no cure time, no odor, and needs no ventilation, which makes it the simplest finish for a box that will sit directly against tea bags. See our full comparison of wood finish types for finishes better suited to boxes that won’t touch food.
📊 White mineral oil is listed under 21 CFR 178.3620 as an indirect food additive the FDA permits for incidental food contact. — Source: eCFR, Title 21 § 178.3620
Best Food-Safe Finish Pick
 |
Kate Naturals Food-Grade Mineral Oil, 8oz Odorless and colorless once absorbed, so it won’t transfer any scent into stored tea – matches the finish this guide recommends over polyurethane for compartments that touch tea bags directly.
|
As an Amazon Associate we earn from qualifying purchases.
Keeping Your Tea Fresh: Airtight Lids and Storage
Tea loses aroma fastest through light, moisture, and air exchange – a wooden box only helps if the lid actually closes flush. Fit the lid to the box opening before you glue the final joint, not after; a lid that’s out of square by even a sixteenth of an inch leaves a gap that lets air in around one edge.
“The lid is the part people rush. Dry-fit it against the box a dozen times before glue-up – once the box is together, you can’t plane a warped lid flat without ruining the finish underneath.”
Store the finished box away from a stove, sink, or window – heat and direct sunlight both accelerate tea’s flavor loss regardless of how well-sealed the box is. If the box will hold loose-leaf tea instead of bags, add a thin cork or felt gasket around the lid’s inside edge for a tighter seal.
Common Mistakes to Avoid
- Gluing dividers in before test-fitting the grid dry. A single tight slot can throw off the whole grid’s alignment once glue sets.
- Finishing with straight polyurethane on interior surfaces. It’s food-safe once cured, but the multi-week cure smell soaks into the first several batches of tea stored inside.
- Skipping the lid dry-fit. A warped or out-of-square lid is nearly impossible to fix after the box is glued together.
- Using cedar for delicate tea. Its aromatic oils are a feature for a tool chest and a defect for green or white tea.
Frequently Asked Questions
What’s the difference between a tea box and a tea caddy?
A tea caddy is traditionally a smaller, single-compartment lidded container for loose-leaf tea, often lined with metal or lead foil historically to block moisture. A tea box, as covered in this guide, is a larger multi-compartment organizer built for sorting several tea bag flavors at once. The terms overlap in casual use, but a caddy is for storage and a box is for sorting.
How many compartments should a wooden tea box have?
Six or eight compartments cover most households without wasting bench space – six if you mainly rotate a few favorite blends, eight if you want room for a wider variety of tea bag flavors. Each compartment should measure at least 2.5 by 2.5 inches so a standard tea bag lifts out cleanly.
What wood should you avoid for a tea box?
Avoid cedar and other strongly aromatic woods for anything but robust black or herbal tea, since their natural oils can transfer scent into delicate tea over a few months of storage. Also avoid unsealed pine near loose-leaf tea, as its resin smell lingers for months after the box is built.
Is polyurethane safe to use inside a tea box?
Polyurethane cures into a hard, food-contact-safe film once fully dry, but it seals the wood’s surface completely and can leave a faint chemical smell for several weeks after application, which delicate tea will absorb. A food-grade mineral oil or beeswax finish cures odor-free and is the safer pick for surfaces that sit directly against tea bags.
Conclusion
A wooden tea box comes down to three decisions: wood that won’t transfer flavor, compartments sized for the bags you actually use, and a finish that cures odorless. Get the lid fit right before glue-up and this is a weekend project that outlasts the store-bought version by years.
Sponsored / affiliate links. As an Amazon Associate I earn from qualifying purchases. I may earn additional commission from eligible campaigns.