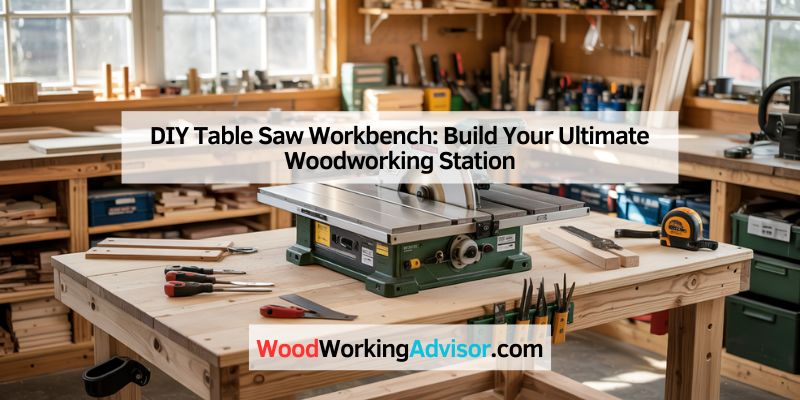
DIY Table Saw Workbench: Build Your Ultimate Woodworking Station
Creating your own DIY table saw workbench can be a rewarding project. It offers functionality and customization tailored to your needs.
A DIY table saw workbench is more than just a tool holder. It becomes the centerpiece of your workspace. Crafting it yourself allows for personalized features and dimensions that suit your specific requirements. Whether you’re a seasoned woodworker or a DIY enthusiast, a custom workbench can enhance your productivity and precision.
In this guide, we’ll explore the benefits of building your own table saw workbench, essential materials, and step-by-step instructions. Let’s embark on this project to create a workbench that will make your woodworking tasks easier and more efficient.
Introduction To DIY Table Saw Workbench
A DIY table saw workbench can be a great addition to your workshop. It provides a custom workspace tailored to your needs. Building your own workbench can save money and offer flexibility. You can design it to fit your tools and space perfectly. A custom workbench can also improve safety, keeping everything organized.
A custom workbench offers many benefits. It can be built to fit your unique space. This ensures you make the most of your workshop area. Custom workbenches can include features specific to your tasks. These features can help you work more efficiently. By building it yourself, you can choose quality materials. This makes sure your workbench is sturdy and durable.
| Tool | Material |
|---|---|
| Table Saw | Wood Planks |
| Drill | Screws |
| Measuring Tape | Glue |
| Clamps | Paint or Varnish |
Credit: www.youtube.com
Planning Your Workbench
Think about the tools you need. Make sure to plan for enough space. A good layout helps you work better. Think about where to place your table saw. Make sure you can move around it. Storage is important too. Keep tools and materials close by. Safety should come first. Plan for safe tool use and storage.
Measure the area where your workbench will go. Use a tape measure. Write down the width and length. Check the height too. Make sure there is enough room to walk around. Measure twice to be sure. Leave space for other tools and storage. Think about lighting in the area. Good light helps you work better.
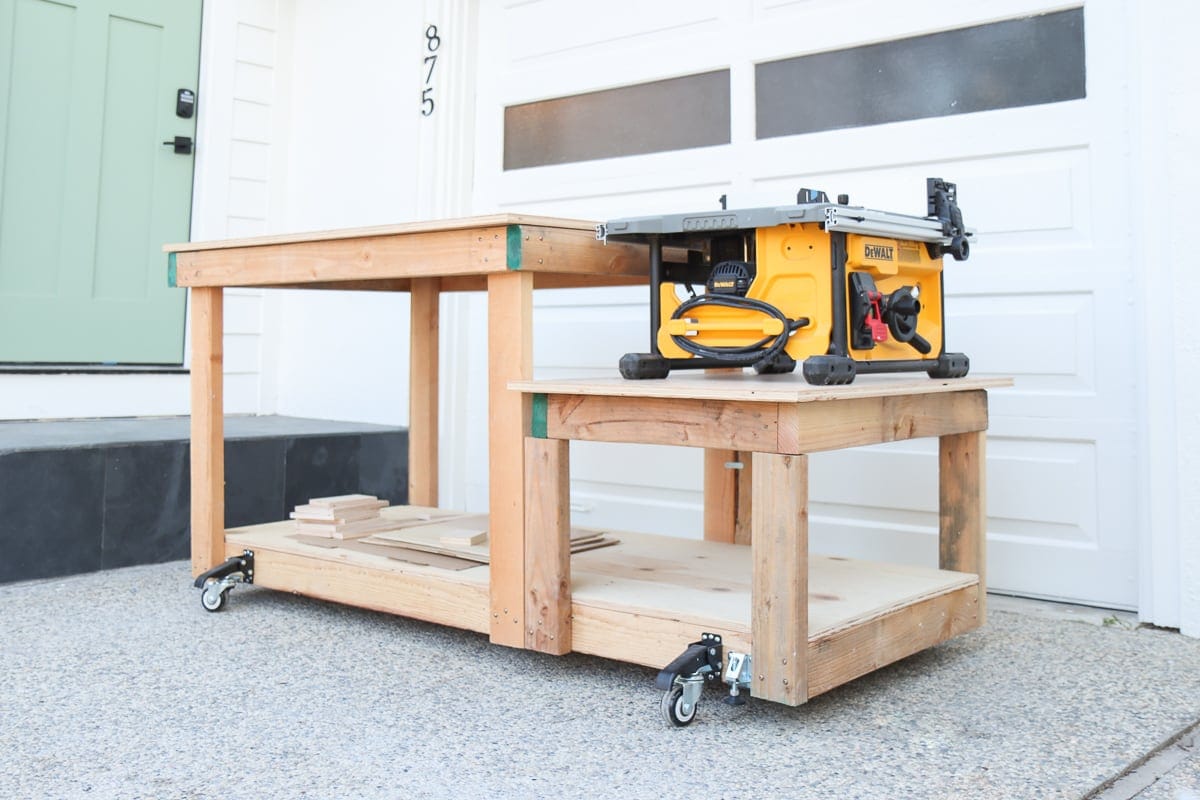
Building The Frame
Start by measuring the wood. Use a tape measure to get accurate lengths.
Then, mark the wood where you need to cut. Use a pencil for clear marks.
Double-check your measurements before cutting. This avoids mistakes and waste.
Cut the wood with a saw. Take your time to ensure straight cuts.
Safety first – wear goggles and gloves.
Lay out the cut pieces on a flat surface. Arrange them to form a rectangle.
Ensure corners are square using a carpenter’s square.
Use screws and a drill to attach the pieces. Pre-drill holes to prevent wood splitting.
Check the base for stability. Tighten any loose screws.
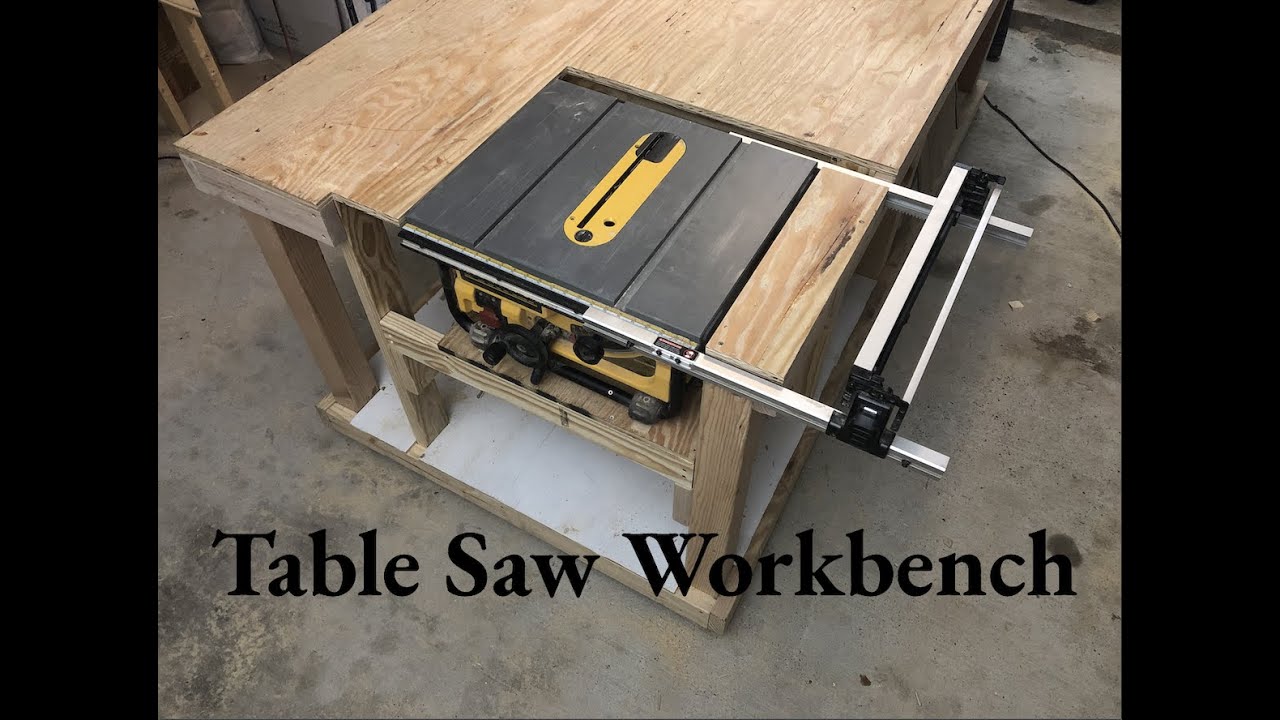
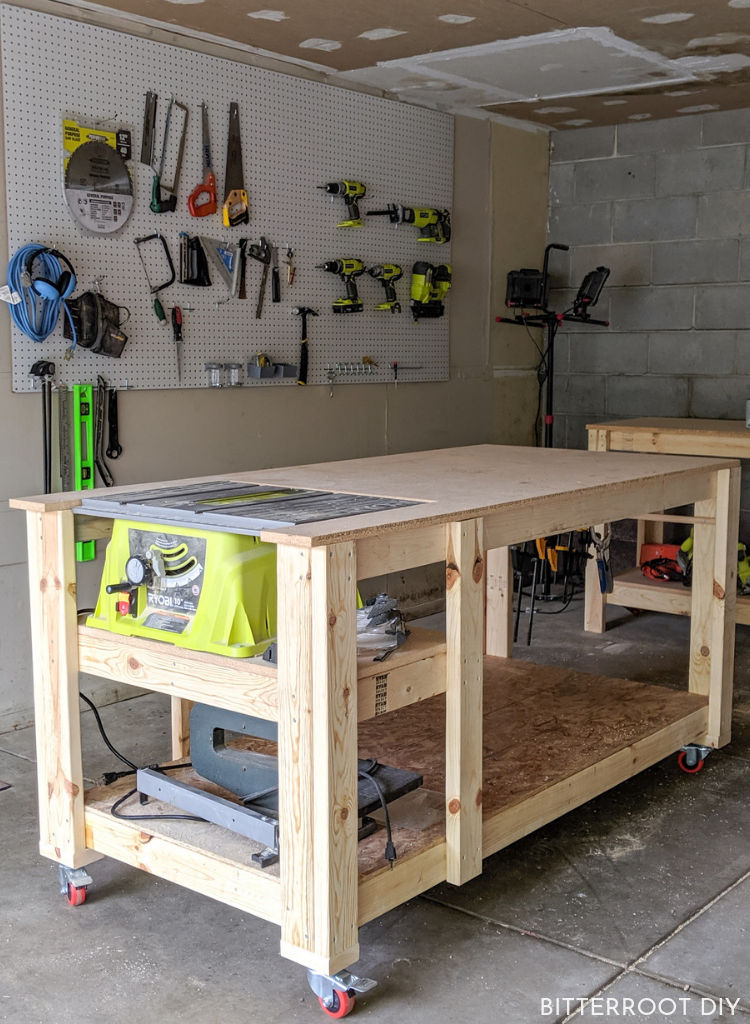
Installing The Table Saw
Place the table saw on the workbench. Ensure the saw is centered. Use bolts to secure the saw. Tighten the bolts firmly. Check the saw for movement. It should stay still. If the saw moves, tighten the bolts again. The saw must be stable for safe cutting. This step is crucial for safety.
Check the workbench legs. They should be solid and firm. Use braces to support the legs. Secure the braces with screws. The workbench must not wobble. Stability is key to safe usage. If the workbench wobbles, it can be dangerous. Always ensure everything is tight and secure. Safety first!
Adding Work Surface
Pick a material that is strong and smooth. Many use plywood or MDF. Both are affordable and easy to cut. The surface should be flat. This helps in cutting wood accurately.
First, measure the workbench. Then, cut the material to fit. Screw the surface to the frame. Use clamps to hold it in place while you work. Make sure it is firm and stable. This will keep you safe.
Credit: hydrangeatreehouse.com
Incorporating Storage Solutions
Drawers and shelves help keep tools organized. Drawers can hold small items like screws and nails. Shelves can store larger tools like saws and drills. Make sure drawers are easy to open. Shelves should be sturdy and strong. Build them to fit your needs.
Organize tools for quick access. Use labels for easy finding. Place frequently used tools at eye level. Store heavy tools low for safety. Use hooks for hanging tools. A pegboard can also be useful. Keep your work area tidy.
Safety Features
A dust collection system keeps your workspace clean. It also reduces the risk of dust inhalation. This system collects sawdust as you cut. You can use a shop vacuum or a built-in dust port. Attach the vacuum to the saw to suck up dust. It makes the air safer to breathe.
Safety guards protect your hands from the blade. They cover the blade while cutting. Always use the guard that comes with your saw. Safety switches are also important. They prevent the saw from starting accidentally. Use a switch with a lock feature. This keeps children safe.
Finishing Touches
Choose paint or stain for your workbench. Paint gives a smooth finish. Stain shows the natural wood. Both protect the wood from damage.
Sand the surface before applying. Use a brush for even coats. Let it dry completely. Apply multiple coats if needed. Always work in a well-ventilated area.
Accessories make your workbench more useful. Attach a power strip for easy access to electricity. Install clamps for holding wood firmly. Add shelves for extra storage. Use hooks for hanging tools.
Install a vise for holding pieces securely. Keep everything within reach. This makes work faster and safer.
Maintenance Tips
Keep your DIY table saw workbench in top shape by regularly checking for loose screws and cleaning sawdust. Ensure blades are sharp for accurate cuts.
Regular Inspections
Check the saw for any loose parts. Look at the screws and bolts. Tighten them if needed. Inspect the blade for wear. Replace it if dull or damaged. Examine the power cord for cracks. Make sure it’s not frayed. Test the safety features. Ensure they work correctly. Regular checks keep the saw safe.
Cleaning And Care
Clean the saw after each use. Remove dust and debris. Use a soft brush to clean tight spaces. Wipe the surface with a damp cloth. Lubricate moving parts. Use oil to keep them smooth. Store the saw in a dry place. Protect it from moisture. Proper care makes the saw last longer.
Credit: tylynnm.com
Frequently Asked Questions
Is It Cheaper To Buy Or Build A Workbench?
Building a workbench is often cheaper than buying one. DIY projects save money on labor costs. You can also customize the design and materials to fit your needs and budget.
How High Should A Workbench Be For A Table Saw?
A workbench for a table saw should typically be 34 to 36 inches high. This height provides comfort and control. Adjust based on personal preference and height.
What Is The #1 Danger When Using A Table Saw?
The #1 danger when using a table saw is kickback. This occurs when the blade catches the wood and throws it back forcefully, causing potential injury.
What Wood Is Best For A Workbench Top?
Hardwoods like maple or oak are best for workbench tops. They are durable, stable, and resistant to wear.
Conclusion
Building your own table saw workbench is both fun and practical. You save money and customize it to fit your needs. It’s a rewarding project for any DIY enthusiast. Remember to follow safety guidelines and use quality materials. Your new workbench will make your woodworking tasks easier.
Happy building and enjoy your new workspace!