Delta Table Saw Extension Wing: Types, Fit, and Installation
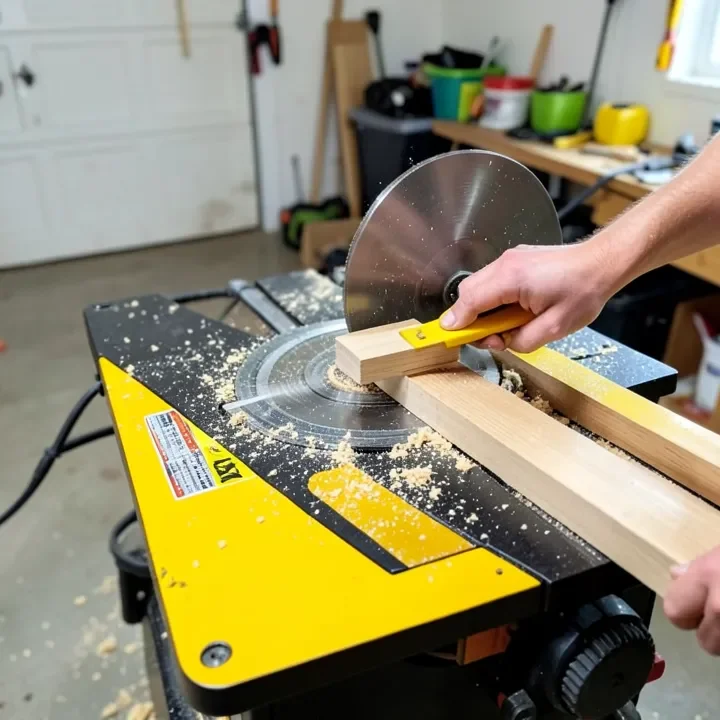
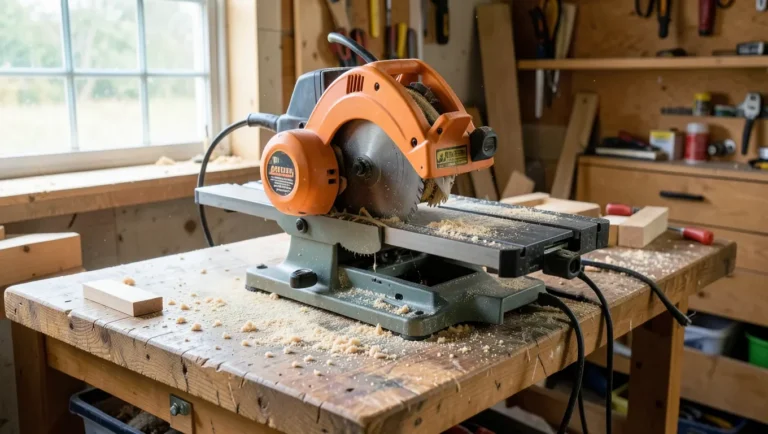
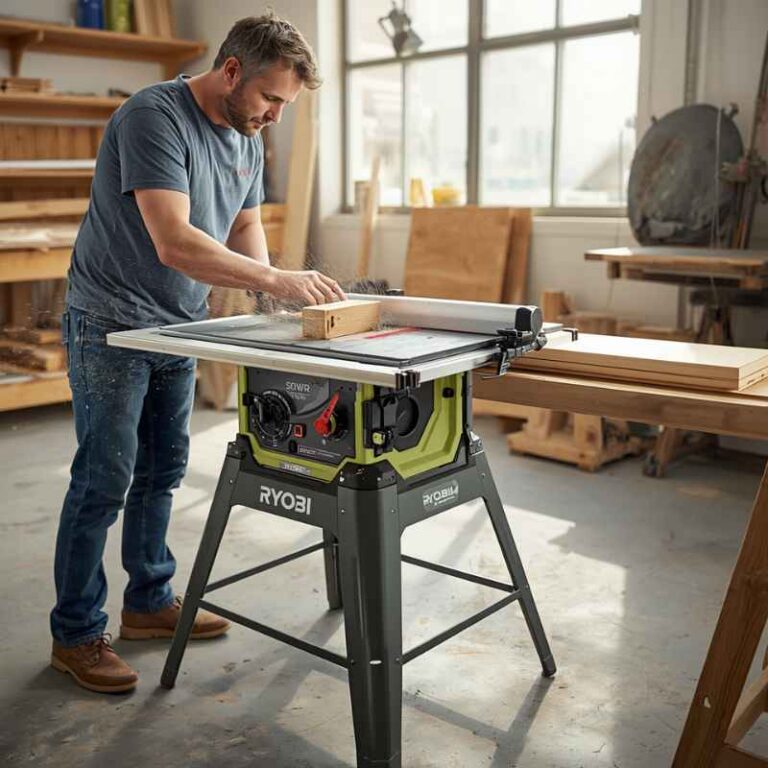
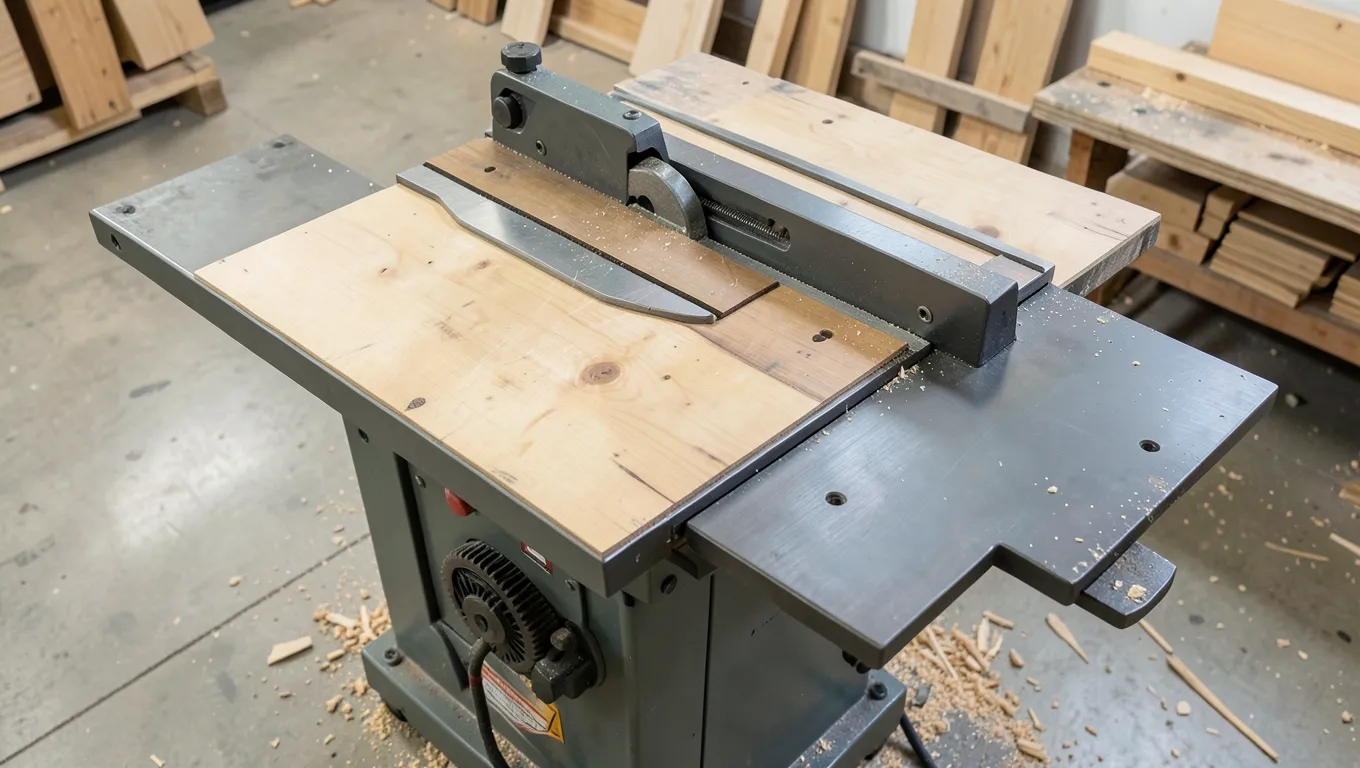
A Delta table saw extension wing bolts onto the side of the main table to add support surface for large workpieces like plywood sheets and dining-table panels. Delta saws such as the Unisaw, 36-725, and 34-444 use a table depth of roughly 27 inches, and most aftermarket or replacement wings are sized to match. This guide covers the three common wing types, how to pick the right one for your saw, and the actual steps to get a new wing flush with the main table.
Why an Extension Wing Matters
Best For Supporting Large Panels
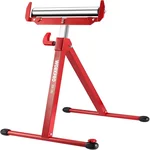 |
WORKPRO Folding Roller Stand – $49.99 If a full extension wing is more than your shop needs right now, a roller stand solves the same large-panel support problem for a fraction of the cost and installation effort.
|
The stock table on most Delta contractor and cabinet saws is sized for typical ripping and crosscutting, not for supporting a full 4×8 plywood sheet. Without extra support, a large panel tips off the edge of the table mid-cut, which is both a control problem and a kickback risk. An extension wing adds surface area on one or both sides of the blade, which does three things: it keeps large material flat and supported through the cut, it gives the fence more rail to travel on for wider rip cuts, and — on router-table-style wings — it adds a second tool station without needing more floor space.
Types of Delta Table Saw Extension Wings
Not all wings are built the same way, and the right choice depends on budget, saw model, and whether you want it to double as a router table.
Cast Iron Extension Wings
Cast iron wings match the main table material on most Delta cabinet saws and are the heaviest, most stable option. The added mass helps dampen vibration, and a properly machined cast iron wing sits dead flat with the main table. They’re the most expensive option and the most involved to install, since they’re usually bolted and sometimes require drilling or tapping new mounting holes.
Stamped Steel Extension Wings
Steel wings are the factory-standard option on many contractor-style Delta saws. They’re lighter and cheaper than cast iron, and install with the same bolt pattern the saw ships with. The trade-off is they can flex slightly under heavy pressure and are more prone to minor warping over years of use than cast iron.
Custom-Built Wooden Wings
A shop-built wing from MDF or plywood, often topped with laminate (Formica or similar) for a slick, low-friction surface, is the cheapest option and the easiest to size exactly to your shop. The trade-off is maintenance: MDF and plywood can absorb moisture and warp slightly in a humid shop, so the surface needs an occasional flatness check. Building one also gives you the option to cut a router plate opening into it, turning it into a combination saw/router wing.
| Type | Pros | Cons | Best For |
|---|---|---|---|
| Cast Iron | Most stable, dampens vibration, matches OEM look | Expensive, heavy, harder to install | Cabinet saws, heavy daily use |
| Stamped Steel | Affordable, lightweight, bolts on with factory hardware | Can flex under load, less flat over time | Contractor saws, budget upgrades |
| Custom Wooden | Cheapest, fully customizable, can add a router plate | Needs sealing/maintenance, less rigid than metal | DIY shops, router table combos |
Choosing the Right Wing for Your Saw
Start with your saw’s table depth — most Delta saws (36-725, 34-444, Unisaw) use a 27-inch depth, and the wing needs to match this to sit flush. From there:
- Shop space: A compact router-table wing (roughly 27″ x 16″) adds function without much footprint. A full-width wing (32″–47″) is better if you regularly rip wide panels.
- Saw mobility: If your saw sits on a mobile base, factor in the extra weight of a cast iron wing before adding one — it can make the base harder to roll and, on lighter bases, less stable.
- Fence rail length: A wider wing may need longer fence rails to support the fence at full extension. Check this before buying, since some wings require separately purchased rails.
Installing an Extension Wing
Tools You’ll Need
A drill, a tap-and-die set (only needed if a cast iron wing requires new tapped holes), a socket wrench set, a straightedge, clamps, and the mounting bolts sized for your saw (commonly 1/4″ or 5/16″). For a wooden wing build, add MDF or plywood, glue, screws, and a laminate top like Formica.
Step-by-Step Installation
- Remove the existing wing: Most factory steel wings bolt on with a standard socket size (commonly 13mm). Support the wing from underneath as you remove the last bolt so it doesn’t drop.
- Prep the new wing: Cast iron wings sometimes need holes drilled and tapped to match your saw’s mounting pattern. Wooden wings just need to be cut to the same depth as your table (typically 27″) and laminated on top.
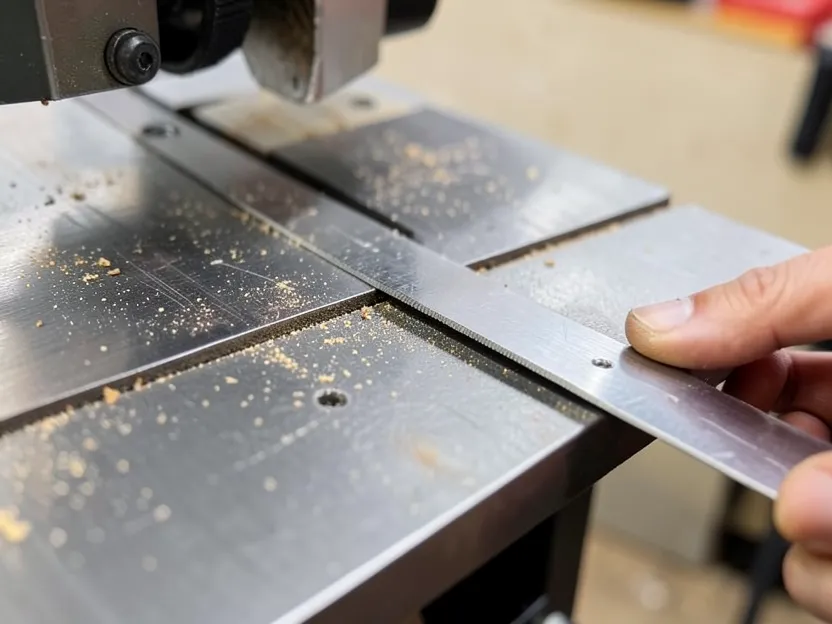
- Clamp and align: Set the new wing in place and clamp it to the main table. Lay a straightedge across the seam between the main table and the wing — there should be no visible gap or step.
- Drill and bolt: With the wing aligned, mark and drill the mounting holes, then bolt it down. Tighten bolts gradually and in sequence (not one at a time to full torque) to avoid pulling the wing out of alignment.
- Check flatness again: Re-check with the straightedge after final tightening. If there’s a slight step, loosen the nearest bolt, shim with a thin washer, and re-tighten.
- Test with scrap: Slide a piece of scrap material across the seam. It should move smoothly with no catch at the joint.
A cast iron wing is heavy enough (often 30+ lbs) that it’s worth having a second person help lift it into position rather than trying to align and bolt it solo.
Building a Router Table Wing
A router table extension wing replaces one factory wing with a shop-built or purchased panel that has a router plate mounted underneath, letting a table saw and router table share one stand.
- Build the top: 3/4″ MDF, doubled up for a 1.5″ thick top, laminated for a smooth surface. Frame the edges with 1×3 stock for rigidity.
- Cut the router plate opening: A standard router plate opening runs roughly 9-1/4″ x 11-3/4″, but check your specific plate’s dimensions before cutting.
- Add a fence and dust port: T-track for an adjustable router fence, plus a dust port connected to a shop vac, keeps the router station usable and reasonably clean.
- Mount to the saw: Follow the same installation steps above, checking flatness against the main table before final tightening.
Maintaining an Extension Wing
- Wooden wings: Check for warping every few months in humid shops, and keep a coat of paste wax on the surface to reduce friction and moisture absorption.
- Cast iron wings: Remove surface rust with a wire brush and apply a rust inhibitor or wax coating, especially in unheated shops.
- Alignment: Re-check flatness with a straightedge periodically — bolts can loosen slightly with vibration over time, letting the wing drift out of alignment.
Common Installation Problems
- Wing isn’t flush: Almost always fixed with a straightedge check and thin washer shims at the low bolt.
- Mobile base becomes unstable: A heavy cast iron wing shifts the saw’s center of balance. A wider mobile base or an added support leg under the wing corrects this.
- Fence rails too short: Wider wings sometimes need longer rails, sold separately by Delta or compatible aftermarket brands — check compatibility before buying a wing that’s wider than your current rails support.
Where to Buy
Pre-made cast iron and steel wings for Delta saws show up on Amazon, eBay, and specialty retailers like Infinity Tools, generally running $50 for a used steel wing up to $200+ for a new cast iron or router-table wing. Confirm the exact depth and bolt pattern against your saw’s model number before ordering, since Delta has used slightly different mounting patterns across model generations.
Frequently Asked Questions
What is a Delta table saw extension wing?
It’s an add-on panel that bolts to the side of a Delta table saw’s main table, adding surface area to support larger workpieces and, in some designs, a mounted router.
Can I use any extension wing with my Delta table saw?
Not automatically. The wing’s depth needs to match your saw’s table depth (commonly 27 inches on Delta models), and the mounting bolt pattern needs to line up. Check your specific model’s specs before buying.
Should I buy a cast iron or wooden extension wing?
Cast iron is more stable and durable but heavier and more expensive. A wooden wing is cheaper and easy to customize, but needs periodic flatness checks and sealing in humid shops.
How do I keep an extension wing flat?
Check it against a straightedge periodically, since mounting bolts can loosen slightly over time. Wooden wings benefit from a coat of paste wax; cast iron wings need occasional rust removal and a protective wax coat.
Can I add a router to my extension wing?
Yes. A router table wing has a plate opening cut into it to mount a router underneath, turning one side of the saw into a second tool station without extra floor space.
How hard is it to install an extension wing?
It’s manageable with basic tools. Getting the wing perfectly flush with the main table using a straightedge and shims is the part that takes the most patience.
The right extension wing comes down to matching your saw’s table depth and bolt pattern, then picking cast iron, steel, or a DIY wooden build based on budget and how much routing versatility you want. Whichever type you choose, a straightedge across the seam before and after final tightening is what actually determines whether the upgrade improves your cuts or just adds a step you’ll need to compensate for.
Sponsored / affiliate links. As an Amazon Associate I earn from qualifying purchases. I may earn additional commission from eligible campaigns.