Table Saw Router Table Combo: Add One for Under $350
A table saw router table combo isn’t one machine — it’s a router built into your saw’s extension wing, using either a $349 cast-iron insert-plate top or a DIY plywood build for under $60 in materials. Skip the insert plate and drilled holes let small offcuts drop straight through the bit opening. This guide covers real extension-wing prices, the DIY build spec, and the fence swap most guides skip.
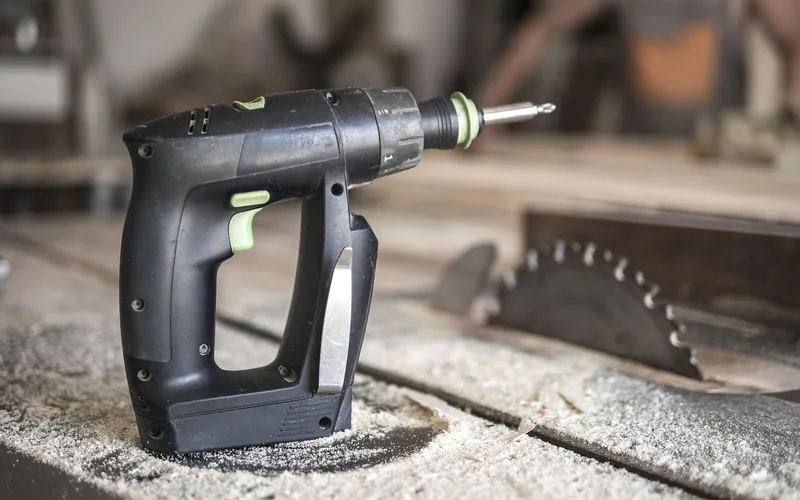
What a Table Saw Router Table Combo Actually Means
Best Router Table Insert Plate Pick
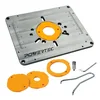
POWERTEC Router Table Insert Plate – $69.99
Fits the same 9-1/4″ x 11-3/4″ opening the DIY build steps above are sized for, so it drops straight into either a shop-built or ready-made extension top.
- Best for: Anyone switching routers often between Bosch, DeWalt, Makita, or Ridgid
- Why we picked it: Fits the standard 9-1/4″ x 11-3/4″ opening most extension-wing tops use, with 4 reducer rings included
- Main drawback: Buyers report the plate can run about 1/8″ undersize on some units and needs light shimming to seat flush
Compare more router table insert plate options
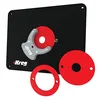 Option 1 Kreg Router Table Insert Plate – $74.99
|
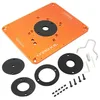 Option 2 O’SKOOL Aluminum Router Table Insert Plate – $75.59
|
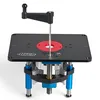 Option 3 Kreg PRS5000 Precision Router Lift – $349.00
|
As an Amazon Associate we earn from qualifying purchases.
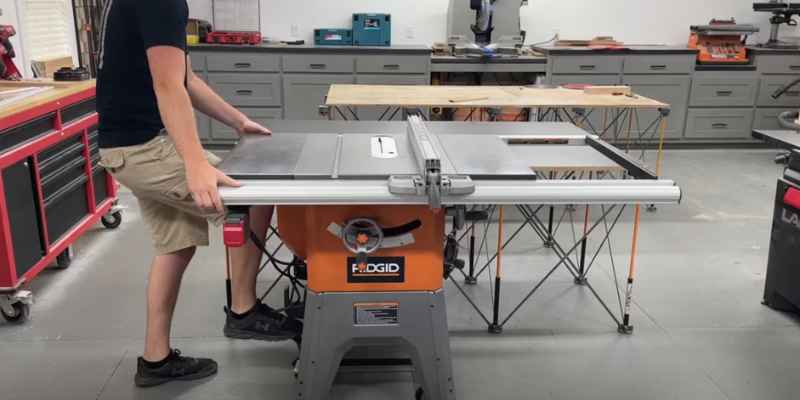
A table saw router table combo is a router mounted into the extension wing of a table saw, sharing the saw’s tabletop and rail system instead of standing as its own machine. All-in-one combo products exist (Incra’s table saw combo systems are the main example), but for most home shops the “combo” is something you add to a saw you already own — see our breakdown of table saw pricing if you’re weighing a saw upgrade at the same time.
| Option | Typical Cost | Best For |
|---|---|---|
| Cast-iron/laminate extension top (e.g. Infinity Tools RTT-029) | ~$350 | Fits a standard 9-1/4″ x 11-3/4″ insert plate, no building required |
| DIY plywood/MDF extension wing | $40–$80 in materials | Shops with clamps, a router, and an afternoon to spare |
| Stand-alone router table | $150–$400+ | Shops with floor space to leave both machines set up permanently |
📊 A ready-made extension top runs about $349.90 and accepts a standard 9-1/4″ x 11-3/4″ router insert plate — Source: Infinity Tools, RTT-029/RTT-047 specifications
How to Turn a Table Saw Extension Wing Into a Router Table
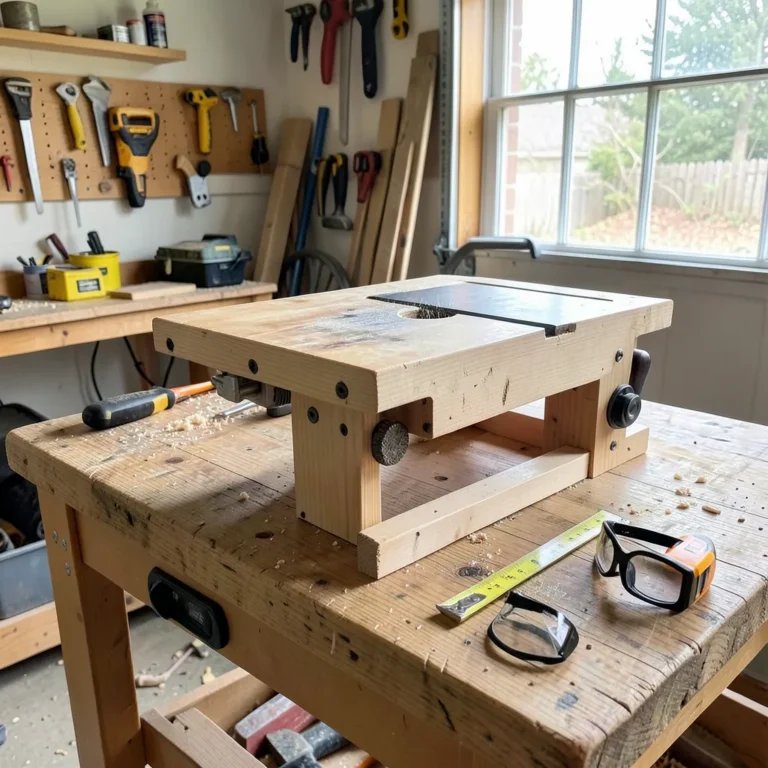
Building your own extension-wing router table costs a fraction of a ready-made top and uses the same basic method professional shops use: a stacked plywood-and-laminate deck bolted to the saw’s existing rail holes, with dust pulled by your shop dust collector through a port built into the bottom layer.
- Measure the rails: Find the distance between your table saw’s fence rails and decide how deep the wing needs to be — 6.5 to 16.5 inches is the typical range.
- Build the frame: Use 1×4 solid wood with butt joints, then bolt it to the saw’s rails through elongated holes so the height stays adjustable.
- Set the deck height: Position the frame so the finished top sits 5/16 inch below the saw’s table surface, which compensates for the laminate layer added on top.
- Cut the dust chamber: Rout a recessed pathway in the bottom plywood layer and add a 2-inch vacuum port fitting.
- Stack the layers: Glue up 3/4-inch plywood on the bottom, 1/4-inch MDF in the middle, and countertop laminate on top, aligning the bit-opening holes through all three.
- Size the bit opening: Drill the opening about 1/8 inch larger than the router collet, or install a real insert plate instead of a bare hole.
- Mount the router and test: Attach the router underneath using its baseplate as a drilling template, bolt the finished deck to the saw, and check it is flush with a straightedge before making a test cut.
Why Your Table Saw Fence Won’t Work as a Router Fence
A router table fence is a two-piece sliding fence that closes in around the bit for dust collection and cutter clearance — a feature a table saw’s single rip fence doesn’t have. Using the bare table saw fence for routing works only if you clamp a box-style auxiliary fence with adjustable faces and a dust port over it first.
Skipping this step is the most common mistake in a DIY conversion: without the split, adjustable faces, dust collection drops sharply and the exposed bit has less clearance on either side. Keep hands well clear of the spinning bit at all times — a push block or table saw gripper built for saw use works just as well for guiding stock past a router bit. A T-track on the extension top (add one if you’re building the frame yourself) lets you clamp a shop-built box fence in the same rail slots the saw’s own fence uses.
Insert Plate or Drilled Hole — And How High Should It Sit?
An insert plate is worth the extra $30 to $75 over a bare drilled hole. Interchangeable reducer rings keep the opening close to the bit diameter, which stops thin offcuts and small parts from dropping through — a bare hole sized for your largest bit leaves that gap open for every smaller one.
Height matters too. Most table saws sit around 33 inches high, which is workable but noticeably lower than the 36 to 38 inches many woodworkers prefer for controlled edge-profiling and freehand routing. If your saw table feels too low for fine router work, building the wing with a slightly taller frame — or shimming the router mounting plate — closes most of that gap without needing a second stand-alone table.
Extension tops built for this job are engineered to “never twist, warp, or bow” — a standard even a well-built shop MDF-and-laminate top can struggle to match in a humid garage, which is the real tradeoff between building and buying.
Frequently Asked Questions
What is a table saw router table combo?
It’s a router mounted in the extension wing of a table saw rather than a separate machine. Most setups use either a purchased insert-plate top (around $350) or a shop-built plywood-and-laminate deck. True combined saw-and-router units exist but are a small niche — either way, pair the setup with a router built for continuous table use; see our heavy duty wood router picks.
Can I use my table saw fence for routing?
Not directly. A table saw’s rip fence is a single solid face, while router work needs a two-piece fence that closes around the bit for dust collection and cutter clearance. Clamp a shop-built box fence with adjustable faces over your existing rip fence, or build a dedicated router fence into the extension wing.
Do I need an insert plate for a router table?
Yes, for anything beyond occasional light use. An insert plate with reducer rings keeps the opening around the bit small, which prevents thin stock and cutoffs from dropping through. A plain drilled hole sized for your biggest bit leaves that gap open for every smaller bit you swap in.
Is a stand-alone router table better than a table saw extension?
It depends on your shop space. A stand-alone table lets you leave both machines set up and adjust router height independently, but it costs more and takes its own floor space. An extension wing saves room and reuses the saw’s existing fence rails, at the cost of sharing one work surface between two tools.
How high should a router table be?
Most woodworkers prefer 36 to 38 inches for controlled edge profiling, compared to the roughly 33-inch height of a standard table saw. An extension-wing setup inherits the saw’s lower height, which is fine for most cuts but can feel low during long freehand routing sessions.
Conclusion
A table saw router table combo is almost always an add-on, not a single purchase — the real decision is insert-plate top versus DIY build versus a separate stand-alone table. Match the option to your shop’s space and budget, get an insert plate either way, and build in a real router fence instead of relying on the saw’s rip fence alone.
Sponsored / affiliate links. As an Amazon Associate I earn from qualifying purchases. I may earn additional commission from eligible campaigns.