How Long Does Plumbing Glue Take to Dry: Cure Times
You’re in the middle of a DIY plumbing project, feeling accomplished, and then the question pops up: How long does this stuff actually take to dry? You don’t want to turn on the water only to find a small leak and a bigger mess. Knowing the cure times for plumbing glue is key to a successful repair or installation.
This guide will walk you through everything you need to know about plumbing glue drying times so you can finish your project with confidence.
When working with PVC, ABS, or other plastic pipes, adhesives are your best friend. But to make sure your pipes are sealed tight and ready for water, you need to let the glue do its job. Understanding how long plumbing glue takes to dry and its cure times is essential.
This isn’t just about waiting; it’s about letting the chemical process create a strong, permanent bond. Rushing this step can lead to leaks, water damage, and the need to redo your work, which costs time and money. We’ll explore the factors influencing drying times, different types of glues, and best practices for achieving a solid, leak-free connection every time.
Understanding Plumbing Glue and Its Drying Process
Plumbing adhesives, often called PVC cement or pipe solvent cement, work through a process called solvent welding. This isn’t simply sticking two pieces together like with ordinary glue. Instead, the solvent in the cement softens and partially dissolves the surfaces of the plastic pipes and fittings.
When these softened surfaces are joined, they fuse together as the solvent evaporates. This fusion creates a molecular bond, essentially making the pipe and fitting one continuous piece of plastic. The “drying” or “curing” time is the period it takes for the solvent to evaporate completely and for this bond to reach its full strength.
Types of Plumbing Adhesives
The type of plastic pipe you’re working with usually dictates the type of adhesive you’ll use. Each adhesive is formulated to work with specific plastic types and has its own drying and curing characteristics.
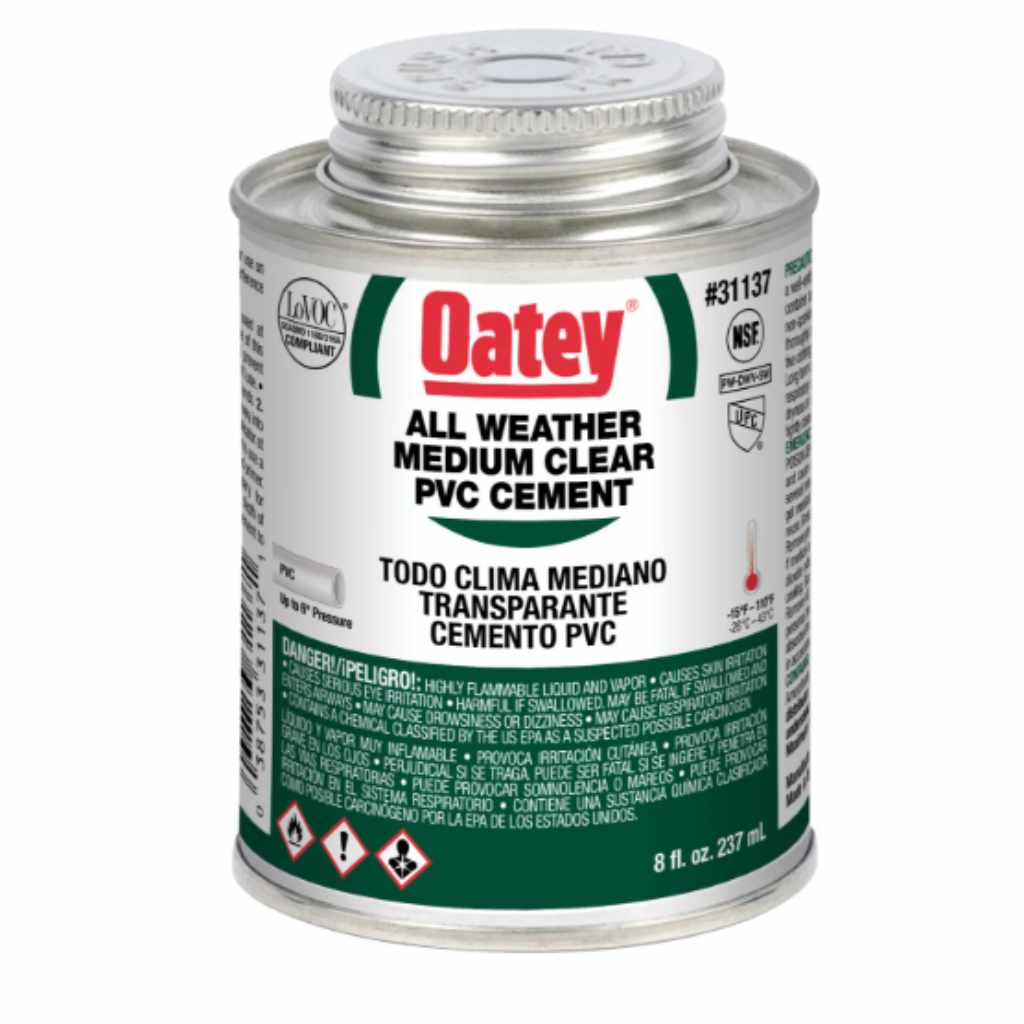
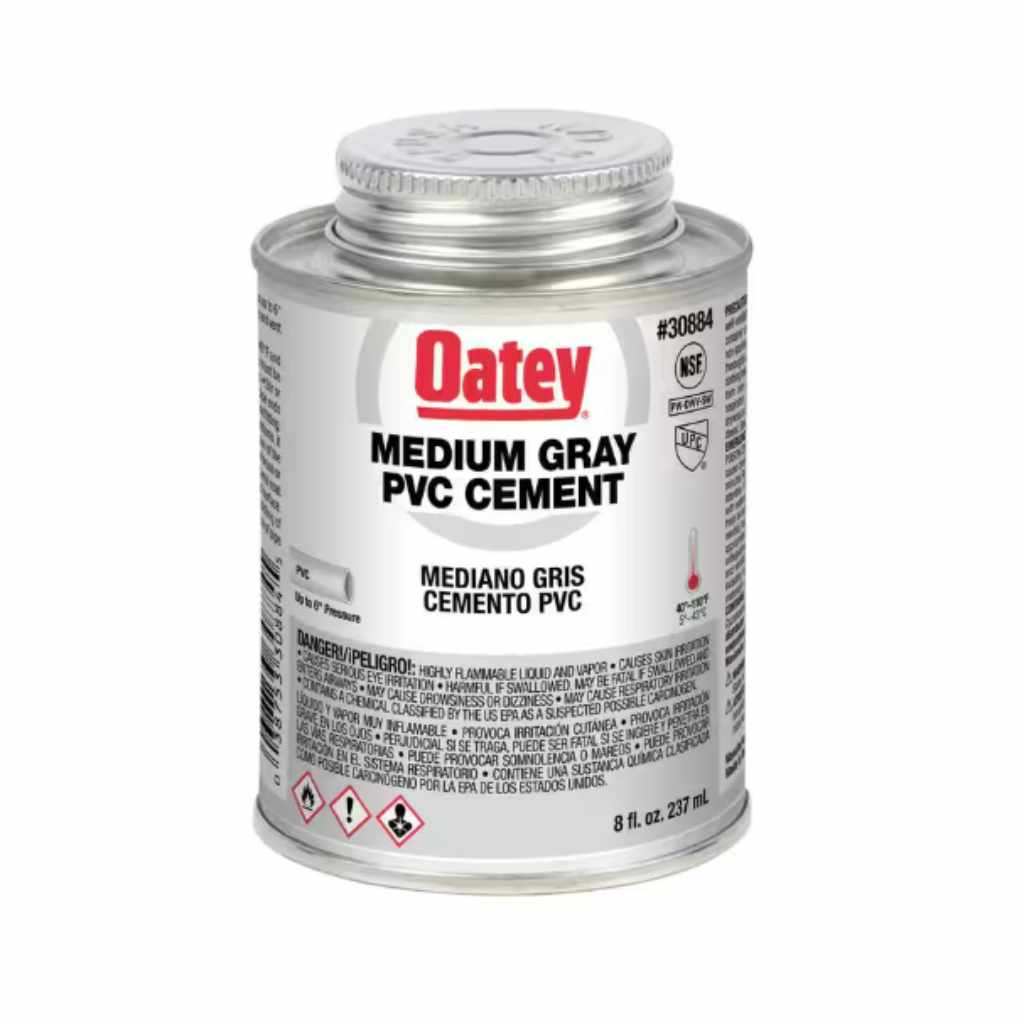
- PVC Cement: Used for polyvinyl chloride (PVC) pipes, commonly found in drain, waste, and vent (DWV) systems and cold-water supply lines.
- ABS Cement: Designed for acrylonitrile butadiene styrene (ABS) pipes, which are also used for DWV systems, especially in older homes.
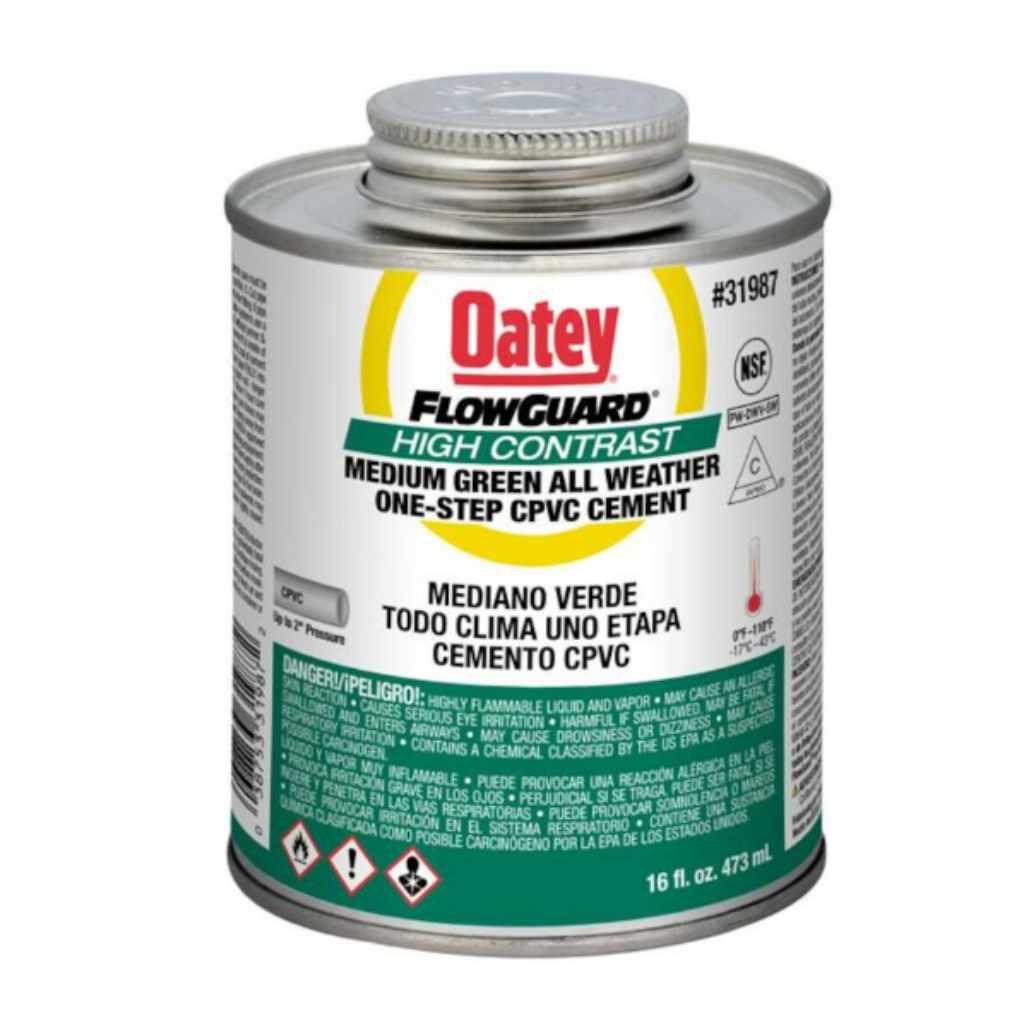
- CPVC Cement: For chlorinated polyvinyl chloride (CPVC) pipes, which can handle higher temperatures and are often used for hot and cold water supply lines.
It’s crucial to use the correct cement for your pipe type. Using the wrong cement might not soften the plastic sufficiently, leading to a weak joint that will likely fail.
Factors Affecting Drying Time
Several environmental and application factors can influence how quickly plumbing glue dries and cures. Paying attention to these can help you estimate the correct waiting period.
- Temperature: Warmer temperatures generally speed up solvent evaporation, leading to faster drying. Colder temperatures slow down the evaporation process.
- Humidity: High humidity can slow down drying because there’s more moisture in the air, which hinders the solvent’s ability to evaporate. Low humidity allows for quicker evaporation.
- Airflow: Good ventilation and airflow around the joint help carry away the solvent vapors, promoting faster drying. Confined or stagnant spaces will slow down the process.
- Amount of Cement Used: Using too little cement won’t provide enough solvent to properly soften the surfaces, resulting in a weak bond. Using excessive amounts can lead to pooling of solvent, which can take longer to evaporate and may even weaken the plastic if left too long. A thin, even coat is usually best.
- Pipe Size and Fit: Larger diameter pipes or very tight-fitting joints might trap more solvent, potentially increasing the time needed for full cure.
Typical Drying and Curing Times
The terms “drying time” and “curing time” are often used interchangeably, but they refer to different stages. Drying time refers to when the adhesive is no longer tacky to the touch and can be handled. Curing time is when the adhesive has reached its maximum strength and is ready to withstand pressure, such as water pressure in a pipe.
Initial Set Time
This is the shortest period after application when the joint is fused enough to hold its shape and can be carefully handled. For most common PVC and ABS cements, this is usually within minutes, often 5-15 minutes.
Handling Time
This is the time you need to wait before you can move or reposition the pipe assembly without damaging the new joint. It’s longer than the initial set time and typically ranges from 30 minutes to an hour for standard applications.
Dry Air Pressure Test Time
This is a critical waiting period. It’s the time you must wait after applying the cement before you can subject the joint to air pressure for testing. This is usually around 2 hours for standard PVC and ABS cements.
Water Pressure Test Time
This is the longest waiting period and is when the joint reaches sufficient strength to hold back water pressure. This is when the glue has properly cured. Standard PVC and ABS cements typically require a minimum of 12-24 hours for full water pressure cure.
Specific Adhesive Types and Their Timelines
Different formulations cater to various needs, especially concerning temperature and pressure resistance.
Standard PVC and ABS Cement
For general-purpose plumbing, these are the most common. They work well in moderate temperatures (around 60°F to 90°F).
- Initial Set: 10-20 minutes
- Handling Time: 30-60 minutes
- Dry Air Pressure Test: 2 hours
- Water Pressure Test: 12-24 hours
Medium-Bodied PVC and ABS Cement
These are a bit thicker and are good for larger pipes or slightly less precise fits. They offer a slightly longer working time.
- Initial Set: 15-25 minutes
- Handling Time: 45-90 minutes
- Dry Air Pressure Test: 2 hours
- Water Pressure Test: 12-24 hours
Heavy-Bodied PVC and ABS Cement
Designed for large diameter pipes (over 4 inches) or situations requiring a very robust bond. They contain more solvent and take a bit longer to fully cure.
- Initial Set: 20-30 minutes
- Handling Time: 60-120 minutes
- Dry Air Pressure Test: 3 hours
- Water Pressure Test: 18-24 hours
CPVC Cement
CPVC cement is formulated specifically for CPVC pipes, which can withstand higher temperatures. The curing times can vary based on the specific product and temperature.
- Initial Set: 10-20 minutes
- Handling Time: 30-60 minutes
- Dry Air Pressure Test: 2 hours
- Water Pressure Test: 12-24 hours
Low-Temperature Formulations
Some cements are specifically designed to work in cooler temperatures (down to 20°F or lower). These often have a slower initial set but can still achieve full cure within the standard times if conditions are right.
Rain-R-Shine or Wet Application Cements
These specialized cements are designed for situations where pipes cannot be fully dried, such as during repairs or in damp environments. They often have faster initial set times to counteract the presence of moisture but still require significant curing time for full strength.
Quick Set vs. Standard Cure Cements
For urgent repairs or when you need to move quickly, quick-set cements are available. However, it’s important to understand the trade-offs.
- Quick Set Cements: These are formulated to set much faster, allowing for a pressure test sooner. They might offer handling times of 10-15 minutes and water pressure test times of 1-2 hours. However, they might not achieve the same ultimate bond strength as standard cements if not applied perfectly and can be more prone to failure under sustained high pressure or temperature. They are best for non-critical applications or temporary fixes.
- Standard Cure Cements: These provide the most reliable and strongest bonds. While they require a longer waiting period, they are generally recommended for permanent installations and pressure lines.
Reading the Label Is Key
The most accurate information for any plumbing adhesive will always be on the product’s label or technical data sheet. Manufacturers provide specific drying and curing times based on their formulations and testing. Always consult the label for:
- Recommended pipe types
- Specific temperature ranges for application
- Detailed drying and curing schedules
- Instructions for priming (often required for PVC and CPVC)
Ignoring the label can lead to premature failure of the joint. Different brands and even different products within the same brand can have slightly varied timelines.
Best Practices for Optimal Drying and Curing
To ensure your plumbing glue dries and cures properly, follow these best practices:
Prepare the Pipes Properly
Cleanliness is paramount. Ensure pipes and fittings are free from dirt, grease, and moisture. For PVC and CPVC, use a primer as recommended by the cement manufacturer.
Primer cleans the pipe surface and softens it for better adhesion.
Apply Cement Evenly
Apply a thin, even coat of cement to both the pipe and the inside of the fitting. Do not over-apply, as excess cement can pool and weaken the joint or take longer to dry.
Assemble Quickly
After applying the cement, insert the pipe into the fitting with a slight twisting motion and hold firmly for about 30 seconds. This helps spread the cement evenly and ensures good contact while the solvent is active.
Avoid Disturbing the Joint
Once assembled, do not move, twist, or stress the joint until it has reached its handling time. Even slight movement can break the nascent bond.
Consider Environmental Conditions
If working in cold or humid conditions, you may need to extend the drying and curing times. Using specialized cements for low temperatures or high humidity can also help.
Allow for Full Cure Before Pressurization
This is the most critical step. Even if the joint feels dry and solid, it may not have reached its full strength. Waiting the recommended 12-24 hours for water pressure testing is crucial for a reliable, leak-free system.
Common Mistakes to Avoid
Many DIYers encounter issues because they rush the process or don’t follow instructions.
- Rushing the Water Test: The most common mistake. Turning on the water too soon is the primary cause of leaks in newly glued joints.
- Using the Wrong Glue: Mismatched cement and pipe types will not create a proper bond.
- Insufficient Ventilation: Poor airflow traps solvent vapors, slowing down the drying process and potentially creating a buildup of fumes.
- Not Priming (When Required): For PVC and CPVC, primer is often essential for a strong, lasting bond.
- Ignoring Temperature/Humidity Effects: Not adjusting expectations or using appropriate products for extreme weather conditions.
When to Seek Professional Help
While many plumbing tasks are manageable for DIYers, complex systems, high-pressure lines, or situations where a mistake could cause significant water damage might be best left to a professional plumber. They have the experience and tools to ensure all connections are made correctly and cured properly.
Frequently Asked Questions
Question: How long does PVC glue take to dry for a drain pipe?
Answer: For standard PVC drain pipes, the joint should be allowed to set for at least 30 minutes to an hour before handling. For full cure and to withstand water, wait 12-24 hours. Always check the product label for specific times.
Question: Can I use my toilet or sink immediately after gluing the pipes?
Answer: No, you should wait the full recommended curing time, typically 12-24 hours, before running water through the pipes. This ensures the glue has achieved its maximum strength to handle water pressure.
Question: What happens if I don’t wait long enough for plumbing glue to dry?
Answer: If you pressurize the system before the glue is fully cured, the joint can leak. In severe cases, it can fail completely, causing significant water damage.
Question: Does cold weather affect plumbing glue drying time?
Answer: Yes, cold weather significantly slows down the evaporation of solvents, meaning the glue will take longer to dry and cure. You may need to wait longer than the time specified on the label, or use a specialized low-temperature cement.
Question: How can I speed up the drying process of plumbing glue?
Answer: Ensure good ventilation and airflow around the joint. While you can’t force the chemical process, maintaining optimal environmental conditions will help the solvent evaporate as quickly as possible. Avoid applying excess glue, as this can slow down the process.
Final Thoughts
Successfully completing a plumbing project hinges on allowing the adhesives to do their job completely. The question of how long plumbing glue takes to dry is answered by understanding the specific product you’re using and the environmental conditions. Remember that initial set times and handling times are different from the full cure time needed to withstand water pressure.
Always read the manufacturer’s instructions on the label, as these provide the most accurate cure schedules for their particular formulation. Factors like temperature, humidity, and airflow play a significant role, so adjust your expectations accordingly. For most standard PVC and ABS pipe applications, waiting 12 to 24 hours for a water pressure test is a safe bet to ensure a strong, leak-free connection.
If you’re ever in doubt, it’s always better to wait a little longer than to risk a premature leak and the potential for water damage. Proper preparation, application, and patience are your best tools for a lasting plumbing repair or installation.