How to Glue a Lego Base Plate to Wood (Without Cracking It)
E6000 craft adhesive is the glue most people land on for mounting a Lego base plate to wood, because it cures flexible instead of rigid. That flexibility matters more than raw strength here – every time a kid presses a brick onto the plate or pries one off, the plate flexes slightly, and a rigid glue bond (like super glue or epoxy) is more likely to crack along that flex line over months of play than a flexible one is.
Here’s how to prep the surfaces, apply it so the plate doesn’t warp, and a removable option if you don’t want a permanent mount.
Why Not Just Use Super Glue or Hot Glue?
Best Glue for Lego Plates on Wood
 |
E6000 Craft Adhesive (3.7 oz) – $9 This is the adhesive referenced throughout this guide – it stays flexible after curing, which is what keeps the plate from cracking every time a brick gets pressed on or pried off.
|
Lego base plates are ABS plastic, and gluing ABS to wood works with several adhesives – the differences show up in how the bond holds up to real use, not whether it sticks on day one.
- Super glue (cyanoacrylate): bonds fast and strong initially, but cures glass-hard and brittle. Under the repeated flex of building on the plate, a CA glue bond tends to crack in spots over weeks or months, especially near the plate’s edges.
- Hot glue: works for light, temporary use (a display piece that won’t get much hands-on building), but softens with heat and has the weakest long-term hold of the common options – fine for a quick project, not for a plate that’s going to see daily play.
- E6000 or similar flexible craft adhesive: the best balance of strength and flex for this specific use case. It bonds ABS to wood well and the cured bond can flex slightly with the plate instead of fracturing.
- Contact cement: also flexible and very strong, but both surfaces need an even coat and have to be aligned correctly on first contact – there’s no repositioning once they touch. Doable, but less forgiving for a first attempt than E6000.
Prep and Application
- Lightly scuff both surfaces. Fine sandpaper (220-320 grit) on the underside of the plate and the top of the wood gives the glue something to grip beyond a smooth plastic surface. Wipe away all dust afterward.
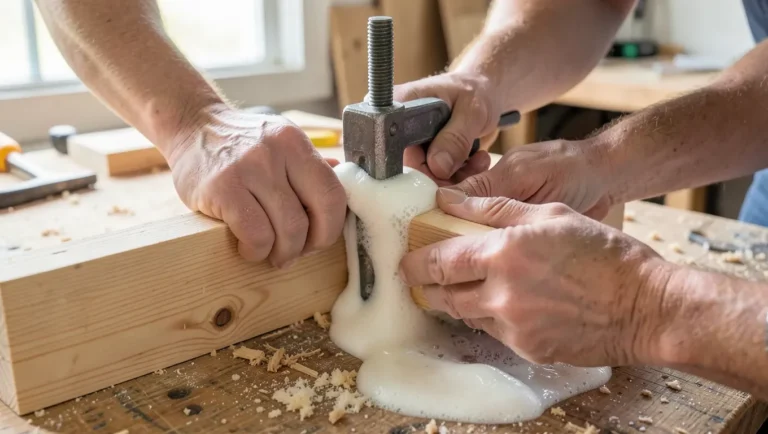
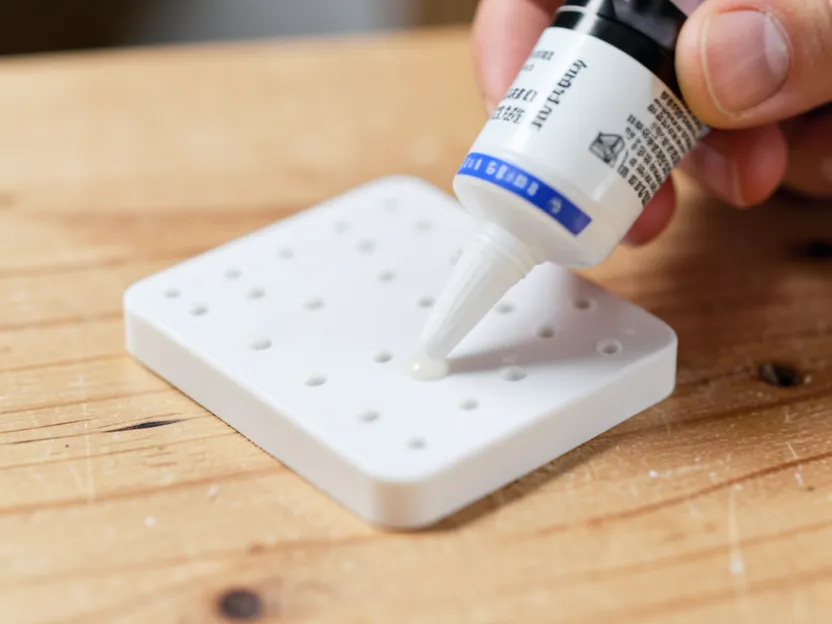
- Apply glue in a grid pattern or a bead around the perimeter plus a few interior dots – not a full solid layer. A complete coat traps air underneath as you press the plate down, which shows up as bubbles or a slightly warped, uneven surface once it cures.
- Press the plate down evenly and weight it with books or clamps across the whole surface, not just the corners, so it cures flat.
- Let it cure fully before use. E6000 skins over in 10-30 minutes and can usually be handled gently within a few hours, but full cure strength takes 24-72 hours. Keep weight on it and don’t let anyone build on it heavily until then.
Ventilation and Handling
Solvent-based adhesives like E6000 and contact cement have a strong odor while curing – work in a room with airflow (open window or fan) and keep young kids away from the wet glue and the fumes until it’s skinned over, not just applied. It’s flammable in liquid form, so keep it away from open flame while wet, though this isn’t a concern once fully cured.
If You Don’t Want It Permanent
If the plate might need to come off later – a shared table, a rental space, or just not wanting to commit – skip glue entirely and use heavy-duty mounting strips (the kind rated for a few pounds, like a Command-style strip sized for the plate’s weight plus whatever gets built on it). It’s a weaker hold than E6000 and can loosen under aggressive play, but it comes off cleanly without damaging the wood or the plate.
Frequently Asked Questions
How do I attach a Lego base plate to wood?
Lightly sand the underside of the plate and the wood surface, apply a flexible craft adhesive like E6000 in a grid pattern or perimeter bead (not a full solid coat), press the plate down evenly, and weight it flat while it cures for 24-72 hours.
Can I remove the Lego base plate later?
Not cleanly if you use E6000 or contact cement – those form a permanent bond and prying the plate off will likely damage it or the wood surface. If you may want to remove it later, use heavy-duty mounting strips instead of glue.
What type of glue is best for Lego?
A flexible craft adhesive like E6000 is the best choice for mounting a Lego base plate to wood, since it cures flexible instead of brittle and holds up better to the repeated flexing of bricks being pressed on and pulled off.
Is it safe to use glue on Lego?
Yes, gluing a base plate to a mounting surface is a common, safe practice. Just work in a ventilated area since solvent-based adhesives have strong fumes while wet, and keep young children away from the glue until it’s fully skinned over.
Conclusion
Skip super glue and hot glue for a Lego base plate that’s actually going to get played on – a flexible adhesive like E6000, applied in a grid rather than a full coat and given real cure time, is what keeps the bond intact through months of bricks going on and off. If permanence isn’t what you want, mounting strips get you a solid-enough hold without gluing anything down for good.
Sponsored / affiliate links. As an Amazon Associate I earn from qualifying purchases. I may earn additional commission from eligible campaigns.