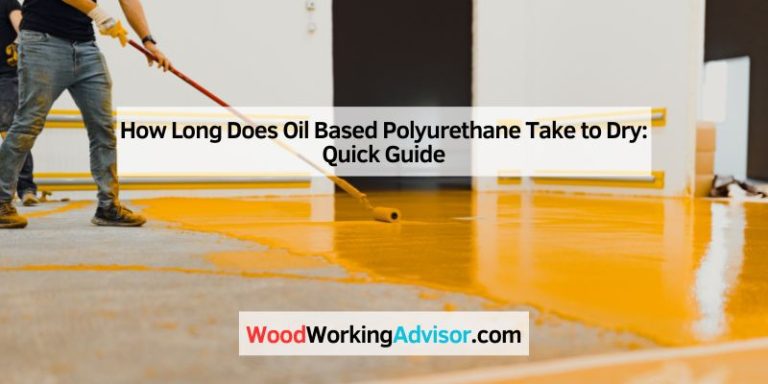
How to Apply Danish Oil: Step-by-Step Guide for Perfect Finish
Applying Danish oil is a straightforward process. It enhances wood’s natural beauty and provides a protective finish.
Whether you’re a novice or an experienced woodworker, learning how to apply Danish oil is essential. Danish oil is a popular choice for finishing wood because it’s easy to use and leaves a beautiful, durable finish. This versatile oil penetrates deeply into the wood, protecting it from the inside out.
It brings out the natural grain and gives a warm, rich glow to your projects. Understanding the right way to apply Danish oil ensures you get the best results. In this guide, we’ll walk you through the steps to achieve a flawless finish. Get ready to transform your wood pieces with the simple but effective application of Danish oil.
Introduction To Danish Oil
Danish Oil is a blend of oil and varnish. It penetrates wood deeply. This oil enhances the wood’s natural beauty. It provides a durable finish. Danish Oil is easy to apply. It dries quickly. This oil gives a warm, rich look. It is a popular choice for woodworkers.
Danish Oil offers many benefits. It protects wood from water damage. It makes wood more resistant to scratches. Danish Oil enhances the wood’s natural grain. It is easy to maintain. You can reapply it without sanding. Danish Oil also provides a smooth finish. It improves the wood’s appearance. This oil is versatile. It works on various types of wood.
Preparing Your Workspace
Find a space with good ventilation. This helps with the smell of the oil. Make sure the area is free from dust and debris. A clean area ensures a smooth finish. Work in a spot with good lighting. This helps you see all parts of your project. Avoid working near open flames. Danish oil is flammable.
Gather all the tools you need before starting. You will need gloves to protect your hands. Have clean rags or brushes for applying the oil. Use sandpaper to smooth the surface. A drop cloth or newspapers will protect your work area. Don’t forget a mask to avoid inhaling fumes. Having all tools ready saves time and effort.
Selecting The Right Wood
Choosing the right wood is crucial for effective Danish oil application. Softwoods absorb oil differently than hardwoods. Ensure wood is clean and smooth for best results.
Types Of Wood
Choosing the right wood is very important. Hardwoods like oak, maple, and walnut are great choices. They absorb oil well. Softwoods like pine and cedar are also an option. However, they may need extra coats. Exotic woods such as teak and mahogany can be used. They might have natural oils that affect absorption.
Wood Preparation Tips
Preparing wood is crucial for a smooth finish. Sand the wood using fine-grit sandpaper. This removes rough spots. Clean the wood surface with a damp cloth. Make sure there is no dust. Let the wood dry completely. Check for any nicks or scratches. Fix them before applying oil. This ensures an even application.

Credit: www.youtube.com
Prepping The Wood Surface
Start with coarse sandpaper. This removes rough spots. Then, use medium grit. This smoothens the surface. Finally, use fine grit. This prepares the wood for oil. Always sand in the direction of the grain. This prevents scratches. Sanding makes the wood even.
Use a clean cloth. Wipe off the dust. Dust can affect the finish. Make sure the surface is dry. Any moisture can ruin the oil. Check for any remaining dust. A clean surface is crucial. It ensures a smooth finish.
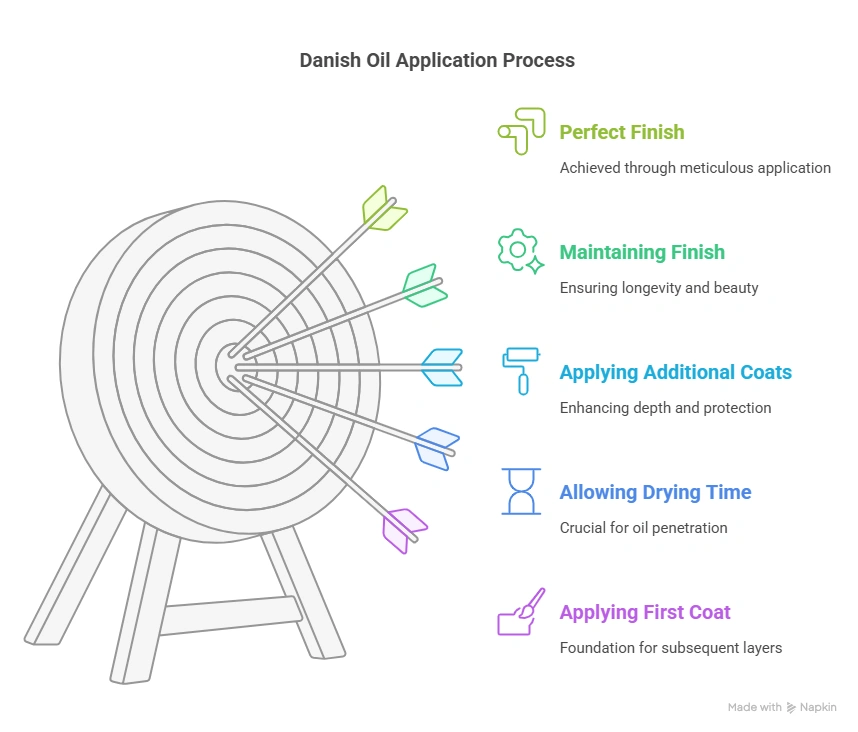
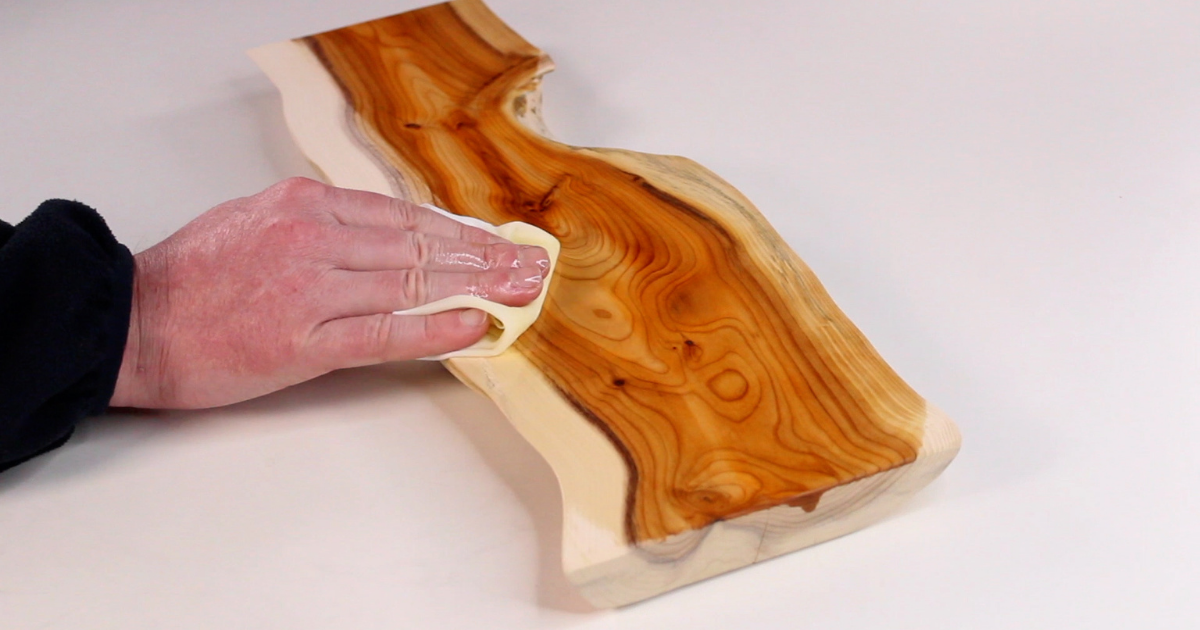
Applying The First Coat
Using the right tools is key. A clean, lint-free cloth is best. Brushes work too but may leave marks. Always have gloves to protect your hands. A drop cloth can catch spills. Gather these tools before starting.
Start by sanding the wood. Make the surface smooth. Wipe away any dust with a cloth. Pour a small amount of Danish oil onto the cloth. Rub the oil into the wood in a circular motion. Cover the entire surface evenly. Let the oil soak in for 15 minutes. Wipe off any extra oil with a clean cloth. Let the wood dry for 8 hours. Repeat the steps for more coats if needed.
Allowing Proper Drying Time
Allow proper drying time between coats of Danish oil to ensure a smooth and durable finish. This prevents sticky or uneven surfaces.
Drying Time Guidelines
Danish oil needs time to dry properly. The drying time can vary. It depends on the type of wood. It also depends on the amount of oil applied. On average, Danish oil dries in 6 to 8 hours. Warm temperatures can speed up the process. Cool temperatures can slow it down. Waiting 24 hours before applying another coat is best.
Signs Of Proper Drying
Look for a smooth surface. The oil should not feel sticky. There should be no oily residue. The wood should have a matte finish. If the oil has dried correctly, it will be hard to the touch. Test with a clean finger. If it feels dry, it is ready.
Applying Additional Coats
Danish oil needs more coats for a better finish. Check the wood’s surface after the first coat. If it looks dry or uneven, another coat is needed. Wait for each coat to dry completely. This usually takes about 4-6 hours. Always ensure the previous coat is fully dry before adding another.
Use a clean cloth to apply each coat. Rub the oil into the wood in a circular motion. This helps the oil penetrate better. Wipe off any excess oil after a few minutes. Sand lightly between coats with fine-grit sandpaper. This gives a smoother finish. Repeat these steps until you get the desired look. Each coat makes the wood richer and more protected.
Credit: www.furnitureclinic.co.uk
Finishing Touches
Buff the surface with a soft cloth. This will make it shine. Use small circles while buffing. Avoid pressing too hard. This can damage the finish. Buffing helps remove excess oil. It also makes the surface smooth.
Check the surface for any rough spots. Smooth them with fine sandpaper. Wipe off any dust. Look for even shine. If some areas look dull, buff them again. Ensure every spot has a good finish.
Maintaining Your Danish Oil Finish
Keep your Danish oil finish looking fresh. Dust the surface weekly with a soft cloth. Avoid using water or harsh cleaners. These can damage the finish. Use a gentle cleaner for deeper cleaning. Apply it with care. Buff the wood with a soft, dry cloth after cleaning. This keeps the shine.
Small scratches and wear are easy to fix. Lightly sand the damaged area with fine grit sandpaper. Wipe away dust. Apply a thin coat of Danish oil to the spot. Let it soak in. Wipe off any extra oil. Allow it to dry completely. Buff the area until it blends with the rest.

Credit: danish-oil.com
Frequently Asked Questions
What Is The Best Way To Apply Danish Oil?
Apply Danish Oil with a clean cloth. Rub it into the wood in the direction of the grain. Let it soak for 15 minutes, then wipe off excess. Allow it to dry for 6-8 hours. Repeat for additional coats.
Do You Use A Brush Or Rag For Danish Oil?
Use a brush or a rag to apply Danish Oil. A brush covers larger areas, while a rag offers precise control.
How Many Coats Of Danish Oil Should You Apply?
Apply 3 coats of Danish Oil for best results. Allow each coat to dry completely before applying the next.
How To Get A Shiny Finish With Danish Oil?
Apply thin coats of Danish Oil. Let each coat dry completely. Sand lightly between coats with fine-grit sandpaper. Buff the final coat with a soft cloth for a shiny finish.
Conclusion
Applying Danish oil is straightforward and rewarding. Start with a clean surface. Apply evenly, and let it soak. Wipe off excess oil to avoid sticky residue. Repeat if needed for a deeper finish. Keep your workspace ventilated. Enjoy your beautifully finished project.
Danish oil brings out wood’s natural beauty effortlessly. With these steps, your woodwork will shine. Happy woodworking!