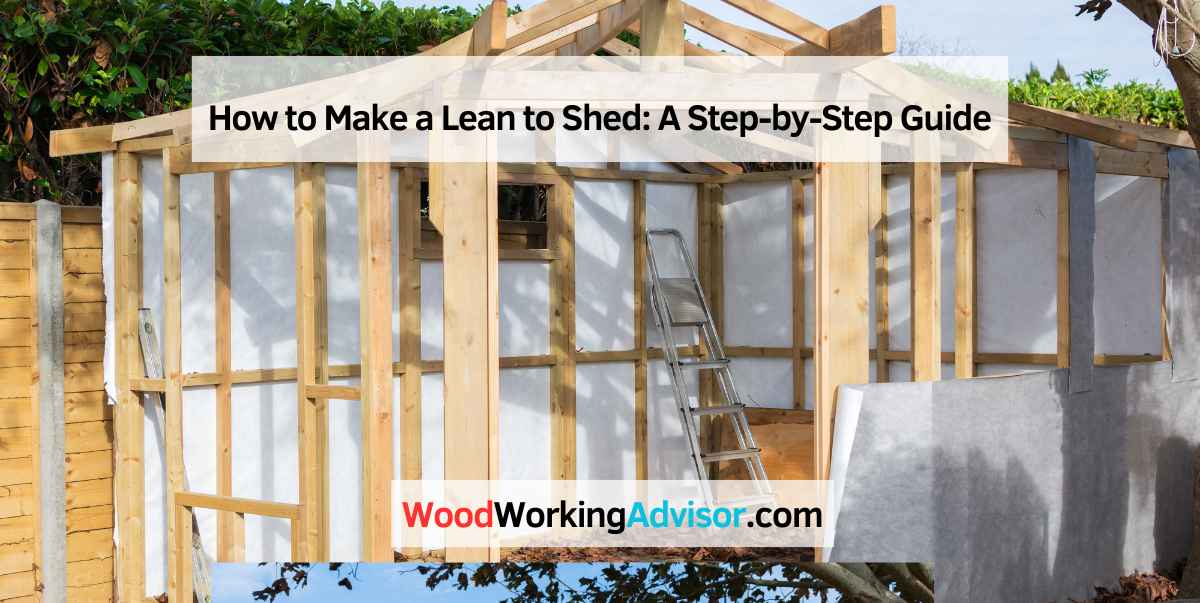
How to Make a Lean to Shed: A Step-by-Step Guide
To make a lean-to shed, gather the necessary materials and tools, such as lumber, nails, a saw, and a hammer. Next, measure and mark the desired dimensions for the shed on the ground.
Then, assemble the frame by cutting the lumber and nailing it together according to the marked dimensions. Attach the frame to the existing structure or supporting posts, if applicable. Once the frame is secure, add the roof by attaching the roof panels or sheets of plywood.
Finally, add any desired finishing touches, such as a door or windows, and secure the shed to the ground to ensure stability.
Choosing The Right Location
When it comes to building a lean-to shed, one of the most important considerations is choosing the right location. The location you choose will have a significant impact on the functionality and durability of your shed. From considering the shed site to preparing the ground, there are several factors to keep in mind to ensure you make the best decision.
Considerations For The Shed Site
Before you start building your lean-to shed, it’s crucial to carefully consider the shed site. Here are a few factors to keep in mind when choosing the location:
- Accessibility: Ensure that the shed will be easily accessible from your home or other areas of your property where you’ll need to frequently access it. This will save you time and effort in the long run.
- Proximity to utilities: If you plan on running electricity or plumbing to your shed, it’s essential to choose a location that is easily accessible to utilities. This will make installation and maintenance much easier.
- Drainage: Adequate drainage is crucial to prevent water damage and rot. Choose a location that is well-drained and positioned away from areas prone to flooding.
- Orientation and sunlight: Consider the orientation of the site in relation to the sun. Opt for a location that receives ample sunlight throughout the day, as this will help keep the shed dry and prevent mold and mildew growth.
Preparing The Ground
Once you have chosen the right location for your lean-to shed, it’s time to prepare the ground. This step is essential for ensuring the stability and durability of your shed. Here’s what you need to do:
- Clear the area: Remove any vegetation, rocks, or debris from the chosen site. This will help create a level surface for your shed.
- Level the ground: Use a shovel, rake, or a construction level to ensure that the ground is level. A sloping or uneven surface can lead to structural issues with your shed.
- Create a foundation: Depending on your preferences and budget, you can choose to build a concrete slab, lay down gravel, or use concrete blocks as a foundation. This will provide stability and prevent the shed from shifting over time.
- Add a vapor barrier: To protect your shed from moisture, consider adding a vapor barrier underneath the foundation. This will help prevent water from seeping into the shed and causing damage.
By taking the time to carefully choose the shed site and properly prepare the ground, you’ll set a solid foundation for your lean-to shed. This will ensure that it withstands the test of time and provides you with the functionality and storage space you need.
Gathering Materials And Tools
When it comes to building a lean-to shed, gathering the necessary materials and tools is the first step towards a successful construction project. Having everything you need at hand will ensure a smooth and efficient building process. In this section, we will discuss the essential materials and required tools needed for building your lean-to shed.
Essential Materials
Before you start building your lean-to shed, it’s important to gather all the essential materials you’ll need for the project. Here is a list of materials you should have:
- Lumber: You’ll need pressure-treated 2x4s and plywood for the structure of the shed.
- Roofing Materials: Choose from asphalt shingles, metal roofing, or corrugated panels for the shed’s roof.
- Siding: Opt for durable materials like T1-11 siding or vinyl siding to protect the shed from the elements.
- Screws and Nails: Make sure you have the right screws and nails for fastening the different components of the shed.
- Door and Window: If you plan to have a door or window in your shed, ensure you have the necessary materials for installation.
- Concrete or Gravel: Depending on the foundation type you choose, you’ll need concrete or gravel for stability.
- Paint or Stain: Consider adding a coat of paint or stain to protect the shed and enhance its aesthetic appeal.
Required Tools
In addition to the materials, having the right tools is crucial for a successful lean-to shed construction. Here is a list of tools you’ll need:
| Tools | Description |
|---|---|
| Tape Measure | Used for measuring and ensuring accurate dimensions. |
| Circular Saw | Ideal for cutting the lumber and plywood to the required sizes. |
| Drill | Used for drilling holes and driving screws. |
| Hammer | Essential for driving nails and securing components. |
| Level | Ensures the shed is level and plumb during construction. |
| Utility Knife | Used for precise cutting and trimming of materials. |
| Safety Gear | Protective gear such as gloves, goggles, and masks for your safety. |
With these essential materials and required tools gathered, you’ll be well-prepared to start building your lean-to shed. Make sure to double-check your supplies before commencing with the construction to avoid any unnecessary delays along the way.
Constructing The Foundation
Constructing the foundation of a lean-to shed is essential for ensuring the stability and longevity of the structure. From creating a level base to installing support beams, every step in this process plays a crucial role in the overall integrity of the shed.
Creating A Level Base
To begin, clear the area where the lean-to shed will be constructed. Use a shovel or a bulldozer to remove any debris, rocks, and uneven ground. It’s important to ensure that the ground is level, so use a level tool to check for any slopes or dips. Once the area is cleared and level, lay down a layer of gravel to provide a sturdy and stable base for the shed.
Installing Support Beams
Support beams are integral for the structural stability of the lean-to shed. Determine the size and number of support beams required based on the dimensions of the shed. Place the support beams perpendicular to the main structure of the shed, ensuring they are securely anchored and level. Use concrete footings or post anchors to secure the beams to the ground, providing a solid foundation for the entire structure.
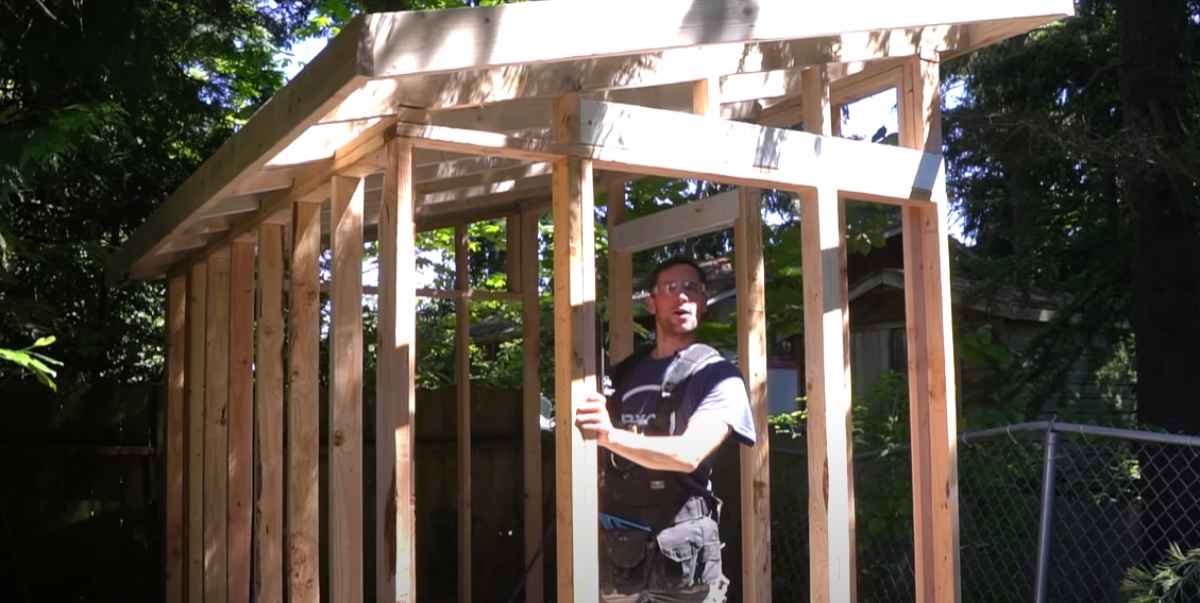
Building The Frame And Roof
When it comes to constructing a lean-to shed, building the frame and roof plays a crucial role. This is where the structural integrity and stability of your shed are determined. In this section, we will walk you through the steps of assembling the frame and adding the roof structure.
Assembling The Frame
Now that you have your shed’s foundation securely laid out, the next step is to assemble the frame. The frame serves as the skeleton of your shed, providing the necessary support for the entire structure. Follow these steps to assemble the frame:
- Gather the necessary materials, including pressure-treated lumber, framing screws, and a power drill.
- Measure and mark the dimensions of the shed’s walls on the lumber. This will guide you in cutting the pieces to the right size.
- Cut the lumber according to your measurements. Remember to wear protective gear, such as safety goggles and gloves, while operating any cutting tools.
- Once the pieces are cut, lay them out on the ground according to your shed’s layout. Align them properly and use a level to ensure they are straight.
- Secure the frame together by pre-drilling pilot holes and fastening the pieces with framing screws. This will provide extra stability and prevent the wood from splitting.
- Once the frame is assembled, stand it up and position it on the foundation. Make sure it is properly aligned and square with the foundation.
- Secure the frame to the foundation by drilling pilot holes and using anchor bolts or masonry screws. This will ensure that your shed is securely attached to the ground.
- Inspect the frame for any wobbling or instability. Make any necessary adjustments or reinforcements to ensure a sturdy structure.
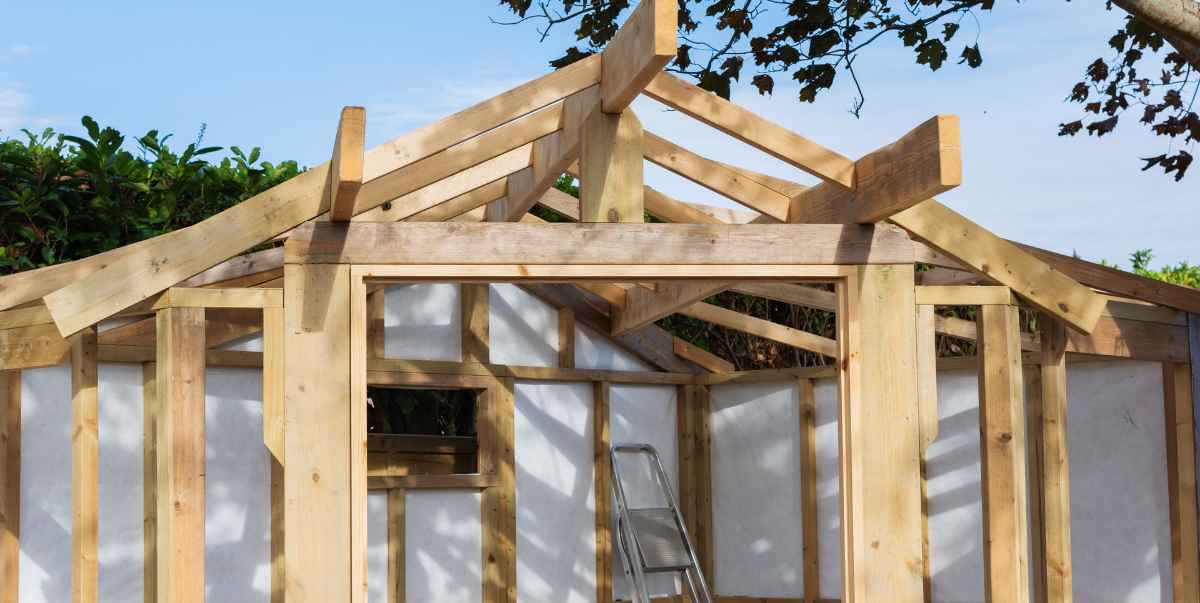
Adding The Roof Structure
Now that the frame is securely in place, it’s time to add the roof structure. The roof not only protects your shed from the elements but also provides structural support to the entire structure. Follow these steps to add the roof structure:
- Measure and cut the roof rafters based on your shed’s dimensions and desired pitch. Remember to account for any overhang you may want.
- Attach the roof rafters to the top plate of the shed’s walls using framing screws or joist hangers. Make sure they are evenly spaced and securely fastened.
- If you choose to have a gable roof, cut and install the ridge board at the peak of the rafters. This will provide additional support and stability to the roof.
- Add the roof sheathing, such as plywood or oriented strand board (OSB), by nailing it to the rafters. This will form the base layer of your roof.
- Install the roofing material of your choice, such as shingles or metal panels, to complete the roof structure. Follow the manufacturer’s instructions for proper installation.
- Ensure that the roof is installed securely and there are no loose materials. This will prevent any potential leaks or damage during harsh weather conditions.
By diligently following these steps, you can successfully build the frame and roof of your lean-to shed. Once this crucial stage is completed, you can move on to the next steps of finishing the shed’s exterior and interior to transform it into a functional space.
Finishing Touches
When building a lean-to shed, it is essential to focus on the finishing touches. Adding weatherproofing, paint, and door hardware are crucial steps to ensure durability and enhance the shed’s aesthetic appeal. These final touches will not only improve the shed’s functionality but also increase its overall value.
Adding Siding And Cladding
Once you have completed the main structure of your lean to shed, it’s time to add the finishing touches that will make it both durable and visually appealing. One important step in this process is adding the siding and cladding to the exterior walls of your shed. This not only serves as a protective layer against the elements but also enhances the overall look of your structure. Here’s a step-by-step guide to help you get started.
- First, measure the dimensions of each wall to determine how much siding you will need. Keep in mind that it’s always a good idea to purchase slightly more than you think you’ll need, just to be safe.
- Next, cut the siding panels to fit the measurements of each wall. Use a saw or a circular saw, making sure to measure and mark each cut carefully for accuracy.
- Apply a layer of adhesive or caulk to the back of each siding panel, then press it firmly against the wall, starting from the bottom. Use a level to ensure that each panel is perfectly straight.
- Continue adding panels in this manner until you have covered all the walls of your shed. Make sure to leave a small gap between each panel for expansion during temperature changes.
- Finally, trim any excess siding using a saw or utility knife, and seal the edges and corners with caulk to prevent water penetration.
Installing Doors And Windows
The next step in finishing your lean to shed is installing doors and windows. These not only provide access to the interior but also allow natural light to illuminate the space. Following a few simple steps, you can easily complete this final stage of your shed construction.
- Start by measuring and marking the location of your desired doors and windows on the appropriate walls. Take into account the size and style of the doors and windows you have chosen.
- Using a saw or a jigsaw, carefully cut out the openings for the doors and windows, making sure to stay within the marked lines.
- Once the openings have been cut, install the door or window frames following the manufacturer’s instructions. Use shims to ensure that everything is level and plumb.
- Secure the frames in place using screws or nails, and then seal any gaps between the frame and the wall using caulk. This will prevent drafts and add extra weatherproofing.
- Add the doors and windows into the frames, making sure they fit snugly. Install any necessary hardware, such as locks or hinges, according to the manufacturer’s instructions.
- Finally, check that all doors and windows open and close smoothly and securely, and make any necessary adjustments to ensure proper functionality.
Frequently Asked Questions For How To Make A Lean To Shed
Is It Cheaper To Build Lean-to Shed?
Yes, it is generally cheaper to build a lean-to shed. With its simple design and fewer materials needed, a lean-to shed is a cost-effective option. It provides storage space at a lower price compared to larger and more complex shed styles.
Can You Build A Lean-to Shed?
Yes, you can build a lean-to shed. It is a simple and cost-effective option for extra storage space in your backyard. Follow these steps:
1. Choose a suitable location.
2. Gather materials and tools.
3. Construct the frame.
4. Install the roof.
5. Finish with siding, door, and windows.
How Do You Build A Small Lean-to Shelter?
To build a small lean-to shelter, find a sturdy tree, prop a long branch at an angle, and lean smaller branches against it. Add foliage for insulation, and cover the roof with a tarp or extra foliage. Make sure the shelter is stable and secure.
Regularly maintain its condition.
How Much Is A 10×12 Lean-to Shed?
A 10×12 lean-to shed can cost around $1,000 to $7,000, depending on factors such as material quality, design complexity, and additional features. Prices may vary among manufacturers and suppliers.
Conclusion
Building a lean-to shed can be a rewarding and achievable project for any DIY enthusiast. With the right tools and materials, following the steps outlined in this guide can help you create a functional and visually appealing outdoor storage solution.
Remember to prioritize safety and quality, and enjoy the process of creating your own lean-to shed.