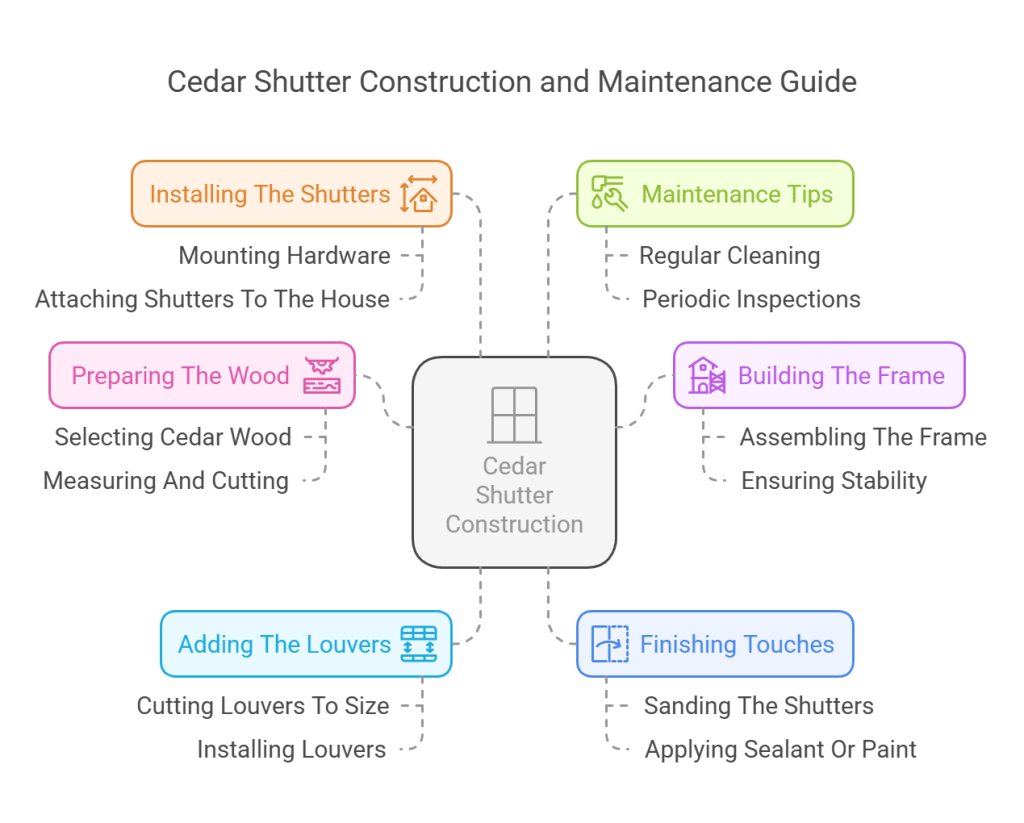
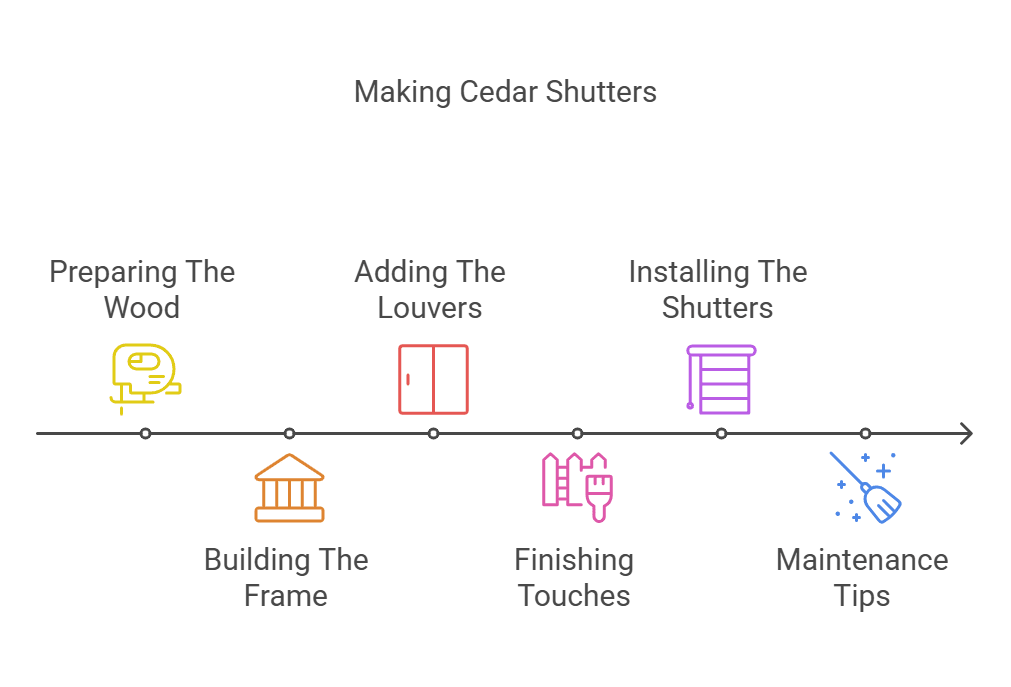
How to Make Cedar Shutters: A Step-by-Step Guide
Making cedar shutters is a rewarding DIY project. You can customize them to fit any window.
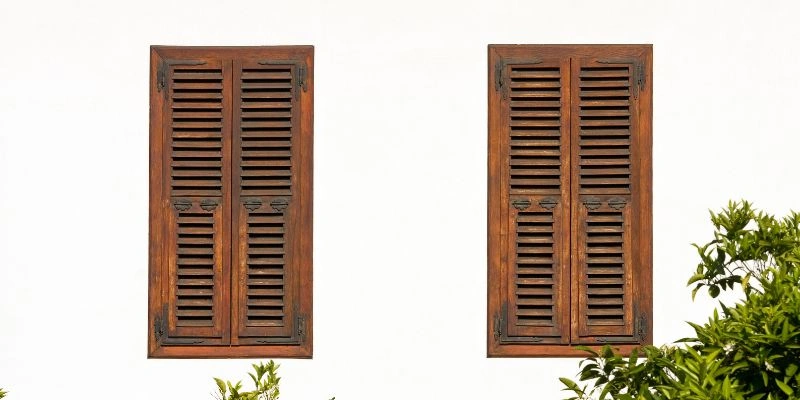
Cedar shutters add charm and value to your home. They are durable and have a natural resistance to decay. Building them yourself can save money and give you a sense of accomplishment. In this guide, we will show you step-by-step how to make cedar shutters.
You don’t need to be an expert to get started. With simple tools and materials, you can create beautiful shutters that enhance your home’s exterior. Let’s dive into the basics and get you started on this fun project.
Preparing The Wood
Before making cedar shutters, preparing the wood is crucial. This step ensures the shutters are durable and beautiful. Proper preparation involves selecting the right cedar wood and measuring and cutting it accurately.
Selecting Cedar Wood
Choose high-quality cedar wood for your shutters. Cedar is known for its strength and resistance to decay. Look for straight boards without knots or defects. This ensures a smooth finish and long-lasting shutters.
Ensure the wood is dry. Moist wood can warp and twist. This affects the shutter’s appearance and function. Kiln-dried cedar is a good choice. It is stable and less likely to change shape over time.
Measuring And Cutting
Accurate measurements are vital. Measure the window frame carefully. Add an extra inch to each side for overlap. This provides a good fit and better weather protection.
Mark the measurements on the cedar wood. Use a pencil and straightedge. This helps ensure straight cuts. Cut the wood using a saw. A table saw is ideal for straight cuts. Ensure the blade is sharp. Sharp blades make cleaner cuts and reduce splintering.
After cutting, sand the edges. This removes splinters and rough spots. Smooth edges give a professional finish to your shutters. Your cedar wood is now ready for the next steps in making beautiful shutters.
Building The Frame
Creating cedar shutters is not just about functionality; it’s about adding a touch of beauty to your home. The first step in this process is building the frame. This step is crucial as it forms the foundation of your shutters. Let’s dive into the details and ensure we get it right from the start.
Assembling The Frame
To assemble the frame, you’ll need to gather your materials: cedar wood, screws, and a drill. It’s like putting together a puzzle, but don’t worry, it’s simpler than it sounds!
- First, cut your cedar wood to the desired lengths. Typically, you’ll need four pieces for each frame.
- Second, lay out the pieces on a flat surface. Arrange them in a rectangle, ensuring all corners meet perfectly.
- Third, drill pilot holes in each corner. This helps prevent the wood from splitting when you insert the screws.
- Finally, screw the pieces together. Ensure the frame is square by measuring the diagonals; they should be equal.
Once assembled, your frame should be sturdy and ready for the next step. Remember, patience and precision at this stage will pay off in the end.
Ensuring Stability
Stability is key to your shutters standing the test of time. No one wants wobbly shutters, right? Here’s how to ensure your frame is rock-solid:
- Reinforce the corners: Adding metal brackets to the corners can increase stability. Simply screw them into place.
- Cross-bracing: For larger shutters, consider adding a diagonal brace from corner to corner. This prevents any twisting.
- Check for squareness: Use a carpenter’s square to ensure all angles are 90 degrees. This might seem trivial, but it’s crucial.
By following these steps, you’ll ensure your cedar shutter frame is both strong and reliable. It’s like building a house; a good foundation makes everything else easier.
| Step | Materials Needed | Tips |
|---|---|---|
| Assembling the Frame | Cedar wood, screws, drill | Measure twice, cut once |
| Ensuring Stability | Metal brackets, carpenter’s square | Check the diagonals |
By taking your time and following these steps, your cedar shutters will not only look great but will also last for years to come. So, what are you waiting for? Grab your tools and let’s get building!
Adding The Louvers
Adding louvers to your cedar shutters is like adding the final touches to a masterpiece. Louvers give shutters their distinctive look and allow for light and air flow control. It’s a step that requires precision but is entirely doable with some basic tools and a bit of patience. Let’s break it down into manageable parts.
Cutting Louvers To Size
First things first, you need to cut the louvers to the correct size. This step is crucial because the louvers need to fit perfectly within the frame of the shutter. Here’s a simple process to follow:
- Measure the Frame: Measure the width of the shutter frame where the louvers will be installed. Make sure to measure at multiple points to ensure accuracy.
- Determine Louver Count: Decide how many louvers you want in your shutter. More louvers can provide more light control.
- Cut to Length: Use a saw to cut the cedar wood to the required length. Ensure each louver is the same size for uniformity.
- Sand the Edges: Smooth the edges with sandpaper to remove any splinters or rough spots. This will give your louvers a professional finish.
Installing Louvers
Now that you have your louvers cut to size, it’s time to install them. This part can be a bit tricky, but with careful attention, you’ll get it just right.
- Mark the Position: Use a pencil to mark where each louver will go on the shutter frame. Make sure the spacing is even.
- Drill Pilot Holes: Drill small pilot holes at each mark. This will make it easier to screw in the louvers without splitting the wood.
- Attach Louvers: Place each louver in position and use screws to attach them to the frame. Be careful not to over-tighten the screws, as this can crack the wood.
- Check Alignment: Ensure all louvers are aligned properly and can move freely. Adjust if necessary.
And there you have it! With the louvers in place, your cedar shutters are now ready to be admired. Not only do they look fantastic, but they also offer practical benefits like light control and ventilation. Plus, you’ve done it all with your own two hands. That’s something to be proud of!
Finishing Touches
The final steps in making cedar shutters bring the project to life. These finishing touches ensure your shutters look great and last longer.
Sanding The Shutters
Start with sanding the cedar shutters. Use medium-grit sandpaper. This smooths out any rough edges. Sand along the wood grain. Avoid sanding across the grain. This prevents scratches and ensures a smooth finish.
After medium-grit, switch to fine-grit sandpaper. This gives the wood a polished look. Wipe the shutters with a damp cloth. Remove all dust. Clean surfaces help sealant or paint adhere better.
Applying Sealant Or Paint
Next, choose between sealant or paint. Sealant keeps the natural wood look. Use a high-quality wood sealant. Apply it evenly with a brush. Let it dry fully. Follow the manufacturer’s drying times.
If you prefer paint, pick a suitable exterior paint. Apply a primer first. This helps the paint stick better. Once the primer is dry, apply the first coat of paint. Use even strokes. Let the first coat dry, then apply a second coat.
Both sealant and paint protect the wood. They also enhance the beauty of your cedar shutters. Proper finishing touches extend the life of your shutters.
Installing The Shutters
So, you’ve crafted your beautiful cedar shutters and now it’s time to install them. This might seem daunting at first, but don’t worry. With a little patience and the right tools, you’ll have them up in no time. Let’s break it down into manageable steps. First, we’ll cover the mounting hardware, then we’ll move on to attaching the shutters to your house.
Mounting Hardware
Before we start drilling holes, let’s talk about the hardware you’ll need. This includes screws, hinges, and any other mounting accessories. It’s crucial to choose the right type of hardware, as this will ensure your shutters are secure and look great.
Types of hardware:
- Hinges: These will attach your shutters to the house and allow them to open and close. Choose heavy-duty hinges to support the weight of the cedar.
- Screws: Opt for weather-resistant screws, preferably stainless steel, to avoid rusting.
- Shutter dogs: These are optional but can help keep your shutters in place when open.
Now, let’s get these installed. Make sure you have a drill, a level, and a measuring tape handy. Ready? Let’s dive in!
Attaching Shutters To The House
Alright, here’s where the magic happens. First, hold the shutter up to the window to ensure it fits properly. Make any necessary adjustments before you start drilling.
- Mark the spots: Use your level to ensure the shutter is straight. Mark the spots where the hinges will go with a pencil.
- Pre-drill holes: Pre-drilling prevents the wood from splitting. Using your drill, make holes at the marked spots.
- Attach the hinges: Screw the hinges into the pre-drilled holes on the shutter. Make sure they are securely fastened.
- Mount the shutter: Hold the shutter up to the window and align the hinges with the pre-drilled holes on the house. Screw them in place.
And there you have it – your cedar shutters are now attached! Remember, patience is key here. It might take a bit of time to get everything aligned perfectly, but it’s worth it.
There’s something incredibly satisfying about seeing your hard work come to life. Plus, the added curb appeal to your home is a fantastic bonus. Who knew a few pieces of wood could make such a difference?
So, what are you waiting for? Grab your tools and get started. Your house is about to look a whole lot better!
Maintenance Tips
Proper maintenance ensures your cedar shutters stay beautiful and functional. With a few simple steps, you can keep them looking great for years. Let’s dive into some essential maintenance tips.
Regular Cleaning
Clean your cedar shutters regularly to remove dirt and dust. Use a soft brush or cloth. This prevents grime buildup that can damage the wood. A gentle cleaning solution of water and mild soap works well.
Rinse with clean water to remove any soap residue. Dry the shutters completely. Moisture can lead to mold and mildew growth. A clean and dry surface helps protect the wood.
Periodic Inspections
Inspect your cedar shutters periodically for signs of wear. Check for any cracks, splits, or signs of insect damage. Early detection helps address issues before they worsen.
Examine the hardware too. Ensure screws and hinges are tight. Loose hardware can cause the shutters to sag or not function properly. Regular inspections keep your shutters in top shape.
Frequently Asked Questions
Is Cedar A Good Wood For Shutters?
Yes, cedar is a good wood for shutters. It is durable, weather-resistant, and has a natural resistance to decay and insects. Cedar also offers a beautiful, natural appearance and can be stained or painted to match your home’s style.
Do I Need To Seal Cedar Shutters?
Yes, you need to seal cedar shutters. Sealing protects them from moisture, UV damage, and extends their lifespan.
How Wide Should Cedar Shutters Be?
Cedar shutters should be 25-33% of the window’s width. Measure carefully for a perfect fit.
What Is The Best Wood To Build Shutters Out Of?
Basswood is the best wood for building shutters. It is lightweight, durable, and easy to work with. Basswood resists warping and provides a smooth finish, ideal for painting or staining.
Conclusion
Crafting cedar shutters can be a rewarding project. The natural beauty of cedar adds charm to any home. Following the steps makes the process manageable. You save money and gain a sense of accomplishment. Enjoy the satisfaction of creating something with your hands.
Your home will look unique with custom shutters. Start your project today and enhance your home’s appeal.