Craftsman Table Saw Table Extension: Sizes, Prices & DIY Guide
A Craftsman table saw table extension is a bolt-on wing or outfeed table that adds cutting surface to a 10-inch saw — sized 27×10 to 27×16 inches and priced $15 to $250 depending on whether it’s cast iron, a universal hardware kit, or a DIY plywood build. If you’re starting from a bare saw, see our full guide to Craftsman table saw attachments first. The wrong size leaves long boards unsupported, which causes kickback or an out-of-square cut. This guide covers real wing sizes and prices by type, how to install and level one, and when a DIY outfeed table beats buying a wing.
What Size Is a Craftsman Table Saw Extension Wing?
Best Table Saw Extension Pick
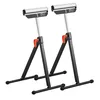
VEVOR 2-Pack Roller Stands (135 lb capacity, 26.8″–42.5″ adjustable)
Adjustable-height roller stands that support long stock at the infeed or outfeed side without bolting anything to your saw.
- Best for: Craftsman contractor saws where the cast-iron wing bolt pattern is unknown or the model is discontinued
- Why we picked it: Works with any table saw regardless of model, needs zero drilling into the saw, and folds flat for storage
- Main drawback: Doesn’t create a permanent fixed surface — it needs floor space and repositioning each time you use it
Compare more table saw extension options
 Option 1 O’SKOOL Cast Iron Router Table Extension Wing, 27″ x 16″
|
 Option 2 SHALL Heavy-Duty Folding Roller Stand
|
 Option 3 SawStop TGP2-T36A Professional Series 36″ Extension Table
|
As an Amazon Associate we earn from qualifying purchases.
Most Craftsman 10-inch table saws use a cast iron table that’s 27 inches deep front-to-back, so extension wings are built to match that same 27-inch depth. Width is where they vary — narrow steel wings run about 10 to 12 inches wide, while wide cast iron router wings run up to 16 inches.
The dimension that actually determines fit isn’t the wing itself — it’s the distance between your saw’s front and rear fence rails. Measure that spacing before ordering; a wing that’s too wide will overhang the rail brackets, and one that’s too narrow leaves a gap you’ll have to shim or trim. If you own a Delta saw instead, the sizing logic differs slightly — see our Delta table saw extension wing guide.
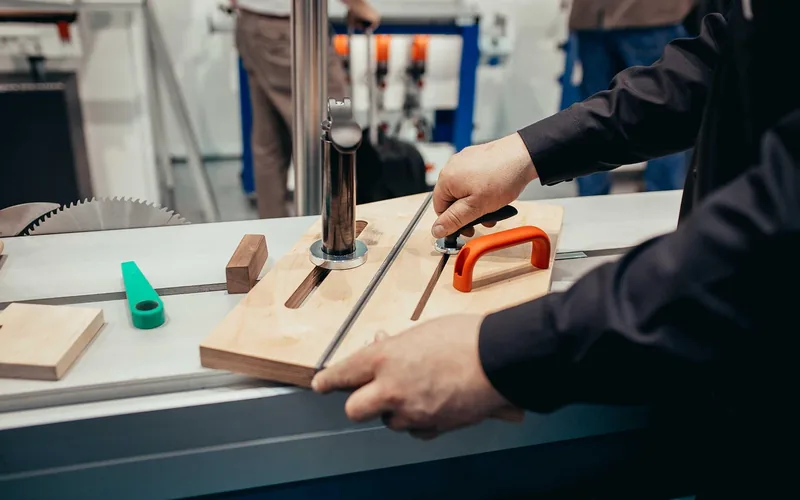
📊 Standard extension wing sizes: 27×10, 27×12, and 27×16 inches — matched to the saw’s 27-inch table depth, with width varying by wing type. Source: manufacturer listings for Craftsman-compatible cast iron and steel wings, 2026.
Table Saw Extension Options: Cast Iron vs. Universal vs. DIY
Prices for a Craftsman table saw table extension span from a $15 hardware bracket to a $250+ cast iron router wing, and the right pick depends on your saw’s age, your budget, and whether you want a side wing or a full outfeed table. Here’s how the four main options actually compare on real listings:
| Extension Type | Typical Size | Price Range | Best For |
|---|---|---|---|
| Vintage/OEM cast iron wing | 27×10 to 27×12 in | $28–$190/pair | Restoring an original 113/315-series Craftsman saw |
| Universal aftermarket cast iron wing | 27×16 in | $175–$420 | Adding a permanent router table wing to a 27-inch-deep saw |
| Bolt-on hardware/steel kit | ~16 in wide | $15–$52 | Budget upgrades on a contractor saw needing side support |
| DIY plywood outfeed table | 30×49.5 in (1 sheet) | $25–$40 in materials | Long rip cuts and sheet goods where a full outfeed surface matters more than a side wing |
None of these prices include shipping, and cast iron wings are heavy enough (15 to 25+ pounds) that freight cost matters — factor it in before comparing listings on price alone. Curious what a full replacement saw table costs instead? Check our roundup of the best table saws.
How to Install and Level a Table Saw Extension Wing
A wing that’s bolted on crooked is worse than no wing at all — it throws off your fence reference and can catch a workpiece mid-cut. Here’s the process:
- Measure your fence rails: Measure the exact distance between your saw’s front and rear fence rails before ordering — this determines whether a 10-, 12-, or 16-inch-wide wing will bolt up without hitting the rail brackets.
- Remove the old wing: Unbolt the factory sheet-metal wing or blank outfeed panel with a socket wrench, and keep the original bolts if the new wing reuses the same holes.
- Set the new wing in place: Rest the extension against the saw table edge and hand-thread the mounting bolts through its holes before tightening anything.
- Drill for adjustment play: If the bolt holes don’t already have clearance, drill them out to 1/2 inch — that gives roughly 1mm of play so the wing can still be leveled once the bolts are in.
- Shim and level: Lay a straightedge across the main table and the wing. Where the wing sits low, slide a thin shim under that mounting point before snugging the bolt, checking flush with a level as you go.
- Tighten in a cross pattern: Snug the bolts a little at a time, opposite corners first, rechecking level with the straightedge, then fully tighten once the wing sits flush with the main table.
Cast iron wings are heavy and awkward to hold flush while threading bolts — for anything beyond a lightweight steel kit, get a second person to support the far end while you start the bolts. Once it’s on, verify the fence is still square using table saw miter gauge accessories before making a test cut.
Build a DIY Plywood Outfeed Table
If you rip long boards or break down full sheets of plywood, a side wing doesn’t solve your real problem — you need support behind the blade, not beside it. A basic outfeed table solves that for less than the cost of a single cast iron wing.
Materials and Cut List
- One full sheet of 3/4-inch cabinet-grade plywood for the top, cut to about 30×49-1/2 inches
- A sheet of construction-grade plywood or a few 2×4s for the leg frame
- One 1×4 for edge banding or a stiffening rail
- Pocket screws and wood glue for the leg joints
Build each leg by pocket-screwing and gluing a 2-3/4-inch-wide piece on top of a wider 3-1/2-inch piece to form an L-shaped leg — this gives the table enough footprint to resist tipping without needing a full box frame underneath.
Set the finished table’s height to match your saw’s table exactly (check with a straightedge laid flat across both), then either bolt it to the saw’s rear rail or leave it as a freestanding table positioned a hair below saw height so stock doesn’t catch on the seam.
Router Table Wing vs. a Standalone Router Table
Replacing one extension wing with a router table top, such as the Bench Dog 40-102 ProMax cast iron router table extension, saves floor space and keeps the router within arm’s reach of the table saw — it requires a saw with a 27-inch-deep, 1-1/2-inch-thick table to bolt up correctly.
The tradeoff is workflow: once the router side is set up with a bit installed and the fence dialed in, the table saw side has limited use until you break that setup down. A standalone router table avoids that conflict entirely, at the cost of extra floor space and a second fence to own and store.
If your shop is small and you rarely need the saw and router at the same time, a wing conversion is the more practical choice. If you do enough routing to keep a bit set up for days at a time, a separate table pays for itself in avoided teardown.
Safety When Using an Extended Table Saw
Before making a cut on an extended saw, confirm the extension is bolted down solid, set the blade height to about 1/8 to 1/4 inch above the workpiece, and keep the work area clear of offcuts and sawdust that can shift under a long board.
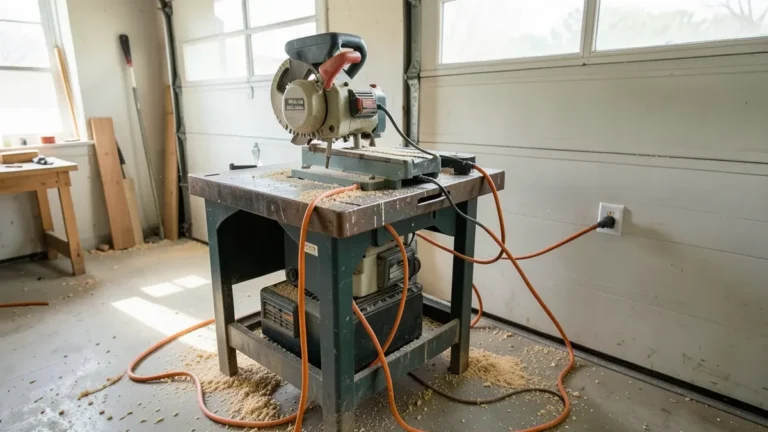
If you’re running a heavy-duty extension cord to power the saw, use one rated at least 12-gauge for the saw’s amperage, avoid damaged or frayed cords, and keep the cord and outlet away from water. An undersized cord causes voltage drop, which can bog the motor down mid-cut.
Maintenance and Troubleshooting
Check the extension periodically for loose bolts, and re-level it with a straightedge if you notice a gap or step between the wing and the main table. Re-checking alignment with a table saw alignment gauge takes a few minutes and catches drift before it affects your cuts — wood and steel tables both move slightly with humidity and vibration over time. Placing the extension on whichever side you feed stock from (infeed or outfeed) does more for workflow than any other single adjustment. A worn or bare table surface also affects how smoothly stock slides across the extension seam — if yours needs refinishing, see our guide to the right coating for your table saw top.
Common Issues
- Uneven extension: Check for misalignment or debris in the mounting slots and re-shim the low corner.
- Sticky sliding on an adjustable wing: Clean and lightly lubricate the slide rails; built-up sawdust is the usual cause.
- Gap between wing and table: Re-tighten bolts in a cross pattern and recheck with a straightedge before cutting anything critical.
Frequently Asked Questions
What size is a standard table saw extension wing?
Most cast iron wings match the saw table’s 27-inch depth and add 10 to 16 inches of width, but the width that will actually bolt up depends on the spacing between your saw’s fence rails — measure that distance before buying.
How much does a table saw extension cost?
Basic bolt-on hardware kits run $15 to $52, universal cast iron router-table wings run $175 to $420, and a DIY plywood outfeed table costs roughly $25 to $40 in materials from a single sheet of plywood.
Can I build my own table saw extension table?
Yes. A simple outfeed table can be built from one sheet of plywood cut to about 30 by 49-1/2 inches, mounted on two L-shaped legs made from doubled-up 2×4 stock, and set level with the saw’s table.
Is a router table wing better than a standalone router table?
It depends on shop size and workflow: a wing conversion saves floor space and costs less, but a standalone router table lets you leave a bit set up without giving up the table saw’s outfeed side.
How do I identify my Craftsman table saw’s age or model?
The first three digits of the model number identify the original manufacturer — 113 was built by Emerson Electric — and the first two digits of the full serial number typically indicate the year of manufacture.
Do I need a helper to install a cast iron extension wing?
For a lightweight hardware kit or steel wing, no. For a full cast iron wing, which typically weighs 15 to 25+ pounds and has to stay level while you thread the mounting bolts, a second person makes it much easier to avoid dropping or misaligning it.
Conclusion
A Craftsman table saw table extension only pays off if it’s sized to your saw’s fence rails and leveled flush — a mismatched wing or a crooked install causes more problems than it solves. Measure first, pick the option that matches your budget and how you actually use the saw (side wing vs. full outfeed table), and check level again after the first few uses.
Sponsored / affiliate links. As an Amazon Associate I earn from qualifying purchases. I may earn additional commission from eligible campaigns.