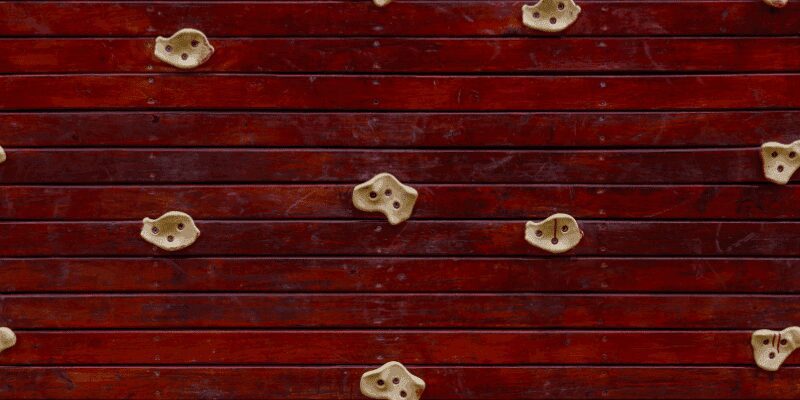
How to Make Wooden Climbing Holds: Wood, Mounting Hardware & Grip Finish
Commercial climbing holds run $4-$12 each, and a home wall needs 30-50 of them to feel worth climbing on. Wood solves that problem: a single 2×8 hardwood board, cut and shaped with tools most garages already have, can produce a full set of jugs, crimps, and slopers for what one plastic hold costs at a climbing shop. The tradeoff is that wood behaves differently than the polyester-resin holds sold commercially — it needs a harder species to survive repeated loading, a specific bolt-and-T-nut setup to mount safely, and a finish that adds grip instead of stripping it away.
This guide covers the parts most tutorials skip: which wood species actually holds up under bodyweight torque, the exact T-nut and bolt hardware climbing gyms use (not generic screws), and why a glossy furniture finish will make a hold more dangerous, not more durable.
Choosing Wood and Mounting Hardware for Climbing Holds
Best Mounting Hardware for DIY Holds
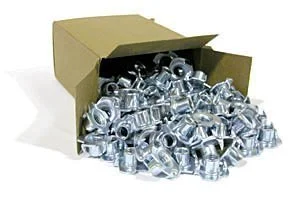 |
250 T-Nuts for Climbing Holds – $31.99 The standard 3/8-16, 4-prong T-nut used on commercial and home climbing walls — matches the bolt spec every wooden hold in this guide is drilled for.
|
Not every hardwood is worth the time it takes to shape. The wood needs to resist splitting where the bolt passes through, hold texture well enough to grip, and survive years of shoes and chalk without splintering.
- Hard maple: the standard choice for a reason — Janka hardness around 1,450 lbf, dense enough that a 3/8″ bolt hole doesn’t wallow out after repeated loading. It’s also the wood most commercial resin-hold manufacturers use as a mold reference for texture.
- Ash: around 1,320 lbf on the Janka scale, with long fibers that resist splitting under the shear force a climber’s body weight puts on a hold’s bolt hole. A common choice for holds shaped with hand tools since it carves cleaner than maple.
- Birch: around 1,260 lbf, cheaper and more widely available as birch plywood offcuts, but the face grain telegraphs through a texture finish more than maple or ash does.
- Skip pine, cedar, and other softwoods: most run under 900 lbf (some closer to 400), which sounds fine until the bolt hole starts to elongate after a season of use — the hold develops play and eventually cracks along the grain right at the hardware.
Whatever species you pick, avoid pressure-treated lumber entirely — the chemical preservatives are made to sit in your hands for a few seconds while you climb, and they’re not rated for that kind of skin contact. Kiln-dried, untreated hardwood only.
Shaping the Blank: Rough Cut to Finished Contour
Start with a rough blank cut on a bandsaw or jigsaw, then work down to the finished shape in stages rather than trying to carve the final contour in one pass.
- Bandsaw or jigsaw: cuts the rough outline from a 1.5″-2″ thick blank. A bandsaw handles curved profiles faster; a jigsaw works fine for simpler jug and edge shapes.
- Angle grinder with a flap disc or sanding pad: removes material fast to rough in the overall dome or lip shape. This is the step commercial hold shapers use before hand-finishing — it’s aggressive, so keep the grinder moving and don’t dwell in one spot.
- Rasps and rifflers: refine the profile once the rough shape is in, especially around the lip or incut edge where a climber’s fingers actually load. A half-round rasp handles the concave underside; a flat rasp cleans up the top dome.
- Rotary tool (Dremel): useful for pockets, small crimps, or texture detail a rasp can’t reach into.
The detail most tutorials leave out: shape the underside where the hold contacts the wall flat, not rounded. A rounded base rocks slightly under load even after the T-nut bolt is tightened, which stresses the bolt hole every time someone grips the hold. A flat base seats fully against the plywood and transfers load straight through the bolt instead of through a rocking pivot point.
Drilling and Mounting: T-Nut and Bolt Specs That Actually Fit
Commercial and home climbing walls both use the same de facto standard hardware, and matching it matters more than most DIY guides let on — mismatched bolt and T-nut sizes are the single most common reason a homemade hold works loose.
- Bolt size: 3/8″-16 socket-head cap bolts (Allen-head), typically 1.5″-2.5″ long depending on hold thickness plus panel thickness. Buy a mixed-length pack rather than guessing one size for every hold.
- T-nut: 3/8″-16, 4-prong, requiring a 7/16″ hole for the barrel. This is the same spec used in commercial climbing gyms, which is why it’s worth buying purpose-made climbing T-nuts rather than generic hardware-store T-nuts sized for furniture.
- Panel: 3/4″ exterior-grade plywood (often sold as “climbing wall plywood” or ApplePly) is the standard substrate. Thinner panels don’t seat the T-nut’s prongs deep enough and the nut can spin loose under torque.
- Countersink the hold side: drill a shallow recessed pocket around the bolt hole on the hold itself so the bolt head sits flush or slightly recessed — a proud bolt head is a real cut hazard on a hold someone is gripping hard.
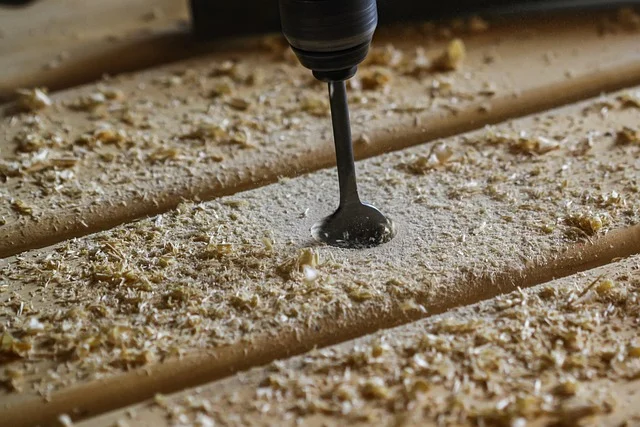
Space T-nuts on the plywood panel using the same layout gyms use: roughly an 8″ grid of pre-drilled holes across the panel, so holds can be repositioned later without drilling new mounting points every time you want to change a route.
Sanding and Sealing for Grip, Not Slickness
This is where most wood climbing holds actually fail as climbing equipment, even when the shaping and hardware are done right. A furniture-grade gloss finish looks nice and is exactly wrong for a surface someone needs to grip with sweaty hands.
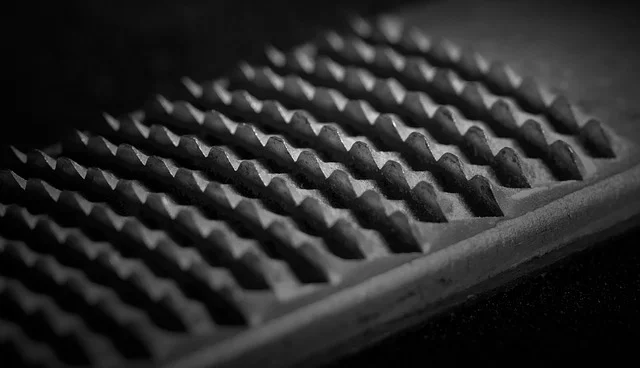
- Stop sanding at 150-180 grit, not 320+. Furniture instinct says sand until it’s glass-smooth; a climbing hold needs some visible open grain and micro-texture left in the surface for chalk and skin to catch on.
- Skip gloss polyurethane and lacquer. Both cure to a slick, closed surface that gets more slippery, not less, once chalk dust and sweat build up on it. A hold finished this way turns into a hazard within a few sessions.
- Use a penetrating oil finish instead: boiled linseed oil or a Danish oil soaks into the open grain rather than sitting on top of it, sealing the wood against moisture and hand oils without building a slick film.
- For extra texture, mix in fine sand: commercial resin holds get their grip from silica sand or crushed additive mixed into the surface layer before it cures. You can do the same on wood by brushing on a thin coat of clear epoxy and dusting fine (120-150 grit) silica sand or crushed walnut shell into it before it kicks, then knocking off the excess once cured. This adds real, durable texture instead of relying on the bare wood grain alone.
Reapply oil finish every few months, more often on holds near an entry door or in a garage with temperature swings — wood that dries out re-exposes sharp grain edges that can split under load.
Safety and Load Limits
A wood climbing hold sees more force than its shape suggests. A climber’s full bodyweight, plus the dynamic force of a lunge or drop onto the hold, can spike well past 2-3x static bodyweight for a fraction of a second — that’s the number the bolt, T-nut, and plywood panel all need to survive repeatedly, not just once.
- Use one bolt per small hold (jugs, crimps) and two bolts on larger holds or slopers where a single bolt would let the hold rotate under an off-center pull.
- Check every hold before each session for a hairline crack radiating from the bolt hole — that’s the failure point, and it’s rarely visible until you’re specifically looking for it.
- Torque bolts snug, not maximum-force tight — overtightening a bolt into end-grain wood can crack the hold from the inside before it ever sees a climber’s weight.
- Retire any hold that develops a crack, no matter how small, rather than continuing to use it. A cracked wood hold fails suddenly, not gradually.
Frequently Asked Questions
Can you make climbing holds out of wood?
Yes. Hard maple, ash, and birch are the most common choices because their density (roughly 1,260-1,450 on the Janka hardness scale) holds up to repeated bolt loading better than softwoods like pine or cedar, which tend to develop play at the bolt hole within a season.
What tools do you need to make wooden climbing holds?
A bandsaw or jigsaw for the rough cut, an angle grinder or rasps for shaping the contour, a drill for the bolt hole and T-nut prep, and sandpaper (stopping around 150-180 grit) for the finish. A rotary tool like a Dremel helps with small pockets or crimp detail.
What size T-nut and bolt do climbing holds use?
The standard is a 3/8″-16 bolt with a matching 3/8″-16, 4-prong T-nut set into a 7/16″ hole. This is the same spec used on commercial climbing gym walls, so purpose-made climbing T-nuts fit better than generic furniture T-nuts.
How do you finish wood climbing holds so they don’t get slippery?
Stop sanding at 150-180 grit instead of polishing smooth, and use a penetrating oil finish like boiled linseed oil or Danish oil instead of gloss polyurethane or lacquer, which builds a slick surface that gets worse once chalk and sweat build up on it. For extra grip, a thin epoxy coat with fine sand or crushed walnut shell dusted in before it cures adds durable texture.
Conclusion
A wood climbing hold is only as good as its weakest link, and that’s almost always the bolt hole or the finish, not the shape. Pick a hardwood dense enough to hold a 3/8″ bolt without splitting, match it to the same T-nut spec commercial walls use, and finish it so it grips instead of sliding once it’s covered in chalk. Get those three things right and a set of shop-made holds will outlast most of the plastic ones sold at a climbing shop, for a fraction of the cost.
Sponsored / affiliate links. As an Amazon Associate I earn from qualifying purchases. I may earn additional commission from eligible campaigns.