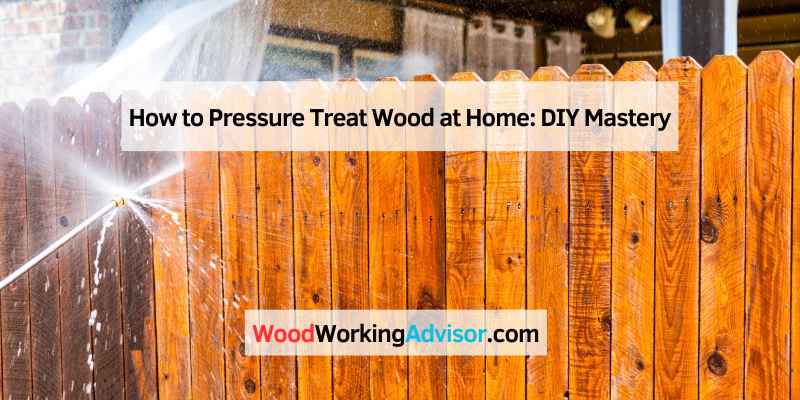
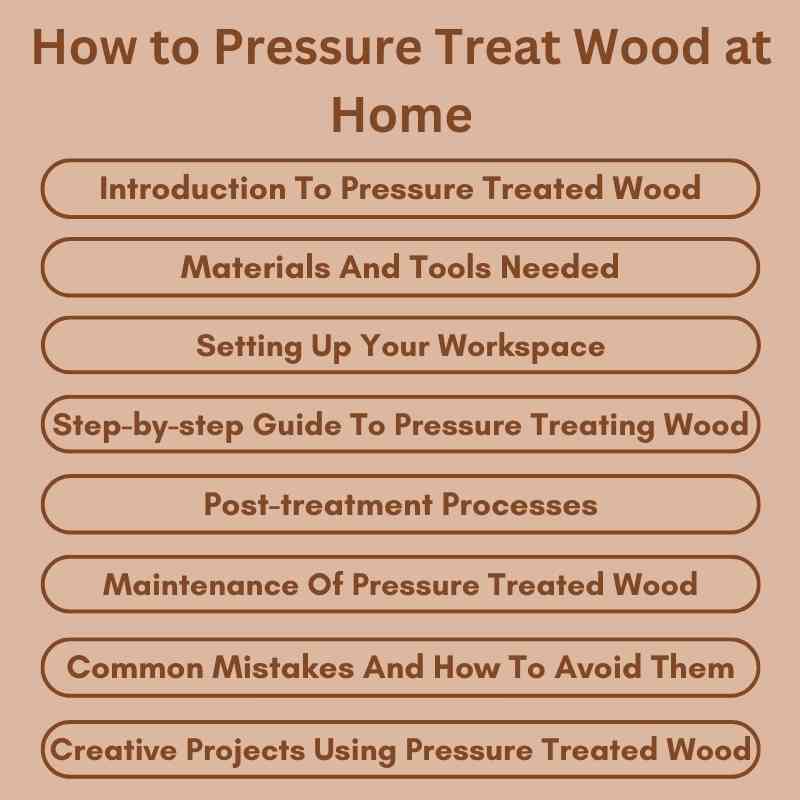
How to Pressure Treat Wood at Home: DIY Mastery
To pressure treat wood at home, use a pressure treatment kit and a pressure vessel. Follow the manufacturer’s instructions for safe and effective treatment.
Pressure treating wood enhances its durability, making it resistant to moisture, insects, and decay. This process is essential for outdoor projects like decks, fences, and garden beds. Homeowners can save money by treating wood themselves instead of purchasing pre-treated options.
A pressure treatment kit allows you to infuse protective chemicals into the wood, ensuring longevity. Proper preparation, safety measures, and following guidelines are crucial for success. With the right tools and knowledge, you can effectively pressure treat wood at home, ensuring your outdoor structures last for years to come. Embrace DIY for a sustainable and cost-effective approach to wood preservation.
Introduction To Pressure Treated Wood
Pressure treated wood is great for outdoor projects. It lasts longer and resists rot. DIY pressure treating can save money. You gain control over the treatment process. This ensures a better fit for your needs.
Safety is very important. Always wear gloves and goggles. Use a mask to avoid inhaling chemicals. Make sure to work in a well-ventilated area. Keep children and pets away from your workspace.
| Preparation Steps | Safety Tips |
|---|---|
| Gather your materials | Wear protective gear |
| Choose a suitable wood | Use in a safe area |
| Prepare the pressure chamber | Have first aid nearby |
Materials And Tools Needed
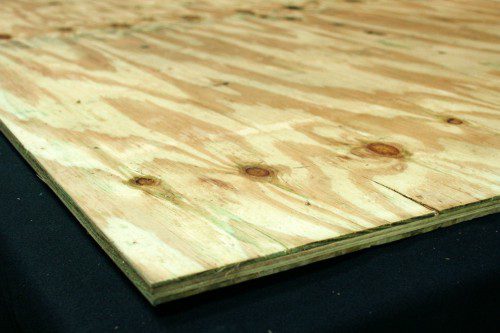
Choosing the right wood is very important. Softwoods like pine and cedar are good options. Hardwoods can also work, but they are often more expensive. Select wood that is free from knots and cracks for the best results.
Essential chemicals include wood preservatives. These help protect against rot and insects. Common options are copper-based and borate solutions. Always wear gloves and a mask when handling these chemicals.
Equipment needed includes a pressure chamber. This can be a special tank or a DIY version. A vacuum pump helps remove air from the wood. Finally, a compressor can force the chemicals into the wood.
Setting Up Your Workspace
Choosing the right place for your workspace is very important. Look for a dry and well-ventilated area. Avoid spots near flammable materials. A garage or shed works well for pressure treating wood.
Ensure that your workspace has enough light. Good lighting helps you see better while working. Keep the area clean and free of clutter. This reduces the risk of accidents.
Always wear safety gear. Use gloves, goggles, and a mask to protect yourself. Keep a fire extinguisher nearby just in case. Check your tools and materials for any damage before starting.
Step-by-step Guide To Pressure Treating Wood
Start by selecting the right type of wood. Ensure it is clean and dry. Remove any dirt or old paint.
Next, prepare the chemical solution for pressure treatment. Use a mixture of water and preservative. Follow the manufacturer’s instructions carefully.
For the pressurization process, place the wood in a pressure chamber. Seal it tightly to prevent leaks. Pump in the solution until it reaches the desired pressure. Keep the wood under pressure for the recommended time.
After treatment, release the pressure slowly. Allow the wood to dry properly before using it. Proper treatment increases the wood’s lifespan significantly.
Post-treatment Processes
After pressure treating wood, drying and curing are essential steps. Start by placing the wood in a dry, ventilated area. This helps moisture escape. Allow the wood to sit for several days until it feels dry to the touch.
Once dry, apply a sealer or finish to protect the wood. Choose a product suitable for outdoor use. This will help prevent decay and insect damage. Ensure the wood is clean before applying any finish.
Check for any rough spots and sand them down. This creates a smooth surface. Finally, let the finish cure for the time recommended on the label. Proper care ensures the wood lasts longer.
Maintenance Of Pressure Treated Wood
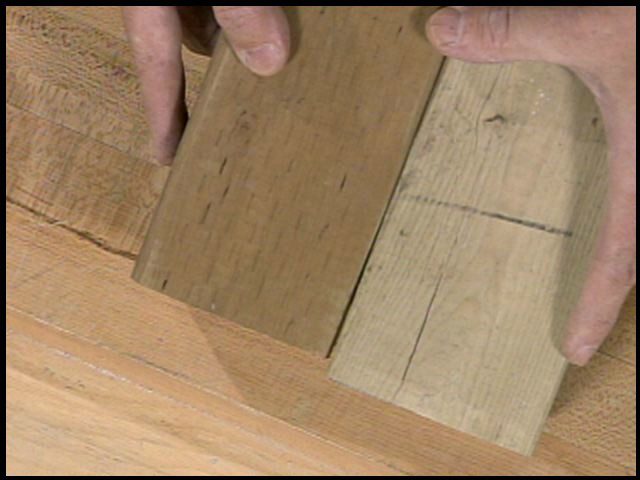
Regularly inspect your pressure treated wood for signs of damage. Check for cracks, splits, or decay. Look for any fungus or mold growth. Clean the wood surface to prevent buildup.
Retreating the wood is necessary every three to five years. This helps maintain its protection against moisture and pests. Use a high-quality sealant or stain designed for treated wood. Applying a fresh coat will help keep it looking good.
Always follow the manufacturer’s instructions for the best results. Keep an eye on areas exposed to the elements. Those spots may need treatment sooner. Take action to ensure your wood lasts long.
Common Mistakes And How To Avoid Them
Over-pressurization can cause wood to crack or warp. Under-pressurization may leave wood untreated. Always check the pressure settings before starting.
Inadequate safety measures can lead to serious accidents. Always wear protective gear like gloves and goggles. Ensure proper ventilation in your workspace to avoid harmful fumes.
Keep a fire extinguisher nearby. This can help in case of emergencies. Always follow the manufacturer’s instructions for safe pressure treatment.
Creative Projects Using Pressure Treated Wood
Pressure treated wood is great for outdoor furniture. It resists rot and insects. Create a sturdy picnic table for family gatherings. Benches can add comfort to any garden.
Build a stylish planter box for flowers. Use treated wood to ensure it lasts. A garden swing can bring joy to kids. These projects enhance outdoor spaces beautifully.
For landscaping, use pressure treated wood for raised garden beds. They improve soil drainage and make gardening easier. A wooden trellis can support climbing plants. This adds height and interest to gardens.
Frequently Asked Questions
How Can I Pressure Treat Wood At Home?
To pressure treat wood at home, you need a pressure treatment system. This involves using a pressure chamber and appropriate preservatives. Ensure you follow safety guidelines and manufacturer instructions. It’s crucial to use treated wood for outdoor projects to enhance durability and resist rot and insects.
What Supplies Are Needed For Pressure Treating Wood?
You will need a pressure chamber, wood preservatives, and safety gear. Additionally, have a vacuum pump and hose for better results. Ensure you have a sturdy work area and proper containers for waste disposal. These supplies are essential for effective and safe pressure treatment.
Is Pressure Treated Wood Safe For Outdoor Use?
Yes, pressure treated wood is safe for outdoor use. It is specifically designed to withstand weather conditions and resist decay. However, ensure you let it dry properly before use. Always check for safety ratings of the preservatives used, especially if it will contact soil or water.
How Long Does Pressure Treated Wood Last?
Pressure treated wood can last 20 to 30 years with proper care. Factors affecting longevity include climate, usage, and maintenance. Regular sealing and staining can also enhance its lifespan. Always inspect for signs of wear or damage to ensure continued durability.
Conclusion
Pressure treating wood at home can enhance its durability and longevity. Following the right steps ensures effective treatment. Always prioritize safety and use proper equipment. With patience and care, you can achieve professional-quality results. Embrace this DIY project to protect your wood for years to come and enjoy your improved outdoor spaces.