How to Refinish Kitchen Cabinets Without Sanding: Easy Guide
Are your kitchen cabinets looking a little tired and worn out? You might think that giving them a fresh new look involves a time-consuming and messy sanding process.
But what if you could bypass all that hassle and still achieve stunning results? Imagine transforming your kitchen with minimal effort, while saving time and preserving your energy for other creative projects. Intrigued? You should be! You’ll discover the secrets to refinishing your kitchen cabinets without sanding.
We’ll guide you through a stress-free process that delivers beautiful, professional-looking results. Get ready to revamp your kitchen and fall in love with your home all over again. Let’s dive in and see how you can achieve this amazing transformation!
Credit: hausandhand.com
Benefits Of Sanding-free Refinishing
Sanding-free refinishingsaves time and effort. It is easy and quick. You need fewer tools. No mess from dust. Less noise too. It’s a good choice for small spaces. You can do it yourself. No need for experts. This method is eco-friendly. It uses less chemicals. Your cabinets look new. They shine bright. The colors stay fresh. You save money. No need to buy new cabinets. It is safe for kids and pets. No harmful fumes. You can start anytime. It is a fun project. You learn new skills. Your kitchen gets a fresh look. You feel proud of your work. It’s a great idea for home improvement. Friends will admire your cabinets.

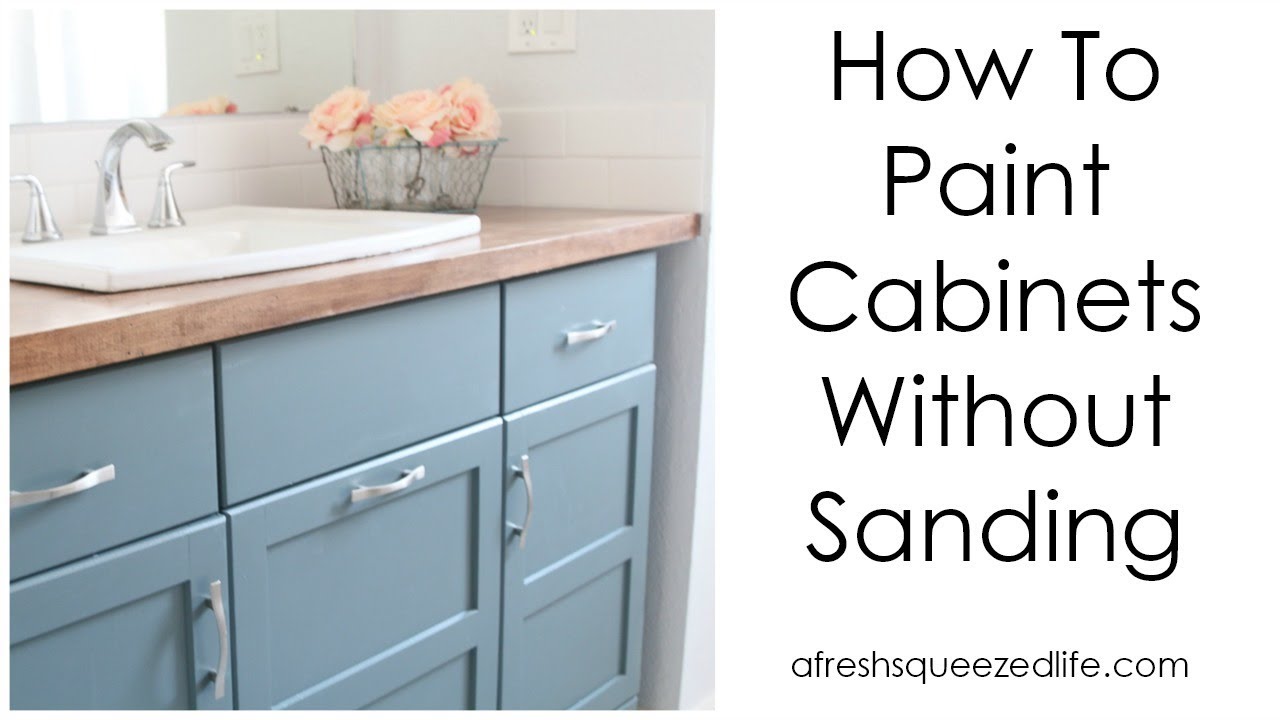
Credit: www.thisoldhouse.com
Essential Tools And Materials
Good tools make the job easy. A paintbrushor foam rolleris needed. They help spread paint evenly. A clean clothis used to wipe dirt. Degreaserremoves grease from cabinets. Primermakes the paint stick well. Paintgives color to cabinets. Choose colors you like. Use a maskto protect from fumes.
Drop clothskeep floors clean. Painter’s tapecovers edges. It stops paint from going to wrong places. Screwdriverhelps remove cabinet doors. Bucketholds water for cleaning. Sandpapermay be used for rough spots. But no full sanding needed. These tools help finish the job well.
Preparing The Cabinets
Start by cleaning the cabinets with a damp cloth. This removes dirt and grime. Mix a solution of warm water and mild detergent. Use it to scrub the surfaces gently. Avoid using harsh chemicals that can damage the wood. Rinse thoroughly with clean water and dry with a soft towel. Ensure all surfaces are completely dry before moving on.
Take off all hardware from the cabinets. Use a screwdriver to remove handles and knobs. Keep screws and hardware pieces in a safe place. Label each item if needed to remember its position. This makes reassembly easier. Check for any damaged pieces and consider replacing them. Ensure all parts are kept together to avoid losing them.
Choosing The Right Paint
Acrylic paint is great for cabinets. It dries fast. It also resists stains. Chalk paint can give a vintage look. It is easy to use. No primer needed.
Latex paint is another option. It is water-based. Easy to clean with soap and water. Oil-based paint is tough. It lasts long. But it takes time to dry.
Light colors make the kitchen look big. White is a popular choice. It looks clean. Dark colors add drama. They hide dirt well.
Neutral colors are safe. They match any decor. Think of beige or grey. Bold colors are fun. They add personality. Like red or blue.
Applying Primer Effectively
Applying primer effectively can transform kitchen cabinets without sanding. Ensure surfaces are clean and dry. Use a high-quality primer for smooth, long-lasting results.
Primer Options
Choosing the right primer is important. Oil-based primers offer strong coverage. They seal the wood well. Water-based primers dry faster. They are easier to clean up. Shellac primers block stains. They stick to any surface. Think about your needs. Pick the best primer for your cabinets.
Application Methods
Using a brush is common. It gets primer into corners. A roller covers large areas fast. It leaves a smooth finish. A sprayer is quick. It gives an even coat. Each method has benefits. Pick what fits your skill level. Ensure to cover all surfaces well. Let the primer dry before painting.
Credit: www.youtube.com
Painting The Cabinets
Layering Techniquesare important in painting cabinets. Start with a thin coat. Let it dry. Then add another layer. Thin layers help the paint stick well. It looks smooth and neat. Use a brush for the edges. A roller is good for flat parts. This method saves time. It also makes the cabinets look fresh.
Drying Time Considerationsare crucial. Paint needs time to dry. Let each layer dry fully. This prevents smudges and cracks. It also ensures a solid finish. Drying might take hours. Sometimes, it takes a day. Be patient. Good drying makes cabinets durable. It keeps them looking great for years.
Finishing Touches
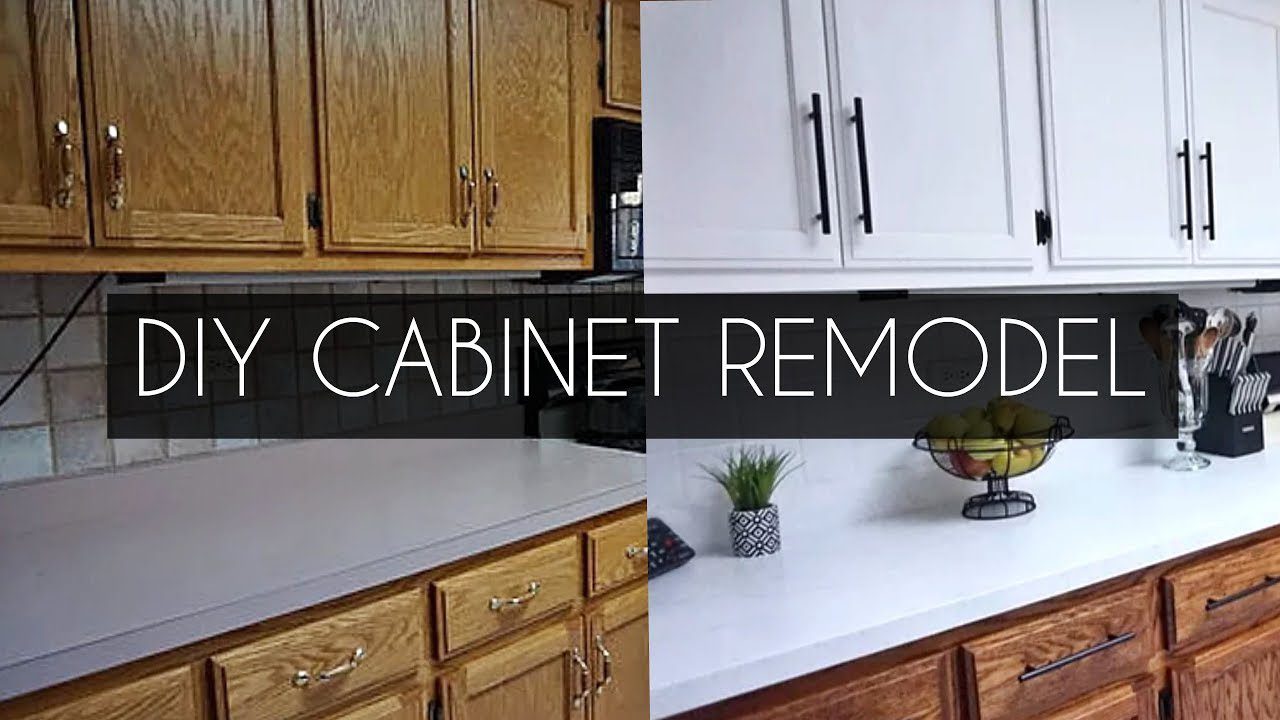
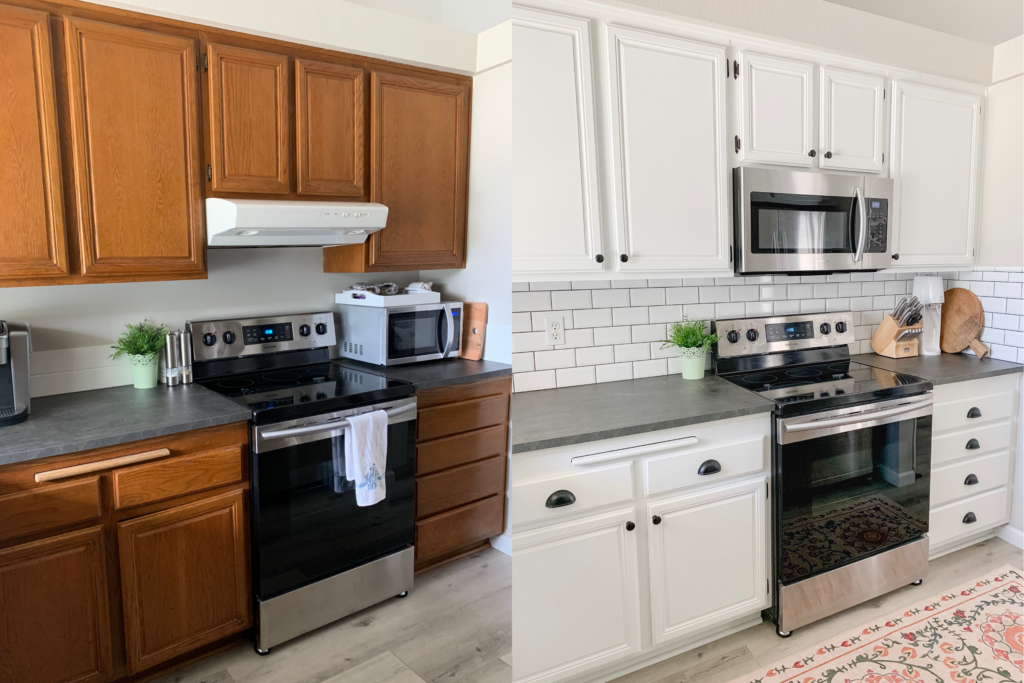
Transform kitchen cabinets with minimal effort using a no-sanding refinishing method. Fresh paint and new hardware bring a modern look. Save time and energy while achieving stunning results.
Reattaching Hardware
Make sure all screwsare tight. Double-check the alignment of knobs. Use a screwdriver to fasten handles securely. Each piece should fit perfectly. Check for any looseparts. If you find any, tighten them. Wipe off any fingerprints from hardware. Clean all surfaces with a soft cloth. Inspect each handle and knob closely. Everything should look neat and polished.
Adding Protective Coatings
Apply a thin layer of sealant. Use a brush or spray. Let the coating dry completely. This can take a few hours. Add another layer for extra protection. Ensure even coverage on all surfaces. The cabinets will shine beautifully. Protects against water and stains. Your cabinets will last longer. Enjoy the new look of your kitchen.
Maintenance Tips
Keep cabinets clean to help them last longer. Use a soft cloth with mild soap. Avoid harsh chemicals that can damage surfaces. Wipe spills right away to prevent stains. Clean handles and knobs regularly. Dust can build up over time.
Inspect cabinets often for signs of wear. Tighten loose hinges and knobs. Replace damaged parts quickly. Use touch-up paint for small scratches. Protect surfaces with pads under heavy items. This stops marks and scratches.
Frequently Asked Questions
Can I Refinish Cabinets Without Sanding?
Yes, you can refinish cabinets without sanding. Use a deglosser to remove the finish and ensure proper adhesion. Clean thoroughly, apply primer, then paint. This method saves time and effort while achieving a fresh look. Always follow product instructions for best results.
What Is The Easiest Way To Refinish Kitchen Cabinets?
The easiest way to refinish kitchen cabinets is to clean, sand, and apply a fresh coat of paint. Use a primer for better adhesion. Choose high-quality paint for durability. Replace hardware for an updated look. Ensure proper ventilation during the process.
Enjoy your refreshed kitchen space!
How Do You Restore Wood Cabinets Without Refinishing?
Clean cabinets with mild soap and water. Apply a wood conditioner or oil to nourish and restore shine. Use a touch-up pen to fix scratches. Polish with a soft cloth for a refreshed look. Regularly maintain to preserve the finish and beauty.
Do I Have To Sand Down My Cabinets Before Painting Them?
Sanding cabinets before painting is crucial for a smooth finish. It helps remove old paint, dirt, and ensures paint adhesion. Use fine-grit sandpaper for best results. Clean thoroughly after sanding. Proper preparation extends the lifespan of your paint job and enhances the overall appearance of cabinets.
Conclusion
Refinishing kitchen cabinets without sanding is simple and effective. It saves time and effort. This method freshens up your space with minimal hassle. Choose the right products for the best results. Clean and prepare surfaces thoroughly. Follow steps carefully, and your cabinets will look new again.
This approach fits any budget and skill level. Plus, it adds value to your home. Try it for a quick kitchen update. Happy refinishing!