How to Make a Wooden Hand Plane: Krenov-Style Steps & Dimensions
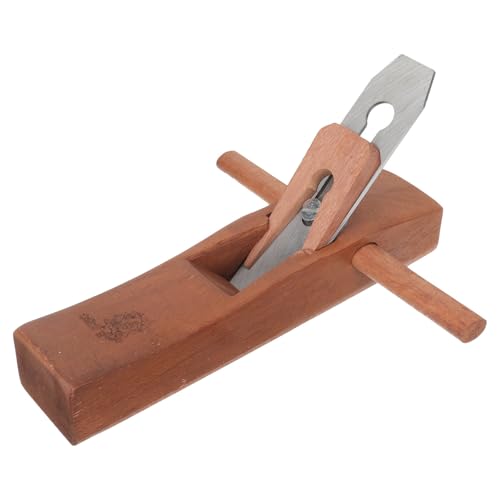
A wooden hand plane is a hardwood body that holds a steel iron against a ramp at about 45 degrees, locked in place by a wedge, and a Krenov-style laminated build needs only basic tools and a bought iron. What decides whether it cuts is the mouth, which should be roughly paper-thin, not the one-third of the body length often quoted. This guide covers wood, dimensions, ramps, the wedge, flattening and tuning.
What You Need to Make a Wooden Hand Plane
Best Budget Plane Iron Pick | |
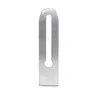 |
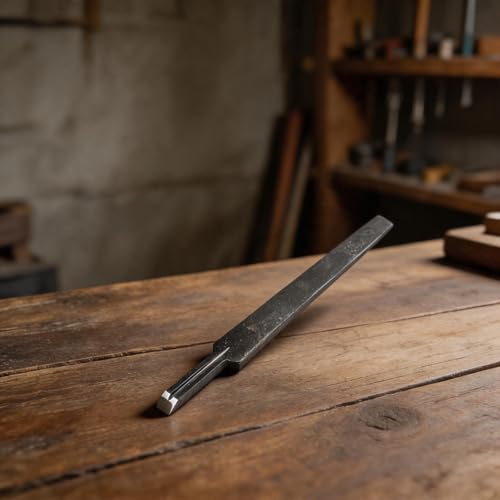
2 Inch Replacement Bench Plane Iron, High Carbon Steel (No. 4 and No. 5 size) A 2.0 inch wide, 7.5 inch long, 0.0787 inch thick iron with a 25 degree ground bevel, sold as a spare for bench planes but a common starting point for a shop-made plane body.
|
As an Amazon Associate we earn from qualifying purchases. | |
The iron is the one part you should buy rather than make. Everything else is shop wood, glue and a little hardware. The list below combines the two build guides this article draws on, one from Australian Wood Review and one from Woodcraft.
- Body stock: one dense, flat piece of hardwood. Woodcraft’s weekend build starts from a 2 x 3-1/4 x 14 inch block.
- Iron: a 2 inch iron is the common size. Dedicated Krenov-style designs use a short iron about 90 mm long and 4 to 5 mm thick.
- Cross-pin: a 3/8 inch brass rod (Woodcraft) or a 13 mm square hardwood pin about 75 mm long (Australian Wood Review).
- Cutting tools: a bandsaw or handsaw, a chisel, a small file, a straightedge, and a way to flatten the sole such as a scraper plane or sandpaper on a flat surface.
- Glue and fixings: epoxy was used for the glue-up in the Australian build, with 8 mm dowels to hold the cheeks aligned during assembly.
If you would rather not source the parts yourself, Hock sells a Krenov-style kit with pre-milled jatoba body sections, side panels, a wedge, dowels and a Hock iron with cap iron. It was listed at $110.50 on Highland Woodworking when I checked, though it showed as backordered.
Best Wood for a Plane Body
Pick a hard, dense, dimensionally stable wood, because the sole rubs against your work and a soft sole wears out of flat. The Woodcraft guide names hard maple, purpleheart and ipe. The Australian build used dense native hardwoods such as gidgee, Cooktown ironwood, forest oak and spotted gum, and it recommends backsawn stock with the growth rings running across the width. The Hock kit uses jatoba.
Grain direction matters as much as species. Woodcraft advises orienting the grain “downhill” as you push the plane forward, the same way you would read the grain on the board you are planing.
Wooden Plane Dimensions From Two Real Builds
Most articles on this topic give one set of numbers. Here are two documented builds side by side so you can see which numbers are fixed by geometry and which are the maker’s choice.
| Spec | Australian Wood Review Krenov-style build | Woodcraft weekend build |
|---|---|---|
| Body stock | Cheeks and center block cut from one backsawn timber | Block 2 x 3-1/4 x 14 in of maple, purpleheart or ipe |
| Iron | About 90 mm long, 4 to 5 mm thick, up to 2 in wide, with chipbreaker | 2 in wide, no chipbreaker needed with a tight mouth |
| Bed angle | 45 degrees on the back ramp; front (chip) ramp at 62 degrees | 45 degrees typical (45 to 60 range); curved chip relief cut at 60 degrees |
| Iron position | About 43% of the body length back from the front | Set by a tight mouth filed to fit the iron |
| Cross-pin | 13 mm square hardwood, about 75 mm long, free to rotate | 3/8 in brass rod, drilled 3/8 in behind the iron line and 1-1/4 in above the sole |
| Wedge | About 50 x 55 mm, roughly 5 mm thick under the pin, curved front | 1/8 to 1/4 in taper, contacting the rod evenly across its width |
| Mouth | About 0.5 mm for fine work | About 0.003 in, a sheet of paper just slipping through |
The fixed numbers are the 45 degree bed and a tight mouth. Everything else, including iron thickness and overall length, varies by design. The two mouth figures also differ, so treat them as a range: start with the gap as small as you can make it and open it only if shavings choke.
How to Make a Krenov-Style Wooden Plane, Step by Step
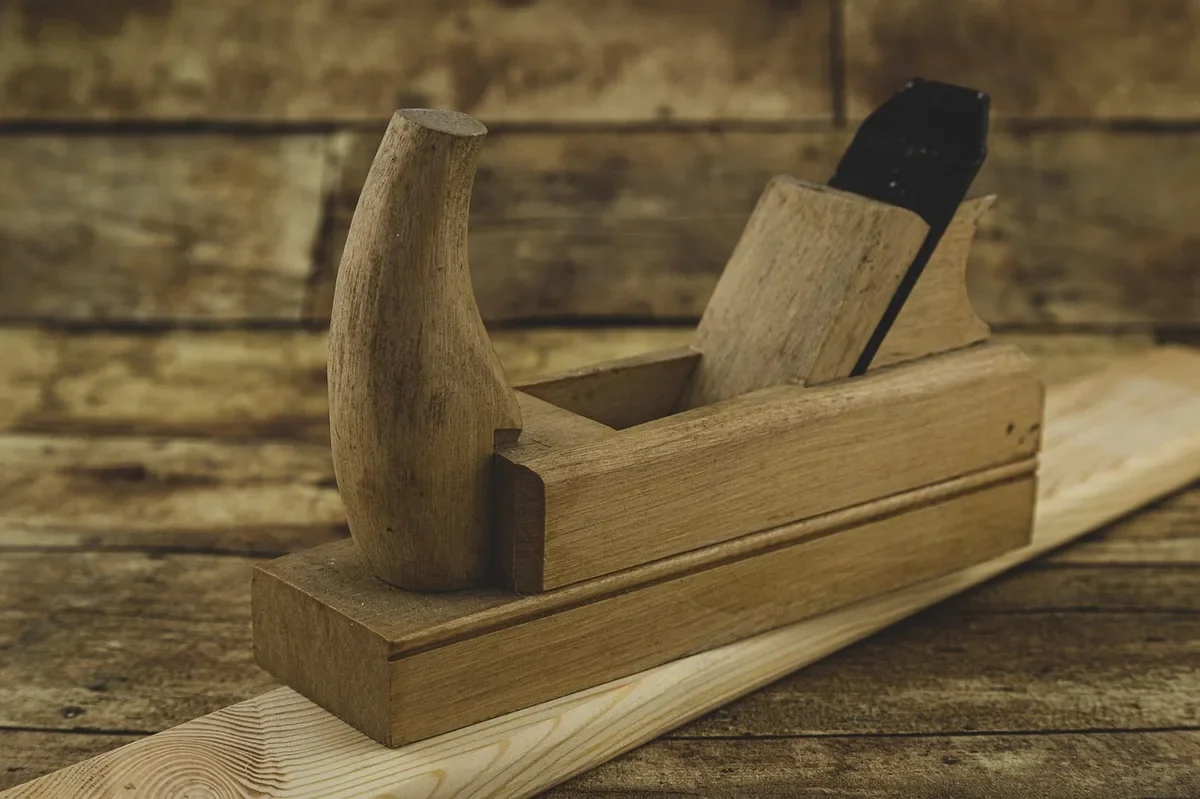
A Krenov-style plane is a laminated body: two side cheeks glued around a center block that is cut to form the ramp and the cavity for the iron. Work in this order.
- Dress and cut the parts. Mill the stock flat and square, then cut the two cheeks and the center block from the same piece so the color and grain match. Keep the center block slightly wider than the iron (Woodcraft leaves about 1/8 in extra) so you can skew or adjust the iron sideways later.
- Cut the ramps. Cut the bed for the iron at 45 degrees, then cut the chip ramp in front of it (62 degrees in the Australian build, 60 degrees in Woodcraft’s). Test the iron against the bed. It should seat flat with no rocking.
- Locate the cross-pin. Mark and drill the pin holes so the pin turns freely. In the Australian build the pin sits 32 mm above the bottom and 20 mm above the front ramp. Do not glue it.
- Dry-assemble. Pin the cheeks around the center block with dowels and check that the iron’s edge sits 1 to 2 mm above the bottom of the front ramp.
- Glue up. The Australian build used epoxy. Keep glue out of the iron cavity and away from the cross-pin.
- Shape the body. Rough out the outline on the bandsaw and shape it to fit your hand. Krenov kept the front flat, which gives you a place to tap the plane when adjusting the iron.
- Make the wedge. Cut it from an offcut with the grain running along its length, taper it, and test that it touches the cross-pin evenly across the whole width.
The Mouth Myth: Why One-Third of the Body Length Is Wrong
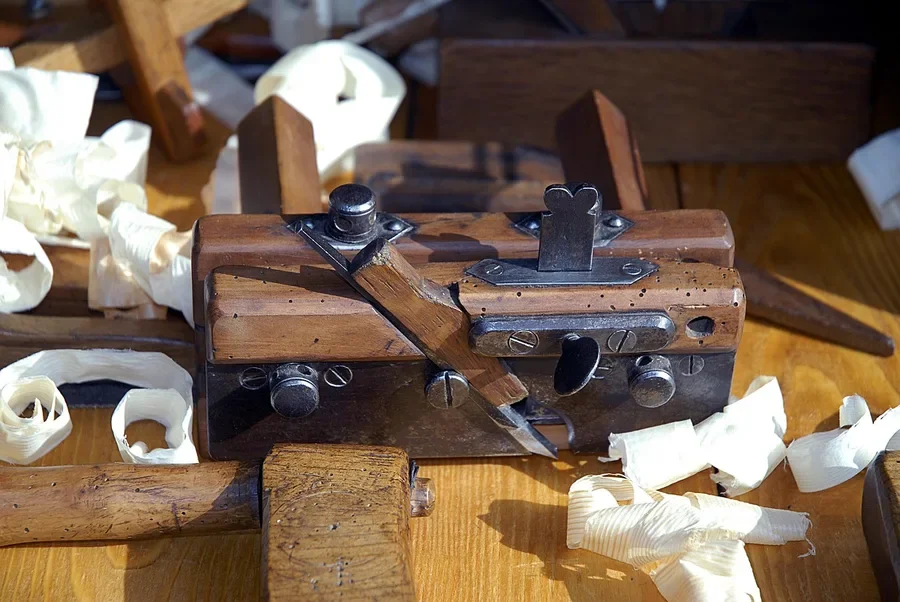
A common instruction for this project, including on an earlier version of this page, says to make the mouth about one-third of the total length of the plane. That mixes up two different measurements. The iron position is a fraction of body length: the Australian build sets the iron about 43% of the way back from the front. The mouth is the gap in the sole in front of the edge, and it is tiny, about half a millimetre or less.
A wide mouth lets the wood ahead of the iron lift and tear out before the edge cuts it. A tight mouth holds the fibres down while the iron slices. That is why Woodcraft skips a chipbreaker altogether and files the mouth until a sheet of paper just slips through. The Australian build instead sets the chipbreaker only 1/32 to 1/16 inch (1 to 2 mm) from the edge, and notes that creased shavings point to a problem with the mouth or chipbreaker.
Fit the Wedge and Cross-Pin
The wedge holds the iron without any screws, so its fit decides whether the iron stays put. It has to contact the cross-pin evenly from side to side. If it only touches at high spots, vibration knocks it loose and the iron backs out. Test the fit with the iron in place and re-cut the wedge face until the contact is even.
Do not over-tighten. The Australian guide says the wedge should remain wiggleable rather than being driven in hard. The cross-pin should rotate freely so it can settle against the wedge.
Flatten the Sole and Set the Iron
Flatten the sole before you use the plane, checking it with a straightedge. In the Australian build the iron contacts the front ramp about 1/2 to 1 mm above the sole while you flatten. Then sight down the sole and tap the iron until only a hair of edge shows evenly across the width. Sharpen it first: a ground bevel of about 25 degrees is standard on replacement irons, and our guide to sharpening hand plane blades covers the honing.
To adjust, Woodcraft’s method is to tap the front of the body or the top of the iron to advance it, tap the back of the body to retract it, and tap the iron from the side to level the cut. Our page on adjusting a wood plane blade covers the same ideas for metal planes.
Once the plane is cutting, try it on a flat board. Our guide to flattening wood with a hand plane explains the stroke, and bench plane vs jack plane helps you choose the next plane to build or buy. For a longer flattening plane, see how to make a wooden jointer plane.
Common Mistakes When Making a Wooden Hand Plane
- Opening the mouth too wide. Start tight. You can always file a little more; you cannot add wood back.
- A wedge that touches at high spots. It loosens under vibration. Fit it to contact the cross-pin evenly.
- Gluing the cross-pin. It has to rotate, so keep glue away from it.
- Skipping the sole flattening. A sole that is out of flat will not track, whatever the iron.
- Soft body wood. The sole wears out of flat quickly. Choose a dense hardwood.
- Expecting a thin iron to behave like a thick one. A 2 mm iron works but flexes more than a 4 to 5 mm one, so keep the wedge tight to the edge and take light cuts.
Frequently Asked Questions
What wood is best for a wooden hand plane body?
Use a dense, stable hardwood. The guides read for this article name hard maple, purpleheart and ipe, and native hardwoods such as gidgee, forest oak and spotted gum, with jatoba used in the Hock kit. Backsawn stock with the growth rings running across the width is recommended in the Australian build.
What angle should the iron sit at in a wooden plane?
45 degrees is the common bed angle, and Woodcraft says 45 degrees suits smoothing straight-grained and moderately figured wood. Steeper beds up to about 60 degrees are used for harder or figured wood, and the Australian build uses a 45 degree back ramp with a 62 degree front ramp.
How big should the mouth of a wooden plane be?
Very small. The sources give about 0.003 inch (a sheet of paper) to about 0.5 mm for fine work. The one-third of body length figure sometimes quoted describes nothing that these sources support.
Can I use a metal plane iron in a wooden plane?
Yes. Woodcraft’s build uses a 2 inch wide iron, and 2 inch replacement irons are sold for bench planes. Dedicated Krenov-style designs use a shorter, thicker iron about 4 to 5 mm thick, which flexes less.
How do I adjust the iron in a wooden plane?
Tap the front of the body or the top of the iron to advance it, tap the back of the body to retract it, and tap the sides of the iron to level the cut across the width.
Conclusion
Making a wooden plane comes down to three fits: a flat bed at 45 degrees, a wedge that touches the cross-pin evenly, and a mouth just wide enough to pass a shaving. Get those right and a shop-made plane can cut cleanly. Start with a spare iron, dense hardwood and light cuts.
Sponsored / affiliate links. As an Amazon Associate I earn from qualifying purchases. I may earn additional commission from eligible campaigns.