How to Refinish Wood Furniture Without Sanding (3 Methods)
You can refinish wood furniture without sanding by using a liquid deglosser, a gel stain, or a restore-only product like Restor-A-Finish — skip stripping unless the old finish is cracked, peeling, or water-damaged. Using the wrong shortcut on damaged wood leaves a blotchy topcoat that will not bond. This guide covers the deglosser method, gel stain application, the lightest-touch restore option, and when sanding is genuinely unavoidable.
Do You Really Need to Sand Wood Furniture?
Best No-Sand Prep Pick
Krud Kutter Gloss-Off Liquid Deglosser (32 oz) – $9.35
A brush-on deglosser that dulls gloss and lifts grease in the roughly two-minute working window this guide’s Method 2 relies on — no sanding dust, no fumes strong enough to require a respirator.
- Best for: prepping cabinets, trim, or furniture for paint or primer
- Why we picked it: works in minutes instead of the 15-60 minute dwell time a chemical stripper needs
- Main drawback: only dulls the finish — will not remove thick or peeling coats
Compare more no-sand refinishing options
 Option 1 Minwax Gel Stain, Walnut (1 qt) – $19.05
|
 Option 2 Howard Restor-A-Finish, Walnut (16 oz) – $9.98
|
 Option 3 Motsenbocker’s Lift Off Remover (32 oz) – $21.44
|
As an Amazon Associate we earn from qualifying purchases.
Sanding removes the top layer of an old finish so a new coat has bare wood or exposed grain to grip. No-sand refinishing is a set of methods that gives a new coat something to bond to without that step — a deglosser strips gloss chemically, a gel stain sits on top of an intact finish, and a restorer blends into the existing finish instead of replacing it. Each works only when the original finish is still intact enough to bond to or blend with.
When No-Sand Methods Work
Light to moderate wear — dull sheen, minor scratches, a color you want to change, or a finish you want to paint over — responds well to deglossing, gel staining, or restoring. These pieces still have a continuous, unbroken finish layer for the new product to grip.
When You Still Need to Sand
If the finish is alligatored, peeling, bubbled, or the wood underneath feels soft or spongy when you press it, no-sand shortcuts will not hold. Water damage, deep gouges, and thick built-up wax all need to come off down to solid wood first — that means at least spot-sanding, even if you use a chemical stripper to do most of the work.
Method 1: Restore the Existing Finish (No Stripping at All)
If the finish itself is still solid and only looks dry, faded, or lightly scratched, a wood finish restorer like Restor-A-Finish is the lightest-touch fix available — it re-blends the existing finish instead of removing it, so there is nothing to sand or strip.
- Test first: Apply a small amount to an inconspicuous spot to check the color match before treating the whole piece.
- Clean the surface: Wipe down with mineral spirits to remove wax and grime so the restorer can penetrate evenly.
- Apply with the grain: Rub a small amount onto a 0000-grade steel wool pad or soft cloth and work it into the wood following the grain direction.
- Wipe off excess: Remove any excess within about five minutes — deeply faded finishes may need a second pass or a slightly longer dwell time.
- Seal and protect: Once the restorer has dried for at least 30 minutes, apply a coat of a feed-and-wax product to seal and protect the refreshed finish.
This method will not fix cracked or peeling finish, and it will not change the wood’s color — it restores what is already there. For a full walkthrough of color matching and product selection, see our Restor-A-Finish guide.
“A restorer or deglosser only works if the finish underneath is still sound. In 12+ years of refinishing furniture, the biggest mistake I see is people reaching for a restore product on a piece that actually needs to be stripped — if you can press a fingernail into the wood and leave a mark, skip the shortcuts and sand or strip it properly first.”
Method 2: Liquid Deglosser for Painting or Priming
If you are painting over the piece rather than restaining it, a liquid sander deglosser is the fastest no-sand prep option. Brushed or wiped on, it chemically dulls the existing gloss and lifts light dirt and grease in about two minutes of working time, giving a bonding primer something to grip.
Wipe the deglosser on with a lint-free cloth or brush, let it flash off per the label (usually a few minutes), then wipe away any residue with a clean cloth before priming. Skip a separate cleaning step only if the surface is already free of grease and dust — otherwise clean first, then degloss.
Method 3: Gel Stain Over an Existing Finish
Gel stain is thick enough to sit on top of an intact finish instead of soaking into bare wood, which is what lets you change the color of a piece without stripping or sanding it first. It works best over a lightly deglossed or cleaned surface so the gel has some texture to grip.
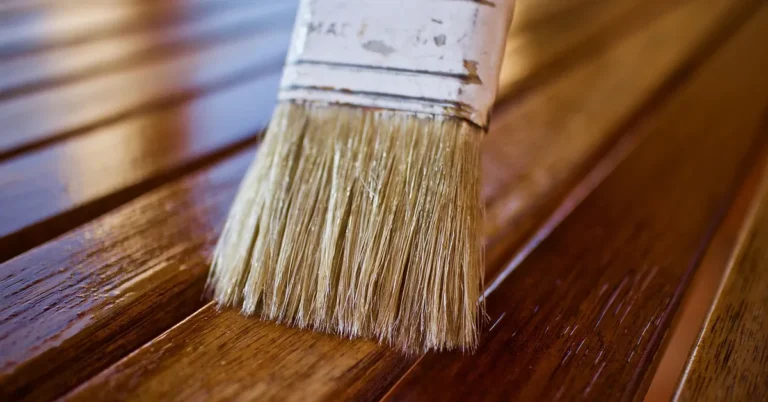
Wipe on a thin, even coat with a rag or foam brush, let it sit for the time listed on the can, then wipe off the excess with the grain. Two thin coats build more depth of color than one heavy coat, and a compatible polyurethane or wipe-on topcoat afterward protects the new color from wear.
Method 4: Chemical Stripper (When You Need a Full Reset)
When the finish is too damaged for a restorer, deglosser, or gel stain to work — alligatored, bubbled, or built up in multiple layers — a chemical stripper removes the old finish down to bare wood without power sanding. It takes longer than a deglosser, but it is still faster and less dusty than sanding the whole piece by hand.
Choosing the Right Stripper Type
| Stripper Type | Best For | Notes |
|---|---|---|
| Methylene chloride-based | Multiple layers of paint or finish | Fast and effective, but requires careful ventilation and handling |
| Citrus-based | Light to medium finish removal | Lower fumes, more environmentally friendly, works slower |
| Paste/gel stripper | Vertical surfaces and carved details | Clings without dripping; good for chair legs and moldings |
How to Apply and Remove It Safely
- Prep the area: Cover nearby surfaces with a tarp or plastic sheet before you start.
- Apply evenly: Brush the stripper on in one direction, covering the full surface without missing spots.
- Let it dwell: Allow it to sit for the time on the label — most strippers need 15 to 60 minutes to soften the finish fully.
- Scrape with the grain: Use a plastic or metal scraper to lift the softened finish, working in the direction of the wood grain.
- Clean the residue: Wipe the surface with mineral spirits or the solvent the manufacturer recommends to remove any remaining film before refinishing.
Removing multiple layers of old paint sometimes takes a second application — see our full guide on removing multiple layers of paint from wood if the first pass does not get you to bare wood.
Safety Precautions While Using Chemical Strippers
- Work in a well-ventilated area to avoid inhaling fumes.
- Wear protective gloves, safety goggles, and a respirator to prevent skin contact and inhalation of chemical vapors.
- Dispose of used stripper and residue according to your local hazardous waste guidelines.
📊 Full-service furniture stripping runs $100 to $400, versus $0 in extra materials for a DIY deglosser or restorer pass that already sits in most workshops. Source: Fixr.com, Furniture Refinishing Cost, 2026
Preparing Your Furniture Before You Start
Whichever method you choose, cleaning the surface first matters more than most people expect. Use a mild detergent and warm water, or a vinegar-and-water mix, to remove dirt, grime, and built-up wax with a soft-bristled brush or sponge — avoid anything abrasive enough to scratch the existing finish. For grease or sticky spots that plain water will not touch, see our guide on cleaning wood cabinet surfaces.
Inspect for minor scratches or dents and fill them with wood filler before moving on. Let the filler dry completely, then smooth it flush with fine-grit sandpaper — this is spot work on the repair itself, not sanding the whole piece. Our guide on hiding wood filler after staining covers matching the repair to the surrounding finish. If the piece has any mildew or musty staining, treat that separately first using our guide to cleaning mildew off antique wood furniture.
Applying the New Finish
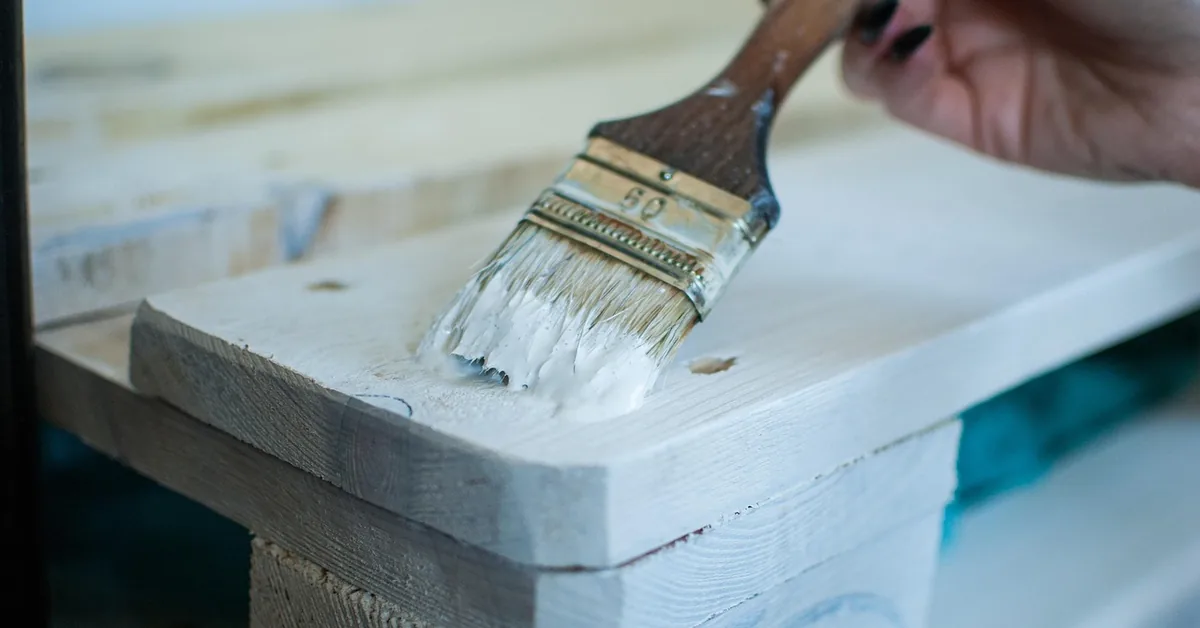
Once the surface is prepped with your chosen method, apply the new stain, paint, or topcoat in thin, even coats with a quality brush or foam applicator, working with the wood grain. Thin coats dry more evenly and show fewer brush marks than one thick coat. If you are painting rather than staining, our guide to painting wood furniture covers primer selection and coverage in more depth.
Let each coat cure fully before adding the next — rushing this step is the most common reason a no-sand finish ends up tacky or uneven. Most finishes need at least 24 hours between coats and several days before the piece sees regular use.
Maintaining Your Refinished Piece
A feed-and-wax product applied every one to two months keeps a restored or refinished piece looking fresh and helps the wood resist drying out. Wipe with a soft, dry cloth for everyday dusting, and keep the piece out of direct sunlight, which fades color and dries out finishes faster than normal use does. Avoid placing hot or wet items directly on the surface — use coasters and trivets even on a freshly refinished piece.
For long-term care of the rest of your wood furniture collection, our full step-by-step wood furniture refinishing guide and the wood finishing hub cover topcoat options and care schedules in more depth.
Frequently Asked Questions
How do you refinish furniture without sanding?
Use a liquid deglosser, gel stain, or restore-only product like Restor-A-Finish instead of a power sander. Clean the piece, apply your chosen product following the grain, then finish with a topcoat or wax. This works on furniture with an intact finish — damaged or peeling finishes still need spot-sanding or a full chemical strip first.
What is an alternative to sanding wood furniture?
The main alternatives are chemical strippers, liquid deglossers, gel stains, and finish restorers. Chemical strippers and deglossers remove or dull the old finish chemically instead of mechanically; gel stains and restorers work on top of or into an existing finish without removing it at all.
Can you paint over stained wood without sanding?
Yes. Clean the surface thoroughly, apply a liquid deglosser to dull the sheen, then use a bonding primer made for glossy surfaces before painting. Skipping the deglosser or primer is the most common reason paint peels off a stained piece within months.
How do you restore weathered wood furniture?
For weathered furniture with an intact finish, clean it and apply a wood finish restorer with 0000 steel wool, following the grain, then seal with a feed-and-wax product. If the wood itself is gray, cracked, or soft, restoring will not fix it — that level of damage needs sanding or stripping down to solid wood.
Does liquid deglosser actually work as well as sanding?
For prepping a surface to accept paint or primer, yes — deglosser dulls the gloss and removes light grease in a couple of minutes of working time, which is what paint needs to bond. It does not remove material the way sanding does, so it will not fix gouges, thick buildup, or an uneven surface.
How long does gel stain take to dry over an old finish?
Most gel stains are dry to the touch within 2 to 4 hours and ready for a topcoat or a second coat within 24 hours, though humidity and coat thickness change this. Check the specific product label — thicker coats and cooler, more humid rooms both extend dry time.
Conclusion
Match the method to the condition of the finish, not just the look you want: restore an intact finish with Restor-A-Finish, degloss before painting, use gel stain to change color over an existing coat, and save the chemical stripper for damage a shortcut cannot fix. Skipping sanding saves time and mess on most pieces — it just is not a substitute for a full strip on wood that is genuinely damaged.
Sponsored / affiliate links. As an Amazon Associate I earn from qualifying purchases. I may earn additional commission from eligible campaigns.