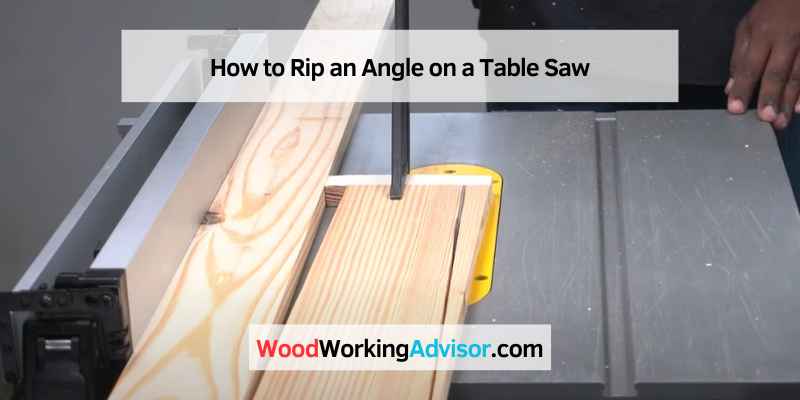
How to Rip an Angle on a Table Saw
To rip an angle on a table saw, you’ll need to set up your saw for a bevel cut. You’ll also need to calculate the correct blade tilt and fence setting for the angle you want to rip.
- Measure the angle you need to rip and mark it on the piece of wood
- Set up your table saw to make a rip cut by adjusting the blade and fence
- Place the wood on the table saw with the marked line against the fence, and ensure that the edge is lined up with the mark.
- Start the table saw and slowly feed the wood into it, keeping it tight against the fence until you reach the end of your cut.
How Do You Cut an Angle on a Table Saw?
If you’re looking to make angled cuts on a table saw, there are a few different ways to do it. The most common and simplest way is to use a miter gauge. A miter gauge is a tool attached to the table saw fence.
It has a slot in it that you can slide your workpiece into, and it will guide your workpiece as you make your cut. Another way to make angled cuts is by using a sled. A sled is just a platform that you attach your workpiece to and then push through the blade.
This method is more accurate than a miter gauge, but it takes some practice to get the hang of it. Finally, if you need to make precise angled cuts, you can use a jig. There are lots of different jigs available for table saws, each designed for making different types of cuts.
For example, jigs are available for making perfect 90-degree crosscuts or cutting dadoes (grooves). Using a jig takes some time to set up, but once you’ve got it dialed in, you’ll be able to make perfectly repeatable cuts every time.
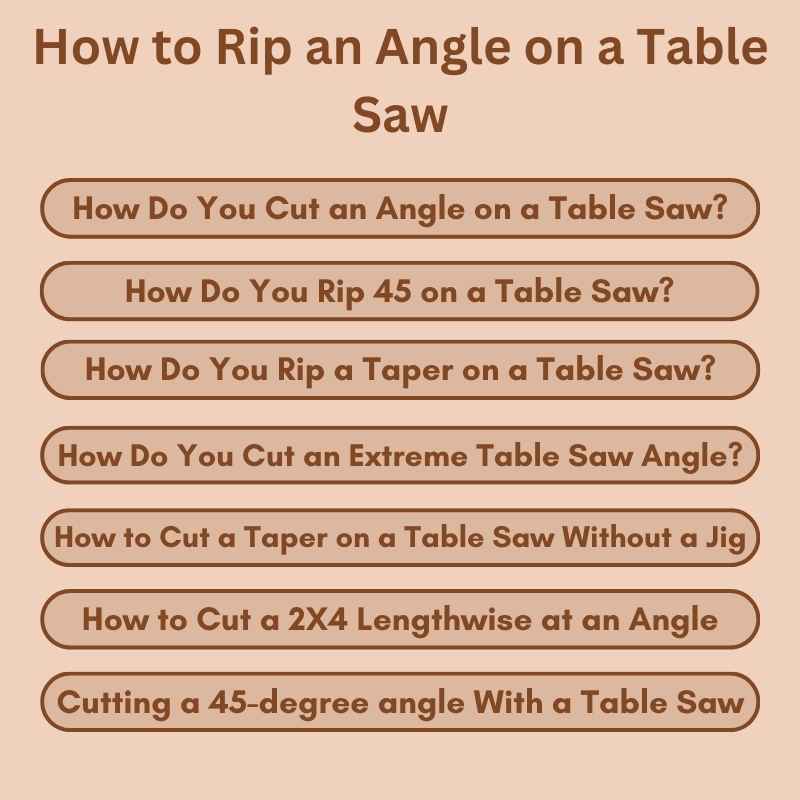
How Do You Rip 45 on a Table Saw?
Assuming you would like instructions on how to cut a 45-degree angle using a table saw: First, you need to adjust the blade of the saw to 45 degrees. To do this, loosen the blade guard and bevel the wing nut until the blade can be tilted to 45 degrees.
Then, tighten the bevel wing nut and re-attach the blade guard. Next, set your fence at 3-1/2 inches from the blade’s edge. To do this, release the locking handle on the wall and move it until it is lined up at 3-1/2 inches.
Once it is in place, tighten down the locking handle. Now you are ready to make your cut! Place your workpiece against the fence,, ensuring it is flush with the bottom of the saw table.
Then, turn on your saw and slowly push your workpiece through, keeping steady pressure against both the fence and table surface. Keep in mind that rip cuts (cuts made parallel to or along the grain of the wood) should always be made with blades with flat teeth (as opposed to blades with teeth designed for crosscutting). This will help prevent tearing out or chipping along your cut line.
How Do You Rip a Taper on a Table Saw?
Most people don’t know how to rip a taper on a table properly saw properly. Pulling a taper means cutting along the board’s lengthd at an angle other than 90 degrees. The most common mistake is to try and do this by tilting the saw’s blade.
This will cause the board to bind in the blade, potentially causing kickback and severe injury. The proper way to rip a taper is by using a jig. There are many different jigs available, but they all essentially do the same thing – they guide the board through the blade at the desired angle.
Using a jig is much safer than trying to freehand it and will result in a much cleaner cut. To use a jig, set your table saw fence at the desired width of your taper. Then clamp the jig onto the table saw top behind the blade, ensuring it’s level concerning the edge.
Adjust the jig so that it extends past the end of your workpiece by about an inch or two. Now you’re ready to make your cut. Start the saw and slowly feed your workpiece into it, keeping it tight against both sides of the jig as it goes through the blade.
Once you’ve reached full depth, turn off the saw and let the workpiece cool before removing it from he in – otherwise it might warp as it cools down unevenly.
How Do You Cut an Extreme Table Saw Angle?
If you’re looking to cut an extreme table saw angle, there are a few things you’ll need to keep in mind. First, you’ll need to ensure that your saw is calibrated correctly. Next, you’ll need to adjust the blade guard to be in the proper position.
Finally, you’ll need to use a push stick or other safety device to keep your hands clear of the blade. To start, calibrate your saw by adjusting the bevel scale until it reads 0 degrees. Next, loosen the bevel lock lever and rotate the blade until it’s at the desired angle.
Then, tighten the bevel lock lever back down. Now it’s time to adjust the blade guard. Loosen the screws that hold it in place and reposition it so it covers as much of the blade as possible.
Once you’ve done this, retighten the screws and ensure everything is secure before proceeding. Finally, use a push stick or another safety device to keep your hands away from the blade while cutting. Always exercise caution when using power tools and follow all safety instructions carefully.

Credit: www.youtube.com
How to Cut a Taper on a Table Saw Without a Jig
If you’re looking to cut a taper on a table saw without a jig, there are a few different ways you can do it. One method is to use a push stick and guide the workpiece along the fence while making your cut. Another option is to create a simple jig out of scrap wood that you can clamp onto the workpiece.
Whichever method you choose, take your time and make sure the cuts are straight and clean. A little practice beforehand will go a long way in ensuring success.
How to Cut a 2X4 Lengthwise at an Angle
If you’re looking to cut a 2X4 lengthwise at an angle, there are a few things you’ll need to keep in mind. First, you’ll need to determine what size and type of saw you’ll be using. The best option for this project is a circular saw, but a jigsaw or handsaw can also work.
Second, you’ll need to mark your cutting line on the 2X4. Use a pencil or chalk to draw a line that’s perpendicular to the grain of the wood. Finally, make your cut slowly and carefully following your marked line.
Use clamps or another hand to support the 2X4 if necessary.
Cutting a 45-degree angle With a Table Saw
If you’re looking to cut a 45-degree angle with a table, saw, there are a few things you need to keep in mind. First, make sure that your blade is set at 45 degrees. You can do this by consulting your saw’s owner’s manual or measuring the angle with a protractor.
Once your blade is set correctly, it’s time to cut. To start, position your workpiece so that the long side is parallel to the saw’s fence. Then, align the edge of the workpiece with the blade.
When you’re ready, slowly push the workpiece through the blade, keeping it level as it passes through. Once you’ve made your cut, please take a close look at the edge to ensure it’s nice and straight. If not, you may need to adjust your fence or reposition your workpiece and try again.
Cutting perfect 45-degree angles will be a breeze with a little practice!
How to Make a Long Taper Cut on a Table Saw
If you’re looking to make an extended taper cut on a table, saw, there are a few things you’ll need to keep in mind. First, you’ll need to use a push stick or pusher to help guide the workpiece through the blade. Second, you’ll need to ensure the blade is tilted at the correct angle for your cut.
Finally, you’ll need to take extra care when cutting along the length of the grain. With these tips in mind, let’s get started! To start, set up your table saw with an appropriate blade for your material and tilt the edge to your desired angle.
Then, measure the length of your taper cut and mark it on your workpiece. Next, set up a stop block at the end of your marked line using a piece of scrap wood or another stop block. This will ensure that your cut is accurate and prevents kickback.
Now it’s time to make your cut! Start by slowly feeding the workpiece into the blade and carefully using a push stick or other pusher. Keep an eye on both the stop block and your marked line as you feed the workpiece through – once you reach either one, stop immediately!
Finish off by sanding down any rough edges from your cuts, and enjoy your new taper cut!
How to Cut Wood at an Angle Lengthwise
First, you’ll need to gather your materials. You’ll need a saw (preferably a handsaw), measuring tape, and a pencil. You’ll also need a straightedge or a level to help you make sure your cuts are perpendicular.
Next, measure the piece of wood you want to cut, and mark it with your pencil. Make sure to leave enough room at the end of the cut for the saw blade. Now it’s time to start cutting.
Position the saw blade at the marked line and carefully guide it along the length of the wood. Be extra careful not to veer off course – otherwise, you’ll end up with an angled cut! Once you’ve reached the end of your amount, take a step back and admire your handiwork.
If everything looks good, congratulations – you’ve successfully cut wood at an angle lengthwise!
Table Saw Angle Jig
If you’re a woodworker, you know that one of the most essential tools in your shop is the table saw. And if you want to get the most out of your table noticed, you need to learn how to use it properly. One of the best ways to do this is by using an angle jig.
An angle jig is a simple tool that helps you make accurate cuts at any angle. It’s beneficial when making compound cuts or working with difficult-to-cut materials. Plus, once you get the hang of using an angle jig, it can speed up your work.
Here’s a quick overview of how to use an angle jig:
1. First, measure the piece of wood that you’ll be cutting and mark the desired cut line with a pencil.
2. Next, set your table saw blade to the appropriate height and attach the fence (if necessary).
3. Then, position your angle jig so that the blade will cut through both pieces of wood at the correct angle. For example, if you’re making a 45-degree cut, position the jig so that 45 degrees of the blade are exposed on both sides. Be sure to double-check your measurements before cutting!
4 . Once everything is lined up correctly, clamp down both pieces of wood securely and make your cut. As you can see, using an angle jig is pretty straightforward once you get the hang of it.
Diy Table Saw Angle Jig
A table saw angle jig is a great way to ensure that your cuts are precise and accurate. It can be used to cut both miters and angles and is a very versatile tool. Here are some tips on how to use a table saw angle jig:
1. First, you’ll need to determine the size of the jig that you need. The size will depend on the size of the table saw you have and the thickness of the material you’ll be cutting.
2. Once you have the correct size jig, clamp it onto the table saw so it’s secure.
3. Next, measure the distance from the blade to the back edge of the jig. This measurement will differ for each type of cut (miters or angles), so be sure to measure correctly.
4. Now, adjust the fence on your table saw so it’s lined up with this measurement.
Taper Guide for Table Saw
When cutting wood, a table saw is one of the most versatile tools you can have in your shop. Whether ripping lumber, cross-cutting boards, or making intricate cuts for joinery, a table saw can do the job. But like any tool, a table saw is only as good as its blade.
And when it’s time to replace the blade on your table saw, choosing the right one is crucial. There are two main types of knives for table saws: rip blades and crosscut blades. Rip blades are designed for cutting along the wood grain, while crosscut blades are better suited for cutting across the grain.
Depending on what type of cuts you’ll be making most often, you’ll want to choose a blade that’s designed accordingly. In addition to blade type, there are also different degrees of taper table saw blades. A 0° taper means that the teeth on edge are all the same height.
This is ideal for making clean, precise cuts but isn’t necessary for general-purpose use. A negative taper (-5°) means that the teeth get taller as they get closer to the blade’s center; this helps prevent tearing out when making rip cuts. Finally, a positive taper (+5°) means that the teeth get shorter as they get closer to the center; this is helpful when making crosscuts because it provides more support at the back end of the cut.
Most general-purpose table saws come with either a 0° or -5° taper blade installed (check your manual to be sure), but if you’re looking for something specific, you can always find aftermarket options in both tapers. As always, read and follow all safety instructions before using any power tool!
Conclusion
Most woodworkers will need to rip an angle on a table saw at some point. While it may seem daunting, it is relatively easy to do with the proper technique. Here are four steps to ripping an angle on a table saw:
1. Set the blade of your table saw to the desired angle.
2. Place the workpiece against your saw’s fence so that it is flush with the edge of the blade.
3. Start the saw and slowly feed the workpiece into the blade, keeping it flush with the fence.
4. Once the workpiece has been cut through, turn off the saw and remove your workpiece from the blade.