How to Texture Plywood: Easy DIY Tips for a Pro Finish
To texture plywood, use a sander or a wood-burning tool to create patterns. Alternatively, apply a textured paint or a spray-on texture.
Texturing plywood enhances its aesthetic appeal and functionality. This technique adds depth and character, making it suitable for various projects, from furniture to wall panels. Many DIY enthusiasts and craftsmen use texturing to elevate their designs. The process allows for creativity and personalization, transforming a simple sheet of plywood into a unique piece of art.
Different methods, such as sanding, stenciling, or using textured paints, cater to diverse styles and preferences. By choosing the right technique, you can achieve stunning results that fit seamlessly into your home or workspace. Discover how texturing plywood can redefine your projects today.
The Basics Of Plywood Texturing
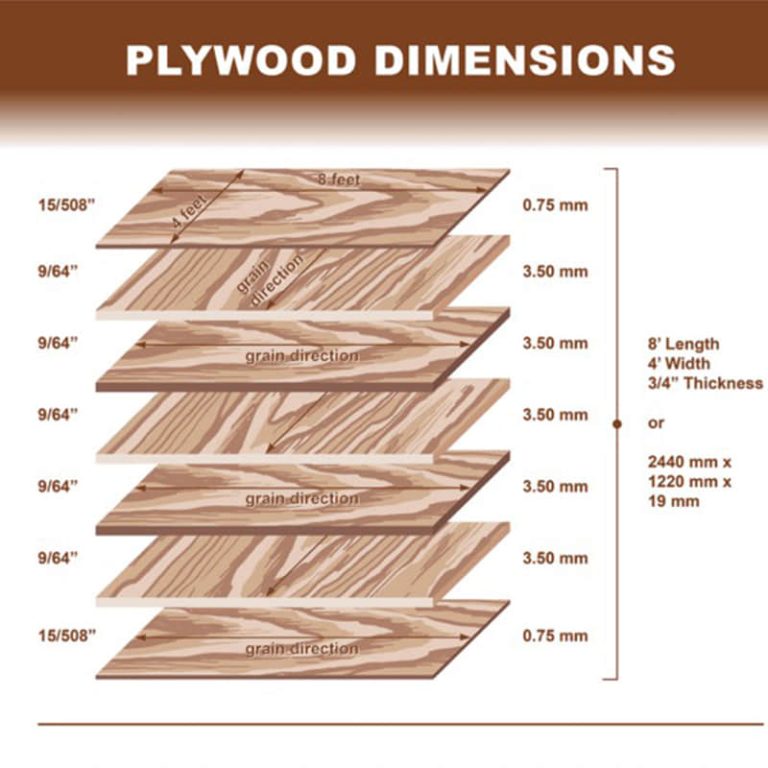
Choosing the right plywood is important for texturing. Different types of plywood offer unique textures. Select plywood based on your project needs. Consider the thickness and quality of the wood.
Here are some tools and materials you will need:
| Tool/Material | Purpose |
|---|---|
| Sander | For smoothing the surface |
| Brush | For applying texture materials |
| Texturing tool | To create patterns on the plywood |
| Finishing oil | To protect and enhance the wood |

Preparing The Plywood
Start by cleaning the surface of the plywood. Use a damp cloth to remove dust and dirt. Let the plywood dry completely before proceeding.
Use the right sanding techniques for best results. Begin with coarse sandpaper to smooth rough areas. Move to finer sandpaper for a smooth finish.
Always sand in the direction of the wood grain. This helps avoid scratches and damage. Wear a mask to protect against dust while sanding.
After sanding, wipe the surface again to remove any dust. This step is crucial for better texture application.
Choosing Your Texture Style
Choosing a texture style for plywood can change its look. Rustic charm offers a warm, inviting feel. Use natural stains to enhance the wood’s beauty. Distressed finishes create character and history.
On the other hand, a smooth and modern texture gives a sleek appearance. This style suits contemporary designs well. For this look, sand the plywood thoroughly before finishing. A clear coat adds shine and protects the surface.
Applying The Base Coat
Selecting the right primer is crucial for texturing plywood. Choose a primer that suits your wood type. Use a high-quality primer for the best results. Oil-based primers work well for plywood surfaces. Water-based primers are easier to clean up.
Consider the color of your primer. A lighter color helps with bright topcoats. A darker primer can add depth to your texture. Always check the manufacturer’s recommendations before buying.
For application, use a brush or roller for even coverage. Make sure to apply a thin layer to avoid drips. Let the primer dry completely before adding texture. Follow the drying time instructions on the label.
Creating Texture With Tools
Using a wire brush is a great way to create texture on plywood. It helps to remove the soft wood fibers. This leaves a raised pattern on the surface. Start by choosing a stiff wire brush for better results.
Hold the brush at a slight angle. Move it in long, even strokes. Focus on one area at a time. You can control the depth of the texture by adjusting the pressure.
For a different look, try wood graining techniques. Use a graining tool or a paintbrush. Dip it in wood stain or paint, then drag it across the surface. This creates beautiful, natural patterns on the plywood.
Experiment with both methods. Each offers unique textures that enhance your project.
Adding Depth With Stains And Glazes
Choosing the right stain is crucial for enhancing plywood’s appearance. Oil-based stains offer rich colors and durability. Water-based stains dry faster and are easy to clean up. Test stains on scrap wood first to see how they look.
Glazing adds a beautiful finish to your project. Use a transparent glaze over the stain to create depth. Apply a thin layer and wipe off the excess with a cloth. This technique highlights the wood’s grain and texture.
Consider using different colors for a unique look. Layering stains and glazes can create stunning effects. Always allow each layer to dry completely for the best results.
Sealing And Protecting Your Work
Choosing the right sealant is important for protecting your plywood. Different sealants offer various benefits. Here are some common types of sealants:
| Sealant Type | Benefits |
|---|---|
| Polyurethane | Durable and water-resistant |
| Varnish | Enhances wood color and grain |
| Shellac | Fast-drying and easy to apply |
Application methods also matter. Brush-on methods provide control for detailed work. Spray methods cover large areas quickly. Rollers can be useful for even coverage. Choose the method that suits your project best.
Maintenance And Care
Regularly cleaning textured plywood helps maintain its appearance. Use a soft cloth or sponge. Mild soap mixed with water works well. Avoid harsh chemicals that can damage the surface.
For repairing scratches and dents, start by sanding the area lightly. Use fine-grit sandpaper for best results. After sanding, apply a matching wood filler. Once dry, smooth it out and finish with a coat of varnish.
Frequently Asked Questions
How Do You Texture Plywood Effectively?
Texturing plywood effectively involves using tools like a router, sander, or texturing rollers. Start by preparing the surface with sandpaper. Then, apply your chosen method to create patterns. Experiment with different techniques to achieve various textures, ensuring a unique finish that enhances the plywood’s visual appeal.
What Tools Are Needed For Texturing Plywood?
You’ll need a few essential tools for texturing plywood. A router or a palm sander works well for creating textures. Additionally, texturing rollers and brushes can help add patterns. Don’t forget safety gear, like goggles and masks, to protect yourself during the process.
Can You Stain Textured Plywood?
Yes, you can stain textured plywood successfully. Texturing adds depth, making the stain application more interesting. Ensure the surface is clean and free from dust before staining. Test your stain on a small area first to see how it interacts with the texture.
Is Texturing Plywood A Diy Project?
Texturing plywood is a great DIY project for beginners. With the right tools and techniques, anyone can achieve beautiful results. Follow step-by-step instructions and take your time. It’s a fun way to personalize your woodwork without needing professional help.
Conclusion
Texturing plywood can elevate your projects, giving them a unique and personalized touch. By following the techniques outlined in this guide, you can achieve stunning results. Experiment with different methods to find what suits your style best. With practice, your textured plywood creations will impress everyone who sees them.
Happy crafting!