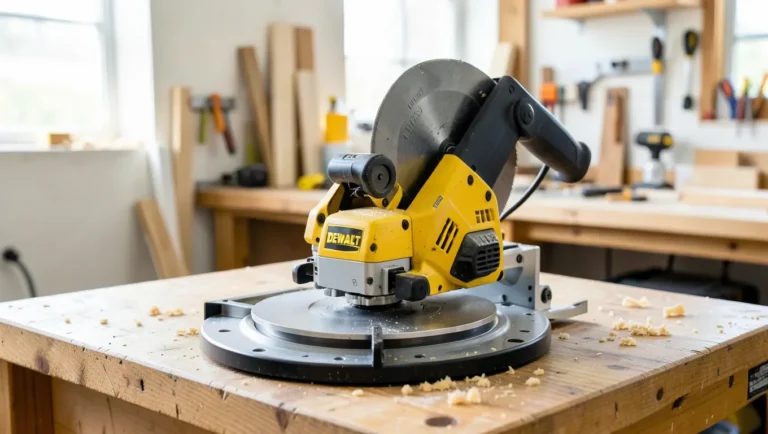
How to Use a Dewalt Miter Saw: Setup, Cuts & Safety
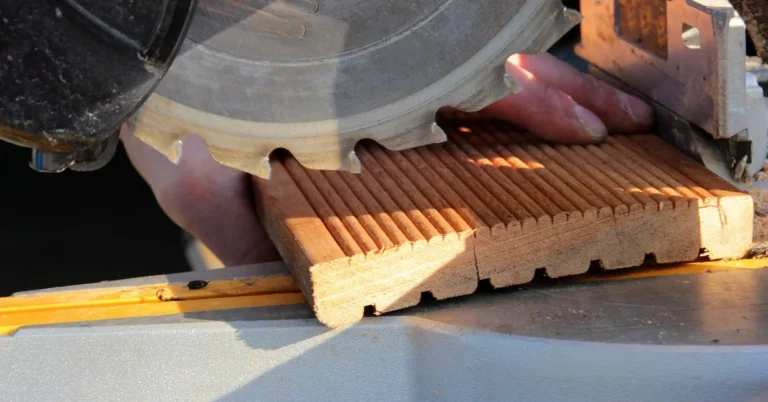
To use a Dewalt miter saw, clamp the workpiece against the fence, set the miter and bevel angle, then lower the spinning blade through the material in one smooth pass — skipping the clamp step is the single most common cause of a kicked-back cut. This guide covers setup, the four cut types a miter saw makes, dust control, and the maintenance that keeps angles accurate.
New to the tool itself? See what a miter saw machine is and how the motor, blade, and pivoting arm work together before adjusting Dewalt-specific settings below, or jump straight to changing the blade if that’s what brought you here.
Setting Up Your Dewalt Miter Saw
Best Dewalt Miter Saw Pick
 |
DEWALT DWS780 12-Inch Sliding Compound Miter Saw – $649.00 This is the saw the setup and calibration steps below are written for — tall sliding fences, a stainless miter detent plate, and an XPS shadow line for lining up the cut without a laser battery to replace.
|
Unbox the saw, bolt it to a stand or workbench so it can’t rock during a cut, and square the fence to the blade before you cut anything real. A saw that isn’t bolted down is the most common reason for inaccurate miters — the whole tool shifts slightly under cutting pressure.
Unboxing and Assembling Your Dewalt Miter Saw
- Unbox each component and check it against the included parts list before assembling.
- Follow the manual to attach the material clamp, dust bag, and any stand, tightening every bolt fully.
- Bolt the saw to a stand or bench — a saw that can shift under pressure will never cut a consistent miter.
Adjusting the Miter and Bevel Settings
Most Dewalt compound miter saws use a stainless-steel detent plate with preset stops (0°, 15°, 22.5°, 30°, 45° are common) that click into place for repeatable accuracy. For anything off those stops, release the cam-lock handle, dial in the angle against the scale, and re-lock before cutting.
- Loosen the miter lock, rotate to the marked angle or a detent stop, and re-lock firmly.
- Adjust the bevel using the bevel lock lever on the back of the saw, checking the angle scale as you go.
- Confirm both settings with a test cut before committing to your actual material.
Performing Test Cuts for Accuracy
Clamp a piece of scrap the same thickness as your real material, put on eye and ear protection, and make the cut exactly as planned. Check the result against a square or protractor — if it’s off, the fence or detent plate has likely shifted and needs to be reset before you cut good material.

Essential Tips for Precision
Precision on a miter saw comes down to three things: the right blade, a securely clamped workpiece, and an accurate mark to cut to.
Choosing the Right Blade
A stock 40-tooth carbide blade is fine for framing lumber; switch to an 80-tooth (or higher) fine-crosscut blade for trim and molding where a clean, splinter-free edge matters. Keep the blade sharp — a dull blade tears wood fibers instead of slicing them, even at the correct angle.
Holding Material Securely
Use the saw’s material clamp or an auxiliary clamp on every cut, not just the tricky ones. Support long stock with a roller stand or sacrificial extension on both sides of the saw so its own weight doesn’t lift it off the table mid-cut, which is a common cause of inaccurate miter saw cuts.
Making Accurate Measurements and Marks
Measure twice with a tape measure or combination square, then mark the cut line with a sharp pencil rather than a thick marker — a thick line adds real error at 45° compound angles. Line up the blade to the waste side of the mark, not the center of the line.
Cut Types and Techniques
A compound miter saw makes four distinct cuts: crosscuts (straight across, 0° miter and bevel), miter cuts (angled across the face, common for frames), bevel cuts (angled through the thickness), and compound cuts (miter and bevel combined, used for crown molding).
Controlling Dust and Keeping a Clean Workspace
The included dust bag alone catches only a fraction of what the saw throws; connecting a shop vac to the dust port catches significantly more and keeps your cut line visible. Clear sawdust off the table and fence between cuts — buildup under the workpiece throws off how flat it sits.
📊 Dewalt’s sliding compound miter saws are rated to capture over 75% of generated dust through their built-in collection system, and cut up to 2×14 dimensional lumber at 90°. Source: DEWALT DWS779 official product page
Handling Complex Compound Cuts With Confidence
For crown molding, most woodworkers find it easier to lay the molding flat against the fence and table (upside-down from how it hangs) and dial in a miter angle alone, rather than tilting the bevel to match the spring angle. Practice compound cuts on scrap first — the material orientation is the part that trips people up, not the saw itself.

Maintaining Your Dewalt Miter Saw
Cleaning After Each Use
- Unplug the saw before doing any cleaning or adjustment.
- Blow sawdust out of the blade guard, motor vents, and detent plate with compressed air.
- Wipe the table and fence with a damp cloth so residue doesn’t build up under future workpieces.
Troubleshooting Common Issues
| Issue | Likely Fix |
|---|---|
| Blade cuts rough or burns the wood | Blade is dull or has too few teeth for the material — replace or swap to a fine-crosscut blade |
| Miter cuts aren’t square | Detent plate or fence has shifted — check both against a known-accurate square and re-tighten |
| Excess vibration or noise | Check for loose mounting bolts or a warped/damaged blade |
| Motor bogs down or overheats | Clear vents of dust buildup and avoid feeding the cut faster than the blade can clear chips |
“Tall sliding fences support crown molding up to 7-1/2 in. nested and base molding up to 6-3/4 in. vertically against the fence while easily sliding out of the way for bevel cuts.”
Frequently Asked Questions
What are the key features of a Dewalt miter saw?
A powerful 15-amp motor, a precise stainless-steel miter detent plate, and a dust collection system rated to capture over 75% of generated dust. Tall sliding fences support crown molding up to 7-1/2 inches nested, and a cam-lock miter handle locks in accurate angles quickly.
How do you make accurate cuts with a Dewalt miter saw?
Clamp the material against the fence so it can’t shift, set the miter and bevel angles using the detent plate, then align the blade with your cut line before pulling the trigger. Let the blade reach full speed before it touches the wood, and guide it down in one smooth motion rather than forcing it.
What safety precautions should I take when using a Dewalt miter saw?
Wear eye and hearing protection, keep both hands outside the blade’s cutting path, and never remove the blade guard. Unplug the saw before changing the blade or making any adjustment, and let the blade stop spinning completely before lifting it back up after a cut.
How do I maintain and prolong the lifespan of a Dewalt miter saw?
Clear sawdust from the blade guard and motor vents with compressed air after every use, and check the miter and bevel angles against a square periodically — vibration can walk them out of true over time. Replace the blade once teeth are visibly dull or chipped rather than forcing a worn blade through hardwood.
Why does my Dewalt miter saw drift out of square over time?
Repeated vibration can loosen the bolts that hold the fence and detent plate in place. Check square against a known-accurate combination square every few dozen cuts, and snug any fence-mounting bolts that have worked loose before they throw off a whole batch of miters.
Final Thoughts
A Dewalt miter saw is only as accurate as its setup: bolt it down, square the fence, and clamp every workpiece. Get those three right and the saw’s detent plate and sliding fence handle the rest — from simple crosscuts to compound crown molding cuts.
Sponsored / affiliate links. As an Amazon Associate I earn from qualifying purchases. I may earn additional commission from eligible campaigns.



![Chicago Electric vs Admiral Miter Saw: [Know Before You Choose]](https://cdn.woodworkingadvisor.com/2022/11/Chicago-Electric-vs-Admiral-Miter-Saw-_Know-Before-You-Choose_-768x384.webp)