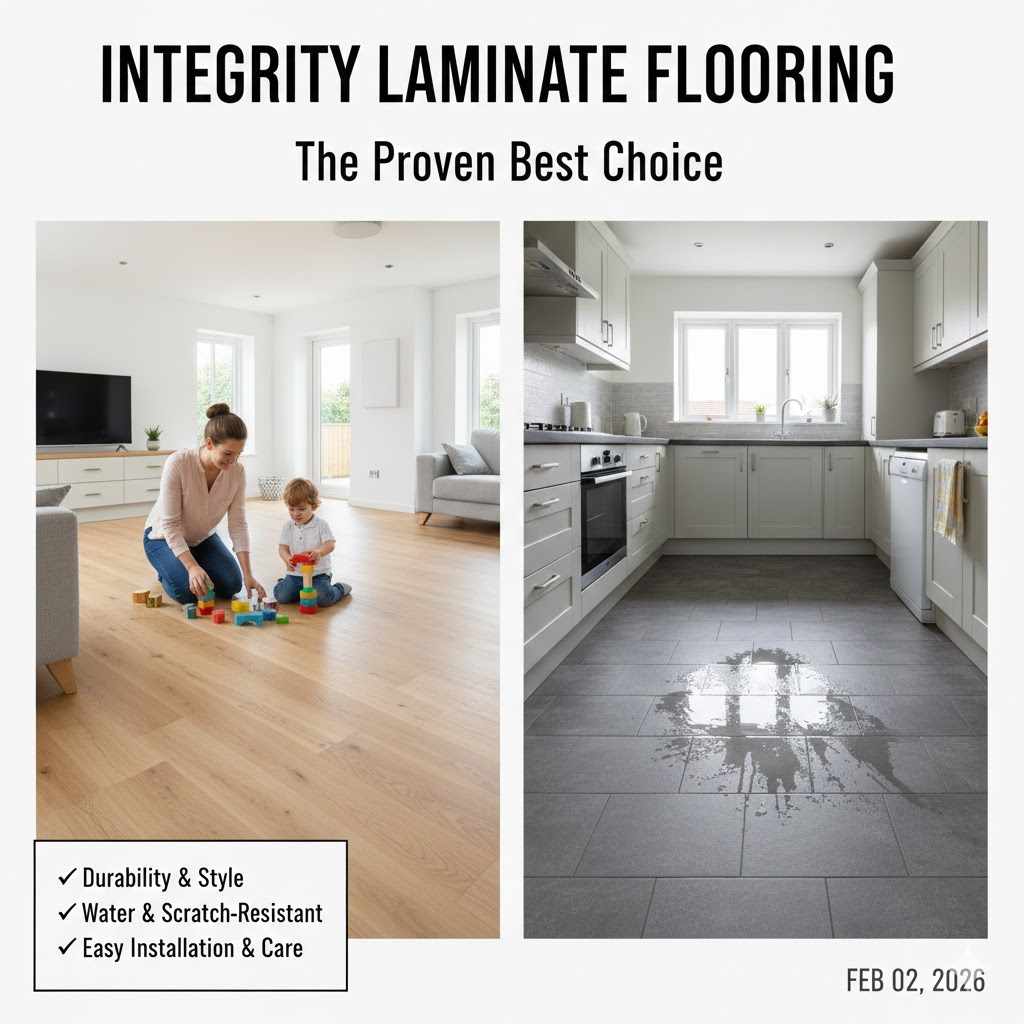
Integrity Laminate Flooring: The Proven Best Choice
Integrity Laminate Flooring is the proven best choice for homeowners and DIY enthusiasts because it offers exceptional durability, a simple click-lock installation system, and beautiful, realistic wood finishes at an affordable price. It’s a smart, stylish solution that gives you the look of hardwood without the high cost or difficult upkeep, making it perfect for any home project.
Hello, fellow makers! Md Meraj here. Are you dreaming of a beautiful new floor but feel intimidated by the cost and work? It’s a common worry. Many people think a flooring project is too big, too expensive, or just too complicated for a weekend warrior. They look at expensive hardwood or tricky tile and think, “I could never do that myself.” But I’m here to tell you that you absolutely can, and it’s easier than you think.
Today, we’re going to talk about a game-changer in the flooring world: Integrity Laminate Flooring. It’s the secret weapon for getting that stunning, high-end look without the stress or the professional price tag. This guide will walk you through everything, step-by-step. We’ll cover why it’s such a fantastic choice, how to pick the right style, and a full guide to installing it yourself. Let’s get started!
What Makes Integrity Laminate Flooring So Special?
You might be wondering, “What’s the big deal? Isn’t all laminate flooring the same?” Not at all. Integrity has built its reputation on a few key pillars that make it stand out, especially for those of us who love to do things ourselves. At its heart, Integrity Laminate Flooring is designed for real life. It’s built to handle busy households with kids, pets, and all the messes that come with them.
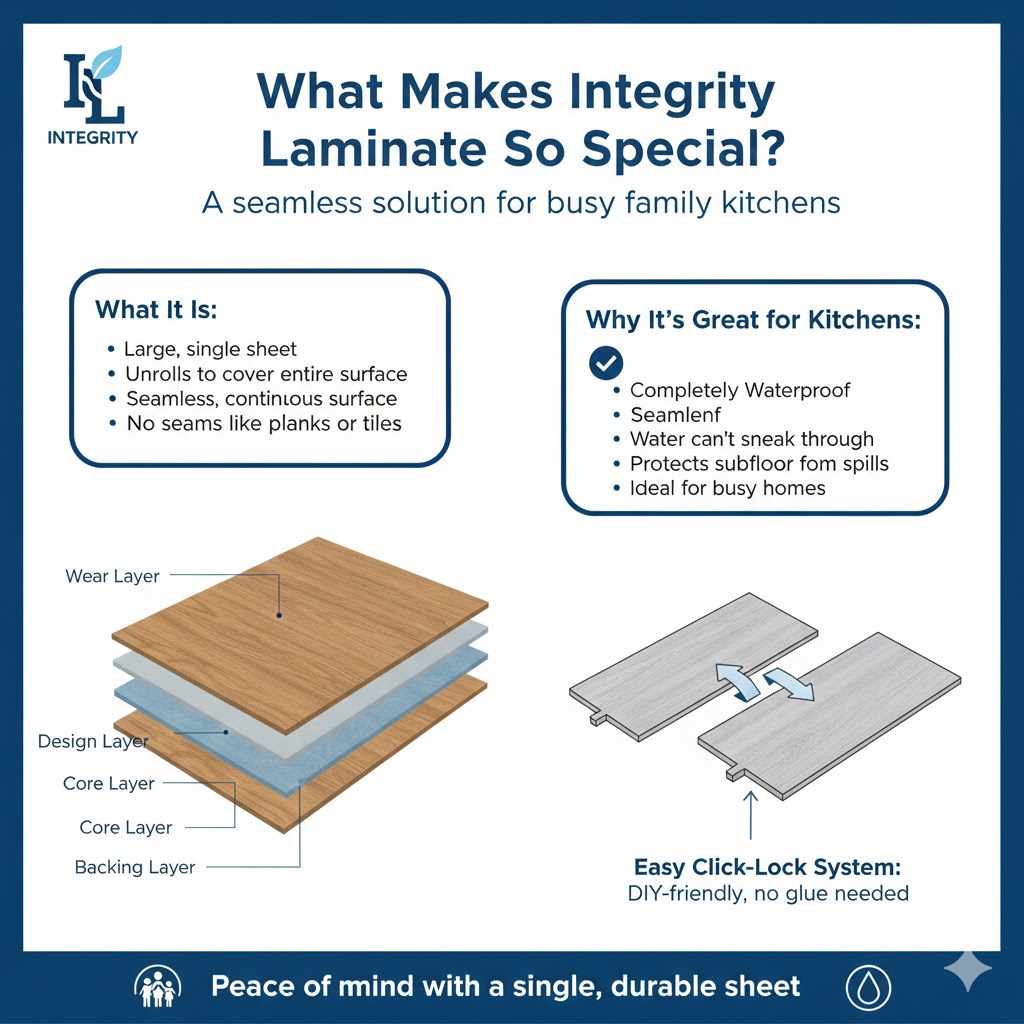
It’s created using a multi-layer construction. Think of it like a sturdy sandwich:
- Wear Layer: This is the top, transparent layer. It’s super tough and protects the floor from scratches, stains, and fading from sunlight.
- Design Layer: Right underneath is a high-resolution photograph of real wood. This is what gives Integrity its stunningly realistic look. You can find designs that mimic oak, hickory, maple, and more.
- Core Layer: The thick middle is made of a high-density fiberboard (HDF). This provides the strength, stability, and moisture resistance that makes the flooring so durable.
- Backing Layer: The bottom layer provides additional stability and helps protect the plank from moisture coming up from the subfloor.
This thoughtful construction is why Integrity Laminate is known for its performance. It’s not just a pretty face; it’s a workhorse for your home. More importantly, the click-lock system is designed with DIYers in mind. The planks fit together perfectly without glue or nails, making installation fast, clean, and incredibly rewarding.
The Key Benefits: Why You’ll Love Working with Integrity
Let’s break down exactly why Integrity Laminate Flooring is the go-to choice for so many home projects. These are the practical benefits that make a real difference.
It’s Incredibly Durable
Integrity flooring is built to last. The strong wear layer resists scratches from pet claws, dragged furniture, and daily foot traffic. It’s also resistant to stains and fading, so your floors will look fantastic for years to come. This means less worry for you and more time enjoying your home.
It’s Budget-Friendly
One of the biggest wins with Integrity is the cost. You get the rich, warm appearance of natural hardwood for a fraction of the price. This frees up your budget for other parts of your room makeover, whether it’s new paint, furniture, or some new tools for the workshop!
Installation is a Breeze
This is where Integrity truly shines for the DIY community. The “floating floor” system, with its click-lock edges, is a joy to work with. The planks snap together securely, and you can lay an entire room in a weekend. There’s no messy glue, no loud nail guns—just a simple, satisfying process that delivers professional-looking results.
So Many Styles to Choose From
Your home’s style is unique, and your floor should be too. Integrity offers a huge range of colors, textures, and plank widths. Whether you love the rustic charm of a weathered barnwood or the clean, modern look of a light maple, there’s a design for you. The high-quality imaging makes the grain patterns look just like real wood.
Easy to Clean and Maintain
Life is messy, but your floors don’t have to be. Integrity Laminate is a breeze to care for. A quick sweep or a pass with a microfiber mop is usually all it takes to keep it looking pristine. There’s no need for special waxes, polishes, or oils. It’s a low-maintenance solution for busy people.
How Integrity Stacks Up: Laminate vs. Other Flooring
Seeing how Integrity compares to other common flooring types can really help you see its value. Here’s a simple breakdown to make your decision easier.
| Feature | Integrity Laminate | Solid Hardwood | Vinyl (LVP) | Carpet |
|---|---|---|---|---|
| Cost | Low to Moderate | High | Low to Moderate | Low to High |
| DIY Installation | Excellent (Easy click-lock) | Difficult (Requires special tools) | Good (Can be easy) | Difficult (Requires stretching) |
| Durability | Very High (Scratch-resistant) | Moderate (Dents and scratches) | High (Waterproof) | Moderate (Stains and wears) |
| Maintenance | Very Easy (Sweep/mop) | Moderate (Requires special cleaners) | Very Easy (Sweep/mop) | High (Requires vacuuming/shampooing) |
| Water Resistance | Good (Resistant to spills) | Poor (Can warp) | Excellent (Often waterproof) | Poor (Stains and can grow mold) |
As you can see, Integrity Laminate hits that sweet spot of affordability, durability, and easy installation, making it a powerful contender for almost any room in your home.
Choosing the Right Integrity Laminate for Your Project
With so many options, picking the perfect floor can feel a little overwhelming. But don’t worry, it’s just a matter of matching the floor to your room and your lifestyle. Here are a few things to consider.
AC Rating: What Does It Mean?
You might see an “AC Rating” on the flooring box. This stands for Abrasion Class, and it’s a simple way to measure durability. The scale goes from AC1 to AC5. For home use, you’ll generally be looking at AC3 or AC4.
- AC3: Perfect for all residential uses, including high-traffic areas like kitchens, hallways, and living rooms.
- AC4: Even tougher. It’s suitable for heavy residential traffic and even light commercial use. If you have a very active family or large pets, AC4 is a fantastic choice for extra peace of mind.
Color and Finish
The fun part! The color of your floor has a huge impact on the feel of a room.
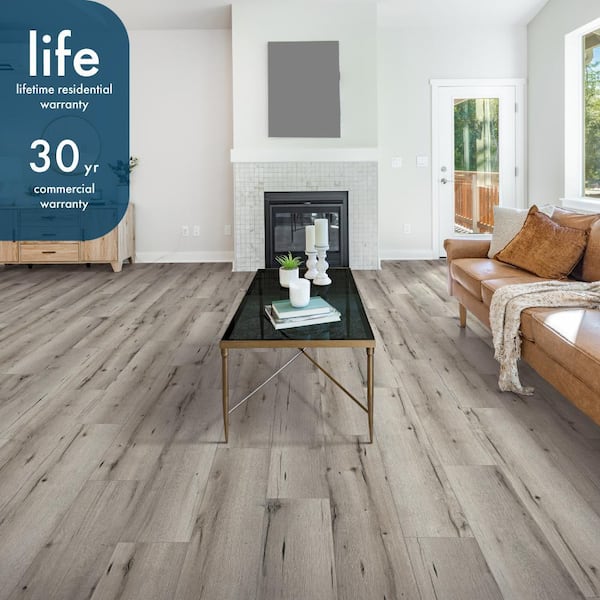
- Light Colors: Shades like light oak, ash, or maple can make a small room feel bigger and brighter. They create an open, airy atmosphere.
- Dark Colors: Deeper tones like walnut or dark hickory bring a sense of warmth and sophistication. They can make a large room feel cozier and more intimate.
- Finish: Look at the texture. Do you want a smooth, sleek finish or a more textured, hand-scraped look that mimics old wood? Textured finishes are great for hiding minor dust and dirt.
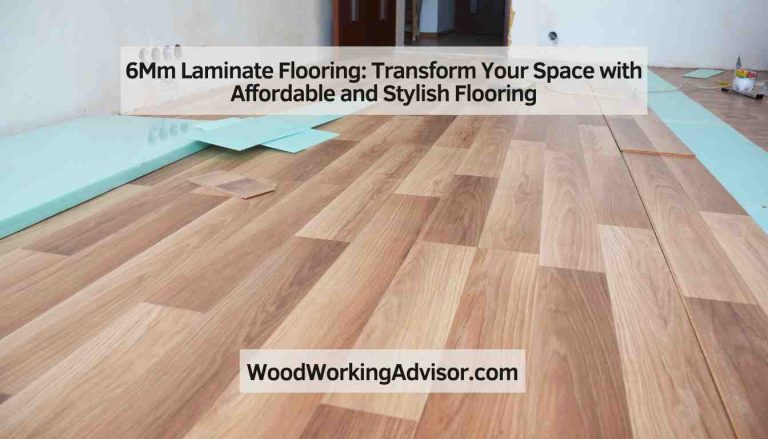
Plank Width and Thickness
Plank width can also influence the style of your room. Wider planks often look more modern and can make a space feel less busy. Standard widths give a more traditional feel. As for thickness, most Integrity Laminate is between 8mm and 12mm. A thicker plank generally feels more solid underfoot and can have a more robust click-lock system.
Your Step-by-Step Guide to Installing Integrity Laminate Flooring
Alright, let’s get to the best part—installing your beautiful new floor! I’m going to break this down into simple, manageable steps. Remember, preparation is key. A little extra time upfront makes the whole job go smoothly.
Step 1: Gather Your Tools and Materials
Having everything ready before you start is a huge time-saver. You don’t need a lot of fancy equipment for this job. Here’s a basic checklist:
- Integrity Laminate Flooring planks
- Underlayment (foam or cork)
- Tape measure
- Pencil
- Utility knife (for cutting underlayment)
- Jigsaw or circular saw (for cutting planks)
- Tapping block and pull bar (often come in an installation kit)
- Rubber mallet
- Spacers (usually 1/4″ or 3/8″)
- Safety glasses and gloves
Safety is always number one in the workshop and on a project site. Before you begin, I highly recommend reviewing some basic power tool safety guidelines, like those from the Occupational Safety and Health Administration (OSHA). It’s always good to have a reminder!
Step 2: Prepare Your Subfloor
Your new laminate floor needs a good foundation. The subfloor (the surface underneath your new flooring) must be clean, flat, and dry.
- Clean It Up: Sweep and vacuum the entire area thoroughly. Remove any staples, old carpet tack strips, or debris.
- Check for Flatness: Lay a long, straight board across the floor. If you see any gaps larger than 3/16 of an inch over a 10-foot span, you’ll need to level it. You can sand down high spots or use a self-leveling compound for low spots.
- Make Sure It’s Dry: Laminate can be installed over concrete, plywood, or existing vinyl, as long as it’s dry. If you’re working on a concrete slab, it’s a good idea to put down a vapor barrier first.
Step 3: Acclimate the Flooring
This step is crucial and super easy to do. You need to let your flooring get used to the climate in your home. Open the boxes of laminate and lay the planks flat in the room where you’ll be installing them for at least 48 hours. This allows the planks to expand or contract according to your home’s temperature and humidity, preventing buckling later on.
Step 4: Install the Underlayment
Underlayment is a thin layer of foam or cork that goes down before the laminate. It serves a few important purposes: it absorbs sound, provides a little cushioning, and smooths over tiny imperfections in the subfloor.
- Roll out the underlayment, starting from one wall.
- Cut it to length with a utility knife.
- Continue rolling out rows, making sure the edges meet but don’t overlap.
- Tape the seams together with the manufacturer’s recommended tape to create a single, continuous layer.
Step 5: Lay the First Row
Now the magic begins! You’ll want to start along the longest, most visible wall in the room.
- Place 1/4-inch spacers against the starting wall. This leaves an “expansion gap,” which is critical for allowing the floor to move with temperature changes.
- Take your first plank and place it in the corner, with the short “tongue” side facing the wall (some installers prefer to cut this off for a flush edge, which is also fine).
- Take a second plank and connect it to the end of the first one. Integrity’s click-lock system makes this easy. Line up the short ends, press down, and they should click together. Use your tapping block and mallet for a gentle tap to ensure a tight seam.
- Continue this process until you reach the end of the first row.
Step 6: Cutting and Starting New Rows
The last plank in the row will likely need to be cut. Measure the distance from the last full plank to the wall (remember to subtract the 1/4-inch expansion gap!) and mark your plank. Cut it with your jigsaw or circular saw.
The leftover piece from this cut, if it’s at least 12 inches long, can be used to start your second row. This creates a natural, staggered pattern, which is stronger and looks much better. You never want the short seams to line up from row to row.
To connect rows, hold the new plank at a slight angle and slide its long “tongue” into the “groove” of the plank in the previous row. Then, lower the plank until it clicks into place. A gentle tap with the block and mallet will secure it.
Step 7: Finishing Touches
You’re almost there! Once all the planks are laid, you can remove the spacers. The expansion gap will be covered by trim.
- Baseboards: Reinstall or add new baseboards or quarter-round molding along the walls. Nail the trim to the wall, not the floor, so the floor can still expand and contract freely.
- Transitions: Use transition strips in doorways to connect your new laminate to other flooring types, like carpet or tile.
That’s it! Step back and admire your incredible work. You’ve just installed a professional-quality floor all by yourself.
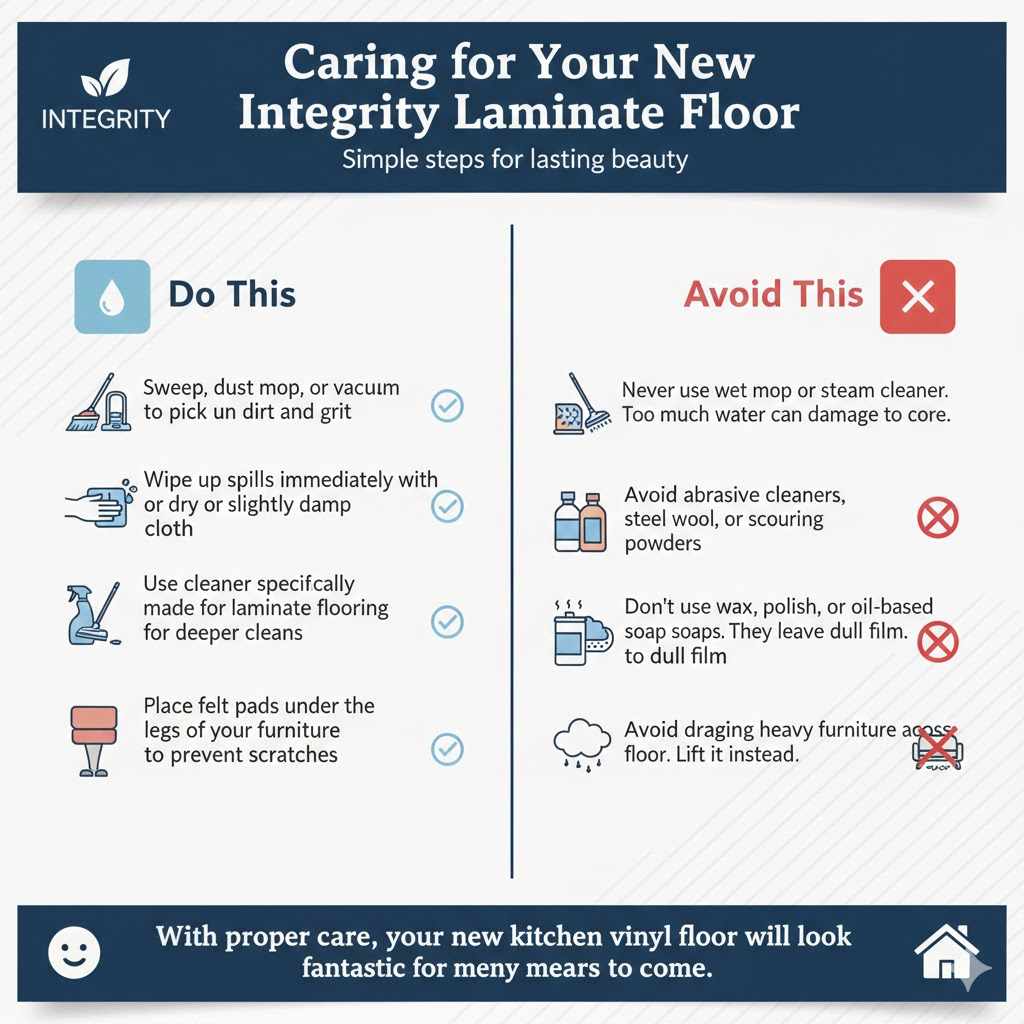
Caring for Your New Integrity Laminate Floor
Keeping your new floor looking beautiful is incredibly simple. A little bit of regular care goes a long way.
| Do This | Avoid This |
|---|---|
| Sweep, dust mop, or vacuum regularly to pick up dirt and grit. | Never use a wet mop or steam cleaner. Too much water can damage the core. |
| Wipe up spills immediately with a dry or slightly damp cloth. | Avoid abrasive cleaners, steel wool, or scouring powders. |
| Use a cleaner specifically made for laminate flooring for deeper cleans. | Don’t use wax, polish, or oil-based soaps. They leave a dull film. |
| Place felt pads under the legs of your furniture to prevent scratches. | Avoid dragging heavy furniture across the floor. Lift it instead. |
| Use doormats at entrances to catch dirt and moisture from shoes. | Don’t let water stand on the floor for any length of time. |
Frequently Asked Questions (FAQ)
Can I install Integrity Laminate Flooring in a kitchen or bathroom?
You can definitely install it in a kitchen with great results. Just be diligent about wiping up spills quickly. For full bathrooms with a tub or shower, it’s generally better to choose a fully waterproof material like luxury vinyl plank (LVP), as constant high humidity and standing water can damage laminate over time.
Do I need to hire a professional?
Absolutely not! Integrity Laminate Flooring is specifically designed for DIY installation. The click-lock system is straightforward, and with basic tools and this guide, it’s a very achievable weekend project. It’s a great way to save money and gain a new skill!
What if I damage a plank?
One of the great things about a floating floor is that you can replace a damaged plank without redoing the entire floor. It takes a bit of careful work to remove the damaged piece and click in a new one, but it’s completely possible. Always save a few extra planks from your project just in case.
Can Integrity Laminate be installed over radiant heating?
Yes, in most cases, Integrity Laminate is compatible with in-floor radiant heating systems. However, you should always check the specific product’s warranty and installation instructions to ensure you follow the correct guidelines for temperature and setup.
How do I cut planks for tricky areas like door frames?
For cutting around door frames, a great technique is to use an off-cut piece of flooring and underlayment as a guide. Turn it upside down and place it against the frame. Then, use a handsaw or oscillating multi-tool to cut the bottom of the door frame. This allows you to slide the laminate plank underneath the frame for a clean, professional finish.
Your Beautiful New Floor is Waiting
There you have it—everything you need to confidently choose and install Integrity Laminate Flooring. It truly is the proven best choice for anyone looking for that perfect blend of beauty, durability, and affordability. It empowers you to transform a room with your own two hands, creating a space you can be proud of for years to come.
Don’t let the idea of a “big project” hold you back. Breaking it down into small, simple steps is the key to success in any woodworking or home improvement endeavor. You have the skills, and now you have the guide. So go ahead, measure your room, pick out a style you love, and get ready to enjoy a stunning new floor. You can do this!