Laminate Flooring Tools at Home Depot: Your Ultimate Guide to a Perfect Installation
Hey there! If you’re thinking about installing laminate flooring yourself, you’re in for a rewarding project. I’ve been down this road before, transforming my own home with laminate flooring, and let me tell you, having the right tools makes all the difference. When I started, I wandered the aisles of Home Depot, a bit overwhelmed but excited, piecing together everything I needed. That’s why I’m thrilled to share this guide on laminate flooring tools at Home Depot. Whether you’re a DIY newbie or a seasoned pro, I’ll walk you through the essential tools, tips, and tricks to make your flooring project a success. Let’s dive in and make your home shine with a beautiful new floor!
Why Choose Laminate Flooring for Your Home?
I remember standing in my living room, staring at my worn-out carpet, dreaming of a fresh look. Laminate flooring caught my eye because it’s affordable, durable, and looks like real wood without the hefty price tag. It’s perfect for busy households with kids or pets, and it’s super easy to clean. Plus, the click-together planks make installation a breeze, even for beginners like I was. Home Depot offers a wide range of laminate flooring styles, from classic oak to modern gray tones, so you can find something that fits your vibe. But to get that professional finish, you need the right tools, and Home Depot has everything you need under one roof.
The Importance of Having the Right Tools
When I first tackled laminate flooring, I thought I could get by with just a hammer and a saw. Big mistake! The wrong tools can lead to uneven cuts, damaged planks, or a floor that doesn’t last. Using the proper tools saves time, reduces frustration, and ensures your floor looks flawless. Home Depot stocks a variety of flooring tools, from budget-friendly basics to pro-grade equipment you can rent. Trust me, investing in the right gear is worth every penny when you see your finished floor.
Essential Laminate Flooring Tools at Home Depot
Let’s talk about the must-have tools for your laminate flooring project. I’ve broken this down into categories to make it easy for you to shop. Each tool plays a specific role, and I’ll explain why you need it and what to look for at Home Depot.
Measuring and Marking Tools
Before you cut a single plank, you need to measure your space accurately. I learned this the hard way when I miscalculated and ended up with a gap in my floor! Here’s what you’ll need:
- Tape Measure: A good tape measure is your best friend. I grabbed a 25-foot Stanley tape measure at Home Depot for about $10. It’s durable and easy to read, perfect for measuring room dimensions and planks.
- Carpenter’s Pencil: These pencils are great for marking cut lines on planks. They’re cheap, usually under $5 for a pack, and the thick lead won’t break easily.
- Speed Square: This tool helps you mark straight, 90-degree lines for precise cuts. I found a Swanson 7-inch speed square for around $10, and it was a game-changer for keeping my cuts clean.
Cutting Tools
Cutting laminate planks is a big part of the job, and Home Depot has a range of tools to make it easy. Here’s what I recommend based on my experience:
- Laminate Flooring Cutter: This manual tool is a lifesaver for straight cuts. I used the Roberts 13-inch Multi-Floor Cutter, priced around $100, and it sliced through planks like butter. It’s quiet, doesn’t create dust, and is perfect for DIYers.
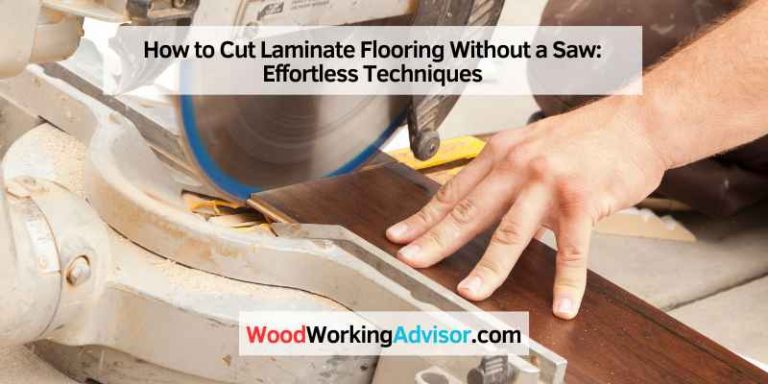
- Circular Saw: For longer or angled cuts, a circular saw is handy. I rented a Ryobi 7-1/4-inch cordless saw from Home Depot for about $15 a day. Pair it with a fine-tooth blade to avoid chipping the laminate.
- Jamb Saw: This tool cuts door jambs so planks can slide underneath for a seamless look. Home Depot rents jamb saws for around $30 a day, and it saved me from making messy cuts around doorways.
- Jigsaw: For tricky cuts around corners or fixtures, a jigsaw is your go-to. I picked up a corded Black+Decker jigsaw for about $40, and it handled curves like a pro.
Installation Tools
Once your planks are cut, you’ll need tools to lay them properly. These are the ones I couldn’t have done without:
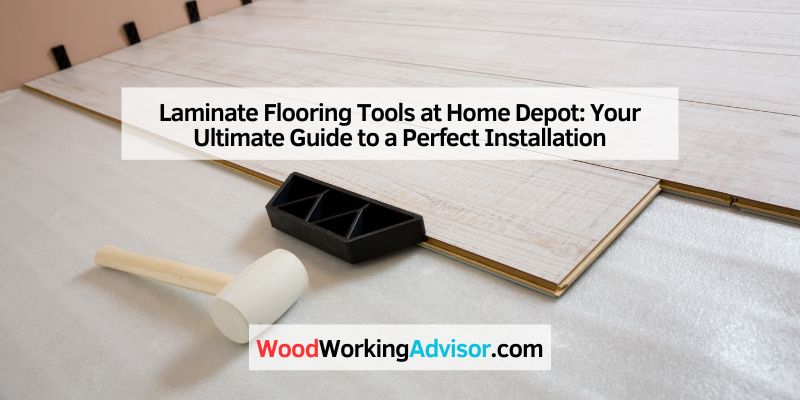
- Tapping Block and Pull Bar: These help you snap planks together without damaging them. Home Depot sells the Roberts Laminate Installation Kit for about $25, which includes both, plus spacers. The tapping block protects the plank edges when you hammer them, and the pull bar is great for tight spots near walls.
- Rubber Mallet: A rubber mallet gently taps planks into place. I got a 16-ounce mallet for under $15, and it worked perfectly with the tapping block.
- Spacers: These keep a consistent ⅜-inch gap between the floor and walls for expansion. They’re included in most installation kits, but you can buy extras for a few bucks.
- Level: A 4-foot level, priced around $20, ensures your subfloor is even before you start. An uneven subfloor can cause planks to shift or crack over time.
Subfloor Preparation Tools
Your subfloor needs to be clean, level, and smooth before laying laminate. Here’s what I used to prep my space:
- Pry Bar: This removes old baseboards or flooring. I found a basic pry bar for about $10, and it made quick work of pulling up old trim.
- Floor Scraper: If you’re removing old adhesive or carpet, a floor scraper is essential. Home Depot rents heavy-duty scrapers for about $25 a day.
- Shop Vacuum: Sawdust and debris can scratch your new floor, so a shop vac is a must. I used a 5-gallon Ridgid wet/dry vac, priced around $80, to keep my workspace clean.
- Patching Compound: For concrete subfloors, a patching compound fills cracks and levels uneven spots. Home Depot carries Dap Ready-Mixed Concrete Patch for about $15 per gallon.
Safety Gear
Safety comes first! I made sure to protect myself while working, and Home Depot has all the gear you need:
- Safety Glasses: These protect your eyes from dust and debris. A basic pair costs around $5.
- Ear Protection: Cutting tools can be loud, so I used earmuffs, priced at about $15, to save my hearing.
- Knee Pads: Kneeling for hours can hurt, so I grabbed a pair of gel knee pads for about $20. My knees thanked me!
- Dust Mask: Cutting laminate creates fine dust, so a pack of disposable masks for under $10 is a smart buy.
Here’s a quick table summarizing the essential tools and their approximate costs at Home Depot:
| Tool | Purpose | Approximate Cost |
|---|---|---|
| Tape Measure | Measuring room and planks | $10 |
| Carpenter’s Pencil | Marking cut lines | $5 (pack) |
| Speed Square | Ensuring straight cuts | $10 |
| Laminate Flooring Cutter | Cutting planks cleanly | $100 |
| Circular Saw | Long or angled cuts | $15/day (rental) |
| Jamb Saw | Cutting door jambs | $30/day (rental) |
| Jigsaw | Curved or intricate cuts | $40 |
| Tapping Block & Pull Bar | Snapping planks together | $25 (kit) |
| Rubber Mallet | Tapping planks into place | $15 |
| Spacers | Maintaining expansion gaps | $5 (or in kit) |
| Level | Checking subfloor evenness | $20 |
| Pry Bar | Removing baseboards or old flooring | $10 |
| Floor Scraper | Removing adhesive or carpet | $25/day (rental) |
| Shop Vacuum | Cleaning debris | $80 |
| Patching Compound | Leveling concrete subfloors | $15/gallon |
| Safety Glasses | Eye protection | $5 |
| Ear Protection | Hearing protection | $15 |
| Knee Pads | Comfort while kneeling | $20 |
| Dust Mask | Protection from dust | $10 (pack) |
Renting vs. Buying Tools at Home Depot
One thing I love about Home Depot is their rental program. When I started my project, I didn’t want to spend hundreds on tools I’d only use once. Renting tools like a jamb saw or floor scraper saved me money and storage space. For example, renting a circular saw for a day costs about $15, while buying one could set you back $50 or more. However, I bought tools like the tape measure and rubber mallet since they’re inexpensive and useful for other projects. If you’re on a tight budget, check out Home Depot’s rental center or ask an associate for help picking the right tools.
Step-by-Step Guide to Using These Tools
Let me walk you through how I used these tools to install my laminate flooring. It’s easier than it looks, I promise!
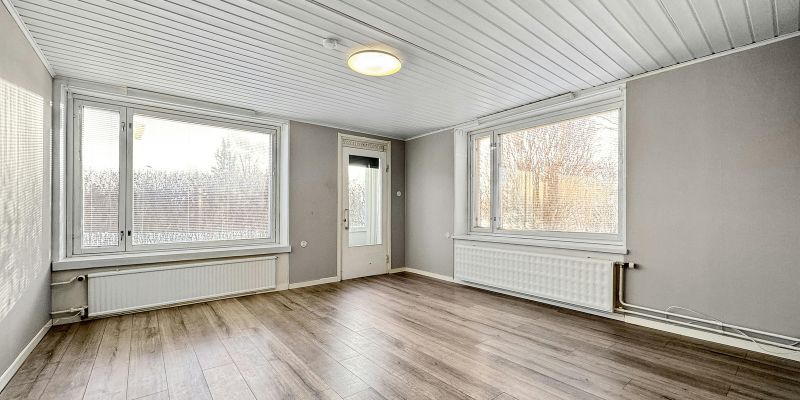
- Prepare the Subfloor: I started by clearing the room and removing old baseboards with a pry bar. My concrete subfloor had some cracks, so I applied patching compound and let it dry overnight. I used a level to ensure the floor was even, and I vacuumed up all debris with my shop vac.
- Measure the Room: Using my tape measure, I calculated the square footage to know how much flooring to buy. I added 10% extra for mistakes and future repairs, a tip I learned the hard way after running short!
- Acclimate the Flooring: I let the laminate planks sit in the room for 48 hours to adjust to the temperature and humidity. This prevents warping later.
- Lay Underlayment: Many laminate floors come with a built-in vapor barrier, but I laid a foam underlayment for extra cushioning. It’s sold in rolls at Home Depot for about $30.
- Cut Planks: I marked my cut lines with a pencil and speed square, then used the laminate cutter for straight cuts and the jigsaw for curves around doorways. For door jambs, I rented a jamb saw to trim the molding, making it easy to slide planks underneath.
- Install Planks: Starting at one wall, I laid the first row of planks, tongue side facing the wall, using spacers to maintain a ⅜-inch gap. I used the tapping block and rubber mallet to snap planks together, working row by row. The pull bar was a lifesaver for the last row near the wall.
- Finish Up: After installing all planks, I removed the spacers and reattached the baseboards. A quick vacuum with the shop vac, and my floor was ready to shine!
Tips for a Professional Finish
Here are some tips I picked up along the way to make your floor look like it was installed by a pro:
- Measure Twice, Cut Once: Double-check your measurements to avoid wasting planks. I ruined a few boards before I got this right!
- Stagger Seams: Offset the seams in each row for a natural look. I aimed for at least a 12-inch stagger between rows.
- Clean as You Go: Vacuum up sawdust and debris to prevent scratches. My shop vac was my best friend during this project.
- Use Quality Underlayment: A good underlayment reduces noise and adds comfort. Home Depot has options for every budget.
- Check for Asbestos: If your home is older, test old flooring for asbestos before removing it. I had my vinyl floor tested just to be safe.
Why Shop at Home Depot?
I keep going back to Home Depot for flooring projects because they have everything I need in one place. Their staff is super helpful, and they offer free DIY workshops where I learned a ton about laminate installation. Plus, their price-match guarantee means you’re getting a great deal. Whether you’re buying tools, renting equipment, or picking out flooring, Home Depot makes it easy and affordable.
Maintaining Your Laminate Floor
Once your floor is installed, keeping it looking great is simple. I sweep mine weekly with a soft broom and use a damp mop with a mild cleaner for deeper cleaning. Home Depot sells laminate-friendly cleaning products, like Bona Floor Cleaner, for about $10. Avoid soaking the floor, as too much water can damage it. With proper care, your laminate floor can last for years.
Conclusion
Installing laminate flooring is one of the most satisfying projects I’ve tackled, and with the right tools from Home Depot, you can do it too. From measuring and cutting to snapping planks into place, each tool plays a crucial role in creating a beautiful, durable floor. Whether you buy or rent, Home Depot has everything you need to make your project a success. I’ll never forget the moment I stepped back and admired my new floor, feeling proud of what I accomplished. You’ll feel that same rush of excitement, and I’m cheering you on! Grab your tools, head to Home Depot, and let’s make your home look amazing together.
FAQs
What is the most important tool for installing laminate flooring?
The laminate flooring cutter is a game-changer. It makes clean, straight cuts without dust or noise, which saves time and keeps your workspace tidy. I found the Roberts cutter at Home Depot to be super easy to use, even for a beginner.
Can I install laminate flooring without a laminate cutter?
Yes, but it’s tougher. You can use a circular saw or jigsaw, but they create more dust and require more skill for clean cuts. I tried using a hand saw at first, and it was a struggle. Renting a laminate cutter from Home Depot made my life so much easier.
How much should I budget for tools at Home Depot?
For a basic toolkit, expect to spend around $150-$200 if you’re buying essentials like a tape measure, mallet, and installation kit. Renting tools like a jamb saw or floor scraper can keep costs down, with rentals starting at $15-$30 per day. I mixed buying and renting to stay within my budget.
Do I need to buy all the tools, or can I rent them?
You don’t need to buy everything! I bought inexpensive tools like a tape measure and spacers but rented bigger items like the jamb saw. Home Depot’s rental program is affordable and perfect for one-time use tools.
How long does it take to install laminate flooring?
It depends on the room size and your experience. For a 200-square-foot room, it took me a weekend, including prep and cleanup. Having the right tools from Home Depot sped things up, especially the laminate cutter and tapping block.
Is it safe to install laminate flooring myself?
Absolutely, as long as you follow safety precautions. Wear safety glasses, a dust mask, and ear protection when cutting. I also used knee pads to stay comfortable. If you’re removing old flooring, check for asbestos, especially in older homes. Home Depot staff can guide you on safety gear.