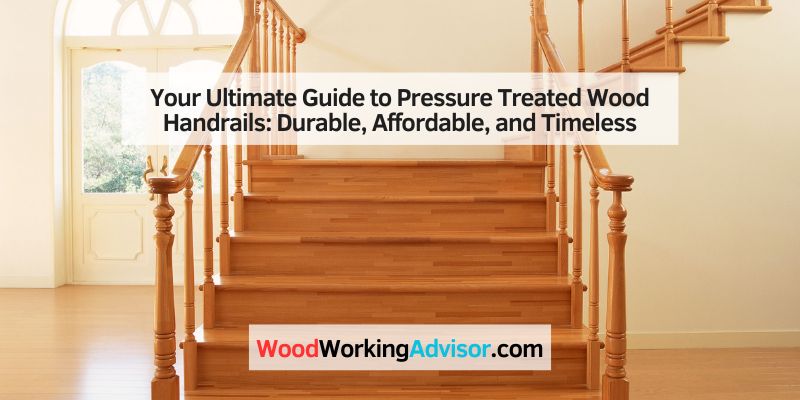
Your Ultimate Guide to Pressure Treated Wood Handrails: Durable, Affordable, and Timeless
Hey there! If you’re thinking about upgrading your deck, porch, or staircase with handrails, you’ve likely come across pressure treated wood handrails as an option. I’ve spent years working with wood, building outdoor projects, and diving deep into what makes certain materials stand out. Let me tell you, pressure treated wood handrails are a fantastic choice for many homeowners. They’re tough, budget-friendly, and can give your home that classic charm you’re after. In this guide, I’m going to walk you through everything I’ve learned about pressure treated wood handrails—why they’re great, how to choose them, and how to keep them looking amazing for years. So, grab a coffee, and let’s dive in!
What Are Pressure Treated Wood Handrails?
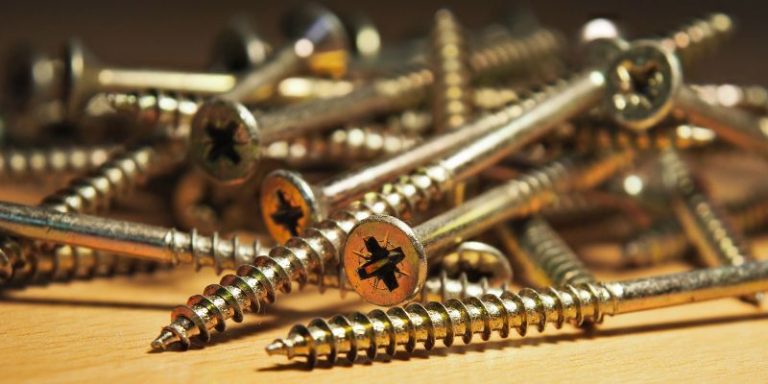
Let’s start with the basics. Pressure treated wood handrails are made from lumber that’s been specially treated to resist rot, insects, and weather damage. The process involves placing the wood in a pressure chamber and infusing it with chemical preservatives. These chemicals sink deep into the wood, making it super durable for outdoor use.
When I first started woodworking, I was amazed at how this treatment transforms regular wood into something that can handle rain, sun, and even termites. It’s like giving the wood a superhero shield! These handrails are commonly used for decks, porches, and outdoor staircases because they’re built to last in tough conditions. Plus, they’re affordable, which is always a win in my book.
Why Choose Pressure Treated Wood Handrails?
So, why should you pick pressure treated wood over other materials like aluminum or composite? I’ve built a few deck railings in my time, and here’s why I keep coming back to pressure treated wood:
- Affordability: It’s one of the most budget-friendly options out there. If you’re working on a tight budget, this is a lifesaver.
- Durability: The treatment makes the wood resistant to rot, insects, and moisture. I’ve seen pressure treated handrails hold up for decades with proper care.
- Customizability: You can cut, shape, and finish these handrails to match your style. Want a sleek, modern look? Stain it dark. Prefer a classic vibe? Paint it white.
- Availability: You can find pressure treated wood at almost any home improvement store, like Home Depot or Lowe’s. It’s easy to get your hands on.
That said, it’s not perfect. The wood can splinter or warp over time, and it needs regular maintenance to stay in top shape. But for the price and versatility, it’s hard to beat.
How Are Pressure Treated Wood Handrails Made?
I remember the first time I visited a lumber yard and asked about pressure treated wood. The process is pretty cool! The wood—usually pine or fir—is placed in a sealed chamber. Then, a mix of water and chemical preservatives, like alkaline copper quaternary (ACQ) or micronized copper azole (MCA), is forced into the wood under high pressure. This ensures the preservatives penetrate deep into the fibers, not just the surface.
The result? Wood that can stand up to harsh weather, bugs, and even ground contact in some cases. There are different treatment levels, like UC4A for above-ground use and UC4B for ground contact. For handrails, you’ll typically want UC4A, as they’re not buried in the soil. Knowing this helped me pick the right wood for my projects, and it’ll help you too.
Benefits of Pressure Treated Wood Handrails
Let’s talk about why these handrails are such a great pick. I’ve used them for several projects, and here’s what stands out:
- Long-Lasting: With proper care, these handrails can last 15-20 years or more. I’ve seen decks in my neighborhood still looking solid after a decade.
- Cost-Effective: Compared to cedar, redwood, or composite, pressure treated wood is a steal. You get durability without breaking the bank.
- Eco-Friendly Options: Modern treatments are safer than older ones that used arsenic. Many brands, like YellaWood, use environmentally friendlier chemicals.
- Versatile Design: You can shape these handrails into almost any style. I’ve built everything from simple, straight rails to curved designs for a fancy porch.
Here’s a quick table to sum up the benefits:
| Feature | Why It Matters |
|---|---|
| Durability | Resists rot, insects, and weather, making it ideal for outdoor use. |
| Affordability | Costs less than cedar, redwood, or composite, saving you money. |
| Customizability | Easy to cut, shape, paint, or stain to match your home’s look. |
| Wide Availability | Found at most hardware stores, so you won’t struggle to source it. |
Drawbacks to Consider
Now, I’m all about being honest. Pressure treated wood handrails aren’t flawless. Here are some challenges I’ve faced:
- Maintenance Needs: You’ll need to stain or paint every few years to keep them looking good. I learned this the hard way when my first deck started fading.
- Splintering and Warping: Over time, the wood can splinter or warp, especially if it’s not properly dried before installation. Kiln-dried-after-treatment (KDAT) wood helps, but it’s pricier.
- Initial Wetness: Freshly treated wood is often wet and needs time to dry before painting or staining. I once made the mistake of painting too soon, and the finish peeled off.
- Chemical Concerns: While newer treatments are safer, some folks worry about chemical leaching. If you’re using the wood near edible gardens, line it with plastic to be safe.
Despite these drawbacks, I’ve found that with a little planning, you can avoid most issues.
Choosing the Right Pressure Treated Wood Handrails
Picking the right handrails can feel overwhelming, but I’ve got a system that works. Here’s what I consider:
- Grade of Wood: Pressure treated wood comes in different grades, like #1 or #2. #1 has fewer knots and looks better, but it’s more expensive. For handrails, I usually go with #1 for a smoother finish.
- Treatment Level: Make sure the wood is rated for above-ground use (UC4A). If it’s for stairs close to the ground, you might need UC4B.
- Size and Shape: Common sizes for handrails are 2×4 or 2×6. I like 2×4 for a sleek look and 2×6 for a sturdier feel. Some brands, like YellaWood, offer molded handrails for a polished look.
- Kiln-Dried Option: If you can find KDAT wood, grab it. It’s less likely to warp or split, which saves headaches down the road.
When I built my last deck, I spent time at the lumber yard checking each piece for straightness and minimal knots. It’s worth the effort to get quality wood.
Installing Pressure Treated Wood Handrails
Installing handrails is one of my favorite parts of a project—it’s where the design comes to life! Here’s how I do it:
- Plan Your Design: Check local building codes for railing height (usually 36 inches for residential decks, 42 inches for commercial). Measure your space carefully.
- Gather Materials: You’ll need posts (4×4 or 6×6), rails (2×4 or 2×6), balusters, and hardware like through-bolts with zinc coating to prevent corrosion.
- Prepare the Wood: If the wood is wet, let it dry for a few weeks. Sand lightly to remove mill scale (that shiny surface layer).
- Install Posts: Secure 4×4 posts to the deck frame with through-bolts. I always use a level to make sure they’re plumb in both directions.
- Attach Rails: Screw top and bottom rails to the posts using 3-inch deck screws. For a graspable handrail, consider a molded 2×4 or 2×6.
- Add Balusters: Space balusters evenly (usually 4-6 inches apart to meet code). I use a jig to keep spacing consistent.
- Finish Up: Sand any rough edges and apply a stain or paint for protection.
My first installation was a bit wobbly because I didn’t use enough bolts. Now, I always double-check my hardware to ensure everything’s secure.
Maintaining Your Pressure Treated Wood Handrails
Here’s where a little effort goes a long way. I’ve learned that regular maintenance keeps pressure treated handrails looking great and lasting longer. Here’s my routine:
- Clean Annually: Wash the handrails with soap and water to remove dirt. For tough stains, a deck cleaner and a soft brush work wonders.
- Check for Damage: Look for splinters, cracks, or loose screws. I fix these right away to prevent bigger issues.
- Seal or Stain: Every 2-3 years, apply a high-quality exterior stain or sealant. I prefer oil-based semi-transparent stains for better adhesion.
- Test for Dryness: Before staining, make sure the wood is dry. I do the water test—if water beads up, wait longer. If it soaks in, you’re good to go.
One time, I skipped sealing for a few years, and my handrails started to gray and splinter. Lesson learned: don’t skip maintenance!
Painting vs. Staining: What’s Best?
This is a big question I get all the time. Should you paint or stain your pressure treated wood handrails? Here’s my take:
- Staining: I usually go with stain because it soaks into the wood, reducing peeling. Semi-transparent stains show off the wood’s grain, while solid stains hide imperfections. Oil-based stains are my go-to for durability.
- Painting: Paint gives a crisp, uniform look, but it’s trickier. The wood needs to be completely dry, and you’ll want a latex primer followed by exterior latex paint. I’ve had paint peel when I didn’t prep properly, so take your time.
For my last project, I used a semi-transparent cedar stain, and the handrails looked warm and natural. If you want a bold color, paint might be your pick—just be ready for more upkeep.
Comparing Pressure Treated Wood to Other Materials
I’ve tried other materials for handrails, so let’s see how pressure treated wood stacks up:
- Cedar: Naturally rot-resistant and beautiful, but it’s pricier. I love cedar’s look, but my wallet prefers pressure treated wood.
- Redwood: Stunning and durable, but super expensive and less available. I save redwood for accent pieces.
- Composite: Low-maintenance and modern, but it costs more upfront. I used composite once, and while it’s hassle-free, it lacks the warmth of wood.
- Aluminum: Easy to install and low-maintenance, but it can get hot in the sun and doesn’t have that classic wood vibe.
For most of my projects, pressure treated wood wins for its balance of cost, durability, and style.
Safety and Building Codes
Safety is huge when it comes to handrails. I’ve had inspectors check my work, so here’s what you need to know:
- Height: Most codes require deck handrails to be at least 36 inches high for residential use, 42 inches for commercial.
- Graspability: Handrails need to be easy to grip. A 2×4 laid flat isn’t enough—use a molded handrail or add a graspable cap.
- Spacing: Balusters should be no more than 4-6 inches apart to prevent kids from slipping through.
- Strength: Handrails must support a certain amount of force (check local codes). I always use sturdy bolts and brackets to be safe.
When I built a ramp for a friend’s wheelchair access, I made sure the handrail was graspable and met ADA standards. It’s worth double-checking codes in your area to avoid issues.
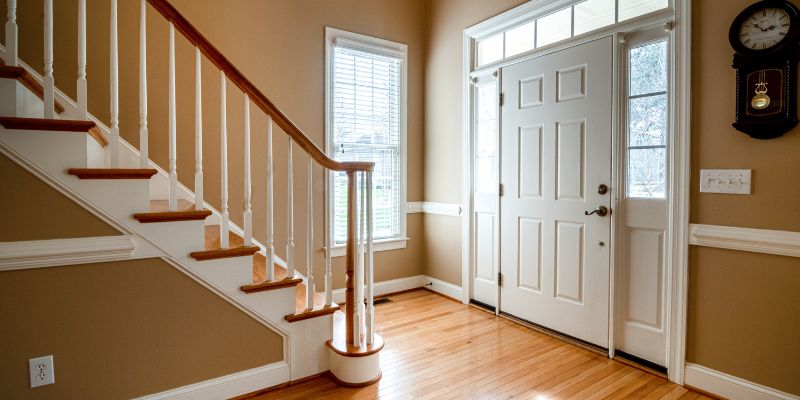
Design Ideas for Pressure Treated Wood Handrails
One of the best things about pressure treated wood handrails is how versatile they are. Here are some ideas I’ve tried or seen:
- Classic White: Paint the handrails white for a clean, timeless look. I did this for a porch, and it felt so welcoming.
- Natural Stain: Use a cedar or walnut stain to highlight the wood’s grain. It’s perfect for a rustic deck.
- Mixed Materials: Combine wood with cable railings for a modern twist. I saw this at a neighbor’s house, and it was stunning.
- Curved Designs: If you’re handy with a saw, shape the handrails into gentle curves for a custom look.
For my current deck, I went with a simple 2×4 top rail stained dark brown. It’s understated but ties the whole space together.

Environmental Considerations
I care about the environment, so I always check the sustainability of my materials. Modern pressure treated wood is safer than older versions that used arsenic. Brands like ProWood source from sustainably managed forests, which is a big plus. If you’re worried about chemical leaching, avoid using pressure treated wood near edible gardens unless you line it with plastic. I’ve done this for raised beds, and it works great.
Cost Breakdown
Let’s talk money. Here’s what I’ve spent on pressure treated wood handrails for a typical 30-foot deck:
| Item | Cost (Approx.) |
|---|---|
| 4×4 Posts (6) | $60-$90 |
| 2×4 Rails (60 ft) | $100-$150 |
| Balusters (30) | $50-$80 |
| Hardware (Bolts, Screws) | $20-$40 |
| Stain/Sealant | $30-$50 |
| Total | $260-$410 |
These costs vary by region and wood grade, but pressure treated wood is always cheaper than cedar ($500+) or composite ($700+).
My Personal Experience
When I built my first deck, I used pressure treated wood handrails because they were affordable and easy to work with. I made some mistakes—like not letting the wood dry fully before staining—but it was a learning experience. Now, I’m meticulous about prep and maintenance, and my handrails look as good as new years later. There’s something satisfying about working with wood that’s tough enough to handle the elements but still lets you get creative.
Conclusion
Pressure treated wood handrails are a fantastic choice for anyone looking to add durability, affordability, and style to their outdoor space. I’ve used them for years, and they’ve never let me down. Sure, they need some upkeep, but with a little care, they’ll last for decades and look great doing it. Whether you’re building a deck, porch, or staircase, these handrails offer the perfect balance of practicality and charm. So, grab your tools, pick out some quality wood, and get ready to create something you’ll be proud of. I can’t wait to hear how your project turns out!
Frequently Asked Questions
Can I Use Pressure Treated Wood Handrails Indoors?
You can, but I don’t recommend it. The chemicals in pressure treated wood are designed for outdoor use and can release odors indoors. Plus, it’s not as smooth or attractive as hardwoods like oak or maple for indoor settings.
How Long Do Pressure Treated Wood Handrails Last?
With proper maintenance, like regular staining or sealing, they can last 15-20 years or more. I’ve seen some in my neighborhood still going strong after a decade with minimal upkeep.
Is It Safe to Paint Pressure Treated Wood Handrails?
Yes, but you need to let the wood dry first—sometimes up to 3-4 months. Test it by sprinkling water on the surface. If it soaks in, you’re good to paint. Use a latex primer and exterior latex paint for the best results.
Do Pressure Treated Wood Handrails Splinter Easily?
They can splinter over time, especially if not maintained. I always sand lightly before staining and check for splinters annually. Kiln-dried-after-treatment (KDAT) wood is less prone to splintering.
Are Pressure Treated Wood Handrails Safe for Kids and Pets?
Modern treatments are safer than older ones, but I still recommend sealing the wood to minimize chemical leaching. Keep kids and pets from chewing on the rails, and you should be fine.