Treated Wood Shims: Uses, Sizes & the Rot Risk Most Guides Skip
Treated wood shims are wedge-cut pieces of pressure-treated pine used to level and support doors, windows, cabinets, and framing — but the preservative only penetrates the outer shell, so any cut end is bare wood underneath. Left untreated, that exposed end rots first, often within a season outdoors. This guide covers when treated wood shims are the right call, when a $17 composite pack outlasts them, and the one field-treatment step (AWPA M4) that most how-to pages skip entirely.
Shims belong to the broader world of treated wood projects, and the species and treatment choice you make here follows the same pressure-treatment logic used for deck framing and other exterior lumber.
What Are Treated Wood Shims Used For?
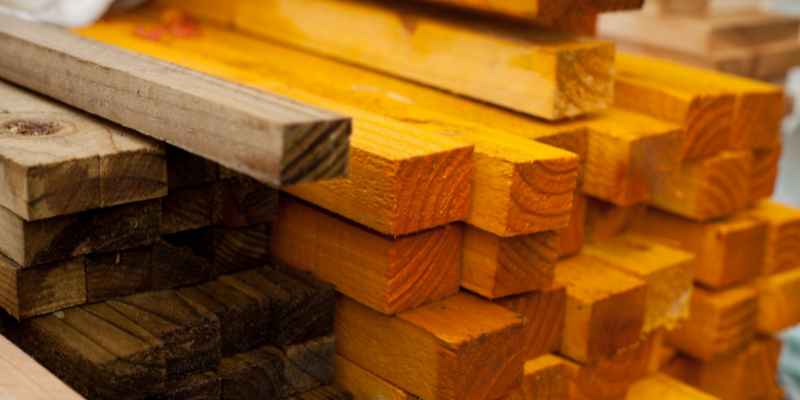
A treated wood shim is a thin, tapered wedge cut from pressure-treated pine that fills gaps and transfers load between two surfaces that don’t naturally sit flush. Builders drive them into the gap between a door or window jamb and the rough opening, under cabinet bases, beneath sill plates, and between deck ledgers and rim joists.
- Leveling and plumbing door and window frames in the rough opening
- Squaring cabinet bases and countertop supports before fastening
- Raising low points under sill plates, deck ledgers, and posts
- Taking up small gaps (1/16″ to 1/2″) where a solid connection needs full contact
The treatment (usually micronized copper azole, MCA, or alkaline copper quaternary, ACQ) is what makes them worth the extra cost over plain pine: it resists the rot and insect damage that untreated shims pick up fast in a damp sill or an exterior door jamb.
Treated Wood vs. Cedar vs. Composite Shims: Which Should You Use?
All three materials level a surface, but they don’t age the same way once they’re buried in a damp gap. Here’s how they actually compare for real installations:
| Shim Type | Best For | Weak Point | Typical Cost |
|---|---|---|---|
| Pressure-Treated Pine | Outdoor framing, sill plates, deck ledgers | Cut ends rot if not field-treated | ~$0.15–$0.40/shim |
| Cedar | Exposed indoor/outdoor trim where appearance matters | Naturally decay-resistant but softer, compresses under heavy load | ~$0.30–$0.60/shim |
| Composite (recycled plastic) | Wet locations: tubs, toilets, decks, exterior doors | Costs more per shim, less traditional look | ~$0.70–$1.00/shim |
Composite shims won’t rot, swell, or compress the way wood does, and manufacturer testing puts their load capacity roughly 30% above a standard wood shim — which is why plumbers and tub installers increasingly default to them in wet locations instead of treated pine.
Why the “Treated” Label Doesn’t Always Mean Rot-Proof
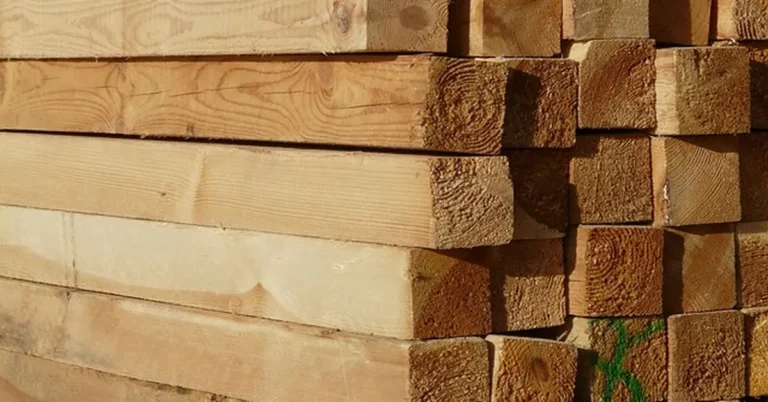
Pressure treatment forces preservative into the outer inch or so of the wood — it doesn’t reach the core. Every time you rip or cut a shim to length, you expose that untreated core at the new end. Left bare in ground contact or a damp sill gap, that cut end decays years before the rest of the shim would.
📊 AWPA Standard M4 requires field-treating every cut, drilled hole, or damaged spot on pressure-treated wood with a copper naphthenate solution (2.0% copper metal, or 1.0% if that’s unavailable) before it goes into exterior or ground-contact use. — Source: Preserved Wood Foundation, AWPA M4 Field Treatment Guidance
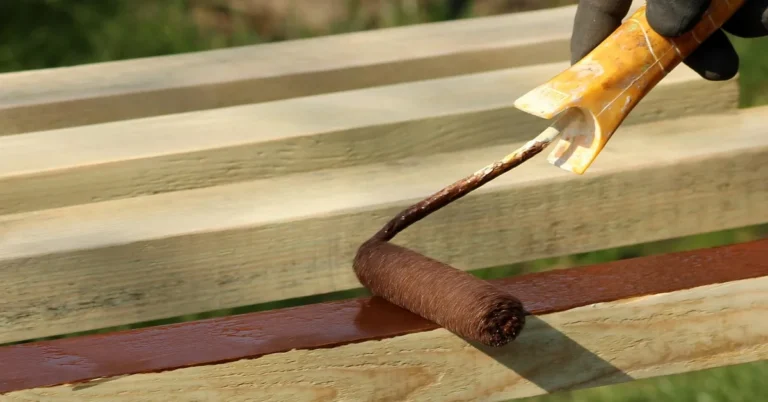
In our shop, we brush copper naphthenate onto every cut shim end before it goes into an exterior sill or deck connection — it takes about ten seconds per shim and is the single step that separates a treated shim that lasts a decade from one that rots at the tip in two winters.
Best Composite Shim Pick
 |
Pro-Grade Composite Shims, 24-Pack, 7.75 Inch – $16.99 Made from recycled composite instead of wood, so there’s no cut end to field-treat and no risk of the rot this guide just covered — a direct fix for the weak point of treated pine shims in wet locations.
|
As an Amazon Associate we earn from qualifying purchases.
Choosing the Right Wood Species for Shims
Most treated wood shims sold at home centers are cut from Southern yellow pine because it takes preservative treatment evenly and is cheap to mill thin. A few species show up for specific reasons:
- Pine (pressure-treated): the standard choice — inexpensive, treats well, adequate strength for door, window, and cabinet shimming
- Cedar: naturally rot-resistant without chemical treatment, preferred where the shim stays partly visible (exposed trim, some cabinet installs)
- Oak: denser and stronger, used where a shim carries real structural load, like under a beam or post base
- Poplar: straight-grained and easy to plane paper-thin, used for fine leveling where 1/32″ adjustments matter
For anything outdoors or in ground contact, pressure-treated pine or a composite shim beats cedar or poplar on durability alone — save the hardwood species for indoor, load-bearing, or fine-adjustment work.
Step-by-Step: Installing Treated Wood Shims for a Level Surface
Correct shim placement takes five minutes once the site is prepped. Skipping prep is the most common reason a shimmed connection works loose within a year.
- Clear the gap: remove debris, sawdust, and dust from the space the shim will occupy.
- Confirm the surface is dry: moisture trapped behind a shim accelerates rot even on treated stock.
- Measure the gap: check width at both ends — gaps are rarely uniform on an old rough opening.
- Cut and field-treat the shim: rip to length, then brush copper naphthenate on the fresh-cut end before installing (see the AWPA M4 callout above).
- Drive the shim from both sides: for door and window jambs, insert opposing shims from each side of the jamb so they lock against each other instead of just one thick wedge.
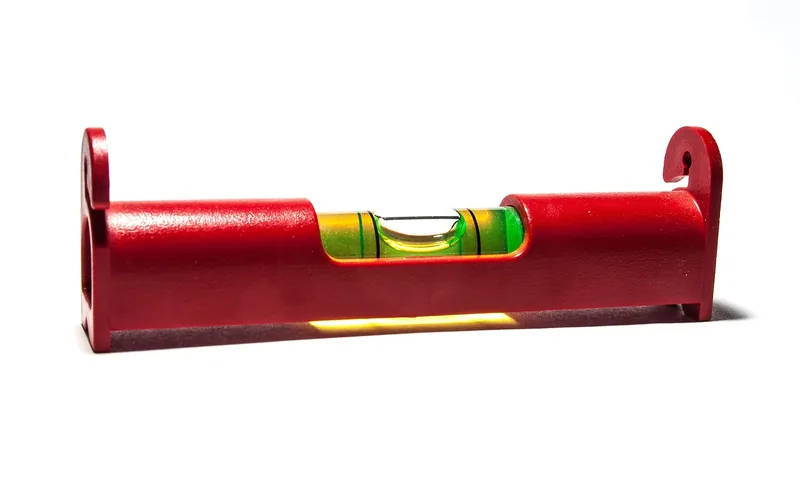
- Check level and plumb: verify with a level after each shim before moving to the next point.
- Score and snap flush: once level, score the shim where it meets the surface and snap off the excess instead of leaving it protruding.
If you’re leveling more than a single door or cabinet — say, an entire floor system — the shim technique is the same but the scale changes; our guide to leveling a hardwood floor walks through the whole-room version of this same process.
Can You Use Treated Wood Shims Outdoors, Like Under Deck Joists?
Yes, but with two conditions builders sometimes skip. First, the wood must be dry before you cut and install it — wet PT lumber shims compress and lose their fit as they dry out in place. Second, every cut end needs the field-treatment step above, since a deck joist or post-base gap holds moisture against the shim far longer than an interior door jamb does.
For beam and post-base connections specifically — where the shim sits in near-constant ground moisture — composite or metal shims are the safer long-term choice over wood, since they don’t compress or retain water against the connection. If you’re framing a new deck from scratch, our beginner deck-building guide covers where shimming typically comes up in the framing sequence.
Common Mistakes to Avoid With Wood Shims
- Skipping the cut-end treatment: the single most common failure point on outdoor and ground-contact installs — see the AWPA callout above.
- Using one thick shim instead of two opposing wedges: a single shim driven in hard can split or work loose; two shims driven from opposite sides lock together and hold under vibration.
- Over-shimming instead of fixing the real problem: if a floor or frame needs more than a few stacked shims to level, the framing itself likely needs correction — shims fix small gaps, not structural sag.
- Leaving shims un-scored and protruding: unscored shim tails left inside a wall or under trim can telegraph through drywall or flooring later.
- Wrong size for the gap: a shim forced into a gap smaller than its taper allows can crack the surrounding material; measure before cutting.
Preserving and Maintaining Treated Wood Shims
Once installed and enclosed (behind trim, under a sill plate), treated wood shims need no ongoing maintenance. For shims that stay accessible — under an exterior door threshold, for example — a periodic check catches problems early:
- Inspect exposed shims yearly for soft spots, discoloration, or visible cut ends that were never field-treated.
- Re-apply copper naphthenate to any newly exposed cut end if trim or hardware is removed and reinstalled.
- Replace any shim that feels soft or compresses under thumb pressure — that’s active decay, not just surface weathering.
- Keep shimmed gaps sealed with caulk or flashing where water can otherwise track in around them.
Frequently Asked Questions
What are treated wood shims used for?
Treated wood shims level and support structures during construction and repair — commonly for door and window installation, cabinet leveling, and taking up small gaps under sill plates or deck ledgers. The pressure treatment adds resistance to moisture and insect damage compared to plain pine.
Do treated wood shims rot, and why?
Yes, at the cut end. Pressure treatment only penetrates the outer shell of the wood, so any end you cut or rip exposes untreated core wood. Left bare in a damp or ground-contact gap, that exposed end decays well before the rest of the shim would. Field-treating the cut with copper naphthenate (per AWPA M4) prevents this.
Can you use treated wood shims outdoors, like under deck joists?
Yes, provided the wood is dry before installation and every cut end is field-treated with preservative. For connections that sit in near-constant moisture, such as post bases and beam pockets, a composite or metal shim is a more durable choice than wood.
Are treated wood shims safe for indoor use?
Yes, treated wood shims are safe for indoor use once enclosed behind trim or flooring. Some preservative treatments carry handling precautions during cutting (wear a dust mask and gloves, and don’t burn the offcuts), so check the product label, but installed and covered shims pose no ongoing exposure risk.
Are composite shims better than treated wood shims?
For wet locations — tubs, toilets, exterior doors, decks — composite shims are the more durable choice since they don’t rot, swell, or compress and carry roughly 30% more load capacity than wood by manufacturer testing. For dry, enclosed interior framing, treated wood shims cost less and perform just as well.
Treated wood shims remain the cheapest, most available option for leveling doors, windows, cabinets, and framing — but the job isn’t done when the shim is driven in. Field-treat every cut end going into an exterior or ground-contact gap, and reach for a composite shim instead when the connection stays wet.
Sponsored / affiliate links. As an Amazon Associate I earn from qualifying purchases. I may earn additional commission from eligible campaigns.