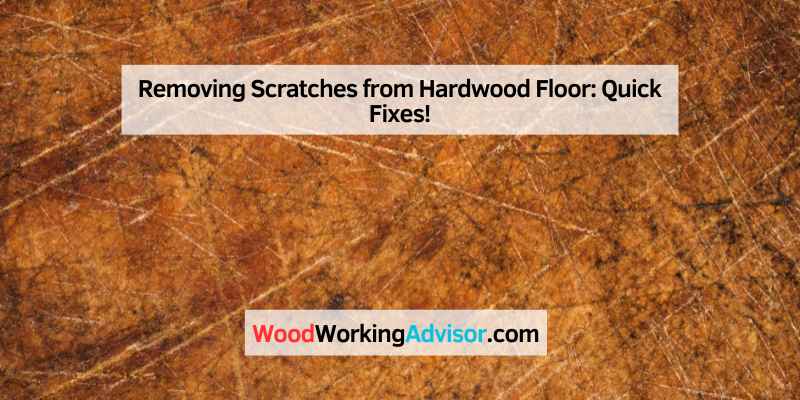
Removing Scratches from Hardwood Floor: Quick Fixes!
To remove scratches from a hardwood floor, mix equal parts apple cider vinegar and olive oil, apply to the scratches, and rub it out with a clean cloth. Additionally, you can use wood filler to repair deeper scratches and finish restorers for minor scratches.
For a well-rounded Hardwood floors can add elegance and warmth to any space, but scratches can diminish their beauty. Fortunately, there are effective methods to remove scratches and restore the floor’s pristine appearance. Whether it’s using natural remedies like olive oil and baking soda, or professional wood filler and finish restorers, there are various solutions to address scratches of different depths.
In this guide, we’ll explore some quick and easy methods to fix scratches on hardwood floors, allowing you to maintain the timeless appeal of your hardwood flooring.
Introduction To Hardwood Floor Care
Hardwood floors are a popular choice for homeowners due to their timeless beauty and durability. However, over time, these floors can develop scratches that can detract from their appearance. It’s essential to understand the significance of maintaining hardwood floors and how to properly care for them to ensure their longevity.
Significance Of Maintaining Hardwood Floors
Maintaining hardwood floors is crucial for several reasons:
- Preserving aesthetics: Regular maintenance helps to keep the natural beauty of hardwood floors intact, enhancing the overall appearance of your home.
- Protecting the investment: Hardwood flooring is a significant investment, and proper care ensures that it lasts for years to come, saving you money on replacement costs.
- Preventing further damage: Neglected scratches can lead to more extensive damage, such as warping or discoloration, making it essential to address them promptly.
- Ensuring safety: Smooth and scratch-free hardwood floors reduce the risk of accidents, such as slips and falls.
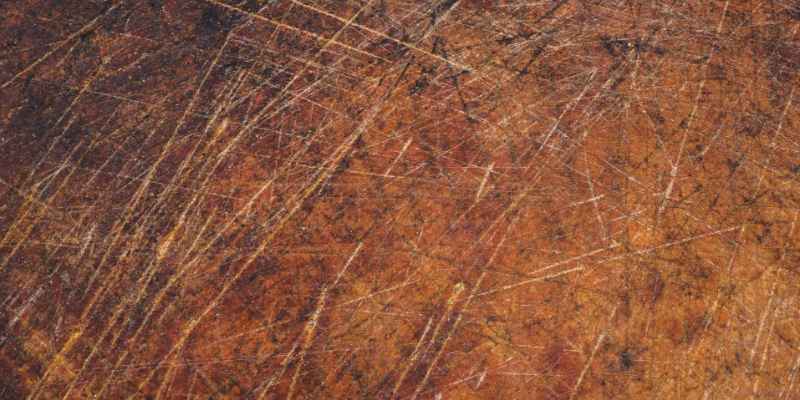
Understanding Different Types Of Scratches
There are various types of scratches that can occur on hardwood floors:
| Scratch Type | Description |
|---|---|
| Surface Scratches | Shallow scratches that only affect the protective finish layer of the hardwood floor. |
| Deep Scratches | Scratches that penetrate beyond the protective finish layer and affect the actual wood surface. |
| Gouges | Deeper and wider scratches that go beyond the finish and wood surface, often requiring more extensive repairs. |
Understanding the type of scratch is crucial in determining the appropriate method for removal and repair.
Now that we have covered the significance of maintaining hardwood floors and the different types of scratches, we can delve into effective techniques to remove scratches and restore the beauty of your hardwood floors. Stay tuned for our next blog post!
Identifying Types Of Scratches
To remove scratches from hardwood floors, you can try mixing equal parts apple cider vinegar and olive oil and gently dabbing the solution into the scratches. Leave it for a day and then rub it out with a clean cloth.
Another option is to use a marker or blending pencil to cover the scratches, followed by rubbing wood stain over the area and wiping it clean. For deeper scratches, wood filler can be applied and sanded until level with the surrounding wood.
Distinguishing Between Light And Deep Scratches
When it comes to removing scratches from hardwood floors, it is important to first identify the types of scratches you are dealing with. One way to distinguish between light and deep scratches is by assessing the depth of the scratch. Light scratches typically only affect the surface of the floor and can often be easily repaired. On the other hand, deep scratches penetrate deeper into the wood and may require more extensive measures to fix. By understanding the severity of the scratches, you can determine the most appropriate method for removing them.
Assessing The Extent Of Damage
To effectively remove scratches from hardwood floors, it is crucial to assess the extent of the damage. This involves closely examining the scratches to determine their size and location. Light scratches may appear as thin surface marks, while deep scratches can be more noticeable and may even expose the bare wood. Assessing the extent of the damage will help you determine the best course of action for repairing the scratches. It will also give you a better understanding of whether the scratches can be addressed through simple DIY methods or if professional assistance is needed.
In conclusion, identifying the types of scratches on your hardwood floor is the first step towards successfully removing them. Distinguishing between light and deep scratches allows you to tailor your approach to the severity of the damage. Additionally, assessing the extent of the damage provides valuable insights into the best methods for repairing the scratches. By taking these steps, you can effectively restore the appearance of your hardwood floor and maintain its beauty for years to come.
DIY Scratch Removal Techniques
When it comes to maintaining the pristine look of your hardwood floors, scratches can be a major eyesore. Fortunately, there are several DIY scratch removal techniques that can help restore the beauty of your hardwood floors. From using kitchen remedies to crafting homemade scratch removal solutions, these methods can be effective in addressing light scratches and restoring the luster of your hardwood floors.
Using Kitchen Remedies For Light Scratches
For light scratches on hardwood floors, kitchen remedies can offer a simple and effective solution. One popular method involves mixing equal parts of apple cider vinegar and olive oil in a small cup. Carefully dab the solution into the scratches and let it sit for a day before rubbing it out with a clean, soft cloth. This natural remedy can help diminish the appearance of light scratches and restore the smooth finish of your hardwood floors.
Crafting A Homemade Scratch Removal Solution
If you’re looking for a homemade scratch removal solution, you can create a DIY mixture using common household ingredients. One effective recipe involves combining vegetable oil or bacon grease with a small amount of oil-based stain. Apply this homemade solution to the scratched area and allow it to penetrate the wood. Afterward, wipe the area clean and gently buff the surface to blend in the treated area with the rest of the floor. This DIY approach can help minimize the visibility of scratches and revitalize the appearance of your hardwood floors.
Commercial Scratch Repair Kits
Commercial Scratch Repair Kits are the ideal solution for removing scratches from hardwood floors. These kits offer an easy and effective way to restore the beauty of your floors without the need for professional help. With the right tools and instructions, you can easily fix those unsightly scratches and enjoy a flawless hardwood floor once again.
Benefits Of Ready-to-use Kits
Commercial scratch repair kits are an easy and affordable way to remove scratches from hardwood floors. These kits come with everything you need to repair your floors, including filler, colorant, and a sealant. One of the biggest benefits of using a ready-to-use kit is that it saves you time and effort. You don’t have to worry about buying each product separately or figuring out the right color to match your floor. Plus, the kit’s instructions are straightforward and easy to follow.
How To Apply Commercial Products Effectively
To apply commercial scratch repair kits effectively, you need to follow the instructions carefully. Here are the general steps to follow:
- Clean the damaged area. Use a soft cloth and hardwood cleaner to remove any dirt or debris from the scratch.
- Apply the filler. Use a putty knife to apply the filler to the scratch. Make sure to fill the scratch completely, but don’t overfill it.
- Color the filler. Use the colorant included in the kit to match the color of your floor. Apply the colorant to the filler and let it dry according to the instructions.
- Seal the repair. Apply the sealant included in the kit to the repaired area. This will protect the repair and help it blend in with the surrounding floor.
It’s important to note that different kits may have slightly different instructions. Always read the instructions carefully before beginning the repair.
In conclusion, using a commercial scratch repair kit is an effective and convenient way to remove scratches from hardwood floors. By following the instructions carefully, you can achieve a professional-looking repair without spending a lot of time or money.
Alternative Scratch Concealment Options
Looking to remove scratches from your hardwood floor? Consider alternative scratch concealment options such as using wood markers, blending pencils, or finish restorers to effectively cover and treat minor scratches. Additionally, you can try a DIY solution of apple cider vinegar and olive oil to minimize the appearance of scratches without sanding.
Utilizing Wood Markers And Blending Pencils
One of the most common ways to conceal scratches on hardwood floors is by using wood markers and blending pencils. These products come in a variety of colors, allowing you to find a shade that matches your floor. Simply color in the scratch with the marker or pencil, and then use a clean, soft cloth to blend the color into the surrounding area. This method can be effective for minor scratches, but may not work as well for deeper scratches.
The Role Of Stain And Finish Restorers
Stain and finish restorers can also be used to treat scratches on hardwood floors. These products are designed to penetrate the raw wood and restore the original color and finish of the floor. Simply apply the restorer to the scratched area and then wipe away any excess with a clean, soft cloth. Finish restorers are ideal for treating minor scratches across a wide area of the floor.
Other Alternative Scratch Concealment Options
In addition to wood markers, blending pencils, and stain and finish restorers, there are other alternative scratch concealment options you can try. For example, you can create a DIY solution of apple cider vinegar and olive oil to dab into small scratches. You can also use wax sticks or putty to fill in deeper scratches, sanding the area smooth before applying the wax or putty. Another option is to give your floors a new coat of finish to match the original as closely as possible.
No matter which method you choose, it’s important to carefully clean the area around the scratch using a soft or microfiber cloth and some hardwood cleaner, like a Bona product. This will ensure that the area is free of dirt and debris, and that the concealment method you choose adheres properly to the floor.
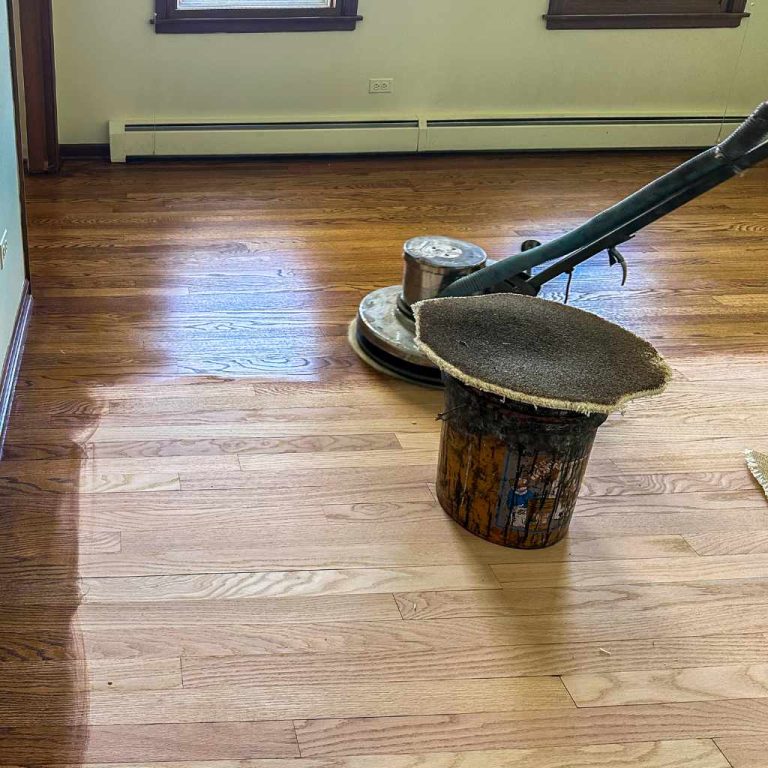
Professional Refinishing Versus DIY
When it comes to removing scratches from hardwood floors, many homeowners are faced with the decision of professional refinishing or DIY. While DIY methods like using a mixture of apple cider vinegar and olive oil can work for small scratches, professional refinishing is recommended for deeper and more severe scratches to ensure a flawless result.
When it comes to removing scratches from your hardwood floor, you have two options: professional refinishing or DIY. Both have their pros and cons, so it’s important to consider which option is best for your specific situation.
When to call a professional
If your hardwood floor has deep scratches or damage, it’s best to call a professional. A professional can assess the damage and determine the best course of action, which may involve sanding and refinishing the entire floor. This can be a time-consuming and expensive process, but it will ensure that your floor looks brand new again.
Pros and cons of DIY scratch repair
If you have minor scratches on your hardwood floor, you may be able to repair them yourself. DIY scratch repair kits are available at most home improvement stores and can be a cost-effective solution. However, it’s important to note that DIY scratch repair may not produce the same results as professional refinishing. Here are some pros and cons of DIY scratch repair:
Pros:
– Cost-effective
– Easy to use
– Can produce satisfactory results for minor scratches
Cons:
– May not produce the same results as professional refinishing
– May not be effective for deep scratches or damage
– Can be time-consuming
In conclusion, the decision to choose professional refinishing or DIY scratch repair depends on the severity of the damage to your hardwood floor. If you have deep scratches or damage, it’s best to call a professional. If you have minor scratches, you may be able to repair them yourself with a DIY scratch repair kit.
Preventing Future Scratches
To prevent future scratches on hardwood floors, consider using protective felt pads on furniture legs, placing rugs in high-traffic areas, and trimming pets’ nails regularly. These simple steps can help maintain the floor’s pristine condition and minimize the need for frequent scratch removal.
Regular maintenance is key to preserving the beauty of hardwood floors for years to come.
Prevention is always better than cure. After removing scratches from your hardwood floor, it’s essential to take measures to prevent future scratches. Regular maintenance and protective measures can help keep your floors looking great for years to come.
Regular Maintenance Tips
Regular maintenance is key to preventing scratches on your hardwood floor. Here are some tips to follow:
- Use a soft-bristled broom or vacuum with a hardwood floor attachment to remove dirt and debris regularly.
- Wipe up spills immediately to prevent them from seeping into the wood and causing damage.
- Avoid using water to clean your hardwood floor, as excess moisture can cause warping and damage to the wood.
- Use a hardwood cleaner recommended by your flooring manufacturer to keep your floor clean and shiny.
Protective Measures For Your Hardwood Floors
Protective measures can help prevent scratches and other damage to your hardwood floor. Here are some measures you can take:
- Use felt pads on the bottom of furniture legs to prevent scratches from moving furniture around.
- Avoid wearing high heels or shoes with cleats on your hardwood floors.
- Place rugs or mats in high traffic areas to protect your floor from wear and tear.
- Trim your pet’s nails regularly to prevent scratches from their paws.
By following these regular maintenance tips and protective measures, you can keep your hardwood floors looking beautiful and scratch-free for years to come.
Conclusion: Restoring Hardwood Floor Beauty
Restore the beauty of your hardwood floor by effectively removing scratches with simple DIY solutions. Mix apple cider vinegar and olive oil, apply the solution to the scratches, and gently rub it out with a soft cloth for impressive results.
Alternatively, use wood filler and finish restorers to treat minor scratches and give your floor a new lease of life.
Summarizing Effective Scratch Repair Methods
Several effective methods can be used to remove scratches from hardwood floors. These include using wood markers or blending pencils, applying wood stain and finish restorers, and giving the floors a new coat of finish to match the original as closely as possible. Additionally, a DIY solution of apple cider vinegar and olive oil can also be used to treat minor scratches.
Emphasizing The Importance Of Ongoing Floor Care
Proper ongoing floor care is crucial in maintaining the beauty and integrity of hardwood floors. Regular cleaning using a soft or microfiber cloth and hardwood cleaner, such as Bona product, helps to keep the floors in pristine condition. Additionally, using protective pads on furniture legs and promptly addressing any scratches or damages can prevent further issues and preserve the natural beauty of the hardwood floors.
Frequently Asked Questions
How Do You Get Scratches Out Of Hardwood Floors Without Sanding?
To remove scratches from hardwood floors without sanding, you can mix equal parts apple cider vinegar and olive oil in a small cup. Dab the solution into the scratches and leave it for a day. Then, use a clean, soft cloth to rub out the solution.
Another option is to use a marker or blending pencil to cover the scratches, followed by rubbing wood stain over the area and wiping it clean. You can also try using finish restorers or giving your floors a new coat of finish to match the original.
Can You Get Scratches Out Of Wood Floors?
Yes, you can remove scratches from wood floors using wood markers, stain, or finish restorers. You can also apply a mixture of apple cider vinegar and olive oil, or use wood fillers for deeper scratches. Regular cleaning and maintenance can help prevent future scratches.
Does Murphy’s Oil Soap Remove Scratches?
Murphy’s oil soap is not specifically designed to remove scratches from surfaces. It is more effective for heavy-duty cleaning and removing stains and marks from waxed floors. To remove scratches from hardwood floors, it is recommended to use specific methods such as using wood filler, sanding, and staining to match the surrounding floor.
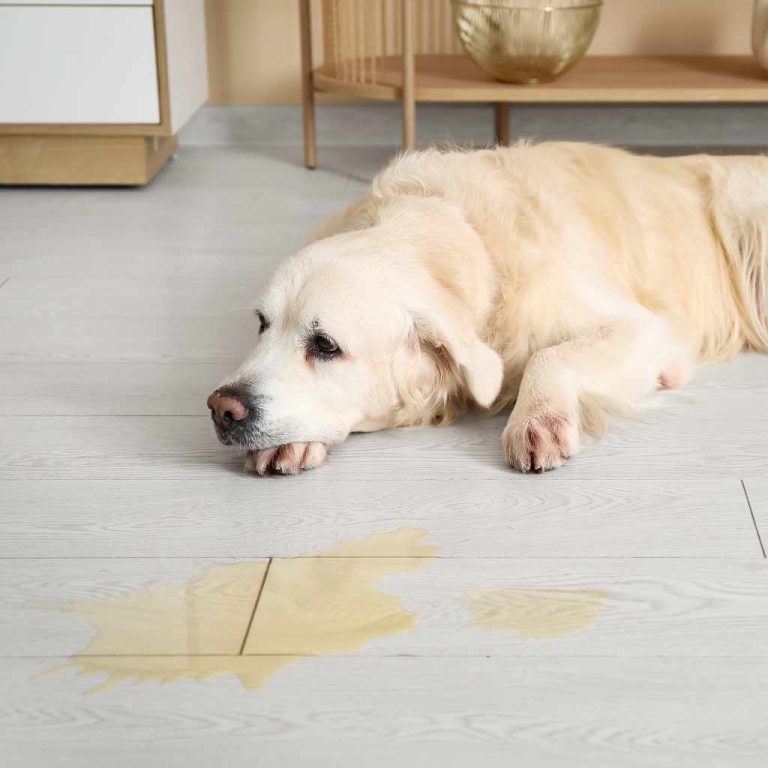
How Do You Fix Dog Scratches On Hardwood Floors?
To fix dog scratches on hardwood floors, follow these steps:
1. Clean the damaged area thoroughly.
2. Apply wood filler to the gouge, slightly overfilling it.
3. Let the filler dry completely.
4. Lightly sand the filled area until it’s level with the surrounding wood.
5. Stain the repaired area to match the surrounding floor.
Conclusion
To remove scratches from hardwood floors without sanding, you can try a simple DIY solution. Mix equal parts apple cider vinegar and olive oil and carefully apply it to the scratches. Let the solution sit for a day and then gently rub it out with a soft cloth.
Another option is to use a marker or blending pencils to cover up the scratches, or to use finish restorers for treating minor scratches across a wider area. Remember to match the new finish as closely as possible to the original.
With these tips, you can easily restore the beauty of your hardwood floors.