Repair Hardwood Floor Scratch: Easy DIY Fixes That Work Fast
Have you noticed an annoying scratch on your beautiful hardwood floor? It’s frustrating to see those marks ruining the smooth, shiny surface you worked hard to maintain.
But here’s the good news: you don’t have to live with that scratch or spend a fortune on repairs. You’ll discover simple, effective ways to repair hardwood floor scratches quickly and easily. By the end, your floor will look fresh and flawless again—without stress or hassle.
Keep reading, and let’s bring your hardwood floor back to life!
Identify Scratch Types
Knowing the type of scratch on your hardwood floor helps you fix it right. Different scratches need different repair methods. This saves time and keeps your floor looking great.
Read on to learn about common scratch types and how to spot them easily.
Surface Scratches
Surface scratches are light marks on the finish of the wood. You can feel them but not see deep damage. These scratches usually happen from moving furniture or pets.
They are easy to repair using simple methods like polishing or a special wood marker. No sanding needed for surface scratches.
Deep Gouges
Deep gouges go beyond the finish and cut into the wood. They look like small cracks or chunks missing. These happen from heavy drops or sharp objects.
Deep gouges need filling with wood putty or replacement of the damaged plank. Repairing these scratches takes more effort and care.
Water Damage Marks
Water damage marks appear as white or dark spots on the wood surface. They form when water sits too long on the floor. These marks can also cause swelling or warping.
Fixing water damage involves drying the floor and sometimes sanding or refinishing. Early action prevents permanent damage.
Prepare Your Floor
Preparing your floor before fixing scratches is very important. A clean and ready surface helps the repair last longer. It also makes the scratch less visible. Follow these simple steps to get your floor ready.
Clean The Area
Start by removing dirt and dust from the scratch area. Use a soft cloth or broom to sweep the floor. Then, wipe the spot with a damp cloth. Avoid soaking the wood with water. Let the floor dry completely before you begin repair.
Gather Essential Tools
Collect all tools needed for the repair. You will need fine sandpaper, wood filler or wax sticks, and a soft cloth. A putty knife helps to apply filler smoothly. Having everything ready saves time and makes the process easier.
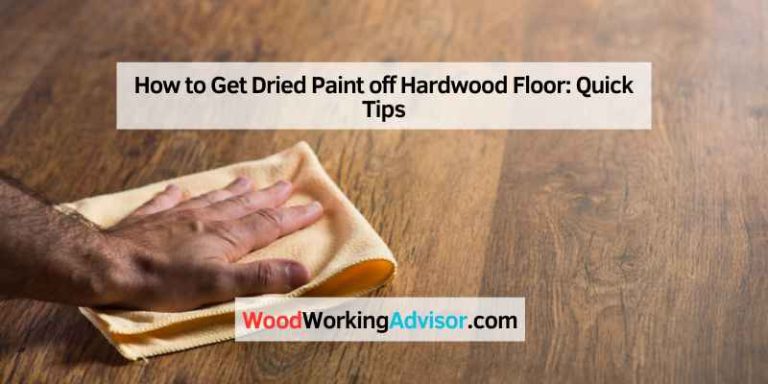
Fixing Surface Scratches
Surface scratches on hardwood floors are common but easy to fix. These scratches affect only the top layer and don’t need heavy repairs. You can restore your floor’s look with simple tools and a little care.
Here are three effective ways to repair surface scratches and make your floor look smooth again.
Use Wood Markers
Wood markers are a quick fix for small scratches. They come in different shades to match your floor color. Simply color over the scratch with the marker. Let it dry, and the scratch will blend in with the rest of the floor.
Apply Wax Sticks
Wax sticks fill in scratches and protect the wood. Choose a wax stick close to your floor color. Rub the wax gently into the scratch. Use a soft cloth to remove extra wax. This method hides scratches and adds shine.
Buff With Polishing Compound
Polishing compounds smooth out surface scratches and restore shine. Apply a small amount on a soft cloth. Rub the scratched area gently in circles. Buff until the scratch fades and the floor looks even. This step works well after using markers or wax sticks.
Repairing Deep Gouges
Deep gouges in hardwood floors can be very noticeable and damage the wood’s surface. Repairing these cuts helps restore the floor’s smooth look and prevents further damage. This process needs care and the right materials to make the floor look new again.
Fill With Wood Filler
Choose a wood filler that matches your floor color. Use a putty knife to press the filler into the gouge. Make sure to fill the entire damaged area. Let the filler dry according to the instructions on the package. This step is key to creating a strong base for the next steps.
Sand And Smooth
After the filler dries, sand the area gently. Use fine-grit sandpaper to avoid scratching the floor. Sand until the surface is even with the rest of the floor. Clean the dust with a soft cloth. Smooth surfaces help the stain stick better and improve the final look.
Stain To Match Floor
Select a stain that matches your floor’s color. Test the stain on a small area first. Apply the stain evenly using a brush or cloth. Let it dry fully to see the true color. This step helps blend the repair with the rest of the floor for a natural finish.
Addressing Water Damage
Water damage can ruin the beauty of your hardwood floor. It causes stains, warping, and weak spots. Fixing water damage quickly saves your floor and keeps it strong. Follow these steps to repair scratches caused by water.
Dry The Area
Start by drying the wet spot completely. Use a dry cloth to soak up water on the surface. Place a fan nearby to speed up drying. Avoid heat sources that can crack the wood. Let the floor dry for at least 24 hours.
Apply Bleach Solution
Mix a mild bleach solution to lighten water stains. Use one part bleach with three parts water. Test the solution on a small hidden area first. Gently apply it to the stained spot with a soft cloth. Let it sit for a few minutes. Wipe off with a clean damp cloth.
Refinish With Varnish
Once dry and clean, protect the floor with varnish. Lightly sand the damaged area to smooth it out. Apply a thin coat of varnish using a brush. Let it dry fully before walking on it. Repeat for better protection and shine.
Preventing Future Scratches
Preventing future scratches on hardwood floors keeps them looking new longer. Small habits protect your floor from damage. Careful attention helps avoid costly repairs. Follow these tips to keep your floors smooth and shiny.
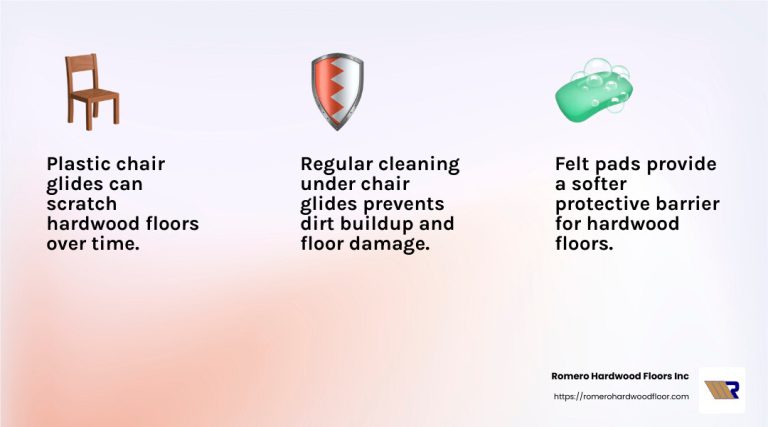
Use Furniture Pads
Place soft pads under furniture legs. These pads stop scratching when you move chairs or tables. Replace worn pads regularly for best protection. Pads are cheap and easy to find.
Maintain Regular Cleaning
Dust and dirt cause tiny scratches over time. Sweep or vacuum your floor often. Use a soft broom or vacuum with a hardwood floor setting. Clean spills quickly to avoid stains and damage.
Control Indoor Humidity
Wood expands and contracts with moisture changes. Keep indoor humidity between 35% and 55%. Use a humidifier in dry months and a dehumidifier in wet months. This prevents warping and cracking of the floor.

Frequently Asked Questions
How Can I Repair Minor Scratches On Hardwood Floors?
You can fix minor scratches using a wood marker or wax filler stick. Clean the area first, then apply the product. Blend it well to match the floor color. This method is quick, affordable, and effective for shallow surface damage.
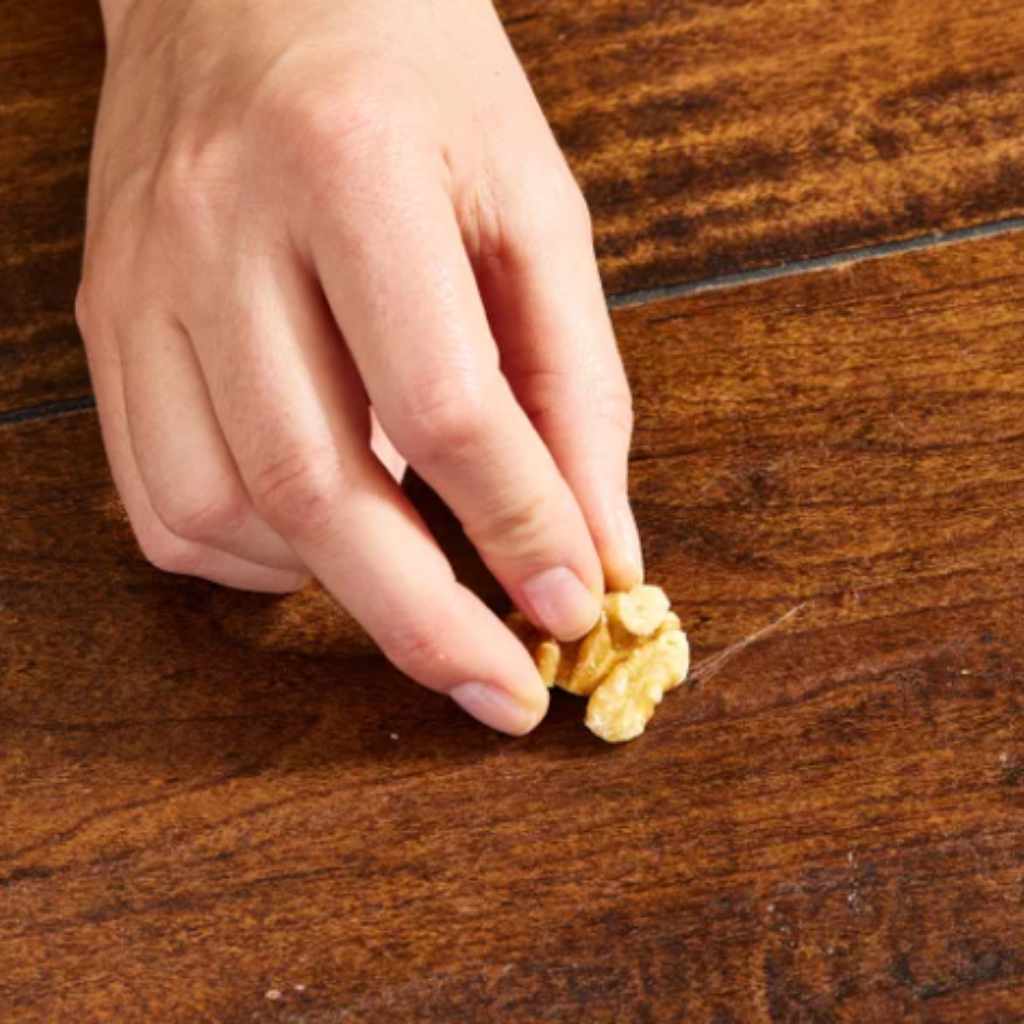
What Household Items Remove Scratches From Hardwood Floors?
Use items like walnut halves or olive oil with vinegar. Rub the walnut on the scratch or apply the oil-vinegar mix gently. These natural remedies fill and mask scratches, restoring the wood’s appearance without harsh chemicals or special tools.
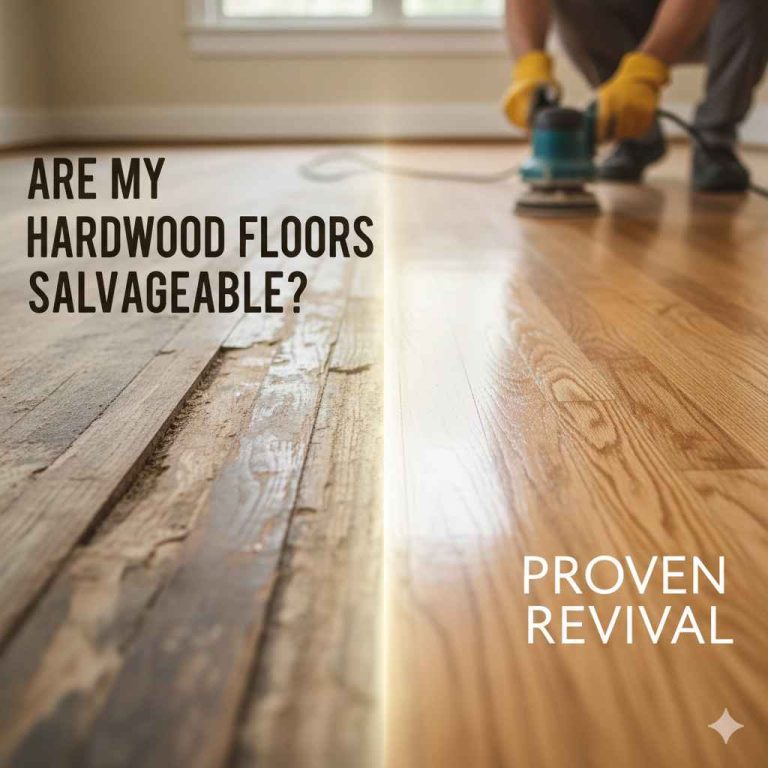
When Should I Refinish Hardwood Floors After Scratching?
Refinish floors when scratches are deep or cover large areas. Light scratches don’t need full refinishing, just spot repairs. Refinishing involves sanding and sealing, which is best done by professionals for a smooth, lasting finish.
Can I Repair Hardwood Floor Scratches Myself?
Yes, many hardwood floor scratches can be repaired DIY. Use repair kits, markers, or natural remedies. For deep or widespread damage, consult a professional to avoid worsening the problem.
Conclusion
Repairing hardwood floor scratches can bring back its beauty fast. Small scratches need simple fixes like wood filler or a marker. Deep scratches may need sanding and refinishing for best results. Regular care helps prevent new damage and keeps floors looking fresh.
Taking action early saves time and money later. Your hardwood floors will stay strong and nice with some care. Keep them shining and enjoy your home’s warmth every day.