Sanding Paint between Coats: Perfect Finish Tips
Are you tired of lackluster finishes on your painted surfaces? Wondering why your DIY paint projects never look as smooth and professional as you’d like?
The secret might just be in the technique of sanding paint between coats. This simple yet powerful step can transform your work from ordinary to extraordinary. If you’ve ever questioned how to achieve that flawless, glass-like finish, you’re in the right place.
We’ll guide you through the why’s and how’s of sanding between coats, giving you the tools you need to elevate your painting game. Dive in and discover how a little bit of sanding can make a big difference in your next project!
Importance Of Sanding Between Coats
Sanding between paint coats is very important. It helps the new paint stick better. The surface becomes smooth and clean. Dust and bumps are removed with sanding. This makes the final paint look nice.
Smooth surfaces make paint shine more. Sanding can stop paint bubbles from forming. Bubbles make paint look bad. Sanding also stops peeling. Peeling paint needs fixing, which is hard.
Small scratches are fixed with sanding. These scratches can ruin the look. Sanding makes them disappear. This makes your paint look perfect.
Different tools help with sanding. Sandpaper is common and easy to use. Electric sanders work faster. Choose the right tool for your job. Always wear safety gear when sanding.
Choosing The Right Sandpaper
Choosing the right sandpaper grit is important. Fine grit like 220 is good for smooth surfaces. It helps in getting a perfect finish. Medium grit such as 150 is used for rougher areas. It removes uneven spots. Both are essential for a smooth paint job.
Sandpaper comes in different materials. Aluminum oxide is tough and lasts long. It is good for wood and metal. Silicon carbide is sharp and works well on hard surfaces. It is ideal for smoothing paint between coats.
Preparing The Surface
Start by removing dirt and dust from the surface. Use a soft cloth.
A damp cloth works well. Avoid using too much water.
Water can damage the surface.
For stubborn spots, use a gentle cleaner.
Scrub lightly with the cleaner.
Ensure every part is clean.
This helps the paint adhere better.
Allow the surface to dry completely.
Wet surfaces hinder paint adhesion.
Drying time depends on humidity levels.
In dry weather, drying is faster.
Feel the surface for dryness.
If unsure, wait longer.
Better safe than sorry.
A dry surface ensures smooth application.

Credit: www.youtube.com
Sanding Techniques
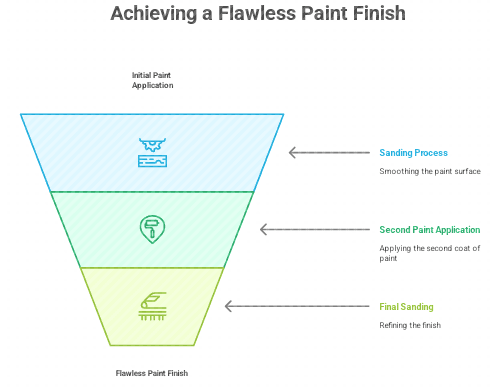
Sanding paint between coats ensures a smooth finish by removing imperfections. A light sanding with fine-grit paper prepares the surface for the next layer. This technique helps the new coat adhere better, resulting in a more polished appearance.
Manual Sanding
Manual sanding is a simple way to smooth surfaces. Use sandpaper with a fine grit. Rub the sandpaper gently on the painted area. This removes bumps and dust. Always sand in a circular motion. This helps to avoid scratches. Keep the sandpaper clean for best results. Safety is important. Wear a mask to avoid dust. Sanding by hand takes time, but results are smooth.
Using Power Tools
Power tools make sanding faster. A sander machine is handy for big jobs. Use a sander with a fine grit pad. Move the sander slowly over the surface. This ensures even sanding. Control the tool to prevent damage. Always wear goggles and a mask. This protects you from dust and debris. Power tools save time but need care.
Dealing With Imperfections
Look closely at the painted surface. See any bumps or rough spots? These are flaws. They need attention before adding another coat. If you miss them, the finish will look uneven. Use a bright light to spot imperfections. Shadows can hide these flaws easily. Feel the surface with your hand. Sometimes eyes miss what fingers find. Smooth surfaces mean fewer problems later.
Start with gentle sanding. Sandpaper helps remove bumps and uneven spots. Be careful not to sand too hard. Hard sanding can ruin the paint layer. Use short, even strokes. Check the surface often. After sanding, wipe the area clean. Dust can ruin your next coat. Use a damp cloth to remove dust. Wait for the surface to dry before painting again.
Dust Removal And Cleanup
Vacuuming helps remove dust before painting. Use a vacuum with a brush attachment. This removes dust from surfaces effectively. Move the vacuum slowly to catch all particles. Focus on corners and edges. Dust hides there easily. Vacuuming is simple but important. It prepares the surface for painting.
Tack Cloth Use is another step to clean dust. Tack cloth is sticky. It picks up tiny dust particles. Wipe surfaces with it gently. It leaves surfaces smooth and clean. Tack cloth is great for small areas. It works well after vacuuming. Both methods together make surfaces clean. Clean surfaces make painting easy.
Reapplying Paint
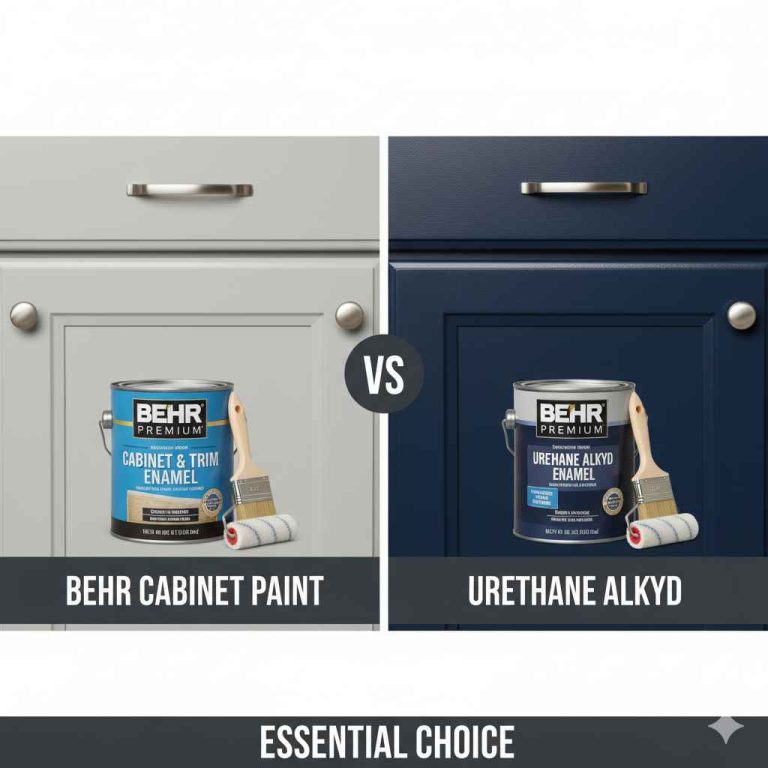
Picking the right paint is important. Some paints are oil-based. Others are water-based. Oil paints dry slowly. This means smooth finishes. Water paints dry fast. They are easier to clean. Think about what you need. Choose paint carefully.
Apply paint evenly. Use a brush or roller. Start from one corner. Move to the next slowly. Check for streaks. Make sure there are none. Let paint dry fully. Before adding another coat. This makes it look better. Helps paint last longer too.

Credit: www.youtube.com
Safety Precautions
Sanding paint can be dangerous without the right gear. Always wear a mask. It keeps dust away from your nose. Gloves protect your hands from chemicals. Safety goggles shield your eyes. Dust can irritate eyes. A long-sleeved shirt is smart. It keeps skin safe from splashes. Closed shoes protect feet from debris.
Good airflow is a must in sanding. Open windows help fresh air enter. Fans push dust away. They reduce fumes. Dust can harm lungs. Paint fumes are toxic. Never work in closed spaces. Breathing fresh air keeps you healthy. Outdoor sanding is best if possible. Masks help but fresh air is better. Airflow is key for safety.
Frequently Asked Questions
What Grit Sandpaper Should I Use Between Coats Of Paint?
Use 320 to 400 grit sandpaper for smoothing between paint coats. This grit range ensures a smooth surface without removing too much paint. Sand lightly to avoid damaging the previous coat, enhancing adhesion for the next layer. Proper sanding improves the final finish and durability of the painted surface.
What Happens If I Don’t Sand Between Coats Of Paint?
Skipping sanding can lead to uneven surfaces and poor paint adhesion. It may cause peeling, bubbling, or a rough finish. Sanding ensures smoothness and better paint bonding, enhancing durability and appearance.
What Is The Best Sander Between Paint Coats?
The best sander between paint coats is a fine-grit sanding block or orbital sander. It smooths surfaces efficiently, ensuring paint adheres well. Use 220-grit sandpaper for optimal results. Always clean the surface after sanding to remove dust before applying the next coat of paint.
Do You Wet Or Dry Sand Between Paint Coats?
Wet sanding is preferred between paint coats for a smoother finish. It helps remove imperfections and improves adhesion. Use fine-grit sandpaper, typically between 1000 to 1500 grit, for best results. Dry sanding is less common as it can create dust and uneven surfaces.
Always clean thoroughly after sanding.
Conclusion
Sanding paint between coats makes surfaces smooth and flawless. This process helps paint stick better, lasting longer. It’s easy and effective. Sanding removes bumps and rough spots. It prepares surfaces for the next coat. Use fine sandpaper for best results.
Clean the surface before painting again. Patience and care lead to a perfect finish. Sanding might seem like extra work. But it pays off with beautiful results. Try it for your next painting project. You’ll see the difference. With practice, sanding becomes quick and simple.
A smooth finish awaits. Your painted surfaces will look amazing.