What Grade Sandpaper for Wood Furniture? (Grit by Finish Type)
The grade of sandpaper for wood furniture depends on the finish going on top: sand to 180 grit before a film finish such as varnish, lacquer or paint, and to 220 grit before stain or a thin oil, starting at 80-100 grit if an old finish has to come off. Going finer than 220 burnishes the wood and can keep stain from soaking in. This guide covers grit by task, what Minwax, Bob Flexner and 3M each recommend, and when you can safely skip a grit.
Sandpaper Grit Chart for Wood Furniture (By Finish Type)
Best 100-150-220 Starter Pack
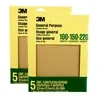 |
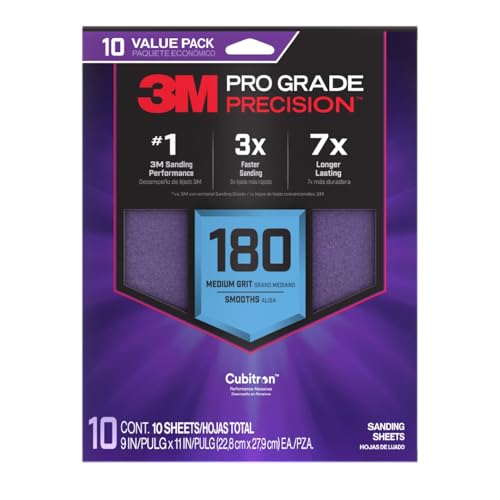
3M Aluminum Oxide Sandpaper, Assorted 100-150-220 Grit, 9 x 11 in ($9.30) One pack that covers the 100, 150 and 220 stages the chart below uses for most furniture, so you do not have to buy three separate packs for one dresser.
|
As an Amazon Associate we earn from qualifying purchases.
| Project stage | Grit | Why |
|---|---|---|
| Stripping heavy paint or varnish | 60-80 | 3M labels 60 as heavy removal and 80 as moderate removal |
| Removing old finish, flaws, dents | 80-100 | Flexner starts at 80 or 100, coarse enough to remove flaws efficiently |
| Smoothing bare or stripped wood | 120-150 | Minwax medium stage is 100-120; 150 erases the 100-120 scratches |
| Final sanding before varnish, lacquer or paint (film finish) | 180 | Flexner prefers 180 for film finishes |
| Final sanding before stain or thin oil | 220 | Minwax final sanding is 220; Flexner uses 220 for thin oil |
| Between coats of finish | 280 and finer | Flexner: sand the first coat smooth with 280 grit or finer |
The numbers above are not interchangeable between jobs. The same dresser can need 180 or 220 at the end depending only on what you put on it, which is the part most grit charts leave out. For a wider chart that also covers floors and wood filler, see our complete sandpaper grit guide.
What Do Minwax, Flexner and 3M Say About Furniture Grit?
The most-cited sources agree on the shape of the sequence, but not on the last number. Laying them side by side shows why you will see 180, 220 and even lower numbers recommended for the same job.
| Source | First grit | Last grit before finish |
|---|---|---|
| Minwax, Proper Wood Preparation | 100-120 (medium) | 220 (fine), to remove medium-grit scratches and loose fibers |
| Bob Flexner, Popular Woodworking | 80 or 100 | 180 for film finishes, 220 for thin oil (as quoted in Going Through the Grits) |
| Jim Tolpin, as quoted in Going Through the Grits | 120 | Progression of 120, then 150 or 180, then 220 |
| 3M grit selection chart | 60 (heavy removal), 80 (moderate removal) | 100 removes flaws, 120 flattens grain, 150 smooths wood |
The practical takeaway is that 220 is the ceiling for bare furniture wood, and 180 is enough when a film finish is going on. Past 220 the surface gets burnished, which Tolpin says interferes with how many finishes adhere or absorb.
What Grit Sandpaper for Wood Furniture Before Painting
Start with 80-100 grit to remove old paint or varnish and give the surface a profile new paint can grip, then step up through 120-150 and finish at 180 or 220. Paint is a film finish, so the 180 figure that Flexner gives for film finishes is a sensible stopping point (our inference; he does not mention paint by name). Wall paint on furniture needs the same prep, since paint hides a poorly sanded surface for a while and then highlights it.
Sand with the grain at every stage. Cross-grain scratches from an early coarse pass telegraph straight through paint, especially in raking light near a window.
What Grit Sandpaper for a Wood Table or Dresser
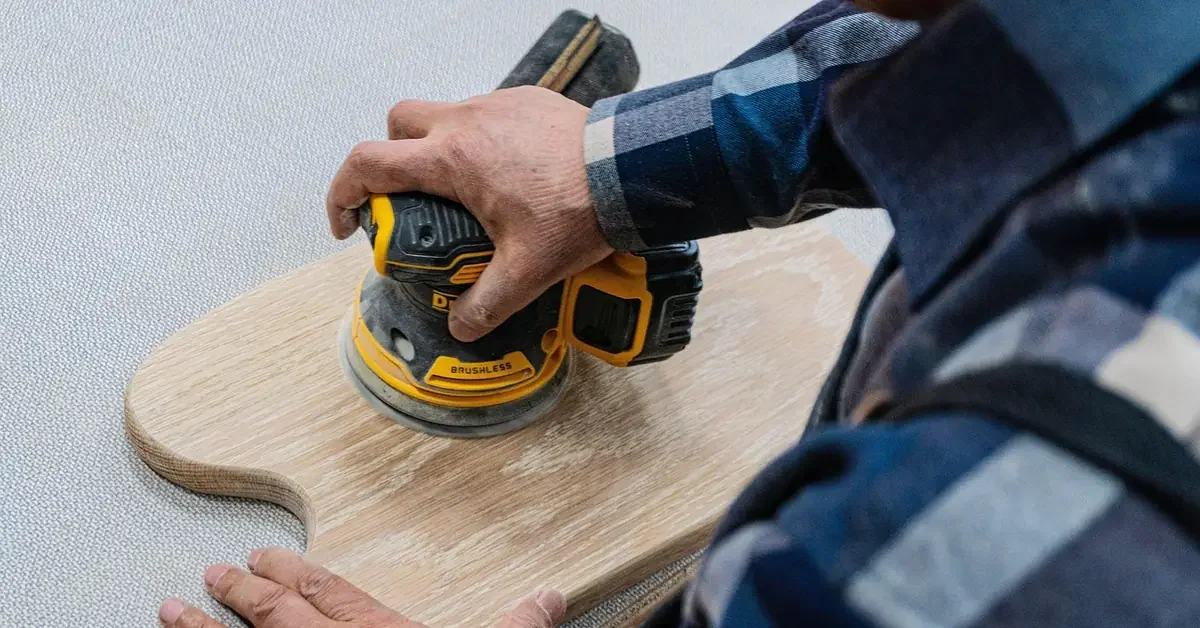
A tabletop is mostly flat open surface, so a random orbital sander with 80-100 grit removes an old finish quickly. Stay at the low end of the range on soft woods like pine so you do not sand through the surface layer. If the top has sticky residue from wax or spilled finish, clean it off first, because it clogs paper fast. Work up through 150 to 180 or 220, depending on the finish, and finish by hand with the grain, since an orbital sander leaves faint swirl marks that show under a wiped-on stain.
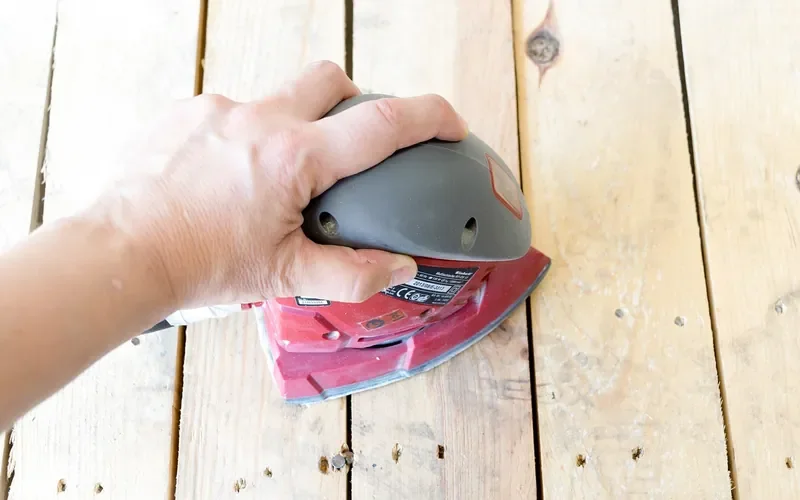
A dresser is a different shape problem: flat drawer fronts, tight inside corners, moldings and hardware you cannot sand around. Sand the flat panels at 100-120 grit with an orbital sander, then switch to a folded sheet or sanding sponge for corners and drawer edges. Take the hardware off first; sanding around knobs is how corners end up patchy.
What Grit Sandpaper for Wood Furniture Before Staining
Minwax tells you to start with medium paper (100-120 grit) and finish with fine paper (220 grit) on bare wood. Stopping at 180 is a reasonable choice if you prefer a bolder color, because finer paper leaves less open grain for stain to hold. Since stain makers and finishers disagree on the last number, the reliable method is to test a scrap board at 180 and at 220 and keep whichever color you prefer. On blotch-prone woods like pine and birch, Minwax recommends a pre-stain wood conditioner. Our guide to staining wood without bleeding covers the staining step itself.
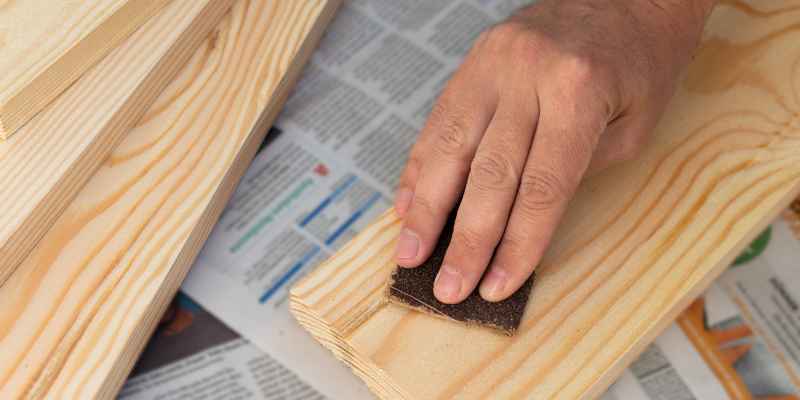
For the full range of stains, oils and topcoats once sanding is done, see our wood finishing guide.
What Grit Sandpaper to Strip Wood Furniture
60-80 grit removes thick paint or old varnish fastest; 3M labels 60 as heavy removal and 80 as moderate removal. It is aggressive enough to gouge veneer or carved detail if you linger, so on veneer, thin panels or ornate antique pieces start at 80 and accept a slower first pass. Chemical stripper before sanding lowers how much wood you have to remove mechanically. If the piece is old and painted, check whether the paint could contain lead before dry sanding it: lead-based paint was banned for residential use in the US in 1978, so older painted furniture is worth testing, and a basic dust mask alone is not enough protection against lead dust.
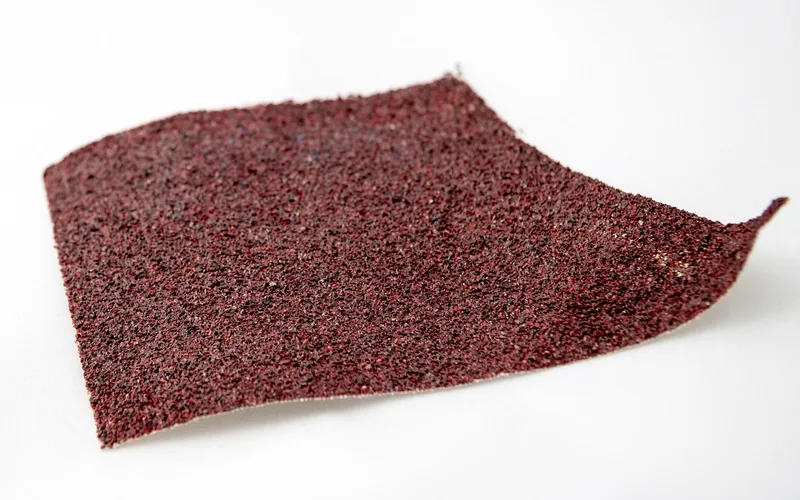
After stripping, follow the same sequence as any furniture refinishing project: 80-100 to erase the coarse scratches, 120-150 to smooth, then 180 or 220 for your finish.
Can You Skip a Grit When Sanding Furniture?
You can skip one grit, but not several, and this is where the common advice is too strict. Flexner says you can usually skip a grit, depending on how long you sand with each, and the 100-150-220 sequence in the pack above does exactly that. What fails is a big jump such as 80 to 220. The finer paper only polishes the tops of the coarse scratches, so the deep grooves survive and appear once stain settles into them.
A skipped step also has to be paid for with longer sanding at the next grit. A fresh coat of finish is a separate sanding job: Flexner sands the first coat smooth with 280 grit or finer, and our guide to sanding between coats covers the grits by paint type.
CAMI vs FEPA: Why Two 240-Grit Papers Differ
US sandpaper is graded on the CAMI scale and most imported paper uses the European FEPA P scale. Up to 220 the two match, so a CAMI 220 equals P220. Above that they drift: CAMI 240 corresponds to about P280, not P240. For furniture this only matters for the finest sheets in a multi-pack, where an import labeled P240 may feel finer than a US 240.
CAMI 240 aligns with FEPA P280, not P240, according to the CAMI, FEPA and CAFA grit comparison chart.
Sanding Furniture Step by Step
This order works for a first refinishing project on any solid-wood piece.
- Check what is on the wood: If there is paint or a thick old finish, plan to start at 80-100 grit. If the wood is already bare, start at 120, because 80-100 is for removing material, not for smoothing bare wood.
- Attach the sandpaper: Fit it to an orbital sander for flat areas, or wrap it around a sanding block for edges and corners.
- Sand with the grain: Use long, even strokes that follow the grain. Minwax warns that cross-grain scratches become painfully obvious once they absorb stain or finish.
- Step up one grit at a time: Move from your starting grit to the next stage, for example 100 to 150 to 220, so each grit can erase the scratches the last one left.
- Clear the dust between grits: Vacuum and wipe with a tack cloth before switching paper, because loose grit from the last pass will scratch the wood under the finer sheet.
- Stop at your finish’s final grit: Use 180 for a film finish or 220 for a thin oil finish or stain, then wipe the surface clean before finishing.
Common Sanding Mistakes That Damage Furniture
The most common mistake is reaching for 120 grit first because it feels like the safe middle option. 120 is a good grit for smoothing bare wood, but it is not a stripping grit: on a piece that still has paint or heavy varnish it loads up and glazes over long before the old finish is gone. The second mistake is sanding across the grain, the third is skipping the dust cleanup between grits, and the fourth is sanding through a thin veneer layer with a coarse grit.
“Sanding against the grain leaves scratches that will become painfully obvious when they later absorb either stain or finish.”
Minwax, Proper Wood Preparation
Once the piece is finished and back in use, hidden scratches show up first under raking light. Good refinishing depends more on patient early sanding than on a fancy final grit.
What grit sandpaper should I use before painting furniture?
Start at 80-100 grit if there is old paint or varnish to remove, then step up through 120-150, and finish at 180 or 220 before priming. Paint is a film finish, and Flexner’s film-finish ceiling is 180, so going finer than 220 adds nothing. Skip the coarse step only if the wood is already bare.
What grit sandpaper should I use for a dresser?
Sand flat tops and drawer fronts at 100-120 grit, then 150, then 180-220. Use a folded sheet or a sanding sponge at the same grits for inside corners and moldings an orbital sander cannot reach. Remove all hardware first so corners are not left under-sanded.
Is 120-grit sandpaper good for wood furniture?
Yes, once the old finish is off. Minwax calls 100-120 grit the medium stage for removing shallow scratches and rough edges on bare wood. It is too fine to strip paint or varnish efficiently, because it clogs and glazes long before the old coat comes off.
Can you skip a grit step when sanding furniture?
One step, yes. Flexner says you can usually skip a grit, depending on how long you sand with each. A jump like 80 straight to 220 is the problem: the finer paper cannot erase the coarse scratches. Popular Woodworking’s grit guide warns that skipping to 220 takes longer overall.
What happens if you start sanding with too fine a grit?
You waste paper and time. Fine grits of 180-220 polish around old finish, mill marks and deep scratches instead of cutting them out, so you end up going back to a coarser grit anyway.
What grit sandpaper strips old finish off wood?
3M’s selection chart labels 60 grit as heavy removal and 80 grit as moderate removal. On veneer, thin panels or carved detail, start at 80 and accept a slower first pass, or use chemical stripper first, so you do not sand through the surface layer.
Conclusion
Pick the grit by the job and by the finish. Use 60-80 to strip, 80-100 to remove an old finish, 120-150 to smooth, then stop at 180 for a film finish or 220 for stain and thin oil. Skip at most one grit between steps, sand with the grain, and clean off the dust every time you change paper.
Sponsored / affiliate links. As an Amazon Associate I earn from qualifying purchases. I may earn additional commission from eligible campaigns.