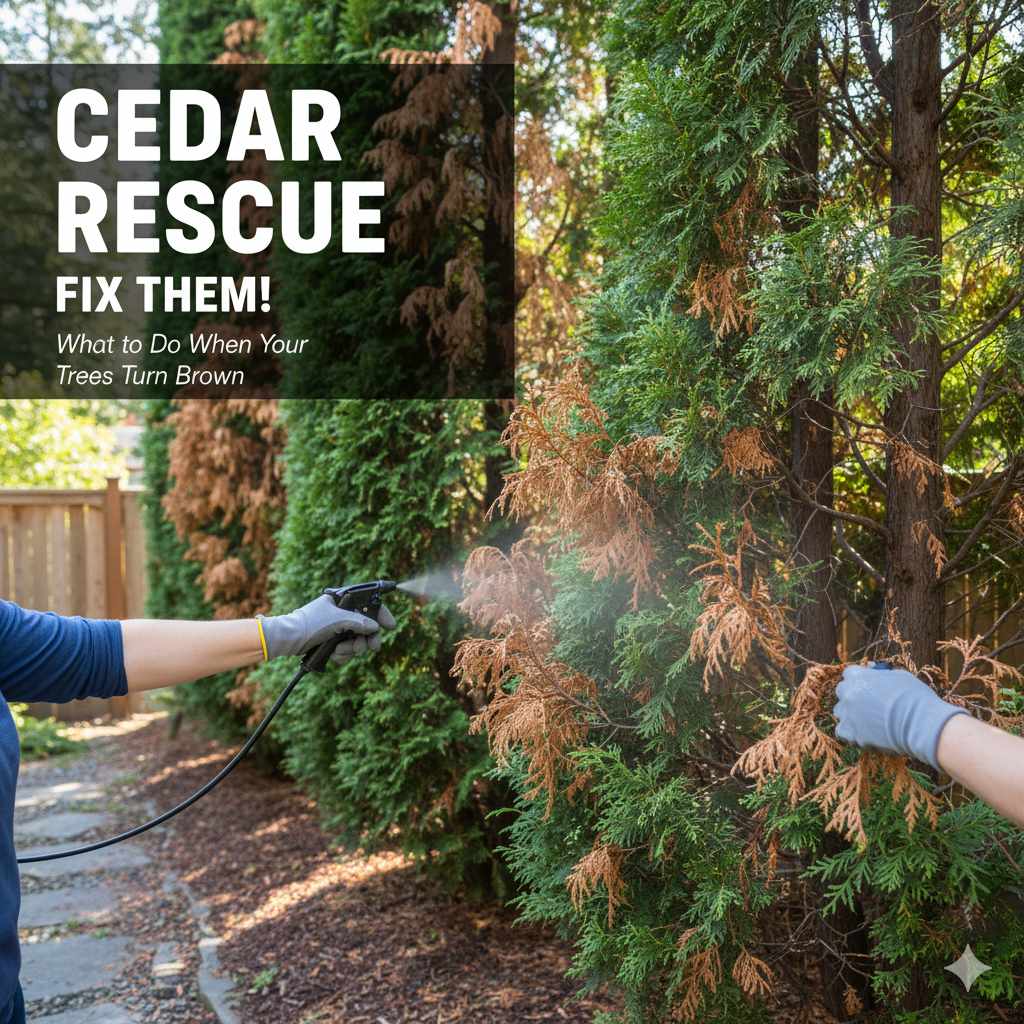
What to Do When Your Cedar Trees Turn Brown: Fix Them!
Don’t let your beautiful cedar trees lose their luster! If yours are turning brown, it’s usually treatable. This guide offers simple, step-by-step fixes for common causes, helping you restore their vibrant green color and health.
Seeing your beloved cedar trees shift from a lush green to a concerning brown can be a real heartbreak. It’s a common sight that can leave homeowners feeling worried and unsure of what to do. But don’t despair! More often than not, browning doesn’t signal the end for your trees. With a little observation and some straightforward care, you can often identify the problem and take steps to bring them back to their former glory.
Think of this as a friendly chat in the workshop, where we’ll break down why your cedars might be browning and, more importantly, how to fix them. We’ll go through the signs to look for and simple solutions that anyone can follow. Let’s get your cedars looking healthy and vibrant again!
Why Are My Cedar Trees Turning Brown? Common Culprits
Cedar trees, like many plants, can change color for a variety of reasons. Understanding these common causes is the first step to effectively treating your trees. It’s like diagnosing a woodworking project gone awry – you need to find the root cause before you can make the fix!
Here are the most frequent reasons your cedar trees might be showing brown needles or branches:
- Drought Stress: Even though cedars are hardy, prolonged dry spells can stress them out. They need consistent moisture, especially when young or during hot, dry summers.
- Overwatering: It might sound counterintuitive, but too much water can be just as bad as too little! Soggy soil suffocates roots, preventing them from getting the oxygen they need.
- Fungal Diseases: Several fungal issues, like cedar-apple rust or phomopsis blight, can cause branches and needles to turn brown. These often appear as spots, cankers, or fuzzy growth.
- Insect Infestations: Tiny pests, such as spider mites or scale insects, can suck the life out of cedar needles, leading to browning and yellowing.
- Winter Damage: Cold winds, freezing temperatures, and ice can damage the foliage, causing “winter burn” which looks like browning.
- Poor Planting Conditions: If your tree was planted too deep, in compacted soil, or in a spot with inadequate drainage, its roots might be struggling, leading to overall poor health and browning.
- Nutrient Deficiencies: While less common, a lack of essential nutrients in the soil can sometimes manifest as discoloration.
- Natural Shedding: It’s normal for cedars to shed older, inner foliage periodically. This browning is usually less widespread and affects only the interior of the tree.
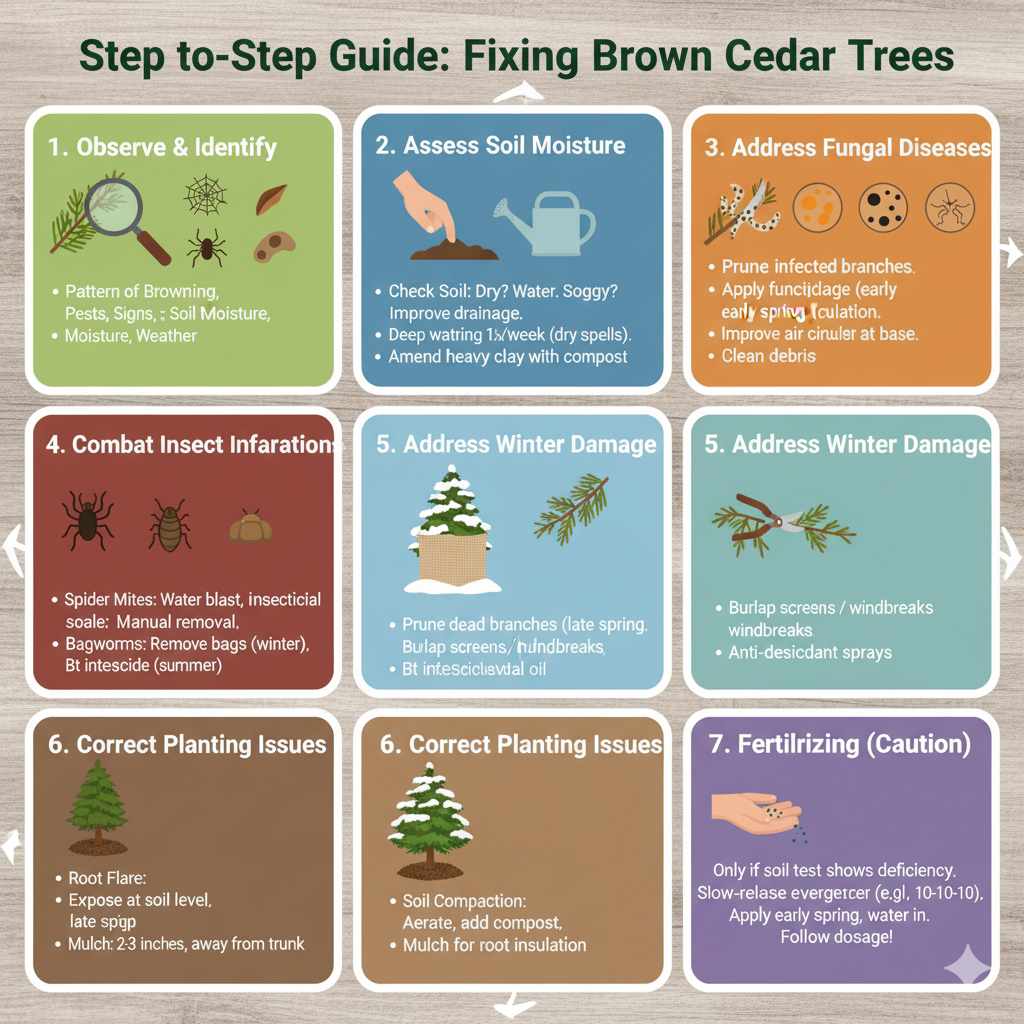
Step-by-Step Guide: Fixing Brown Cedar Trees
Now that we’ve looked at the potential culprits, let’s roll up our sleeves and get to work! This guide will walk you through identifying the specific issue and applying the right solution. We’ll tackle this just like we would a tricky joint – one step at a time.
Step 1: Observe and Identify the Problem
Before you grab any tools or treatments, take a good, close look at your tree. This is like inspecting your lumber for knots before you start cutting. What exactly is brown? Is it the tips of the needles? Entire branches? The whole tree? Are there any visible spots, webs, or insects?
Look for these clues:
- Pattern of Browning: Is it patchy, uniform, or concentrated on one side? Is it the oldest needles or the newest growth?
- Presence of Pests: Inspect the needles and branches for tiny insects, webs (like spider mites), or sticky residue (a sign of scale).
- Fungal Signs: Look for discolored spots, fuzzy patches, or unusual growths on needles and twigs.
- Soil Moisture: Feel the soil around the base of the tree. Is it bone dry, soggy, or just right?
- Recent Weather: Has there been a severe drought, heavy frost, or unusually strong winds lately?
Step 2: Assess Soil Moisture and Drainage
Watering issues are incredibly common. Cedars need consistent moisture, but they hate sitting in flooded soil. Proper drainage is key to healthy roots.
What to do:
- Check the Soil: Stick your finger about two inches into the soil near the tree’s base. If it feels dry, it’s time to water. If it’s soggy, you need to improve drainage.
- Watering Schedule: For young or newly planted trees, aim for deep watering once a week during dry periods. Mature trees are more resilient but still benefit from watering during extended droughts. Water slowly and deeply at the base of the tree, allowing moisture to penetrate the root zone. Avoid overhead watering, which can promote fungal diseases. (Source: University of Illinois Extension)
- Improve Drainage: If your soil is heavy clay and stays wet, consider amending the planting area with compost. For severe drainage problems, you might need to rethink the planting location for future trees. Ensure the tree wasn’t planted too deep; the root flare (where the trunk widens at the soil line) should be visible.
Step 3: Address Fungal Diseases
Fungal diseases thrive in damp conditions and can spread quickly, turning needles brown. Identifying the specific fungus is important for effective treatment.
Common Fungal Issues and Fixes:
- Cedar-Apple Rust (and related rusts): This fungus affects cedars and their hosts (like apple trees, hawthorns, and junipers). It appears as yellow or orange spots on needles, sometimes with small black dots. The brown color often follows.
- Treatment: Prune out infected branches to improve air circulation. Apply a fungicide labeled for rust diseases on cedars in early spring, just as new growth begins and before infection occurs. Good airflow is your best defense.
- Phomopsis Blight: This fungus causes tip blight, where the tips of branches turn brown and die back, often appearing suddenly in spring or summer. You might see small black dots (fruiting bodies) on the blighted tips.
- Treatment: Prune off all blighted branches well into the healthy wood (at least 4-6 inches below the brown area). Sterilize your pruning tools between cuts. Fungicides can help prevent new infections, especially in wet weather.
- Seiridium Canker: This disease can cause entire branches to die suddenly, turning brown. You might see sunken areas (cankers) on the bark, often oozing resin.
- Treatment: Promptly prune out infected branches, cutting back into healthy wood. Disinfect tools. There isn’t a cure once a tree is heavily infected, but proper care can help manage it and prevent spread.
General Fungal Disease Prevention:
- Improve Air Circulation: Prune dense branches to allow air to move freely through the tree.
- Water at the Base: Avoid wetting the foliage when watering.
- Clean Up Debris: Remove fallen leaves and needles, as these can harbor fungal spores.
- Fungicide Application: If you suspect a fungal issue and have had problems before, consult a local arborist or garden center for recommendations on appropriate fungicides and application timings. For instance, chlorothalonil or mancozeb-based fungicides can be effective against some cedar diseases. (Source: Michigan State University Extension)
Step 4: Combat Insect Infestations
Tiny pests can wreak havoc on cedar trees, causing needles to fade and dry out. Vigilance is key to catching these invaders early.
Common Pests and Treatments:
- Spider Mites: These nearly invisible pests suck sap from needles, causing stippling (tiny yellow or white dots), bronzing, and eventual browning. You might see fine webbing on the foliage.
- Treatment: A strong blast of water from a hose can dislodge many mites. For heavier infestations, insecticidal soap or horticultural oil (like neem oil) are effective and relatively safe options. Apply according to product instructions, typically in cooler parts of the day. Repeat applications may be necessary.
- Scale Insects: These appear as small bumps or discs on branches and needles. They also feed on plant sap, weakening the tree and causing yellowing and browning.
- Treatment: Small infestations can be removed manually. Horticultural oils or insecticidal soaps are effective, especially when applied during the crawler stage (when young scales are mobile). Dormant oil sprays in winter can also help.
- Bagworms: These are more noticeable, as the larvae build small, cone-shaped “bags” made of leaves and silk. They can defoliate branches, leaving them brown and bare.
- Treatment: During winter, when trees are dormant, you can physically remove the bags from the branches and destroy them. From late spring to early summer, when the larvae are young and actively feeding, you can use a Bacillus thuringiensis (Bt) insecticide or a more targeted pesticide if needed.
Step 5: Address Winter Damage (Winter Burn)
Winter can be harsh on evergreens. Cedar trees can suffer from “winter burn” due to desiccating winds and freeze-thaw cycles, especially on exposed branches.
What to do:
- Pruning: Trim away any dead, brown branches. You can usually tell if a branch is dead if it snaps easily or green tissue isn’t found when you scratch a small area of bark. Prune in late spring after new growth has emerged, as you’ll better distinguish between dead and live wood.
- Protection: For young or especially susceptible trees, consider using burlap screens or windbreaks to shield them from harsh winter winds. Anti-desiccant sprays applied in late fall can also help reduce moisture loss.
- Mulching: Apply a layer of mulch around the base of the tree. This helps retain soil moisture and insulates the roots from extreme temperature fluctuations.
Step 6: Correct Planting Issues
Sometimes, the problem starts from the very beginning – how the tree was planted. Poor planting can lead to root problems that manifest as browning foliage.
Common Issues and How to Check:
- Planting Depth: The root flare (the base of the trunk where it begins to widen) should be at or slightly above soil level. If it’s buried, roots can rot.
- Fix: Carefully excavate around the base of the trunk to expose the root flare. Remove excess soil gently.
- Soil Compaction: Heavily compacted soil restricts root growth and water/air penetration.
- Fix: Gently aerate the soil around the root zone using a garden fork. Adding compost can improve soil structure over time. Avoid walking on the soil around the tree.
- Inadequate Mulch: While a lack of mulch can cause issues, too much mulch piled against the trunk can also lead to rot.
- Fix: Ensure mulch is kept a few inches away from the trunk to allow the bark to breathe. A 2-3 inch layer spread out to the dripline is ideal.
Step 7: Fertilizing (Use with Caution)
While not the most common cause of browning, nutrient deficiencies can play a role. However, over-fertilizing can actually harm your tree, so proceed with care.
When to Consider Fertilizing:
- If your tree is generally unhealthy, growing poorly, and other causes have been ruled out.
- Have your soil tested first to determine if any specific nutrients are lacking. Contact your local Cooperative Extension office for soil testing resources.
What to do:
- Choose the Right Fertilizer: Use a slow-release evergreen fertilizer, preferably one with a balanced N-P-K ratio (e.g., 10-10-10) or one slightly higher in nitrogen.
- Application: Apply fertilizer in early spring as new growth begins. Spread it evenly over the root zone (extending out to the tree’s drip line) and water it in thoroughly. Avoid applying fertilizer directly against the trunk.
- Dosage: Follow the package instructions carefully. Over-fertilizing can burn roots and cause more harm than good.
When to Call a Professional
Even with the best DIY efforts, some problems might require expert intervention. Don’t hesitate to call in a certified arborist if:
- The browning is severe and widespread, affecting a large portion of the tree.
- You suspect a serious disease or pest infestation that you can’t identify or manage effectively.
- The tree is very large, and working on it poses a safety risk.
- Your efforts haven’t shown improvement after a reasonable period.
A professional can accurately diagnose complex issues, perform specialized treatments, and provide expert pruning or care.
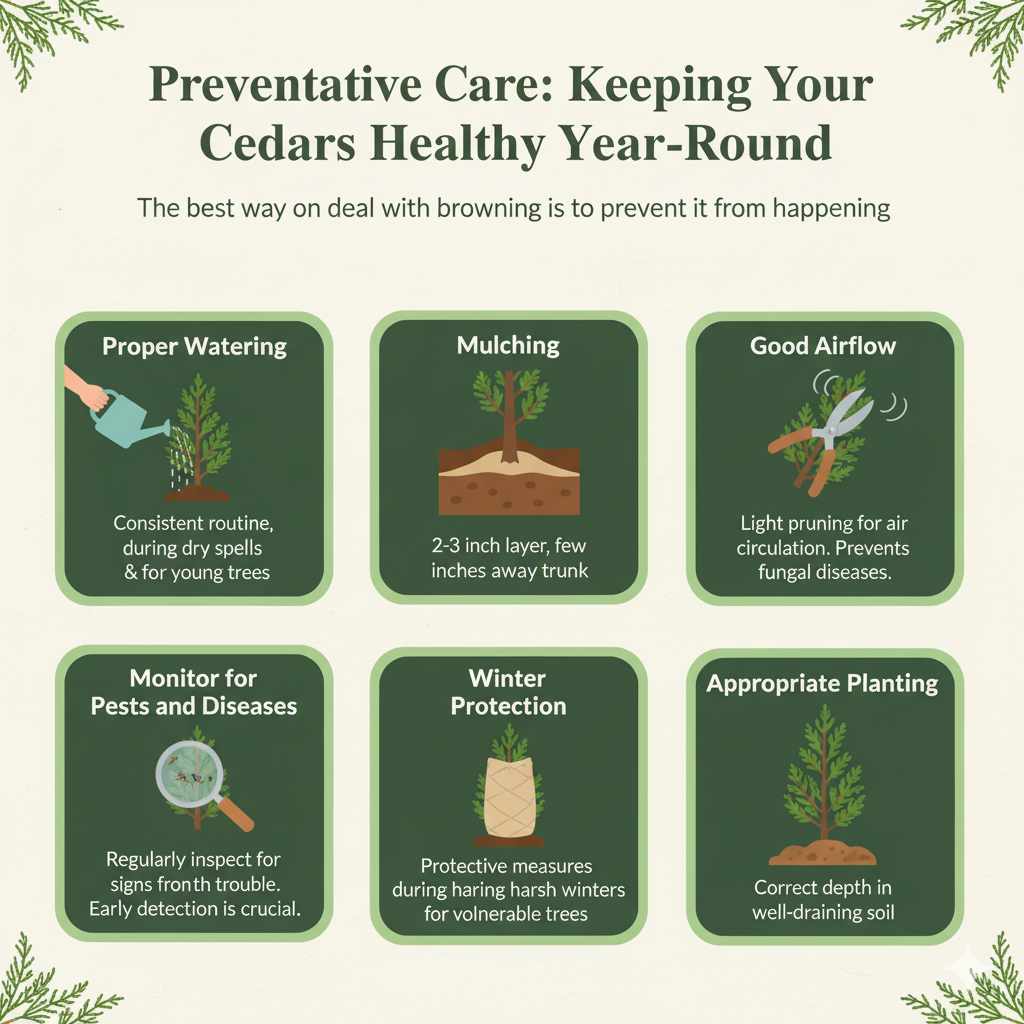
Preventative Care: Keeping Your Cedars Healthy Year-Round
The best way to deal with browning is to prevent it from happening in the first place. Consistent, appropriate care throughout the year will keep your cedar trees looking their best.
Key Prevention Tips:
- Proper Watering: Establish a consistent watering routine, especially during dry spells and for young trees.
- Mulching: Maintain a 2-3 inch layer of mulch around the base of the tree, keeping it a few inches away from the trunk.
- Good Airflow: Prune lightly as needed to maintain good air circulation within the canopy. This helps prevent fungal diseases.
- Monitor for Pests and Diseases: Regularly inspect your trees for any signs of trouble. Early detection is crucial.
- Winter Protection: For vulnerable trees, consider protective measures during harsh winters.
- Appropriate Planting: Always ensure trees are planted at the correct depth in well-draining soil.
Frequently Asked Questions (FAQ)
My cedar tree’s needles are turning yellow and then brown. What could this be?
Yellowing then browning can be caused by a few things. It might be drought stress if the soil is dry, or overwatering if the soil is constantly soggy. It could also be an early sign of certain fungal diseases like cedar-apple rust or an infestation of spider mites or scale insects. Carefully check the soil moisture and examine the needles and branches closely for pests or unusual spots.
Can I save a cedar tree that has turned mostly brown?
It depends on the cause and the extent of the browning. If it’s due to temporary stress like drought or minor insect damage that you catch early, there’s a good chance you can save it with proper care. If the browning is due to a severe fungal disease or widespread pest infestation that has killed most of the foliage and smaller branches, it may be very difficult or impossible to recover fully. However, even an “unhealthy” tree might still have some life left, so it’s often worth trying the appropriate treatments.
How often should I water my cedar trees?
Watering frequency depends on the tree’s age, size, the weather, and your soil type. Young or newly planted cedars need more consistent watering, perhaps once or twice a week during dry periods. Mature cedar trees are more drought-tolerant but still benefit from deep watering during prolonged heat or drought. A good rule of thumb is to check the soil moisture by sticking your finger 2 inches down – water if it feels dry.
When is the best time to prune cedar trees?
For general shaping and removing dead or damaged branches, late spring or early summer, after the main growth spurt, is usually best for most cedar species. This allows you to easily distinguish between dead and live wood and gives pruned trees time to recover before winter. If you need to prune out diseased branches, it’s often best to do so immediately upon noticing them to prevent further spread, always cleaning your tools between cuts.