How to Stain Cedar Wood (Semi-Transparent vs Solid Picks)
Semi-transparent stain is the best choice for most cedar projects — it blocks UV and moisture damage while still showing the wood’s natural grain, unlike solid stains that hide it completely. New cedar with mill glaze needs sanding or a few weeks of weathering first, or the stain beads up and peels within a season. This guide covers prepping cedar, choosing oil- vs water-based semi-transparent stain, and applying a coat that lasts 2 to 7 years.
Introduction To Staining Cedar
Best Cedar Stain Pick
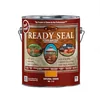 |
Ready Seal Natural Cedar Stain & Sealer, 1 Gal – $42.00 An oil-based semi-transparent stain and sealer in one made specifically in a Natural Cedar tone — matches the deep-penetrating oil-based option this guide recommends for maximum moisture protection, with no back-brushing needed.
|
As an Amazon Associate we earn from qualifying purchases.
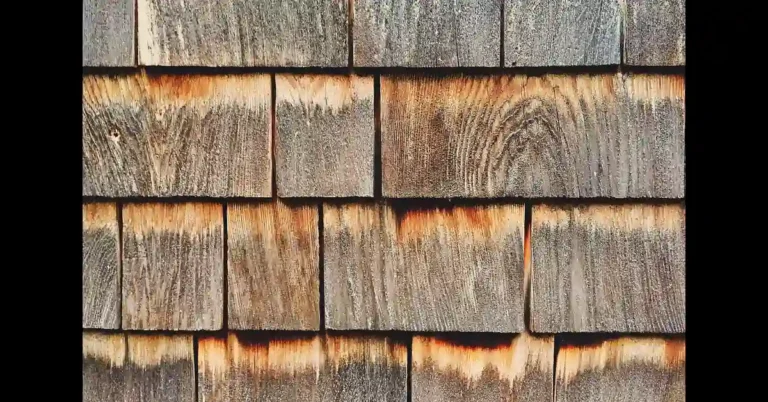
Cedar is prized for outdoor furniture and structures because it resists rot and decay, carries a warm reddish tone, and works easily with hand tools — but left bare, sun and moisture turn it gray and dull within a year or two. Staining restores that color, highlights the grain, and adds a protective barrier against UV rays, moisture, and insects, extending the wood’s usable life significantly.
Preparing Cedar For Staining
Preparing cedar wood properly is essential for an even stain finish. A clean surface allows the stain to adhere better. Follow these steps to ensure your cedar is ready for staining.
Cleaning The Surface
Start by cleaning the cedar wood thoroughly. Dirt and oils can prevent the stain from penetrating.
- Use a soft brush to remove dust.
- Wash the surface with a mild soap solution.
- Rinse with clean water.
- Let it dry completely for at least 24 hours.
Using a cleaner specifically for wood can enhance results. Avoid harsh chemicals that might damage the wood.
📊 Dark cedar and previously stained wood need a gentler cleaner than standard deck wash. Manufacturer guidance for these more sensitive surfaces calls for a dedicated deck brightener rather than a general-purpose cleaner. Source: Olympic Stain Care Guide, 2026
Sanding Techniques
Sanding prepares the wood for the stain. It removes rough spots and opens the wood grain.
- Start with coarse sandpaper (80-100 grit).
- Sand in the direction of the grain.
- Switch to finer sandpaper (150-220 grit) for a smooth finish.
- Clean off dust with a tack cloth.
Proper sanding improves stain absorption. It also enhances the overall appearance of the cedar.
Do You Need to Let New Cedar Weather Before Staining?
New cedar boards often have a smooth “mill glaze” left over from milling that resists stain absorption — this is the single biggest cause of stain peeling on brand-new cedar. If a board feels slick rather than slightly fuzzy to the touch, either sand it lightly with 100-120 grit or let it weather outdoors uncovered for a few weeks before staining. Staining directly over mill glaze on smooth, fresh-cut cedar is a common mistake DIYers blame on the stain itself.
Selecting The Right Stain
Choosing the perfect stain for cedar wood is essential. The right stain enhances the wood’s natural beauty. It protects against weather damage and UV rays. Consider the type of stain and color options carefully.
Types Of Stains
Stains come in various types, each offering different benefits:
- Oil-Based Stains: Deep penetration and long-lasting protection.
- Water-Based Stains: Quick drying, low odor, resist cracking and fading over time.
- Gel Stains: Thick consistency, good for vertical surfaces.
- Transparent Stains: Show wood grain, minimal color change.
- Solid Stains: Opaque coverage, blocks UV rays most completely.
Which Stain Type Is Best for Cedar? (Semi-Transparent vs Solid)
Semi-transparent stain is the best all-around pick for cedar. It sits between transparent and solid on the color scale — enough pigment to block UV rays and slow moisture damage, but sheer enough to let the grain show through, which is the main reason people choose cedar in the first place. Oil-based semi-transparent stains penetrate deepest for the strongest upfront protection; water-based versions dry faster and hold up longer against cracking. Solid stain blocks UV more completely but covers the grain like paint, so it’s a better fit for cedar that’s already blotchy or faded than for new, attractive boards.
📊 A quality semi-transparent finish on cedar typically holds up about 2 years before it needs its first maintenance coat — oil-based versions penetrate deeper for more upfront protection, while water-based versions resist cracking and fading longer term. Source: Duffield Timber, Western Red Cedar Finishing Guide, 2026
“A well-chosen semi-transparent finish like this can actually enhance the grain of your cedar.”
For a full breakdown of internal-link-worthy topics, see also our guide to deck stains and sealers if you’re staining a cedar deck specifically.
Color Choices And Compatibility
Choosing the right color is crucial. Cedar wood has a natural reddish hue. Select colors that enhance this beauty, and check our wood stain color chart for how common shades render on different wood tones:
| Color | Effect |
|---|---|
| Natural | Showcases wood grain. |
| Dark Brown | Adds richness and depth. |
| Gray | Gives a weathered look. |
| Red | Enhances the cedar’s natural tone. |
Check compatibility with cedar. Test a small area before committing. This ensures the stain looks good on your wood.
Application Techniques For Best Results
Using the right techniques ensures a stunning finish on stained cedar wood. Follow these steps for the best results.
Tools Needed
- Wood stain
- Paintbrush or roller
- Rags or cloths
- Sandpaper (220-grit)
- Paint tray
- Protective gloves
- Masking tape
- Drop cloth or plastic sheeting
Step-by-step Application Process
- Prepare the Surface: Start with clean cedar wood, sand with 220-grit sandpaper, and remove dust with a damp cloth.
- Choose the Right Stain: Select a stain that suits your project, considering transparency and color.
- Test the Stain: Apply stain on a small area and check the color after drying.
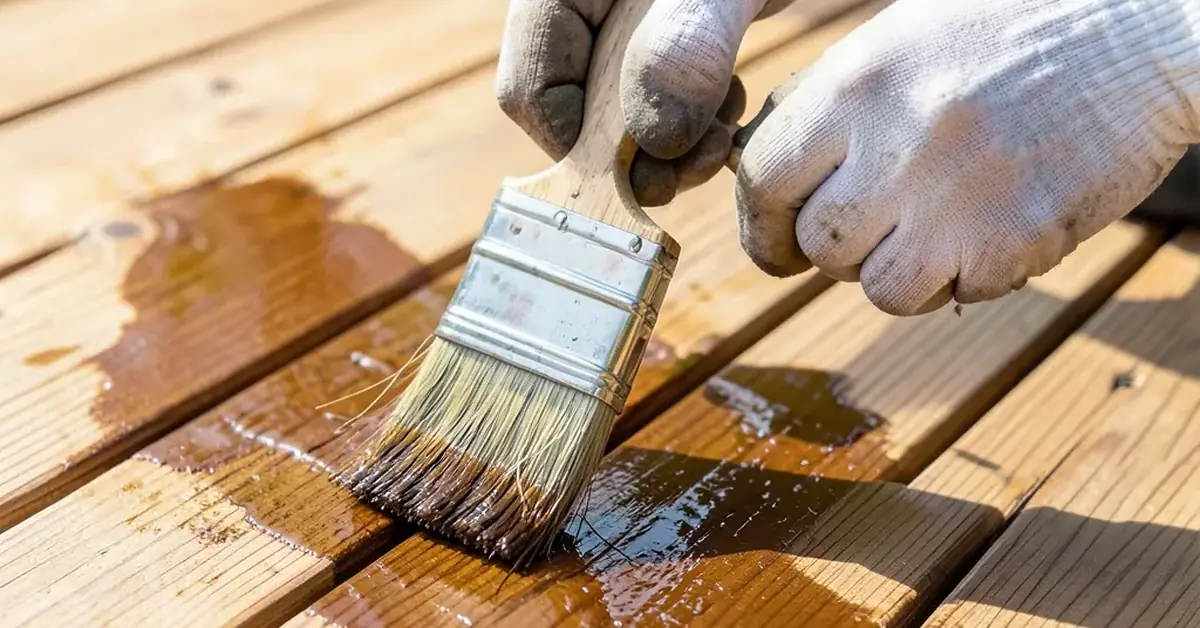
- Apply the Stain: Use a brush or roller for even coverage, working with the grain and avoiding puddles.
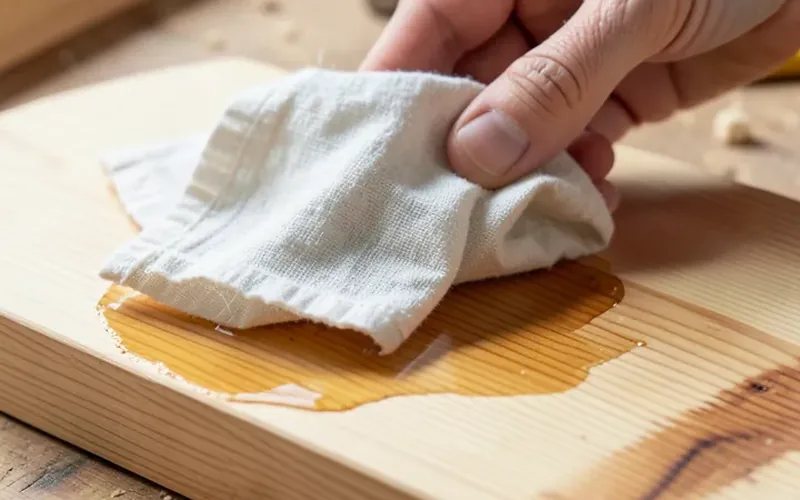
- Wipe Off Excess: After 5-10 minutes, wipe off excess stain with a clean rag.
- Let It Dry: Allow the stain to dry completely, following the manufacturer’s instructions.
- Apply a Second Coat: If needed, apply another coat and repeat the wiping process.
Avoiding Common Staining Mistakes
Staining cedar wood can enhance its beauty, but a few common mistakes ruin the finish. Avoiding these ensures a beautiful result.
Timing And Weather Considerations
Timing is crucial for a successful stain job. Weather affects how the stain adheres. Follow these tips:
- Choose a dry day: Rain can wash away your efforts.
- Avoid extreme temperatures: Too hot or too cold can alter results.
- Check humidity: High humidity can prevent proper drying.
| Condition | Ideal Range |
|---|---|
| Temperature | 50°F to 85°F |
| Humidity | 30% to 50% |
Applying Even Coats
Applying stain evenly ensures a smooth finish. Uneven coats can lead to blotches. Follow these steps for best results:
- Use the right tools: Brushes or rollers work well.
- Work in sections: Focus on one area at a time.
- Apply thin layers: Thin coats dry better and look smoother.
- Blend edges: Feather the edges to avoid marks.
Remember to wait between coats. This helps the wood absorb the stain properly.
Maintenance Tips For Stained Cedar
Stained cedar wood adds beauty to any space. Proper maintenance keeps it looking great. Follow these tips to ensure your stained cedar lasts long.
Regular Cleaning
Cleaning your stained cedar wood is essential. It removes dirt and grime. Follow these steps for effective cleaning:
- Choose a soft brush: Use a brush with soft bristles.
- Prepare a cleaning solution: Mix mild soap with warm water.
- Gently scrub: Apply the solution and scrub the wood.
- Rinse well: Use clean water to rinse off any soap.
- Dry completely: Allow the wood to air dry.
Cleaning should be done every 3 to 6 months. This prevents buildup and keeps the wood vibrant. For the full recoat schedule by exposure (deck vs. fence vs. siding) and how to clean without damaging the finish, see our stained cedar wood maintenance guide.
When To Reapply Stain
Reapplying stain protects your cedar wood. Check for these signs to know when to restain:
| Sign | Action |
|---|---|
| Faded color | Consider applying a new coat of stain. |
| Peeling or flaking | Remove old stain and restain. |
| Water not beading | Reapply stain to restore protection. |
Typically, reapply stain every 2 to 3 years. This keeps the wood healthy and beautiful. See our wood care maintenance guide for a full seasonal upkeep schedule across wood types.
Enhancing Durability And Longevity
Staining cedar wood boosts its durability and longevity. Proper staining protects against various elements, ensuring your cedar remains beautiful for years.
Protective Coatings
Applying protective coatings is crucial for cedar wood. These coatings act as a barrier against moisture and pests, helping prevent rot and insect damage.
- Oil-based stains
- Water-based stains
- Varnishes
- Sealants
Choose a coating that fits your project needs. Regular maintenance keeps the coatings effective.
UV Protection
UV rays can damage cedar wood over time. Staining provides essential UV protection, preventing fading and discoloration.
| Stain Type | UV Protection Level |
|---|---|
| Transparent Stains | Low |
| Semi-Transparent Stains | Medium |
| Solid Stains | High |
Solid stain blocks UV rays most completely, but it hides the grain entirely — semi-transparent remains the better pick for most cedar projects that want both protection and a visible wood grain.
Creative Ideas And Inspirations
Mixing Stain Colors
Mixing stain colors can create a unique look. Start with two base colors, mix in a small container, test the mixture on scrap wood, and adjust the ratios for your desired shade. Popular combinations include Natural + Walnut for a warm brown, and Red Mahogany + Golden Oak for a rich amber.
Staining Patterns And Techniques
- Stripes: Use painter’s tape to create stripes, staining each section differently.
- Ombre: Blend colors from light to dark for a gradient effect.
- Sponging: Use a sponge to apply stain for a textured look.
- Brushed: Use a brush for an even application that enhances the wood grain.
Frequently Asked Questions
How do you prepare cedar wood for staining?
To prepare cedar wood for staining, start by cleaning the surface. Use a mild detergent and water to remove dirt. Sand the wood lightly to enhance the stain’s adhesion. Finally, wipe away any dust and let it dry completely before applying the stain.
What is the best stain for cedar wood?
Semi-transparent stain is the best all-around choice for cedar, since it blocks UV and moisture damage while still showing the wood’s natural grain. Oil-based versions penetrate deepest for maximum protection; water-based versions resist cracking and fading longer. Always test the stain on a small area before full application.
Can you stain cedar wood without sanding?
Yes, you can stain cedar wood without sanding, but it’s not ideal. While staining without sanding can save time, it may result in uneven absorption. For the best results, lightly sand the surface to ensure the stain adheres properly. This enhances the overall finish and longevity of the stain.
How long does cedar wood stain last?
Cedar wood stain typically lasts between 2 to 7 years, depending on exposure. A semi-transparent finish in full sun often needs its first maintenance coat around the 2-year mark, while sheltered or shaded cedar can go much longer. Regular cleaning and reapplication can extend the life of the stain.
Do you need to let new cedar weather before staining?
New cedar often has a smooth, glazed mill surface that resists stain absorption. If your boards feel slick rather than slightly fuzzy, lightly sand them or let the wood weather outdoors for a few weeks before staining. Staining directly over mill glaze is a common cause of early peeling.
Is semi-transparent or solid stain better for cedar?
Semi-transparent stain is better for most cedar projects because it protects against UV and moisture while still showing the wood’s grain. Solid stain blocks UV rays more completely, but it covers the grain entirely like paint, making it better suited to cedar that’s already faded or blotchy than to new, attractive boards.
Conclusion
Staining cedar wood enhances its natural beauty and durability. Semi-transparent stain is the best all-around choice, balancing UV and moisture protection with a visible wood grain, while solid stain suits cedar that’s already faded. Proper prep — including checking for mill glaze on new boards — and regular maintenance every 2 to 3 years keep the finish looking sharp for years to come.
Sponsored / affiliate links. As an Amazon Associate I earn from qualifying purchases. I may earn additional commission from eligible campaigns.