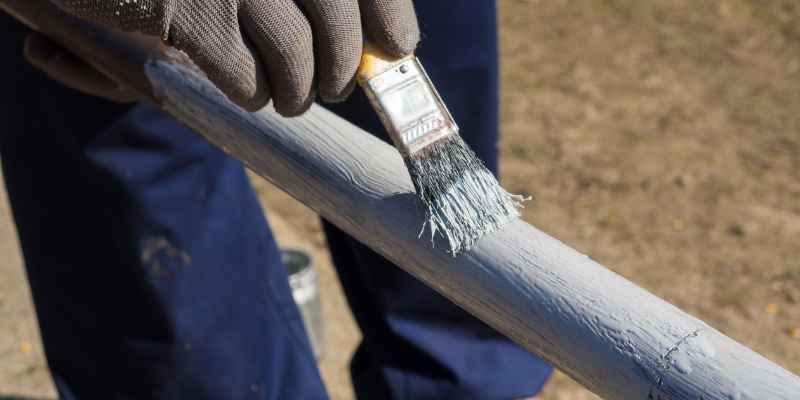
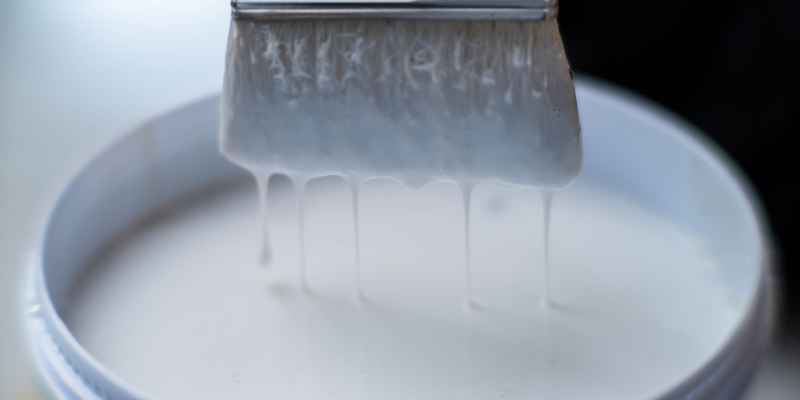
Oil-based primer should be used when painting over surfaces that are stained or damaged, or when covering surfaces with a glossy or non-porous finish. It provides excellent adhesion and durability, ensuring a smooth and long-lasting paint job.
In addition, oil-based primer is resistant to water and humidity, making it ideal for high-moisture areas such as bathrooms and kitchens. Its strong odor and longer drying time require proper ventilation and patience, but the end result is worth it.
With its superior coverage and ability to block stains, oil-based primer is essential for achieving a professional and flawless finish.
Benefits Of Using Oil Based Primer
Using an oil-based primer offers multiple benefits, including superior adhesion, stain-blocking properties, and a longer drying time. It is the ideal choice for when you want to achieve a smooth and durable finish on surfaces that are prone to frequent use or exposure to moisture.
< p>Oil based primer is a versatile and reliable option when it comes to preparing surfaces for painting. It offers a range of benefits that make it an excellent choice for various projects. Whether you are painting a wall, refinishing furniture, or tackling a DIY project, using oil based primer can help ensure a smooth and long-lasting finish. In this section, we will explore the key benefits of using oil based primer.
Enhanced Adhesion
One of the primary benefits of using oil based primer is its enhanced adhesion. The oil-based formula creates a strong bond with the surface, promoting better grip for the paint to adhere to. This is particularly useful when dealing with difficult surfaces such as previously painted or glossy areas. The increased adhesion creates a solid foundation for the subsequent coats of paint, reducing the chances of peeling or flaking.
Sealing Ability
Another advantage of oil based primer is its excellent sealing ability. The oil-based formula penetrates deep into porous surfaces, creating a barrier that prevents stains, odors, and moisture from bleeding through. This is especially beneficial when working with materials like wood that tend to absorb moisture or contain tannins, which can cause discoloration or affect the final paint color. By sealing the surface effectively, oil based primer ensures a uniform and professional-looking finish.
When considering which primer to use, it is important to keep in mind the specific requirements of your project. If you are looking for enhanced adhesion and sealing ability, oil based primer is a reliable choice. Its ability to create a strong bond with the surface and seal off any imperfections makes it an invaluable tool for achieving a smooth and durable paint job.

Types Of Projects That Require Oil Based Primer
When it comes to painting projects, selecting the right primer is crucial for achieving a smooth, long-lasting finish. While there are various types of primers available, oil-based primer stands out for certain projects due to its unique properties. Let’s explore the specific types of projects that require the use of oil-based primer.
Wood Surfaces
Oil-based primer is highly recommended when working with wood surfaces. Wood, being porous, tends to absorb moisture from the paint, causing it to warp or crack over time. Therefore, applying oil-based primer helps seal the wood, preventing moisture penetration and enhancing the adhesion of the paint.
Additionally, wood surfaces often have natural tannins, which can bleed through water-based primers and paint, resulting in unsightly stains. Oil-based primer effectively blocks tannin stains, ensuring a pristine finish on your woodwork.
Stained Or Painted Surfaces
When dealing with stained or previously painted surfaces, oil-based primer is a top choice. These surfaces may have accumulated oils, grease, or other contaminants that can potentially interfere with the adherence and durability of the new paint. Oil-based primers have excellent stain-blocking properties, effectively sealing in any residual stains or colors, allowing you to achieve a fresh, consistent look.
Furthermore, if the existing paint is glossy or oil-based, it may be difficult for water-based primers or paints to adhere properly. The use of oil-based primer ensures a strong bond between the new paint and the underlying surface, preventing peeling or flaking.
Whether you are refinishing cabinets, painting over stained trim, or rejuvenating an old piece of furniture, oil-based primer provides the ideal foundation for your projects.
Prepping Before Applying Oil Based Primer
Before applying oil-based primer, it is important to prep the surface properly. This ensures better adhesion and a smoother finish.
Surface Cleaning
Before applying oil-based primer, surface cleaning plays a vital role in achieving a smooth and long-lasting finish. Properly cleaning the surface ensures that the primer adheres effectively and maximizes its performance.
To clean the surface, follow these simple steps:
- Begin by removing any dirt, dust, or grime using a soft cloth or sponge.
- For surfaces with heavy grease or oil build-up, use a degreaser to remove the stubborn residue. Be sure to follow the manufacturer’s instructions.
- Rinse the surface thoroughly with clean water to remove any cleaning residue.
- Allow the surface to dry completely before proceeding to the next step.
Sanding And Smoothing
Sanding and smoothing the surface is essential to create a uniform and even base for the oil-based primer. This step helps to ensure better adhesion and a professional-looking finish.
Follow these steps to sand and smooth the surface:
- Begin by gathering the necessary sanding tools, including sandpaper with a grit suitable for the surface you are working on.
- If there are any rough patches or imperfections on the surface, use sandpaper to smooth them out.
- Sand in the direction of the wood grain or the surface’s natural lines for the best results.
- After sanding, wipe the surface with a damp cloth or sponge to remove any sanding dust.
- Inspect the surface to ensure it is smooth to the touch.
By following these prepping steps of surface cleaning and sanding, you will create an optimal surface for the oil-based primer to adhere to. Remember to always read the manufacturer’s instructions for the specific primer you are using for any additional prepping requirements or recommendations.
Choosing The Right Oil Based Primer
Choosing the right oil based primer is crucial for certain projects. It provides superior adhesion and helps prevent stains or tannin bleed-through on surfaces like wood or metal. Use oil based primer when dealing with high-traffic areas or surfaces prone to moisture.
When it comes to priming your surfaces before painting, choosing the right primer is crucial. Oil based primers are known for their durability and effectiveness in various situations. However, before selecting an oil based primer, there are a few factors you need to consider. Below, we discuss the most important factors to ensure you choose the right oil based primer for your project.
Compatibility With Paint Type
One of the key factors to consider when choosing an oil based primer is its compatibility with the type of paint you intend to use. Different types of oil based primers are formulated to work with specific paint types, such as oil based paints or enamel paints. Ensure that the primer you choose is compatible with the type of paint you plan to use on top of it. This compatibility will ensure proper adhesion and a long-lasting finish.
Drying Time
The drying time of the oil based primer is another essential aspect to consider. The drying time can vary depending on the brand and specific formulation of the primer. It’s important to choose a primer with a drying time that suits your project timeline. Keep in mind that some oil based primers may require longer drying times compared to water-based alternatives. However, the longer drying time often results in a more thorough and durable bond between the primer and the paint.
If you’re working on a project with time constraints, you may want to consider a fast-drying oil based primer. These primers can significantly reduce the waiting time between priming and painting.
Remember, it’s crucial to allow the primer to dry completely before applying the paint to achieve the best results.

Tips For Applying Oil Based Primer
When it comes to painting projects, using the right primer is key to achieving a perfect finish. Oil based primers, known for their excellent adhesion and stain-blocking properties, are often the preferred choice for a variety of surfaces and situations. If you have decided to use an oil based primer for your project, here are some essential tips to ensure smooth and successful application:
Proper Ventilation
Ventilation is crucial when working with oil based primer due to its strong odor and potentially harmful fumes. Before starting your project, make sure the room or area you are working in is well-ventilated. Open windows and doors to allow fresh air to circulate, or use fans to improve air circulation. This will help to minimize the smell and reduce any potential health risks associated with inhaling the fumes.
Brush Or Roller Selection
Choosing the right tool for applying oil based primer is essential to achieving a professional-looking finish. For smaller areas or detailed work, a high-quality synthetic bristle brush is recommended. The bristles should be firm enough to hold the primer but soft enough to create a smooth, even application. On the other hand, if you are working on larger surfaces, such as walls or ceilings, using a roller can help to save time and ensure an even coat. Opt for a roller with a medium nap, typically around 1/2 inch, to ensure proper coverage without leaving too much texture behind.
Application Techniques
When applying oil based primer, it’s important to follow the proper application techniques to achieve the best results. Here are a few key tips:
- Before starting, thoroughly clean the surface you are priming to remove any dirt, grime, or loose paint.
- If there are any imperfections, such as cracks or holes, use a filler or spackling compound to repair them before priming.
- Stir the primer well before applying to ensure consistent coverage.
- Start by cutting in or edging around the corners and edges of the surface with a brush.
- Next, use a brush or roller to apply the primer in smooth, even strokes, working in small sections.
- Be mindful of the drying time specified on the product label. Avoid applying a second coat until the first coat is completely dry.
- After priming, clean your tools with mineral spirits or an appropriate solvent to remove any residual primer.
By following these tips, you will be able to effectively apply oil based primer and create a solid foundation for your paint job. Remember to always read and follow the instructions provided by the manufacturer for the best results.
Conclusion
Oil-based primer is an excellent choice for certain situations. Its superior adhesion and ability to seal stains make it ideal for covering surfaces that are difficult to paint, such as metal or glossy surfaces. It is also well-suited for exterior projects that require durability and protection against moisture.
However, it’s important to remember that oil-based primers may take longer to dry and can have a strong odor, so proper ventilation is necessary. Overall, understanding when and where to use oil-based primer will help you achieve professional-looking and long-lasting results for your painting projects.


