Wood Floors Cleaning: A Simple Guide for Sparkling Floors
Cleaning wood floors seems simple, right? Wrong! Many people find that doing a good job with Wood Floors Cleaning: Easy Step-By-Step Guide can be tricky. It’s easy to make mistakes that damage your floors. But don’t worry! This guide will break down the process into easy-to-follow steps. We’ll explore everything you need to know to get your wood floors looking their best. Let’s get started and learn how to keep your floors beautiful.
Prepare Your Wood Floors for Cleaning
Before you even think about mopping, you need to prepare your wood floors. This step is super important. It sets the stage for a great clean and protects your floors. It’s like prepping your canvas before you start painting a masterpiece. Taking a few moments to get ready makes a big difference in how well your floors shine and how long they last. Think of it as the foundation for a beautiful, clean floor.
Gather Your Supplies
Having the right tools is key to making the Wood Floors Cleaning: Easy Step-By-Step Guide successful. You’ll need some basic items to get the job done right. This helps you avoid any last-minute runs to the store. Gathering your supplies ahead of time streamlines the cleaning process, making it faster and more effective. It also ensures you have everything you need, helping you prevent frustrating delays.
- Soft-Bristled Broom or Vacuum with Wood Floor Attachment: Use this to get rid of loose dirt, dust, and debris. A soft-bristled broom is gentle on wood, while a vacuum with a special attachment prevents scratches. Think of it as sweeping up all the little troublemakers.
- Wood Floor Cleaner: Choose a cleaner made specifically for wood floors. These are formulated to be safe and effective, avoiding any harm to your flooring. Using the right cleaner is like giving your floor a spa treatment.
- Mop: A microfiber mop is the best choice because it’s gentle and picks up dirt effectively. Make sure your mop is clean before you begin. A fresh mop head ensures you’re not just spreading dirt around.
- Bucket: For mixing your cleaning solution. Having a dedicated bucket keeps things organized and prevents mixing cleaning products.
- Spray Bottle (Optional): Useful for spot cleaning or applying cleaner in specific areas. It’s like a precision tool for stubborn messes.
These are the essentials that will help you achieve sparkling results when you apply the Wood Floors Cleaning: Easy Step-By-Step Guide. Remember to check the instructions on your wood floor cleaner for any special recommendations.
Sweep or Vacuum Thoroughly
Once you’ve gathered your supplies, start by sweeping or vacuuming your floors. This removes loose dirt and debris, which will make mopping much easier. This initial step stops you from pushing dirt around during the cleaning process, preventing scratches. Cleaning like this stops dirt from becoming mud when mixed with your cleaning solution. The goal here is to remove anything that could scratch or dull the finish. This prepares your floors for the next step, ensuring a better clean.
- Sweeping: Use a soft-bristled broom to sweep in the direction of the wood grain. This helps to lift dirt from the crevices. Think of it as a gentle massage for your floors.
- Vacuuming: If you’re using a vacuum, make sure it has a wood floor attachment. This attachment has soft bristles and won’t scratch the wood. Vacuum slowly, overlapping your strokes.
- Focus on Corners and Edges: These spots often trap the most dirt and dust. Make sure to get into corners and along edges where dust likes to hide. This ensures a clean sweep.
This preliminary step is crucial in the Wood Floors Cleaning: Easy Step-By-Step Guide, paving the way for a more effective and satisfying cleaning experience.
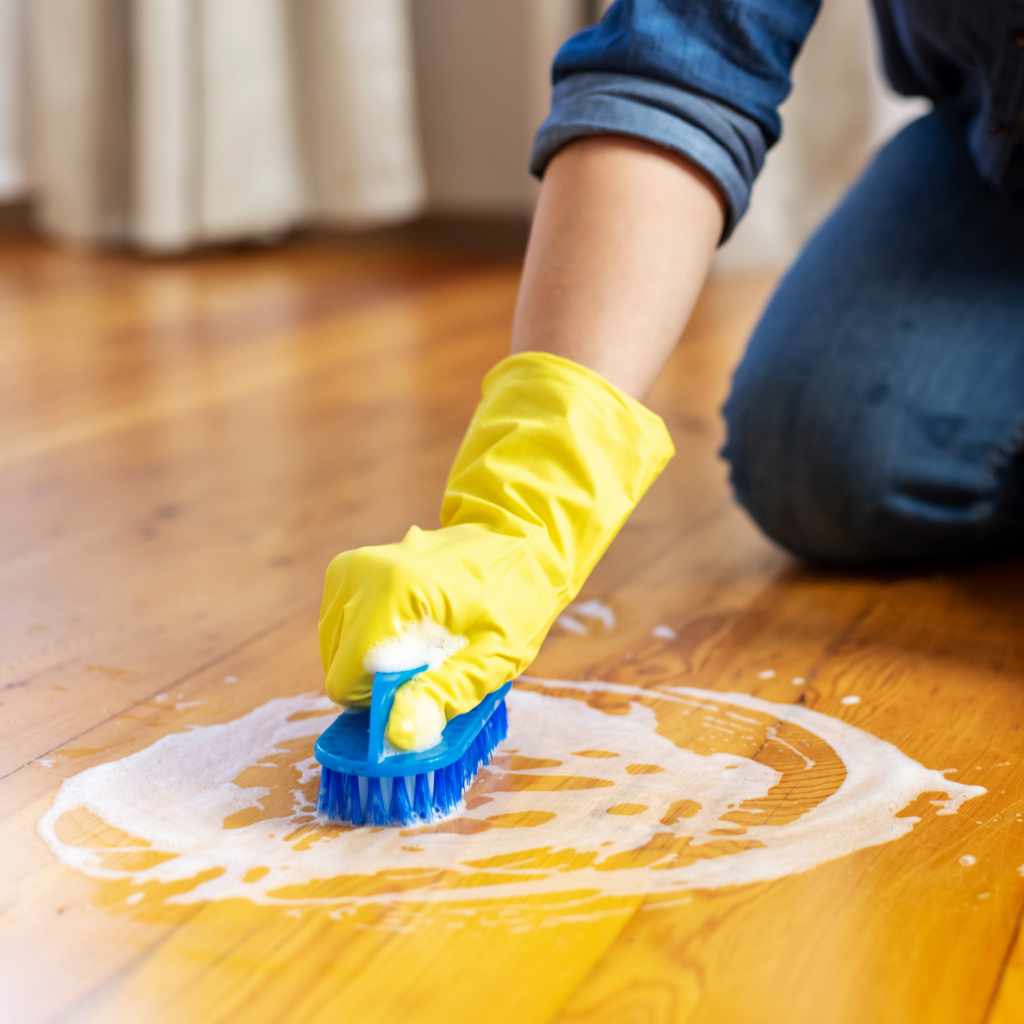
Address Tough Stains and Spills
Before you start mopping, tackle any stubborn stains or spills. These may need special attention to remove. Treating spots early on can prevent them from becoming more difficult to get rid of later. Waiting to address these can make them harder to remove, so it’s best to deal with them right away. This will help make the mopping process more effective.
- Identify the Stain: Knowing what caused the stain helps you choose the right cleaning method. Different stains need different solutions. This knowledge makes removing the stain much easier.
- Use a Recommended Cleaner: Check your wood floor cleaner instructions for specific stain-removal advice. Usually, you can apply a small amount of cleaner directly to the spot. This will help remove that annoying mark.
- Gently Scrub: Use a soft cloth or sponge to gently scrub the stain. Avoid abrasive pads, as they can scratch the wood’s finish. Remember, gentleness is key.
- Blot and Wipe: After scrubbing, blot the area with a clean, damp cloth to remove the cleaner and lifted stain. This step ensures that the spot is thoroughly cleaned.
Addressing stains early in the Wood Floors Cleaning: Easy Step-By-Step Guide is a proactive measure that leads to cleaner and more attractive wood floors.
Cleaning Wood Floors: Step by Step
Now that your floors are prepped, it’s time to get into the heart of the matter! This section covers the core of the Wood Floors Cleaning: Easy Step-By-Step Guide. It will guide you through the mopping process for a sparkling finish. We’ll explore the best techniques and tips to ensure you achieve professional-looking results. Let’s start and bring that beautiful shine back to your wood floors.
Mix Your Cleaning Solution
Mixing your cleaning solution properly is a fundamental step. This ensures that you’re using an effective cleaner that’s also safe for your wood floors. Too much cleaner can leave a residue, and too little might not clean effectively. Getting the mix right is important. This is the foundation for a successful mopping experience, setting the stage for a clean and sparkling result.
- Read the Label: Always read the instructions on your wood floor cleaner. They will tell you the recommended water-to-cleaner ratio. Ignoring these instructions can damage your floor.
- Use the Correct Water Temperature: Some cleaners work best with warm or cold water. Check the label to be sure.
- Measure Carefully: Use measuring cups or the product’s measuring guide to get the right amount of cleaner and water. Precision matters!
- Stir Gently: Mix the cleaner and water gently in your bucket. Avoid creating too many bubbles, as this can affect the cleaning process.
Following these steps ensures that your cleaning solution is prepared correctly for the Wood Floors Cleaning: Easy Step-By-Step Guide, setting the foundation for the most efficient results.
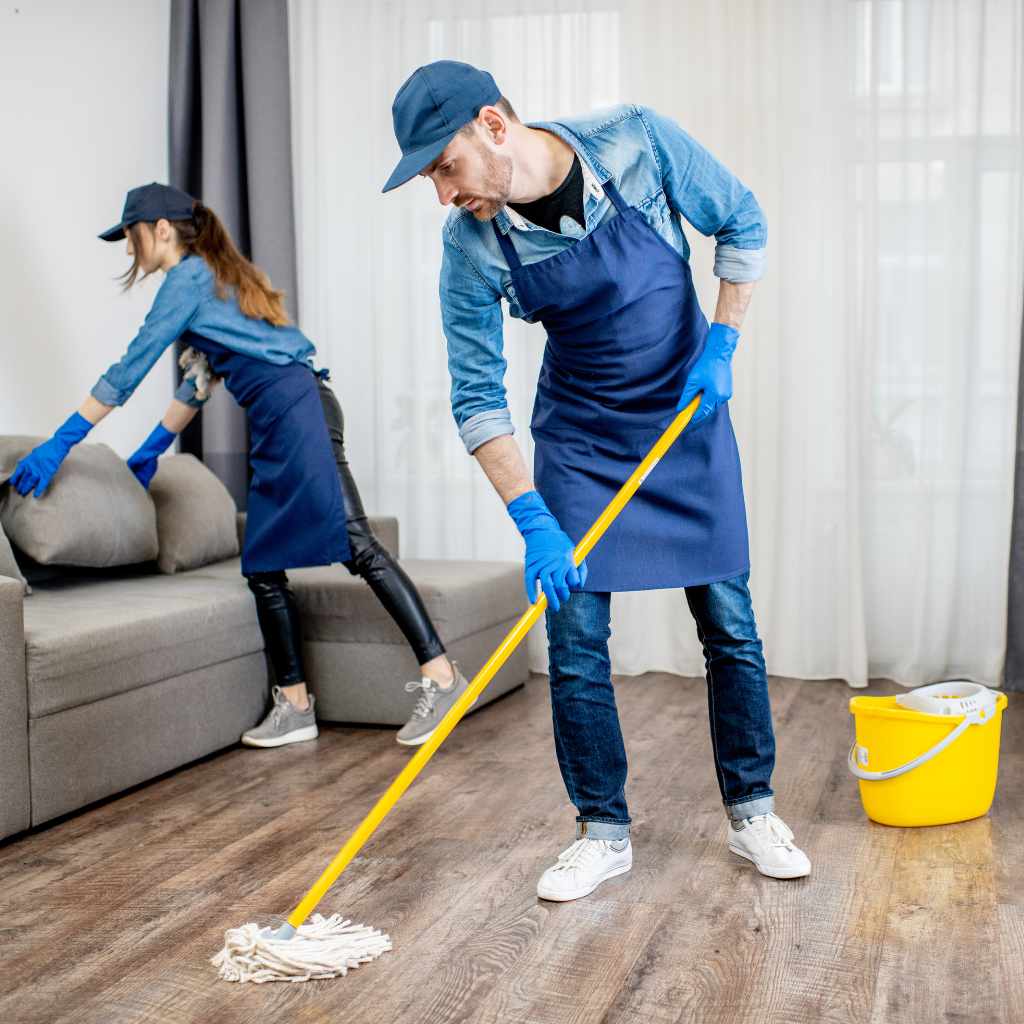
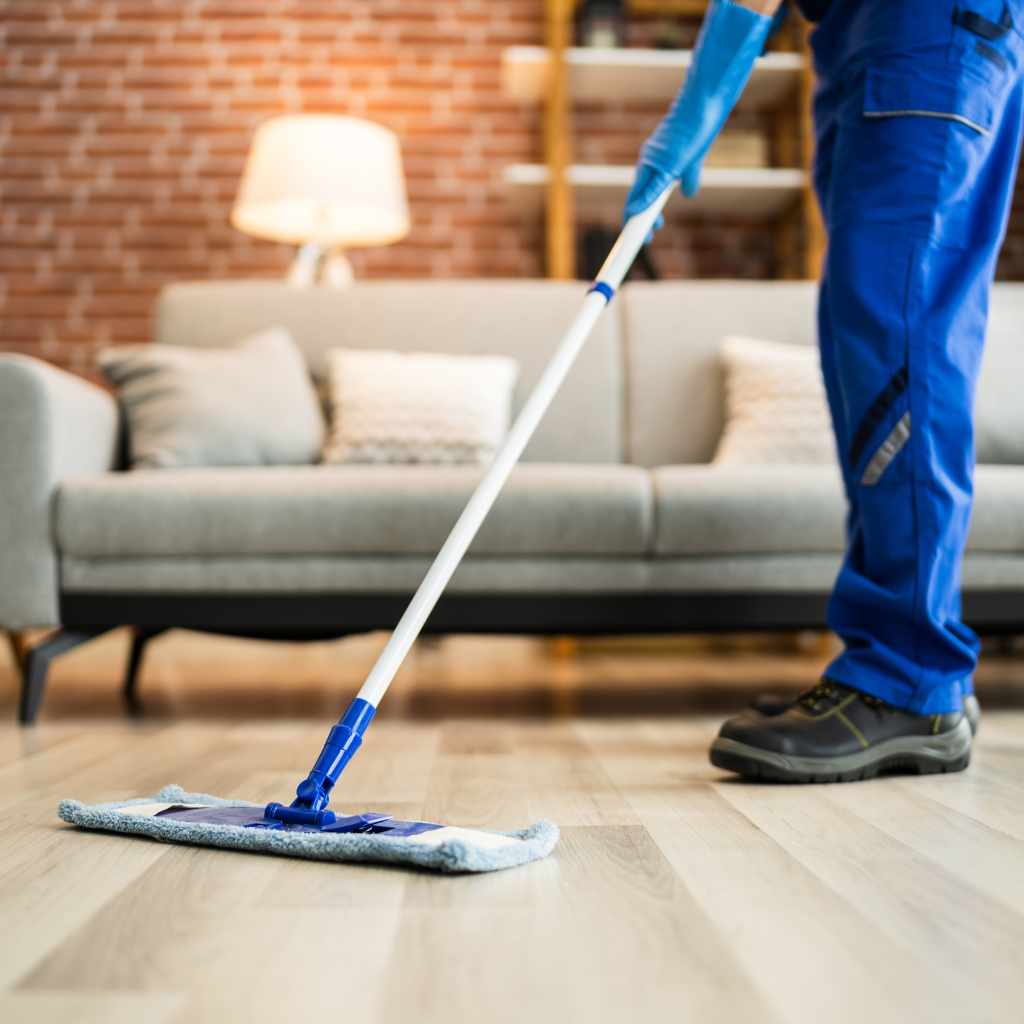
Mop Your Floors Properly
Now, let’s learn the proper mopping technique. This technique ensures that your floors are clean without damaging the wood. Mopping correctly involves both technique and care. The proper method will guarantee a streak-free and shiny finish. Getting the method right is what separates a good clean from a great one. This will bring out the natural beauty of your wood floors.
- Dip and Wring: Dip your mop head into the cleaning solution, then wring out as much excess water as possible. The goal is a damp mop, not a soaking one. Using a damp mop reduces the risk of water damage.
- Work in Sections: Start at one end of the room and work your way across in small sections. This gives you better control and prevents the cleaner from drying too quickly. Small sections make the process easier.
- Mop with the Grain: Always mop in the direction of the wood grain. This prevents streaks and helps lift dirt effectively. The wood grain helps guide your movements.
- Overlap Strokes: Overlap each stroke slightly to make sure you don’t miss any spots. This way, you can cover all areas of the floor.
Using these tips will help you mop your floors correctly, following the Wood Floors Cleaning: Easy Step-By-Step Guide perfectly.
Avoid Common Mopping Mistakes
It’s easy to make mistakes when cleaning wood floors. But being aware of these pitfalls can save you from damaging your floors. Avoiding these mistakes ensures the beauty of your wood floors. Getting it right is important for the lifespan of your flooring. These simple adjustments will make a big difference.
- Using Too Much Water: Excess water can damage wood floors. Always wring out your mop thoroughly.
- Using the Wrong Cleaner: Never use harsh chemicals or general-purpose cleaners. They can strip the finish and damage the wood.
- Ignoring the Grain: Always mop with the wood grain. This avoids streaks.
- Forgetting to Rinse: Rinse your mop frequently in the cleaning solution. Rinse in clean water if needed.
By preventing these common issues, you’ll be well on your way to a successful Wood Floors Cleaning: Easy Step-By-Step Guide.
Maintaining Your Clean Wood Floors
Once you’ve cleaned your floors, the job isn’t quite done. Regular care is key to keeping them beautiful and long-lasting. This section provides tips on how to keep your wood floors looking their best after your initial cleaning. Maintaining the shine on your floors involves ongoing care. It’s an investment in your home. Let’s dive into some easy ways to keep your floors looking beautiful.
Regular Dusting and Sweeping
Regular maintenance is essential to keep your wood floors looking beautiful. This means regular dusting and sweeping. Even small amounts of dirt and dust can create scratches and dull the finish over time. Regular cleaning is a simple act that protects your investment. This helps keep your floors beautiful for years. Let’s explore some basic actions you can take.
- Dust or Sweep Daily: A quick sweep or dust every day or two can prevent dirt buildup. This can take only a few minutes.
- Use a Soft Broom or Vacuum: Soft bristles will prevent scratches. Vacuum with a special wood floor attachment.
- Pay Attention to High-Traffic Areas: These areas need more frequent cleaning. This keeps the whole floor looking its best.
Following this Wood Floors Cleaning: Easy Step-By-Step Guide allows you to keep those floors in tip-top shape.
Protecting Your Wood Floors
Protecting your wood floors is just as important as cleaning them. This helps prevent scratches and other damage. Protecting your wood floors is a preventative measure. It’s like putting a shield around your floors. Protecting the floors will extend their lifespan. Here are a few ways to keep them in great shape.
- Use Rugs and Mats: Place rugs in high-traffic areas and at doorways. This will catch dirt and protect the finish.
- Trim Pet Nails: Keep your pet’s nails trimmed to avoid scratches. Long nails can damage wood floors quickly.
- Use Furniture Pads: Place felt pads under furniture legs. This helps prevent scratches when moving furniture.
- Remove Shoes Indoors: Ask people to remove their shoes inside to reduce the amount of dirt tracked in. This reduces wear and tear.
These protective steps are key to following the Wood Floors Cleaning: Easy Step-By-Step Guide.
Spot Cleaning
Spot cleaning allows you to deal with spills and messes as soon as they happen. This is important to prevent stains from setting and becoming more difficult to remove. Immediate action prevents long-term damage. It can help maintain the beauty of your floors. Dealing with spots quickly will keep your floors looking clean. Here’s a quick guide to do that.
- Act Quickly: Wipe up spills as soon as they occur. Don’t let liquids sit on the floor.
- Use a Soft Cloth: Dampen a soft cloth with a wood floor cleaner. Avoid harsh chemicals.
- Gently Blot: Gently blot the area; avoid rubbing, which can spread the stain. Light pressure will do the trick.
- Rinse and Dry: Rinse the cloth and wipe the area with clean water. Dry the area thoroughly.
Following these steps ensures that you’re well-equipped to use the Wood Floors Cleaning: Easy Step-By-Step Guide effectively.
Deep Cleaning Your Wood Floors (As Needed)
While regular cleaning is essential, sometimes your floors need a deeper clean. This is especially true if you have pets, kids, or live in a high-traffic area. This more involved cleaning process gets rid of ground-in dirt and grime. Think of it as a full spa treatment for your floors. It’s a key part of maintaining the beauty of your wood floors. Let’s go through a step-by-step approach.
When to Deep Clean
Knowing when to deep clean your floors is important. This is all about knowing when your usual cleaning methods aren’t enough. It will ensure you’re taking the right steps at the right time. Determining the timing is an essential part of the process. It helps to keep your floors in great shape and looking their best.
- Dull Appearance: If your floors are starting to look dull, even after regular cleaning, it’s time for a deep clean. This can be caused by dirt buildup.
- Increased Traffic: If you have more foot traffic, you may need to deep clean more often. That extra activity wears down the finish.
- Visible Stains: If you have persistent stains that don’t come out with spot cleaning, a deep clean is in order. Deep cleaning will remove those stubborn marks.
- Seasonal Changes: Some people deep clean their floors at the start of each season. This helps manage seasonal dirt and dust.
Knowing when to initiate the deep cleaning process is a critical part of the Wood Floors Cleaning: Easy Step-By-Step Guide, ensuring that you’re maintaining the optimal condition of your floors.
Choosing the Right Deep Cleaning Method
Several deep cleaning methods can work, so you’ll want to choose the right one for your floors. The method you choose will depend on the type of finish on your wood floors. Selecting the proper method will ensure that you don’t damage the floor. Here’s how to ensure you’re using the right approach.
- Wood Floor Cleaners: There are cleaners that you can use, but these are for regular cleaning. Read the instructions carefully.
- Mix: You can create a simple mix of vinegar and water. This is fine for some wood floors, but test in a hidden area first. This will help you know the cleaner’s effects on your floor.
- Steam Cleaners: These cleaners can be effective, but use them cautiously. Too much heat or moisture can damage wood floors. This will provide you with a deeper clean.
Choosing the correct method is a crucial aspect of following the Wood Floors Cleaning: Easy Step-By-Step Guide, maximizing the effectiveness while preserving the wood’s condition.
Deep Cleaning Process
Now, let’s look at the deep cleaning process itself. This will help you get those floors looking like new again. Deep cleaning can revitalize your floors and make them look their best. Here’s a basic guide to do it right. Here are some steps you can take.
- Prepare the Area: Remove furniture and rugs from the room. Make sure you have plenty of ventilation. This ensures you’re able to move and work easily.
- Sweep or Vacuum: Get rid of loose dirt, dust, and debris. This step prepares the floors.
- Apply Cleaner: Apply your chosen cleaning solution. Do it in small sections. This will make it easier to work.
- Scrub the Floor: Use a mop, cloth, or brush to scrub the floor. Scrub with the wood grain. This helps to loosen dirt.
- Rinse and Dry: Rinse the floor with clean water. Dry the floor thoroughly. A clean, dry floor is your goal.
This Wood Floors Cleaning: Easy Step-By-Step Guide makes deep cleaning easy. This helps to make your floors shine.
Using the Right Cleaning Products for Wood Floors
Selecting the correct cleaning products makes a big difference in the care of your wood floors. This step is about using the right cleaning products to clean and protect them. This will make them look their best. Using the correct cleaners will help keep the floors looking great. Understanding cleaning products is essential for maintaining your floor’s beauty.
Types of Wood Floor Cleaners
There are many different types of wood floor cleaners available. Choosing the right type can be overwhelming. Understanding your options is key to achieving good results. This information helps in the cleaning process. Here are a few options for you to choose from.
- pH-Neutral Cleaners: These are generally safe for all types of wood floors. They are mild and won’t damage the finish. pH-Neutral cleaners are a good choice to start with.
- Concentrated Cleaners: These cleaners require dilution with water. Follow the instructions to get the right mix. They are often cost-effective.
- Ready-to-Use Cleaners: These cleaners come pre-mixed. They’re easy to use, but they can be more expensive. This will save you prep time.
- Hardwood Floor Cleaners: These are specifically made for wood floors. They are often the best choice for cleaning and protection. They protect the finish.
You can find the best cleaning product for your floor by following this Wood Floors Cleaning: Easy Step-By-Step Guide.
Ingredients to Avoid
Some ingredients can damage wood floors. It’s important to know what to avoid. Using the wrong products can cause damage. Knowing what to avoid will protect your floors. Avoiding these things helps with a long-lasting, beautiful floor.
- Vinegar: Vinegar is often recommended, but it can dull the finish. Use vinegar cautiously.
- Ammonia: Ammonia is a strong cleaner that can damage wood. Avoid using it on your wood floors.
- Abrasive Cleaners: Scouring pads or harsh chemicals can scratch the surface. This can damage the floor’s finish.
- Oil-Based Cleaners: These cleaners can leave a residue that attracts dirt. These can damage the floor.
Knowing what not to use is just as important as knowing what to use in the Wood Floors Cleaning: Easy Step-By-Step Guide.
Reading Product Labels
Reading the product labels on your cleaners is essential. This helps you select the correct product for your floors. Product labels give important information. Understanding the labels ensures you use the product safely. Reading product labels ensures you’re cleaning your floor correctly.
- Check for Compatibility: Make sure the cleaner is safe for your wood floors. Look for “safe for hardwood” on the label.
- Follow Dilution Instructions: Always mix the cleaner with water as directed. Using the right mix is very important.
- Check for Special Instructions: Some cleaners have special instructions for use. Follow these instructions.
- Do a Test Area: Before you clean the whole floor, test the cleaner in a hidden area. This checks for adverse reactions.
These tips are essential for the Wood Floors Cleaning: Easy Step-By-Step Guide, ensuring that you’re using the product safely.
Frequently Asked Questions
Question: How often should I clean my wood floors?
Answer: It depends on how much traffic your floors get, but a good rule of thumb is to sweep or vacuum your floors 2-3 times a week and mop them once a week or every other week.
Question: Can I use a steam mop on my wood floors?
Answer: It depends. Some steam mops are safe for wood floors, but others can damage them. Check with your floor’s manufacturer or test in a small area first to make sure it’s safe.
Question: What should I do if I spill something on my wood floors?
Answer: Wipe up the spill immediately with a clean cloth. Don’t let liquids sit on the floor for too long. If it’s a sticky spill, use a damp cloth and gently blot until it’s gone.
Question: Can I use vinegar and water to clean my wood floors?
Answer: You can, but use it with caution. Vinegar can sometimes dull the finish on wood floors, so test it in a hidden area first. Always dilute the vinegar with water.
Question: What’s the best way to prevent scratches on wood floors?
Answer: Place rugs in high-traffic areas, use furniture pads, and trim your pets’ nails regularly. You can also ask people to remove their shoes indoors.
Final Thoughts
Keeping your wood floors clean is easier than you think. Following this Wood Floors Cleaning: Easy Step-By-Step Guide, you can maintain their beauty. You’ve learned how to prepare your floors, mop them correctly, and take care of them. You can also avoid common mistakes and choose the right cleaning products. You’re ready to tackle any cleaning challenge! With regular maintenance and the right techniques, your floors will look their best. Now, go forth and bring that shine back to your wood floors!