How to Install Wood Floors: Matching Method to Your Subfloor
Most “how to install wood floors” guides describe one method start to finish, as if every house has the same subfloor. It doesn’t. A century-old house with a plywood or plank subfloor, a slab-on-grade condo, and a room where you’re installing over an existing floor each call for a genuinely different installation method – and using the wrong one is how you end up with a floor that gaps, buckles, or delaminates within a year or two. This guide starts with the subfloor, not the flooring, because that’s the decision that actually determines everything else.
Start With Your Subfloor, Not Your Flooring
There are three subfloor situations that matter for installation: a wood subfloor (plywood or old plank subfloor, typically found in houses built on a crawlspace or basement), a concrete slab (common in condos, ranch homes, and additions), and an existing floor you’re installing over rather than tearing out. Each one rules certain installation methods in or out before you even pick a wood species. A concrete slab can’t hold a nail, so nail-down is off the table no matter how much you like the look of face-nailed solid oak. A wood subfloor that’s already uneven by more than 3/16 inch over 10 feet needs leveling before glue-down or floating floors will lie flat. Figure out which category your room falls into first, then use the section below for that specific method.
Best DIY Installation Toolkit
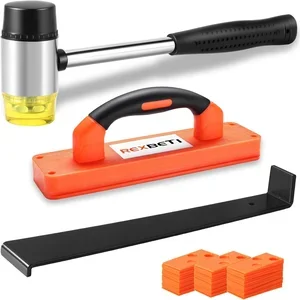 |
REXBETI 43-Piece Flooring Installation Kit – $20.99 Whichever method you use, a tapping block, pull bar, and real spacers save you from the dented edges and inconsistent expansion gaps that come from improvising with scrap wood.
|
The Three Installation Methods, and Which Subfloor Each One Needs
Flooring manufacturers and installers group real installation into three methods. They aren’t interchangeable – each is tied to a specific subfloor and a specific type of flooring.
| Method | Works over | Best flooring type | What it needs |
|---|---|---|---|
| Nail-down (or staple-down) | Wood subfloor only (plywood 3/4″ or thicker, or old plank subfloor) | Solid hardwood 3/4″ thick | Pneumatic flooring nailer/stapler, 15-lb building paper |
| Glue-down | Concrete slab, or wood subfloor | Engineered hardwood | Moisture-tolerant urethane adhesive, notched trowel, slab moisture test |
| Floating (click-lock) | Almost any flat, dry subfloor, including existing tile or vinyl | Engineered hardwood or laminate | Foam or cork underlayment, no fasteners into the subfloor at all |
Nail-Down: Solid Hardwood Over a Wood Subfloor
Nail-down is the traditional method for solid hardwood, and it only works over a wood subfloor – plywood at least 3/4 inch thick, or the original plank subfloor in an older home. You cannot nail solid hardwood to concrete. Cover the subfloor with 15-lb asphalt-saturated building paper first; it’s a cheap, often-skipped step that adds a slip layer and a modest moisture buffer between the subfloor and the new boards. Snap a chalk line for your first row, then face-nail or blind-nail (through the tongue, at a 45-degree angle) with a pneumatic flooring nailer or stapler every 8-10 inches, plus within 2 inches of each end of a board. Leave a 1/2-inch expansion gap at every wall – baseboard or shoe molding will cover it. Because solid hardwood moves more with humidity than engineered wood, this gap matters more here than with the other two methods.
Glue-Down: Engineered Hardwood Over a Concrete Slab
If your subfloor is a concrete slab – a condo, a ranch-style house on a slab foundation, a below-grade room – glue-down engineered hardwood is the realistic option, not solid hardwood. Concrete slabs release moisture upward over time even when they look and feel dry, so before gluing anything down, run a calcium chloride moisture test or a moisture meter reading on the slab; most engineered flooring manufacturers specify a maximum moisture emission rate, and gluing over a slab that fails that test is the single most common cause of a glue-down floor bubbling or delaminating within the first year. Spread a moisture-tolerant urethane adhesive with the trowel notch size the adhesive manufacturer specifies (not a generic size), then set each plank into the wet adhesive within the adhesive’s open time, using spacers along the walls for the expansion gap. Weight or roll the planks so they bond fully – a plank that isn’t pressed down firmly into the adhesive is the second most common glue-down failure.
Floating Click-Lock: The Option for Almost Any Subfloor
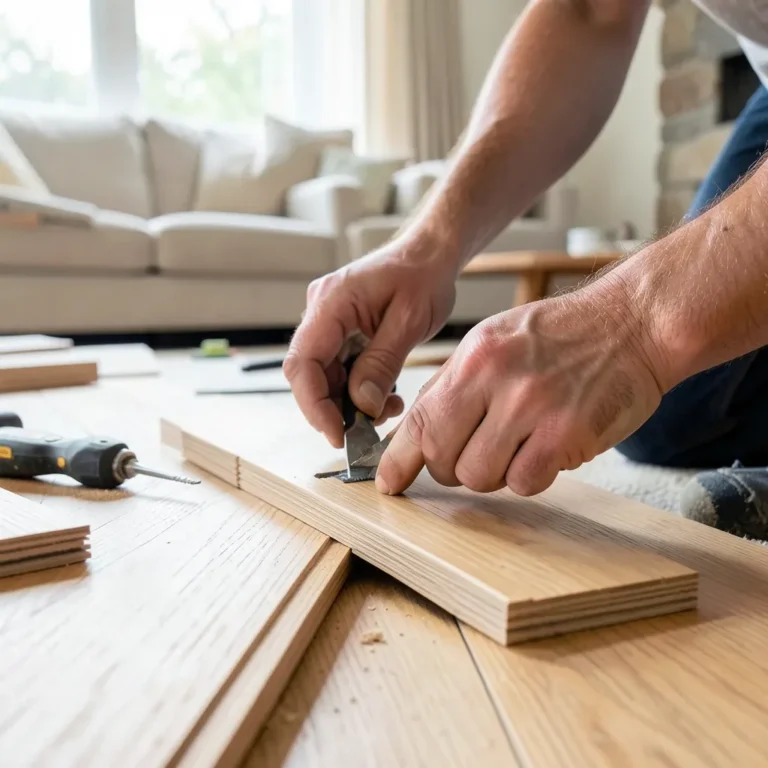
Floating floors – engineered hardwood or laminate with a click-lock edge – aren’t fastened to the subfloor at all. The planks lock to each other and “float” as one connected layer on top of a thin foam or cork underlayment, which is what makes this method work over almost any flat, dry surface: plywood, concrete, and even existing tile or vinyl in decent condition, without tearing the old floor out first. That flexibility is also its main limitation – because nothing anchors the floor to the subfloor, it needs a perfectly flat surface (most manufacturers specify no more than 3/16 inch of variation over a 10-foot span) or the locking joints will flex and eventually fail. Roll out the underlayment, click the first row together against the wall with spacers holding the expansion gap, then stagger each subsequent row by at least 8 inches so end joints don’t line up between adjacent rows. No nails, no glue, no fasteners into the subfloor – which is also why floating floors are the easiest of the three methods for a first-time DIYer to install without expensive tools.
Don’t Skip Acclimation – It’s Not Optional
Wood keeps absorbing and releasing moisture after it leaves the factory, and it will keep doing that in your house until it matches the room’s humidity. Acclimation means leaving the unopened flooring boxes in the actual room where they’ll be installed – not the garage, not a different room – for at least 3 to 7 days before installation, longer in a house with unusually high or low humidity. Skip this step and the boards can arrive slightly drier or wetter than your home’s climate, then expand or contract after installation instead of before it. That’s what produces the two most common wood-floor complaints months after a job: visible gaps opening up between boards in winter, or boards cupping and buckling in summer. Acclimation costs nothing but a few days of patience, and it’s the step most often skipped by DIYers in a hurry to finish the job.
Step-by-Step, Once You’ve Picked Your Method
The specifics differ by method, but the sequence is the same for all three:
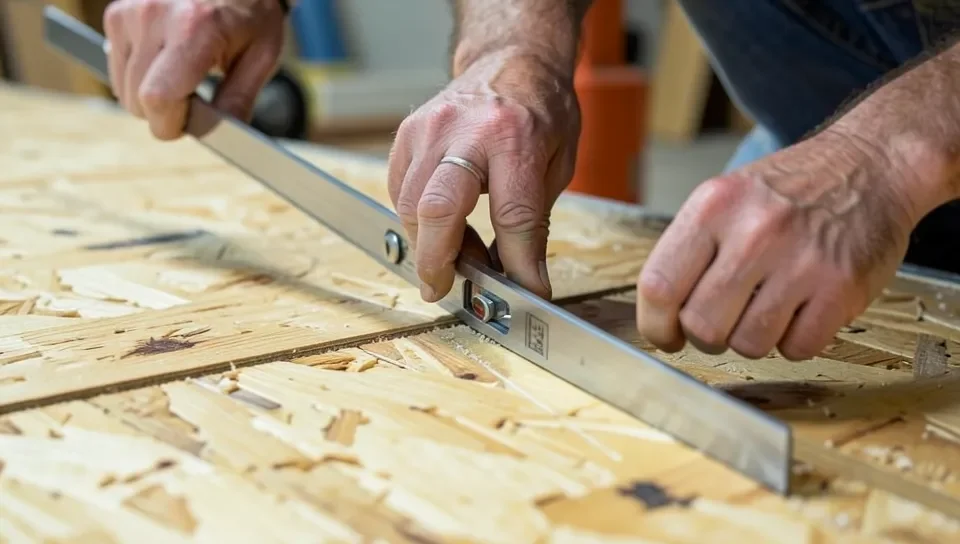
- Test and prep the subfloor. Check for flatness (3/16″ over 10 feet is the common threshold) and, for concrete, moisture. Remove old flooring, staples, and adhesive residue.
- Acclimate the new flooring in the room for 3-7+ days per the manufacturer’s instructions.
- Lay out your first row along the longest, straightest wall, using spacers to hold a consistent expansion gap on all sides.
- Install using your method – nail, glue, or click-lock – working row by row and staggering end joints by at least 8 inches between rows.
- Cut the last row to fit, maintaining the same expansion gap at the far wall.
- Install transition strips and baseboard/shoe molding to cover expansion gaps at doorways and walls.
A moisture meter is worth using at step 1 regardless of which method you choose – it’s the only way to actually confirm a slab or subfloor is dry enough to proceed, rather than guessing from how it looks or feels.
Choosing Between Solid, Engineered, and Laminate
Which installation method is even available to you depends partly on which flooring type you choose. If you’re deciding between engineered hardwood and solid wood in the first place, engineered hardwood is real hardwood on top, not a printed laminate imitation – it’s just built in layers that make it dimensionally stable enough for glue-down or floating installation over concrete, which solid hardwood can’t handle. If you’re weighing engineered hardwood against luxury vinyl plank instead, the installation methods overlap (both can float), but the wear layer and repairability differ – see our full comparison of LVP vs. engineered hardwood for that decision. And once you know which method and material you’re using, our hardwood flooring installation cost breakdown covers what nail-down versus glue-down versus hiring a pro actually runs per square foot.
Frequently Asked Questions
Can I nail solid hardwood over a concrete slab?
No. Nails and staples need a wood subfloor to bite into. Over a concrete slab, use glue-down engineered hardwood or a floating click-lock floor instead – both are designed to work without fasteners driven into the subfloor.
How long does new flooring need to acclimate before installation?
At least 3 to 7 days in the actual room where it will be installed, longer in unusually humid or dry climates. Skipping acclimation is the most common cause of gapping or buckling that shows up months after installation, not at the time of the job.
Which installation method is easiest for a first-time DIYer?
Floating click-lock flooring is generally the most forgiving for a first attempt. It needs no nailer and no wet adhesive with a limited working time – just a flat, dry subfloor and careful attention to expansion gaps and staggered joints.
Do I need to test subfloor moisture before installing wood flooring?
Yes, especially over a concrete slab. A calcium chloride test or a moisture meter reading confirms the slab is dry enough for glue-down installation; gluing over a slab that’s still releasing moisture is a leading cause of bubbling or delamination within the first year.
Conclusion
The method that works for your neighbor’s plywood-subfloor bungalow may not work in your slab-on-grade condo, and that’s the piece most generic installation guides leave out. Identify your subfloor first, match it to nail-down, glue-down, or floating installation, respect the acclimation period, and test for moisture before you glue or float anything over concrete. Get those decisions right and the actual installation – regardless of which method you land on – is a manageable weekend project.
Sponsored / affiliate links. As an Amazon Associate I earn from qualifying purchases. I may earn additional commission from eligible campaigns.