Acrylic Easy Painting Ideas: The Best Genius Starts
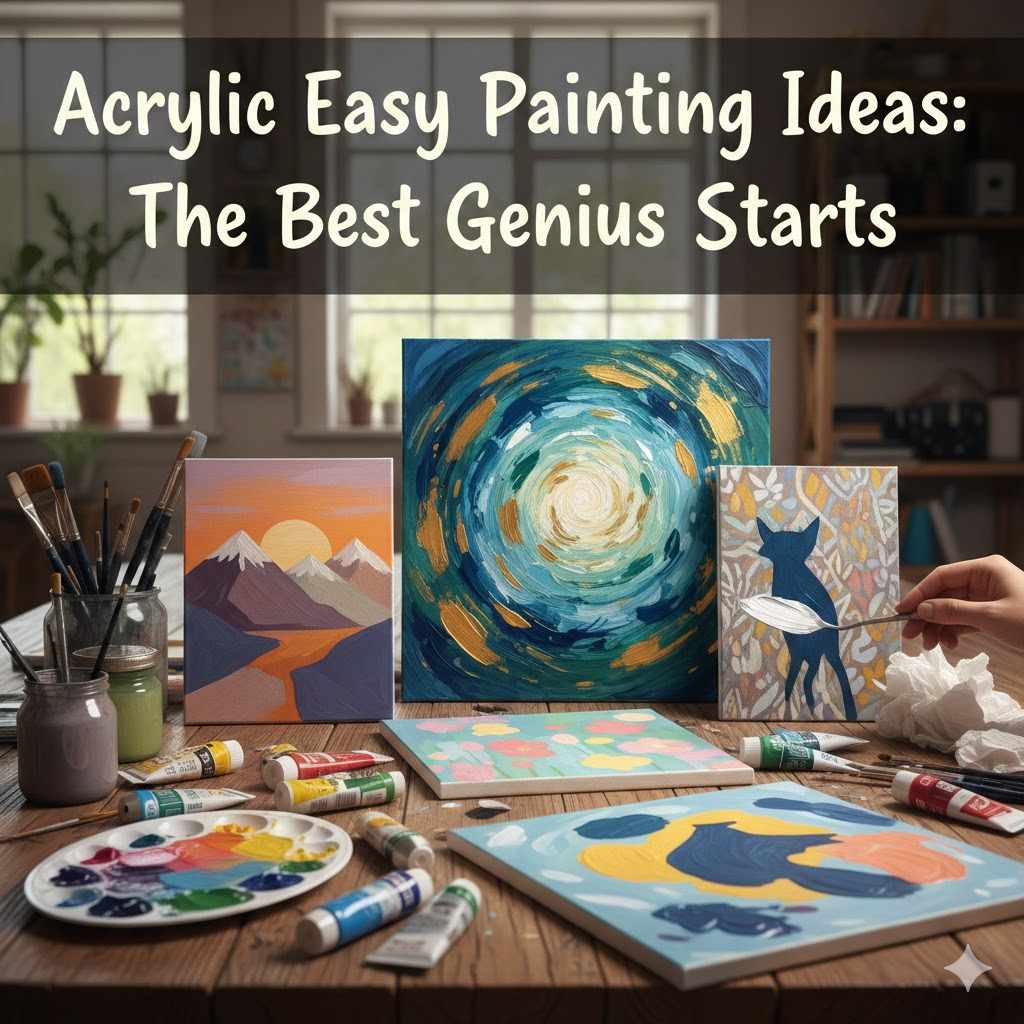
Easy acrylic painting ideas for beginners include simple abstract color fields, monochromatic landscapes, and geometric patterns using painter’s tape. These projects focus on basic techniques like blending and layering, helping you build confidence and create beautiful art right away without needing advanced drawing skills. The key is to start simple and have fun.
Staring at a blank canvas can feel intimidating. It’s a common feeling for anyone new to painting. You have the desire to create something beautiful, but you worry about making mistakes. Maybe you think you need to be a skilled artist to even start. That feeling can stop you before you ever pick up a brush.
I’m here to tell you that’s not true. Painting is for everyone, and acrylics are the perfect starting point. We are going to put those worries aside. Together, we will explore simple, fun ideas that anyone can master. You’ll be surprised at what you can create. Let’s unlock your creativity with some genius starts.
Why Acrylic Paint is Your Best Friend
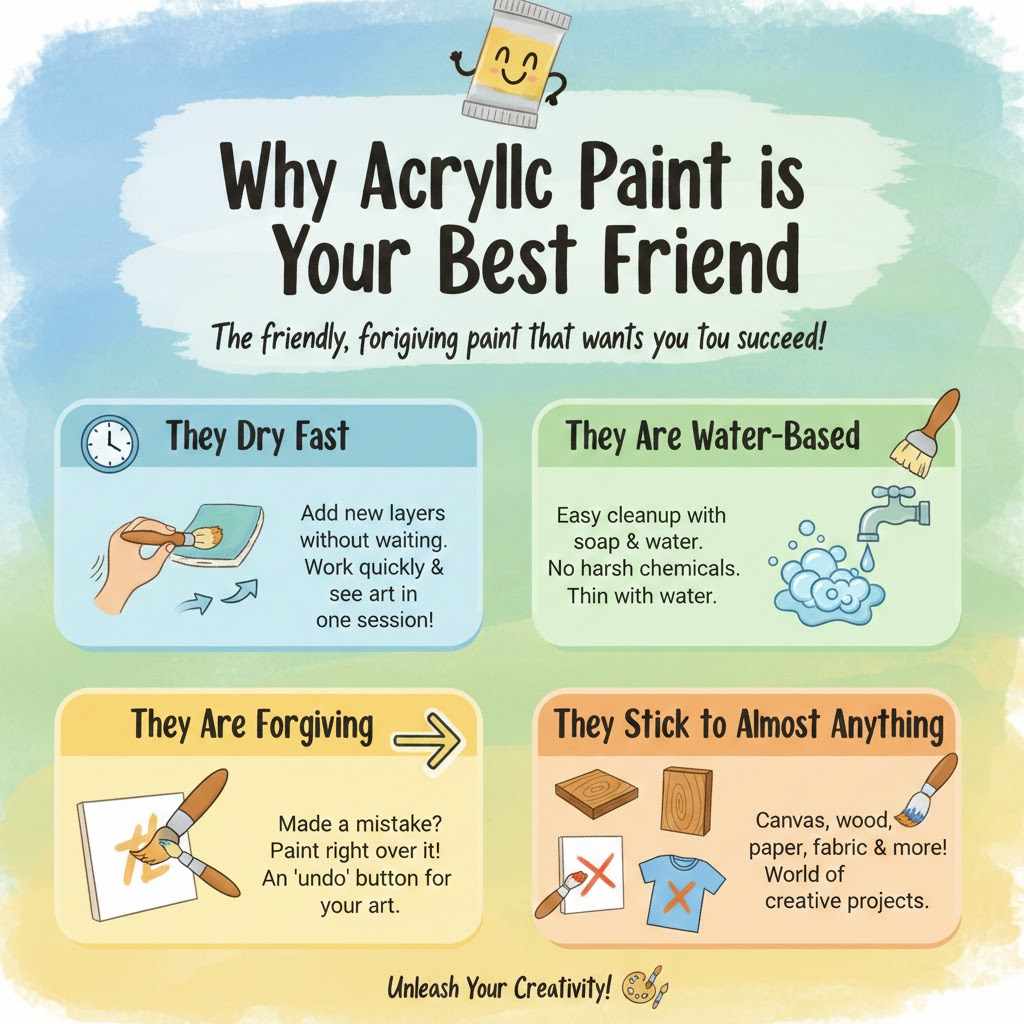
Before we dive into the ideas, let’s talk about why acrylic paint is the best choice for beginners. Think of it as the friendly, forgiving paint that wants you to succeed. It’s not like tricky oils or delicate watercolors. Acrylics are sturdy, versatile, and easy to work with.
Here’s why you’ll love them:
- They Dry Fast: This is a huge advantage. You can add new layers of color without waiting for days. It lets you work quickly and see your painting come to life in one session.
- They Are Water-Based: Cleanup is a breeze! All you need is soap and water to clean your brushes and hands. No harsh chemicals required. You can also thin the paint with a little water to change its consistency.
- They Are Forgiving: Made a mistake? No problem. Once acrylic paint dries, it’s permanent. You can simply paint right over it. It’s like having an undo button for your art.
- They Stick to Almost Anything: You can paint on canvas, wood, paper, fabric, and more. This opens up a world of creative projects beyond a simple canvas.
Gathering Your Basic Toolkit
You don’t need a fancy art studio filled with expensive supplies to get started. A few quality basics are all it takes to begin your painting journey. Here’s a simple checklist to get you ready.
The Must-Have Supplies
These are the core items you’ll need for any acrylic painting project. Start here, and you can always add more later.
- A Basic Set of Acrylic Paints: You don’t need every color under the sun. A starter set with primary colors (red, yellow, blue), plus black and white, is perfect. You can mix these to create almost any other color you need. Titanium White is especially important for mixing and creating highlights.
- A Few Good Brushes: Again, simple is best. Get a small variety pack. Look for one that includes a flat brush (for large areas), a round brush (for details), and a filbert brush (a versatile oval shape). Synthetic brushes are affordable and work great with acrylics.
- Something to Paint On: A pre-primed canvas panel is a great, inexpensive option. Heavyweight acrylic paper is also excellent for practice. You don’t need a giant, professional canvas to start.
- A Palette: You need a surface for mixing your paints. A simple plastic palette, an old ceramic plate, or even a disposable paper plate works perfectly.
- Water Cups and Paper Towels: Keep two cups of water handy: one for rinsing brushes and one for clean water to thin paints. Paper towels are essential for dabbing excess water or paint off your brushes.
Here’s a quick table to help you decide what you truly need versus what can wait.
| Essential Supplies (Start Here) | Optional Supplies (Nice to Have Later) |
|---|---|
| Basic Acrylic Paint Set (Red, Yellow, Blue, Black, White) | Tabletop Easel |
| Variety Pack of Synthetic Brushes | Palette Knives (for texture) |
| Canvas Panels or Acrylic Paper | Gesso (for priming your own surfaces) |
| Palette (or paper plate) | Varnish (to seal finished paintings) |
| Two Water Jars | An Apron or Old Shirt |
| Paper Towels | Acrylic Mediums (to change paint consistency) |
Five Genius Painting Ideas Anyone Can Do
Alright, your supplies are ready, and you’re eager to paint! The key to a great first experience is choosing a project that is fun, forgiving, and delivers a fantastic result. These ideas are designed to do just that. They focus on color and texture, not perfect, realistic drawing.
1. Abstract Color Fields: The Stress-Free Start
This is my number one recommendation for a true beginner. There is no right or wrong way to do it. The entire goal is to play with colors and see how they blend and interact. It’s a wonderful way to get comfortable with your paints and brushes.
Why it Works:
You don’t need to paint a “thing.” Instead, you are creating a mood with color. It removes the pressure to make something look realistic. Mistakes become happy accidents that add character to your piece.
How to Do It:
- Choose Your Colors: Pick 3-4 colors that you like together. You could choose colors of a sunset (red, orange, yellow), the ocean (blues and greens), or just your personal favorites. Squeeze a little of each onto your palette.
- Wet Your Canvas (Optional): Lightly mist your canvas with water or brush on a thin layer of water. This helps the colors blend smoothly.
- Lay Down Your First Color: Using your largest flat brush, apply your first color in a block or swath across a section of the canvas.
- Add the Next Color: While the first color is still wet, add your next color right beside it. Use your brush to gently blend the edges where the two colors meet. See how they mix and create a new shade? That’s the fun part!
- Keep Going: Continue adding your chosen colors, filling the canvas. Overlap, blend, and play. Don’t overthink it. Just enjoy the process of moving paint around.
- Add a Final Touch: Once the canvas is covered, you can add a final detail. Maybe splatter some white paint for a starry effect or drag a palette knife through the wet paint for texture. Let it dry completely.
You’ve just created a completely unique piece of abstract art! It’s all about the experience, and the result is always impressive.
2. Monochromatic Mountain Scape: Master Light and Shadow
The word “monochromatic” sounds fancy, but it just means using one color. In this project, you’ll pick one color (like blue or purple) and use white and black to create different tints and shades. It’s an amazing way to learn about value (light and dark) without worrying about complex color theory.
Why it Works:
This project teaches you how to create depth and dimension with simple shading. Mountains are forgiving shapes—no two are alike, so yours can’t be “wrong.”
How to Do It:
- Choose Your Color: Pick a single color, like a deep blue, purple, or even gray. Put that color, plus black and white, on your palette.
- Create Your Shades: Mix your chosen color with varying amounts of white to create lighter tints. Then mix it with tiny amounts of black to create darker shades. You should have a range of 4-5 different values of your color.
- Paint the Sky: Start at the top of your canvas. Paint the sky with the lightest tint of your color.
- Paint the Farthest Mountain: Use the next lightest shade to paint a simple mountain range across the top third of your canvas. The shapes should be simple and jagged.
- Add Another Layer of Mountains: Now, grab a slightly darker shade. Paint another, slightly larger mountain range that overlaps the first one. This creates the illusion of depth.
- Continue Forward: Keep adding layers of mountains, using a darker shade each time as you move down the canvas. Your final, closest mountain range at the bottom should be the darkest shade.
- Let it Dry: That’s it! You have a beautiful, moody landscape that looks like it took years of practice to master.
3. Geometric Patterns with Painter’s Tape: Crisp Lines Made Easy
Do you love the look of clean, sharp lines and bold geometric shapes? This is the project for you. Painter’s tape is your secret weapon for creating a flawless, professional-looking piece of art.
Why it Works:
The tape does all the hard work! You don’t need a steady hand to get perfect edges. This project is about creative color combinations and patterns.
How to Do It:
- Create Your Pattern: Take painter’s tape and lay it across your canvas in any pattern you like. You can create triangles, squares, diamonds, or just random intersecting lines. Press the edges of the tape down firmly to prevent paint from seeping underneath.
- Choose Your Palette: Pick a color scheme. You could go for bold contrasting colors, soft pastels, or even a metallic theme.
- Paint Your Shapes: Now for the fun part. Fill in the empty spaces between the tape with your chosen colors. Don’t worry about staying in the lines—the tape is your guide. You can paint each shape a different color or create a blended gradient within a single shape.
- Let it Dry (Slightly): Wait for the paint to be dry to the touch but not completely cured. If you wait too long, the paint might chip when you peel the tape. If you peel too early, it might smudge.
- The Big Reveal: Carefully and slowly, peel off the painter’s tape. Pull it away from the painted area at a 45-degree angle. You’ll be left with crisp, perfect lines and a stunning geometric design.
4. Sunset Silhouettes: Dramatic and Simple
A beautiful sunset is one of nature’s greatest works of art, and it’s surprisingly easy to paint. The silhouette adds a dramatic focal point that looks complex but is incredibly simple to create.
Why it Works:
The background is all about blending bright, beautiful colors, which is very forgiving. The silhouette itself is just a solid shape, so you don’t need any skill in drawing details.
How to Do It:
- Create the Sunset Gradient: Start with the colors of a sunset on your palette: yellow, orange, red, and maybe a touch of purple or blue.
- Paint the Sky: Start at the bottom of your canvas and paint a band of yellow. Next, add a band of orange above it, and gently blend where the two colors meet while they are still wet. Continue this process up the canvas, moving from orange to red, and finishing with blue or purple at the top. The goal is a smooth transition of color.
- Let the Background Dry Completely: This is very important. The background must be 100% dry before you add the silhouette, or the black paint will mix with your beautiful sunset colors.
- Paint the Ground: Using solid black paint and a flat brush, paint a solid ground line across the bottom of your canvas. It can be a flat line or a gentle hill.
- Add Your Silhouette: Now, using black paint and a smaller, round brush, paint a simple shape rising from your ground line. A spindly tree with a few branches is a classic choice. You could also do the silhouette of a cat sitting on a fence, birds on a wire, or a simple city skyline. Fill the shape in completely with black.
Once dry, you’ll have a striking painting that captures the beauty of dusk. People will be amazed at your skill!
5. Galaxy Painting: Embrace the Chaos
This is one of the most fun and forgiving painting ideas out there. A galaxy is a beautiful mess of colors, light, and stars. You can’t make a mistake because there is no single “correct” way for a galaxy to look.
Why it Works:
It relies on simple techniques like dabbing, sponging, and splattering. It’s a great way to let go and have fun with the paint, and the final result is always breathtaking.
How to Do It:
- Create a Dark Base: Start by painting your entire canvas black or a very dark blue. Let this base coat dry completely.
- Sponge on a Nebula: Put a few galaxy-like colors on your palette—think deep blues, purples, and pinks. Take a small piece of a sponge, dab it into one of the colors, and then dab off the excess on a paper towel. Lightly dab the sponge onto your canvas in a cloudy, swirling shape.
- Layer the Colors: Repeat the process with your other colors, overlapping and blending the edges to create a soft, cosmic cloud effect. Add some white or very light blue in the center to create a bright “core” for your nebula.
- Create the Stars: This is the best part. Take an old toothbrush or a stiff-bristled brush. Dip it into slightly watered-down white paint. Point the brush at your canvas and use your thumb to flick the bristles. This will create a fine spray of tiny white dots—your stars!
- Add Larger Stars: For a few brighter, bigger stars, use the back of a small brush handle. Dip it in white paint and gently press it onto the canvas to create perfect little dots.
Your cosmic masterpiece is complete! For some extra guidance on color theory in art, Yale University has a wonderful resource on Color at Yale that explores how colors interact.
To help you choose, here’s a breakdown of the ideas and the main skill each one helps you practice.
| Painting Idea | Primary Skill Practiced | Difficulty Level | Best For |
|---|---|---|---|
| Abstract Color Fields | Color Blending (Wet-on-Wet) | Easiest | Absolute beginners wanting a stress-free experience. |
| Monochromatic Mountains | Value (Light vs. Dark), Layering | Easy | Learning to create depth and dimension. |
| Geometric Patterns | Color Choice, Clean Edges | Easy | Anyone who loves modern, crisp designs. |
| Sunset Silhouettes | Blending Gradients, Simple Shapes | Easy | Creating a dramatic, impressive-looking painting. |
| Galaxy Painting | Sponging, Splattering, Layering | Easy | Having fun and letting go of perfection. |
Tips for a Great Painting Experience
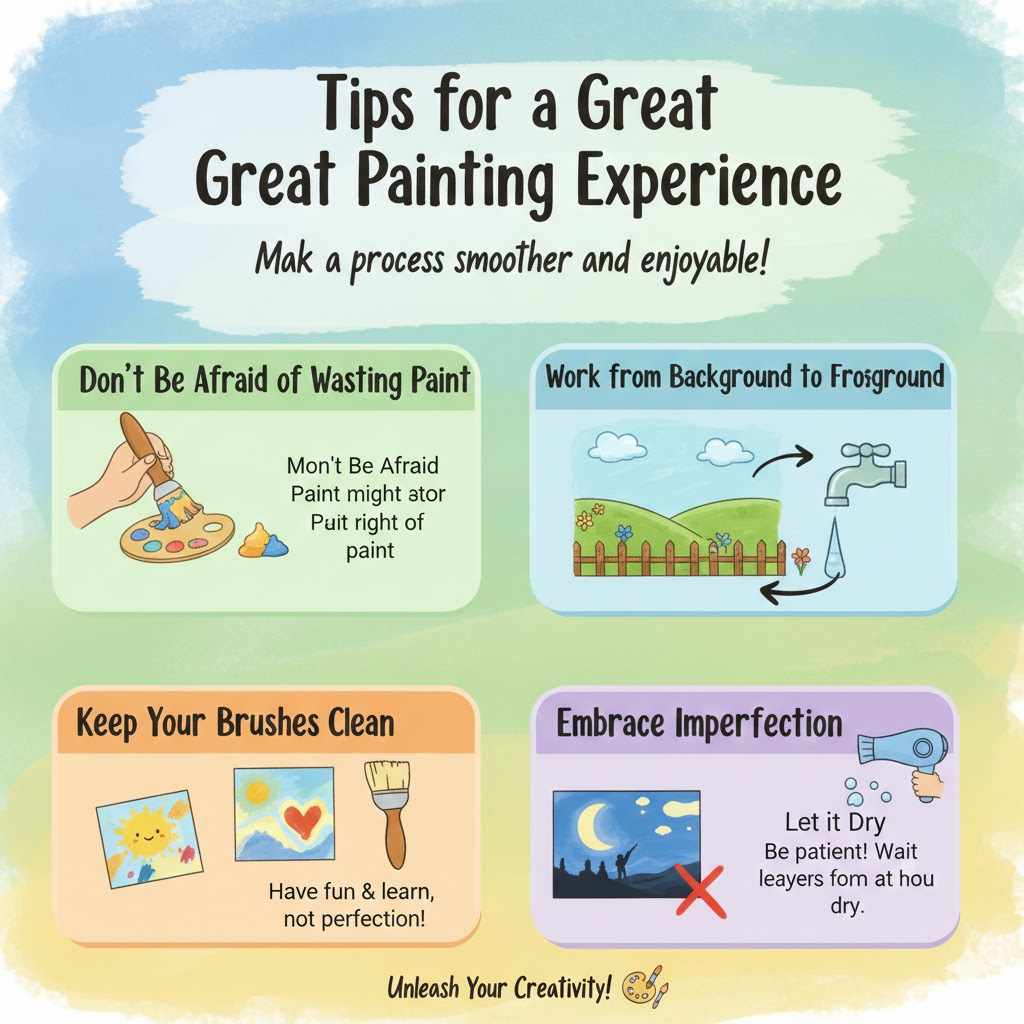
As you start your first project, keep these simple tips in mind. They’ll help make the process smoother and more enjoyable.
- Don’t Be Afraid of Wasting Paint: Squeeze out a little more than you think you need. It’s better to have extra than to run out mid-blend.
- Work from Background to Foreground: As a general rule, paint the parts of your scene that are farthest away first (like the sky) and work your way forward.
- Keep Your Brushes Clean: Rinse your brushes thoroughly between colors to avoid making muddy tones. Don’t let paint dry on them, as it will ruin the bristles.
- Embrace Imperfection: Your first paintings won’t be perfect, and that’s okay! Every painting is a learning experience. The goal is to have fun and learn, not to create a masterpiece for the Metropolitan Museum of Art on your first try.
- Let it Dry: Be patient. Make sure layers are fully dry before adding new details on top, especially for projects like the silhouette painting.
Frequently Asked Questions (FAQ)
What is the easiest thing to paint for a beginner?
An abstract painting is often the easiest. It focuses on color and emotion rather than realistic shapes. Simple landscapes, like a monochromatic mountain range or a sunset, are also great because they use basic shapes and blending techniques that are easy to learn.
Do I need to prime my canvas before painting with acrylics?
Most canvases you buy at a craft store come pre-primed with gesso, so you can paint on them right away. If you are painting on a raw surface like wood, it’s a good idea to apply a coat or two of gesso first. This gives you a smooth, non-absorbent surface to work on.
How do I clean my acrylic brushes?
It’s easy! While the paint is still wet, rinse the brush in your water cup. Then, put a little gentle soap (like dish soap or hand soap) in your palm, add some water, and gently swirl the brush in the soap. Rinse until the water runs clear. Reshape the bristles and let them air dry completely.
Can I paint over a mistake with acrylics?
Yes, and this is one of the best things about acrylics! If you make a mistake, simply let that area dry completely. Once it’s dry, you can paint right over it as if it was never there. It’s incredibly forgiving.
How long do acrylic paints take to dry?
Thin layers of acrylic paint can be dry to the touch in just a few minutes. Thicker layers might take up to an hour or more. The drying time depends on the thickness of the paint, the humidity, and the temperature of your room.
What’s the difference between student-grade and artist-grade paint?
Artist-grade paints have a higher concentration of pure pigment, which means their colors are more vibrant and permanent. Student-grade paints are more affordable because they use less expensive pigments and have more filler. As a beginner, student-grade paints are a fantastic and cost-effective choice.
Can I mix different brands of acrylic paint?
Yes, you can generally mix different brands of acrylic paint without any issues. They are all water-based acrylic polymers and are compatible with each other. Feel free to mix and match to find the colors and brands you love.
Your Creative Journey Starts Now
The journey of a thousand paintings begins with a single brushstroke. You now have the ideas, the tools, and the knowledge to start creating with confidence. Remember, the goal isn’t perfection; it’s expression and enjoyment. That blank canvas is no longer a scary challenge—it’s an open invitation to play.
Pick the idea that excites you the most, put on some music, and allow yourself to get lost in the process. Mix colors, make marks, and watch as something beautiful emerges from your own two hands. You are an artist, and your adventure is just beginning. Happy painting!