Best Way to Remove Peeling Paint From Wood (Match the Cause)
The best way to remove peeling paint from wood is to match your removal method to why it’s peeling in the first place — a moisture-driven peel needs different prep than a UV-damaged one, and picking the wrong method just means you’re back here in two years. Before you reach for a scraper, this guide walks through diagnosing the actual cause, three removal methods with real timings (scraping, chemical stripper, heat gun), the EPA’s lead-paint rule for wood painted before 1978, and how to prep the surface so the next coat actually holds.
Match Your Peeling Cause to the Right Removal Method
Most guides jump straight to “scrape, strip, or sand” without asking why the paint let go in the first place. That matters: paint that’s peeling because of trapped moisture will just fail again on the new coat if you don’t address the moisture source first, while paint that’s peeling from simple age and UV exposure can usually be removed and repainted with no extra prep. Use this table to identify your situation before picking a method.
| What You See | Likely Cause | Best Removal Approach |
|---|---|---|
| Paint peeling in sheets near the bottom of siding, trim, or a window sill | Moisture intrusion (leak, condensation, poor grade slope) | Scrape/strip the affected area only — fix the moisture source before repainting or it peels again |
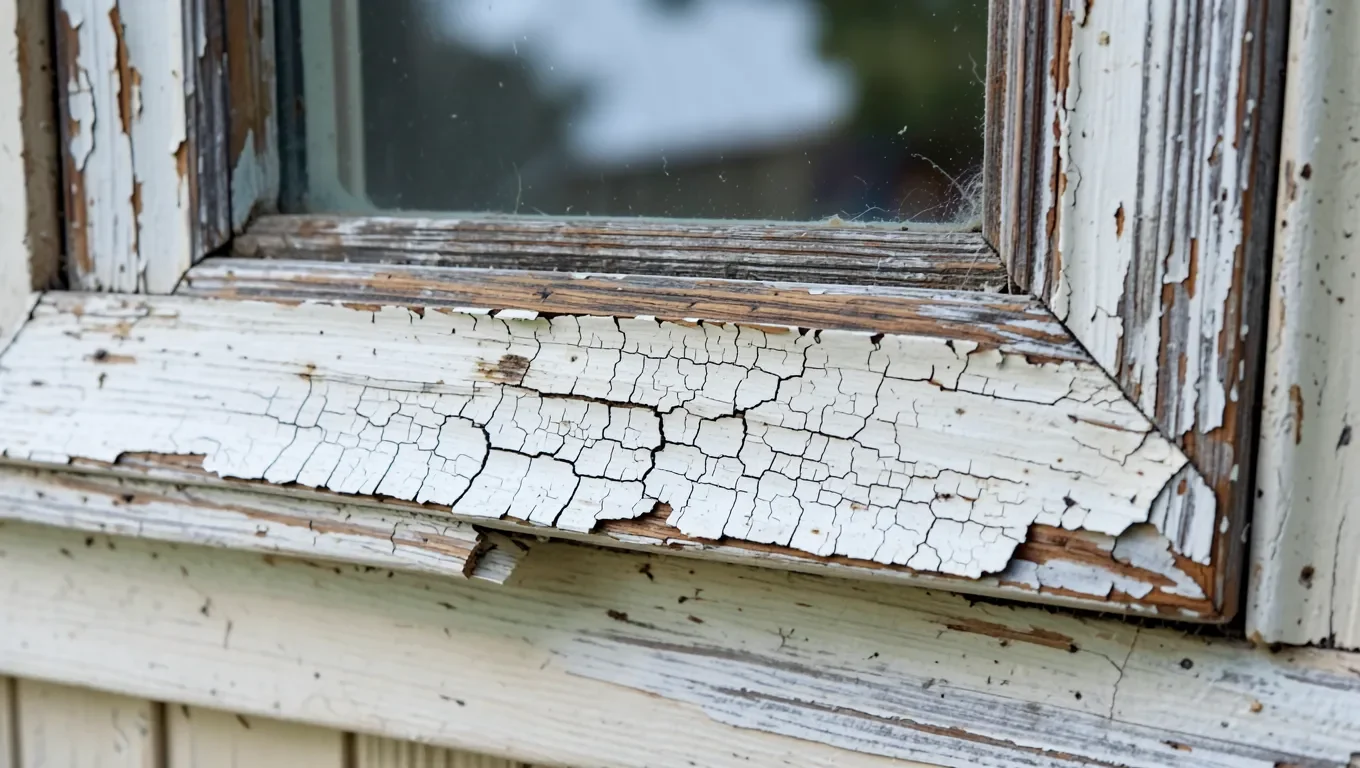
| Fine alligator-pattern cracking across a large flat area | Age and UV breakdown of old, brittle paint | Heat gun or full-surface chemical stripper — safe to fully remove and repaint |
| Paint lifting in large flakes that separate cleanly from a shiny surface underneath | Poor adhesion — painted over dirt, glossy finish, or without primer | Scrape and sand to bare wood, then prime before repainting |
| Bubbling or wrinkling soon after a repaint | Painted over a still-wet or incompatible previous coat (oil under latex, etc.) | Full strip back to bare wood with a chemical stripper — sanding alone won’t fully release it |
Best Heat Gun for Peeling Paint
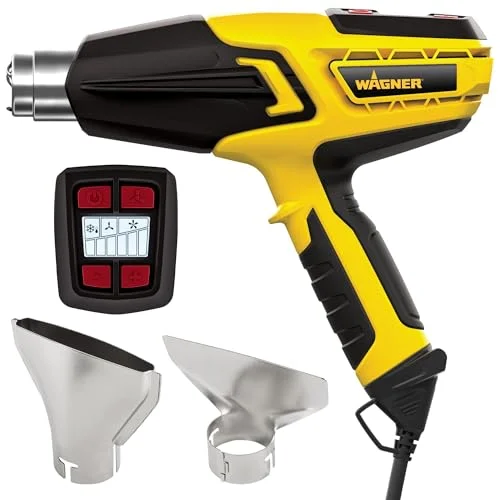 |
Wagner FURNO 500 Heat Gun, 12 Settings – $51.99 A variable-temperature heat gun that softens peeling paint fast without the fumes or dry time of a chemical stripper — only safe on wood confirmed lead-free (see the lead test section below).
|
What’s Actually Causing Your Wood Paint to Peel
Peeling almost always traces back to one of four things. Knowing which one you’re dealing with tells you whether removal alone will fix it, or whether you need to fix something else first.
Moisture Getting Under the Paint
Water is the most common cause of peeling on exterior wood. It gets in through a roof or gutter leak, condensation on an uninsulated wall, or wood that was painted before it fully dried, and once it’s trapped under the paint film it breaks the bond from underneath. You’ll usually see this peeling concentrated near a specific spot — a window sill, the bottom few inches of siding, or one section of a fence — rather than spread evenly. Removing the paint won’t stop it from happening again; find and fix the moisture source first.
Poor Surface Preparation
Paint needs a clean, dry, slightly rough surface to grip. Painting over dust, grease, a glossy old finish, or bare wood with no primer all weaken that bond, and the new coat can lift off in large, clean flakes within a year or two. This is the easiest cause to prevent: a quick sand and a coat of the right primer solves it for the next paint job.
Age, Sun, and Weather
Paint is a flexible film for only so long. UV exposure and repeated hot/cold cycling dry out the binders over years, and the paint loses its ability to expand and contract with the wood underneath it — that’s what produces the fine, alligator-pattern cracking you see on old exterior trim and siding. This is normal wear, not a defect, and it’s safe to remove and repaint once you’ve confirmed the wood doesn’t have lead paint underneath.
Incompatible Paint Layers
Applying a water-based latex paint directly over an old oil-based coat without the right primer in between is a common cause of bubbling and lifting, sometimes within days of the repaint. If your paint peeled shortly after a fresh coat rather than gradually over years, this is the likely culprit, and it usually means stripping back to bare wood rather than just sanding the surface.
Test for Lead Paint Before You Do Anything Else
Lead was banned from residential paint in 1978, so any wood painted before then may carry it. According to EPA estimates, about 87% of homes built before 1940 still have some lead-based paint somewhere on them, roughly 69% of homes built between 1940 and 1960, and around 24% of homes built between 1960 and 1978. You can’t tell by looking — the alligator-cracking pattern above shows up on both lead and lead-free paint identically.
- Test first: an EPA-recognized lead test swab (about $10 at any hardware store) changes color on contact with lead. Test a painted edge before you scrape, sand, or heat anything.
- If it’s lead-free: any method in this guide is fine, with normal dust and ventilation precautions.
- If lead tests positive: the EPA’s Renovation, Repair, and Painting (RRP) rule prohibits open-flame burning, dry sanding or scraping without HEPA dust control, and running a heat gun above 1100°F on that surface — all three release lead dust or fumes into the air.
- If lead paint covers more than 6 sq ft indoors or 20 sq ft outdoors and you’re hiring the work out, federal law requires an EPA Lead-Safe Certified contractor.
For any lead-positive removal, wear a NIOSH-rated respirator (not a basic dust mask), keep the surface damp to hold dust down, and bag debris as household hazardous waste rather than the regular trash.
Tools and Materials You’ll Need
- Paint scraper or putty knife: a stiff metal blade for lifting loose paint; use a plastic scraper on soft or antique wood to avoid gouging.
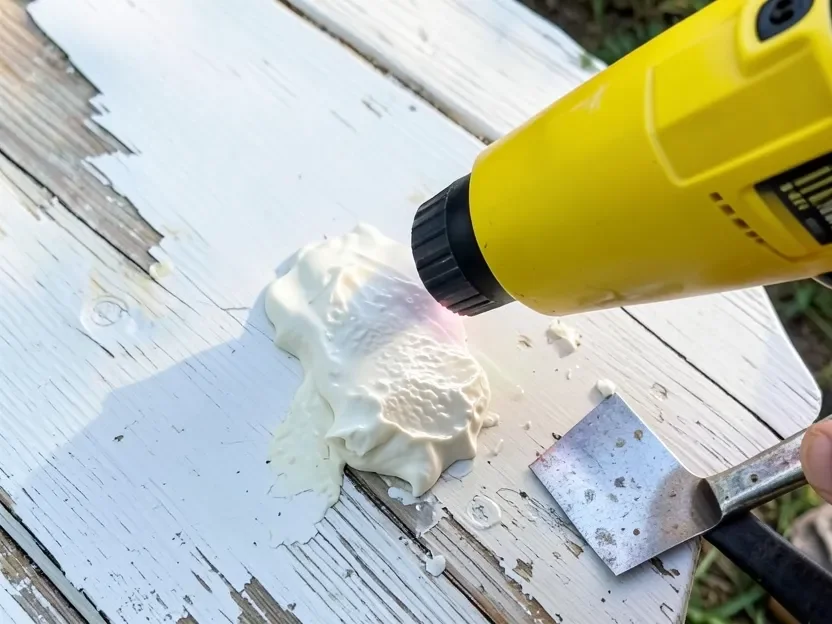
- Heat gun: for age/UV-cracked paint on lead-free wood — a variable-temperature model lets you stay in the safe 300-600°F range.
- Citrus-based or caustic chemical stripper: for painted-over-glossy-finish situations or multiple stacked coats.
- 80-100 grit sandpaper, then 120-220 grit: coarse to cut through paint, fine to smooth the bare wood afterward.
- Lead test swabs, NIOSH respirator, nitrile gloves, safety goggles: non-negotiable on any wood that predates 1978.
- Drop cloths and painter’s tape: to contain chips and protect surfaces you’re not stripping.
Step-by-Step: Removing the Paint
Scraping (Best for Moisture-Related Peeling, Small Areas)
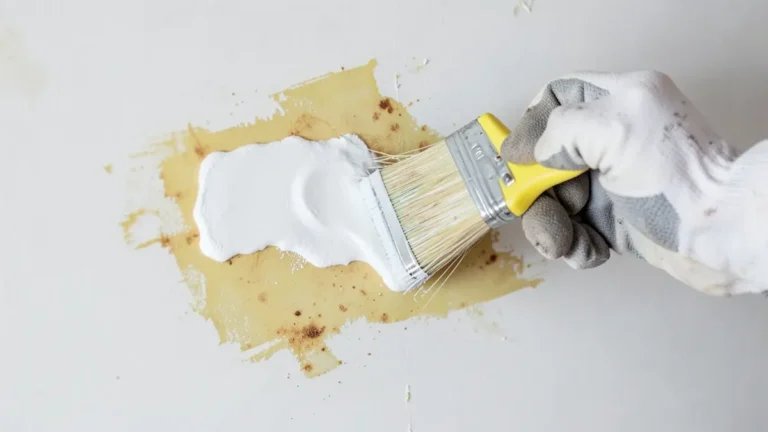
- Hold the scraper at a low angle, working with the grain, and lift the loose sheets of paint — moisture-peeled paint usually comes off in large, easy pieces since it’s already lost its bond.
- Stop scraping once you hit paint that’s still firmly attached; don’t force it, or you’ll gouge the wood underneath.
- Sand the transition edge between removed and remaining paint with 120-grit so it doesn’t show as a ridge once repainted.
- Address the actual moisture source (caulk a gap, fix a gutter, improve ventilation) before priming and repainting, or the new coat will peel the same way.
Heat Gun (Best for Age-Cracked Paint on Lead-Free Wood)
- Confirm the wood tested lead-free first — a heat gun aerosolizes lead if it’s present.
- Set the gun to 300-400°F for a single coat, up to 600°F for thicker or multiple layers, and never above 1100°F.
- Hold the nozzle 2-3 inches from the surface, keep it moving, and scrape the paint as soon as it bubbles — don’t let it sit and scorch.
- Use a lower setting and move faster on softwoods like pine and cedar, which scorch more easily than oak or maple.
Chemical Stripper (Best for Adhesion Failures and Incompatible Layers)
- Apply a thick, even coat of citrus-based or caustic stripper with a natural-bristle brush — synthetic bristles can dissolve in some formulas.
- Let it sit per the label — a citrus gel typically needs 30 minutes for a single coat and can stay workable up to 24 hours for stacked layers.
- Scrape with a plastic putty knife, working with the grain, wiping loosened paint onto newspaper as you go.
- Wipe with mineral spirits or the label’s neutralizer before sanding or priming.
Skip any stripper containing methylene chloride — the EPA banned its sale to consumers in 2019 after it caused multiple fatalities from fume exposure in enclosed spaces. Citrus- and caustic-based strippers take longer but don’t carry that risk. Looking for a general-purpose method rather than a diagnosed cause? See our full guide to removing paint from wood, or if you’d rather skip sanding entirely, our guide to removing paint from wood without sanding.
Prepping the Wood After Paint Removal
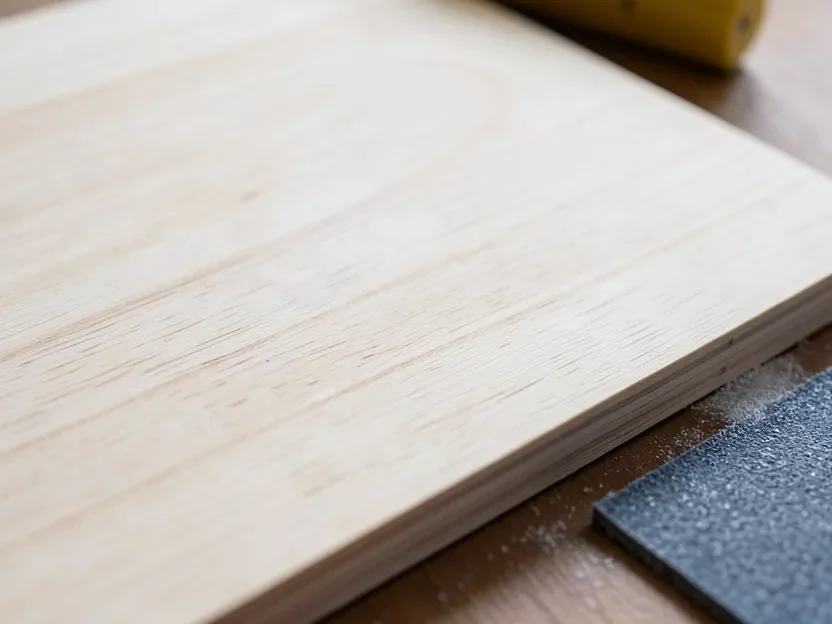
- Smooth the surface: finish with 220-grit sandpaper after scraping or stripping.
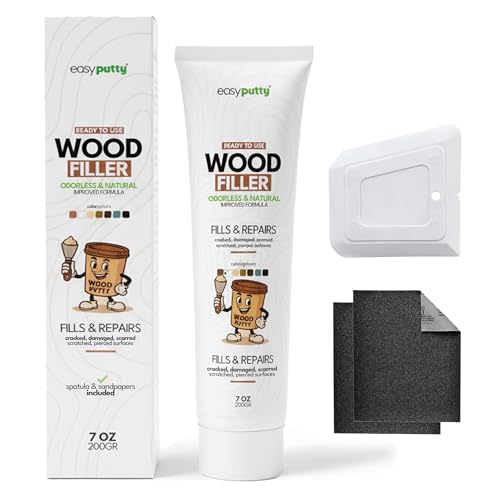
- Fill damage: wood filler or epoxy putty for gouges, sanded flush once cured.
- Clean before priming: wipe with a tack cloth to remove sanding dust.
- Prime bare wood: a stain-blocking primer seals the wood and gives the new coat something to grip — don’t skip this step even if the old paint didn’t have one.
Stopping It From Peeling Again
Prevention comes straight back to the cause you diagnosed earlier: fix the moisture source if that’s what caused it, always prime bare or repaired wood, apply paint in thin coats rather than one thick one (thick coats crack and peel first), and match the primer to what’s already on the wood if you’re repainting over an existing coat. Choose an exterior-rated finish for outdoor wood — an interior-only paint won’t hold up to the UV and moisture cycling that caused the original peeling. If you’re dealing with paint that’s peeling on a stained piece rather than a solid-color one, our guide to removing paint from stained wood covers stripping without losing the stain underneath.
FAQs About Removing Peeling Paint From Wood
What’s the best way to remove peeling paint from wood?
It depends on why it’s peeling. Scraping alone works for moisture-related peeling once you’ve fixed the moisture source; a heat gun works fast on age-cracked, lead-free paint; and a chemical stripper is best for adhesion failures or incompatible paint layers. Test for lead first in any case where the wood predates 1978.
Do I need to test for lead paint before removing peeling paint?
Yes, if the wood was painted before 1978. A $10 EPA-recognized swab test tells you in seconds, and if it’s positive, skip dry sanding, open flame, and heat guns above 1100°F — the methods the EPA’s RRP rule prohibits because they release lead dust or fumes.
Can I paint over peeling paint instead of removing it?
No — painting over peeling paint just traps the same adhesion or moisture problem under a new coat, which typically peels again within a year. Remove the loose paint back to a firmly bonded edge first, even if you’re not stripping the entire surface.
How long does a chemical paint stripper take to work?
A citrus-based gel typically needs about 30 minutes to soften a single coat of paint, and stays workable for up to 24 hours if you’re stripping several stacked layers in one application — check the specific product’s label, since dwell times vary by formula.
Will the paint just peel again after I repaint?
Only if you skip addressing the original cause. Paint removed and reapplied over a properly primed, dry, sanded surface with the moisture source (if any) fixed should last for years; paint reapplied over the same underlying problem — a leak, no primer, or an incompatible layer — will peel again in roughly the same timeframe as before.
Conclusion
Removing peeling paint from wood comes down to diagnosing why it let go before you pick a method: moisture peeling needs the source fixed, age-cracked paint responds well to a heat gun on lead-free wood, and adhesion or layer-compatibility failures need a full chemical-stripper pass back to bare wood. Test for lead first on anything painted before 1978, prime before repainting no matter which method you use, and you shouldn’t be back here in two years.
Sponsored / affiliate links. As an Amazon Associate I earn from qualifying purchases. I may earn additional commission from eligible campaigns.