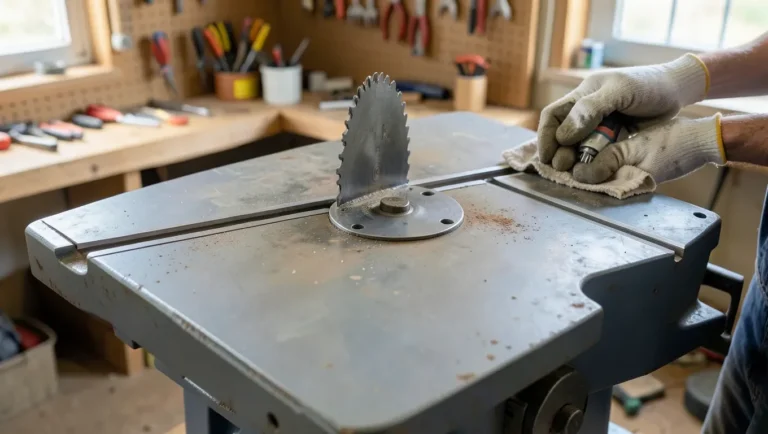
Biesemeyer Fence Upgrade Guide: Squaring to 0.003 Inch
A Biesemeyer T-Square fence squares to the blade in four adjustments, but Biesemeyer’s own factory tolerance is 0.007 inch of parallelism — loose enough to leave faint burn marks on long hardwood rips. Tightening it to 0.001–0.003 inch, the range most cabinet shops actually target, stops that and lets you add real accessories like a detachable extrusion or router-table wing. This guide covers squaring the fence, the upgrades worth buying, and keeping it there.
What This Upgrade Guide Assumes
Best Fence-Squaring Gauge Pick
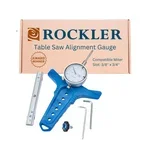 |
Rockler Table Saw Alignment Gauge with Dial Indicator – $71.99 This is the same style of dial-indicator gauge used in the squaring steps below — it reads parallelism in the miter slot directly, in thousandths, instead of eyeballing a feeler gauge against the fence.
|
This guide is for woodworkers who already have a Biesemeyer-style T-Square fence bolted to a cabinet or contractor saw and want to square it up, add real accessories, or keep it running true. If you’re still deciding whether a Biesemeyer/Delta T3 system is worth buying in the first place, see our Biesemeyer table saw fence buying guide first — it covers pricing, compatible saws, and how it compares to other rip fences. If your saw has a different brand of fence entirely, our table saw fence replacement guide covers picking and installing a new one from scratch.
How to Square a Biesemeyer Fence to the Blade
Squaring the fence means making the fence face perfectly parallel to the blade (or the miter slot, which should already be parallel to the blade) at both the front and back of the cut. Out of square by even 1/32 inch over the depth of the blade shows up as taper on a rip cut and can pinch the offcut into the back of the blade — a real kickback risk, not just a cosmetic issue.
- Raise the blade fully and mark one tooth with a pencil so you measure from the same point every time.
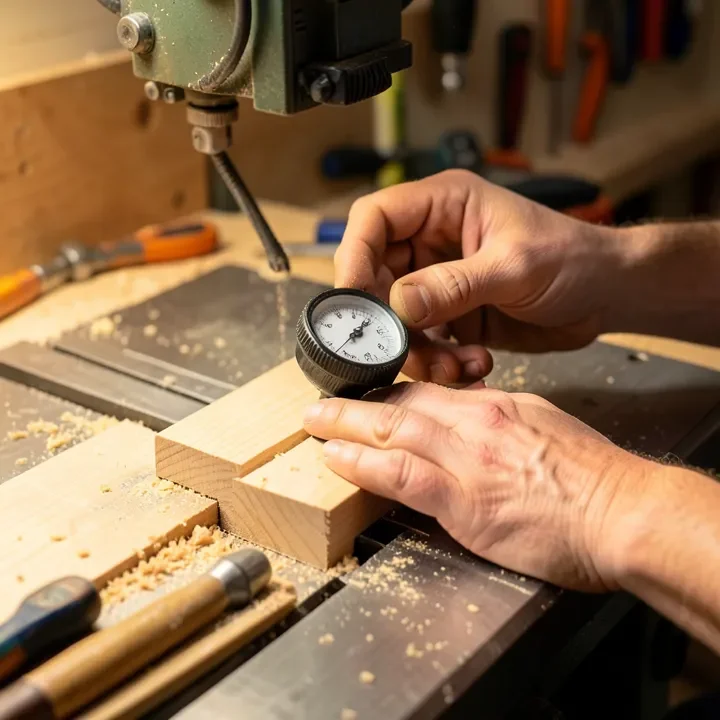
- Set a dial indicator in the miter slot (or clamped to the fence body) so its plunger contacts the marked tooth.
- Rotate the blade to bring the marked tooth to the front of the table, zero the indicator, then rotate the tooth to the back and read the deviation.
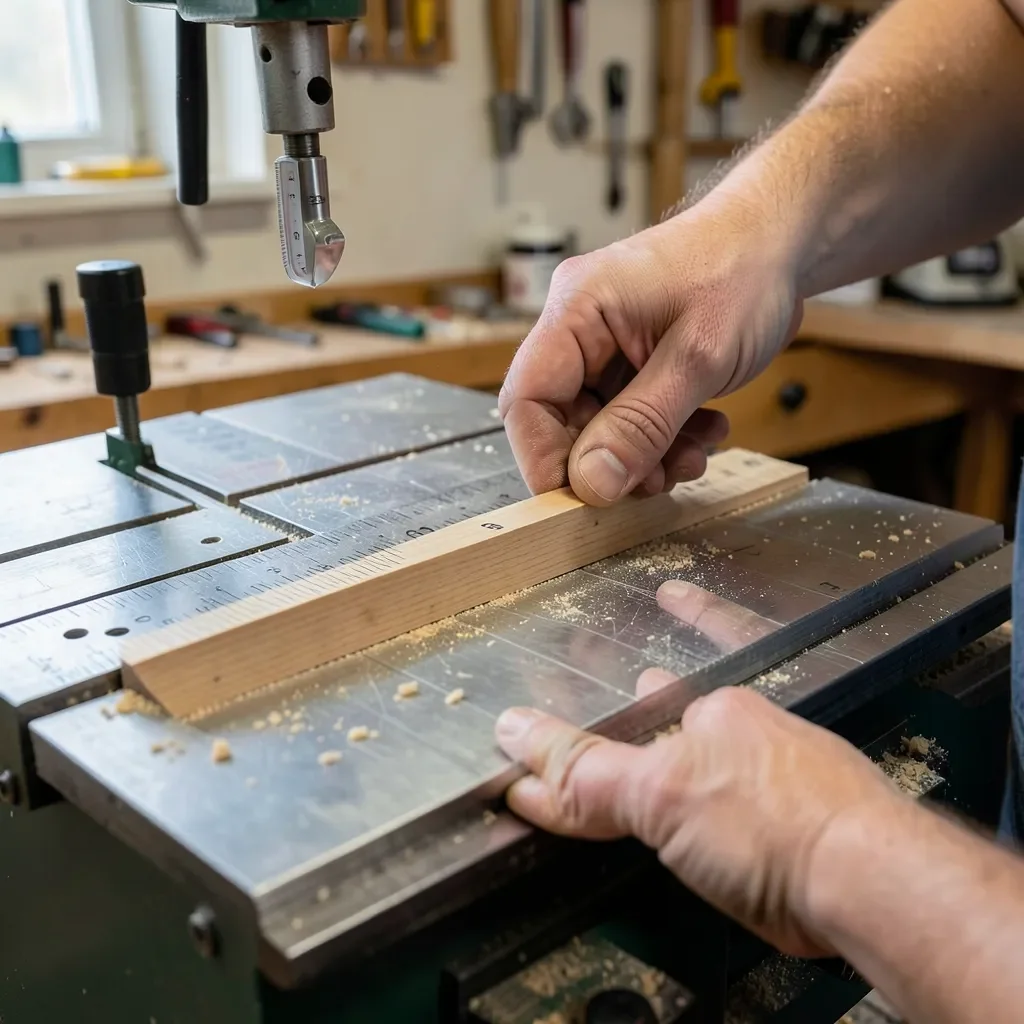
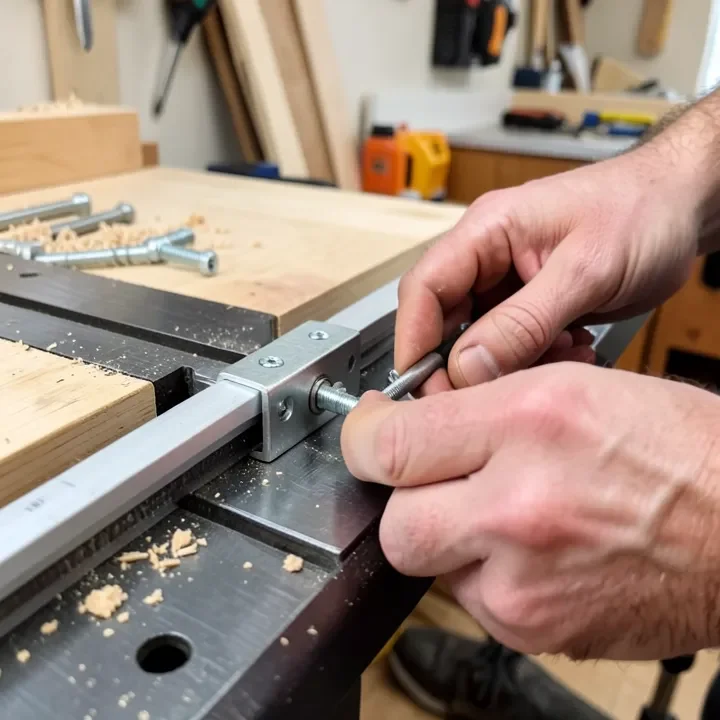
- Loosen the fence’s rear alignment screws (accessible from underneath the rear rail on most Biesemeyer systems) and tap the fence body a hair at a time to close the gap.
- Re-check and repeat until the front-to-back reading is within 0.003 inch — see how to square a table saw fence for the full tolerance breakdown by cut type.
- Lock the fence and re-test with a full-length rip on scrap to confirm no taper.
📊 Biesemeyer’s own factory benchmark for fence parallelism is 0.007 inch — most cabinet shops tighten aftermarket and stock Biesemeyer fences to 0.001–0.003 inch instead, since that range is what actually eliminates burn marks on long hardwood rips. Source: Biesemeyer Manufacturing Instruction Manual.
Real Upgrade Accessories Worth Adding
Most of the useful upgrades for a Biesemeyer fence are not full fence replacements — they’re accessories that bolt onto the existing T-square body and rails.
- Detachable T-square extrusion: aftermarket kits let you swap between a short extrusion for dado work and a longer one for full-sheet rips, instead of the fixed-length face Biesemeyer ships standard.
- Extended Biesemeyer-style fence rails: a longer rail set moves the fence’s working range past 52 inches, which matters for full sheet goods.
- Auxiliary fence face: a shop-made MDF or plywood sub-face raised above the fence body lets you clear a stacked dado set or a raised panel bit without hitting the steel guide tube.
- Zero-clearance rail covers: keep sawdust out of the rail’s gliding surface, which is the single biggest cause of a fence that starts sticking after a few months of use.
Installing an Extension Rail or Router Table Wing
Adding a router table wing to the right-hand rail is the most common Biesemeyer upgrade project, since the T-square rail system was designed to extend past the saw table itself.
- Measure the existing rail overhang past the table edge — most factory rails already extend 12–20 inches, enough for a small wing without a rail swap.
- Bolt the wing’s support brackets to the rail using the same T-slot the fence itself rides on, so the wing stays co-planar with the main table.
- Shim the wing surface flush with the cast-iron table using a straightedge laid across both, checking at the seam with a feeler gauge.
- Re-run the squaring steps above after installation — adding weight to the rail end can shift the fence’s parallelism by a few thousandths.
Maintaining a Biesemeyer Fence
A Biesemeyer fence that starts sticking or drifting out of square almost always traces back to dust in the rail, not a worn part.
- Clean the rails monthly: wipe the guide tube and rail surfaces with a soft cloth; a bit of mineral spirits cuts through sap and pitch buildup that plain dusting misses. Let the rails dry fully before re-lubricating.
- Lubricate sparingly: a dry PTFE or silicone-based lubricant on the rail surfaces keeps the fence gliding without attracting more dust the way oil-based products do.
- Check the locking lever every few months — if the fence creeps under rip pressure, the lever’s cam mechanism usually needs a small adjustment, not full replacement.
- Re-square after any rail work: loosening and re-tightening rail bolts for any reason resets the parallelism, so always re-check with the dial indicator afterward.
Frequently Asked Questions
How do I know if my Biesemeyer fence needs squaring?
Rip a piece of scrap the full depth of the blade and check the cut edge with a straightedge. A visible taper, faint burn marks, or the fence binding partway through a cut all point to the fence being out of parallel with the blade — usually beyond the 0.003 inch working tolerance.
What is the difference between the Biesemeyer fence and the Delta T3?
They are the same T-square design; Delta Power Tools now owns the Biesemeyer name and sells nearly identical hardware under both the Biesemeyer and Delta T3 labels. Mounting hardware and rail lengths can differ slightly by saw model, so match the kit to your specific saw rather than the brand name alone.
Can I install a Biesemeyer upgrade myself?
Yes. Squaring the fence, adding rail covers, or bolting on a router table wing are bolt-on jobs that need a dial indicator, a combination square, and basic hand tools — no machining. A full fence swap on a different saw platform is the only step where a second pair of hands helps.
Will squaring the fence more tightly than factory spec actually matter?
Yes for long rips in hardwood. At the factory 0.007 inch parallelism spec, a 6-foot rip can still show a faint burn line where the trailing edge of the blade rubs the offcut. Tightening to 0.001–0.003 inch removes that without any part changes — it’s a setup fix, not an upgrade purchase.
A Biesemeyer fence that’s properly squared and lubricated needs very little beyond the upgrades above — most complaints about the system trace back to dust in the rail or a fence that was never checked past the factory spec in the first place.
Sponsored / affiliate links. As an Amazon Associate I earn from qualifying purchases. I may earn additional commission from eligible campaigns.