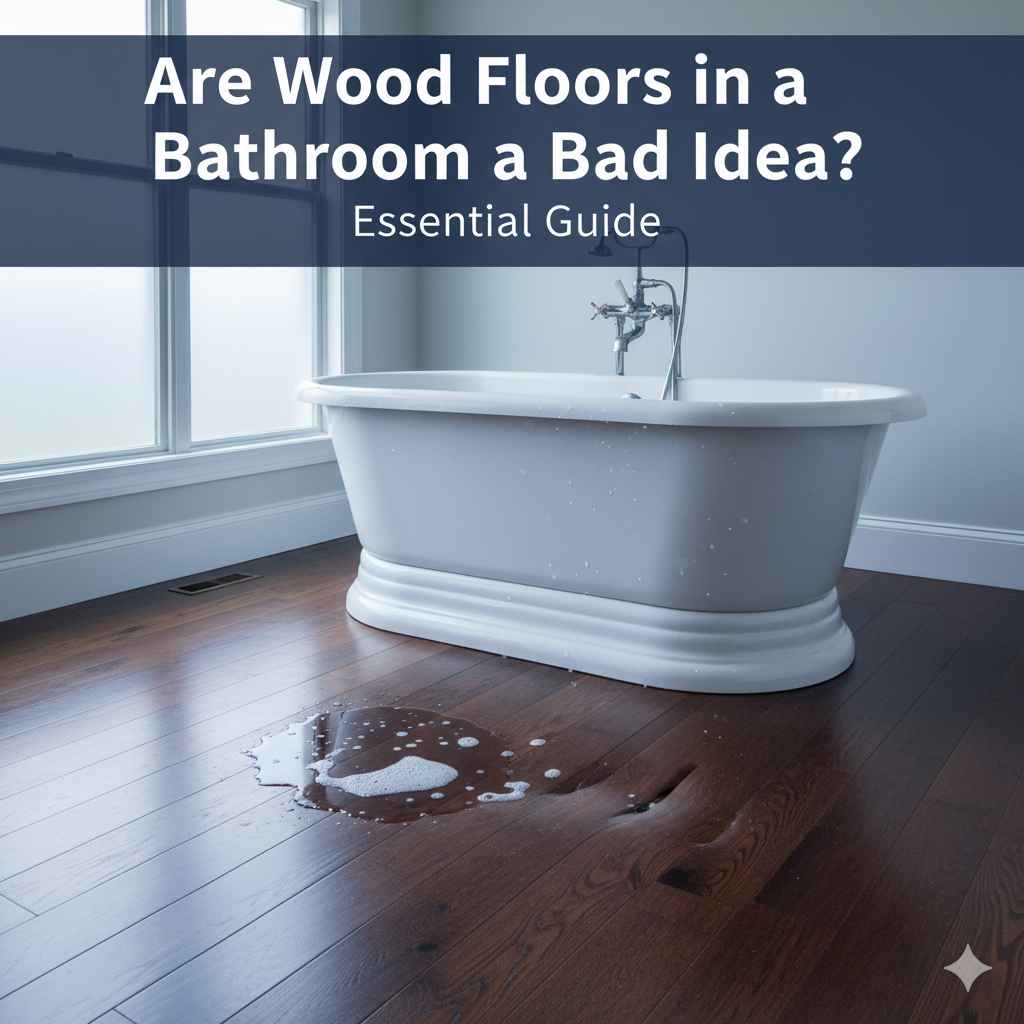
Are Wood Floors in a Bathroom a Bad Idea? Essential Guide
Generally, traditional hardwood floors in a bathroom are a bad idea due to moisture. However, with the right type of wood-look flooring, proper installation, and diligent sealing, stylish and durable wood-look bathrooms are achievable. This guide will help you decide and guide you through safer alternatives.
Stepping into a bathroom, you might envision a serene, spa-like escape. Many homeowners dream of warm, natural materials. For some, this includes wood floors. But when it comes to bathrooms, wood and water don’t always mix well. It’s a common concern, and understandably so! We’ve all heard stories of warped planks or water damage. But does this mean you have to give up on the beautiful look of wood in your bathroom for good? Not necessarily! This guide is here to break down the risks and reveal the smart, beginner-friendly alternatives. We’ll explore what makes traditional wood flooring a challenge and then dive into the fantastic, water-resistant options that can give you the wood aesthetic you love, safely.
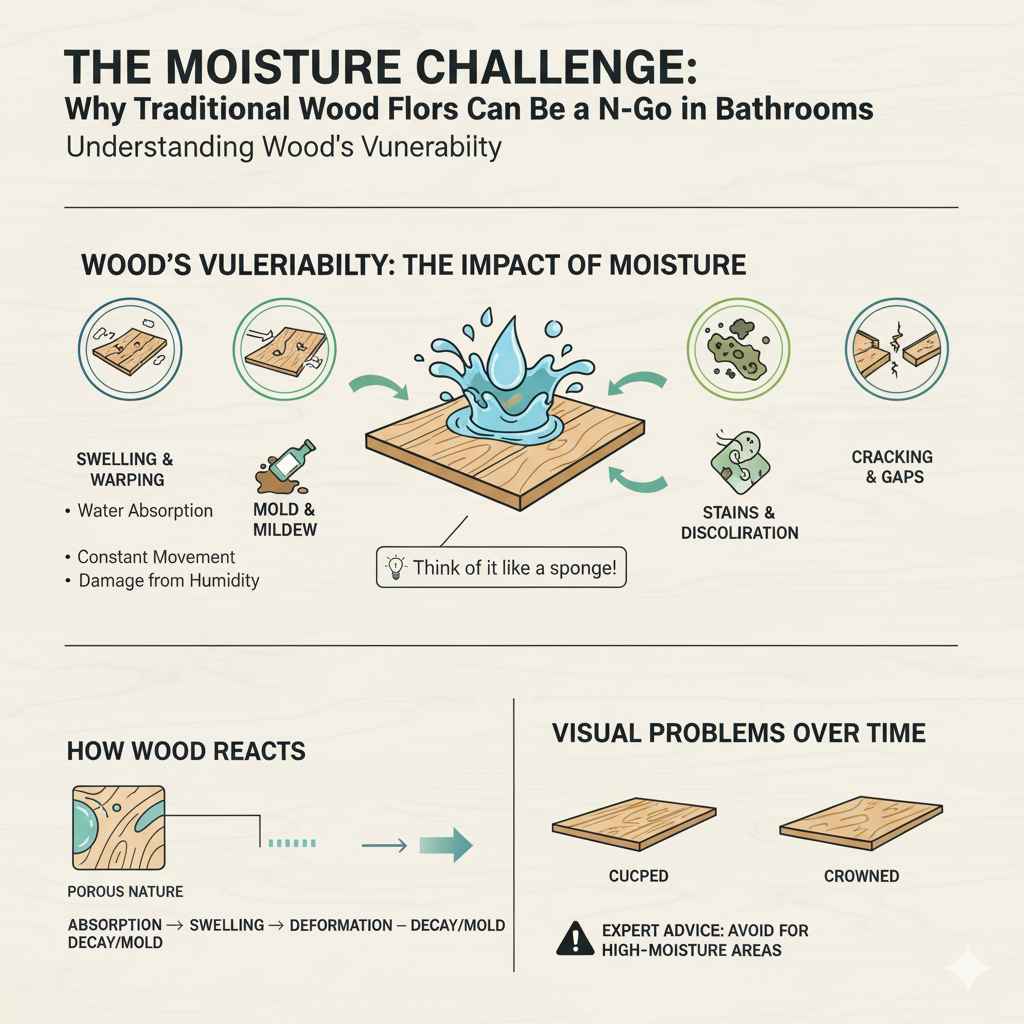
The Moisture Challenge: Why Traditional Wood Floors Can Be a No-Go in Bathrooms
Let’s get straight to the heart of the matter. Bathrooms are, by nature, damp environments. Showers, baths, sinks, and even toilet flushes can all lead to splashes of water. Traditional hardwood flooring, made from natural wood, is porous. This means it absorbs moisture. When wood absorbs too much water, it can swell. This swelling can cause planks to cup (meaning the edges rise higher than the center) or crown (the center rises higher than the edges). Over time, repeated swelling and shrinking can lead to gaps between planks, cracking, and even the wood rotting or developing mold. This is why materials that are truly waterproof or highly water-resistant are usually recommended for bathrooms.
Understanding Wood’s Vulnerability
Wood is a beautiful, natural material, but its organic nature makes it susceptible to environmental changes. Here’s a closer look at why it’s a tough sell for a bathroom:
- Water Absorption: Wood fibers readily soak up liquid.
- Swelling and Shrinking: Moisture causes wood to expand, and dryness causes it to contract. This constant movement is damaging.
- Warping and Cupping: The uneven expansion and contraction can distort the shape of the planks.
- Mold and Mildew: Damp wood is a breeding ground for mold and mildew, which can affect air quality and the integrity of the floor.
- Stains and Discoloration: Spills, especially from cleaning products or bath salts, can easily stain unfinished or improperly sealed wood.
- Damage from Humidity: Even without direct splashes, high humidity levels in a bathroom can gradually affect the wood.
Think of it like a sponge. If you leave a sponge wet for too long, it can get gross and lose its shape. Wood is similar, though it takes much longer to show these effects. For a beginner, managing these risks with real hardwood can feel like a constant battle, and one that’s often lost. This is why many experts advise against it.
The Myth (and Reality) of “Waterproof” Hardwood
You might hear someone suggest “waterproof hardwood.” It’s important to understand what this really means. There isn’t truly a “waterproof hardwood” in the way we think of sealed plastic. What people often refer to are:
- Engineered Hardwood with a Robust Finish: This flooring has a real wood veneer on top, but its core is made of layers of plywood or HDF (High-Density Fiberboard). While the core is more stable than solid wood, the top layer of real wood is still susceptible to water damage if not properly protected and maintained. The finish is crucial.
- Highly-Sealed Solid Hardwood: Solid hardwood can be used in some very controlled bathroom situations if it’s extremely well-sealed with multiple coats of a high-quality polyurethane or epoxy sealant. This requires meticulous ongoing maintenance. One missed spot in the sealant, and water can seep in.
For a beginner DIYer, ensuring that seal is perfect and maintained can be very challenging. It’s a high-risk, high-reward situation where the potential for failure is significant. According to the U.S. Forest Products Laboratory, wood’s strength properties are significantly affected by moisture content, underscoring its inherent vulnerability. Therefore, while better than nothing, these aren’t foolproof solutions for a busy, frequently used bathroom.
Safer, Stylish Alternatives: Getting the Wood Look Without the Worry
The good news is, you don’t have to sacrifice the warmth and beauty of a wood look in your bathroom! Modern flooring technology offers fantastic alternatives that are much more forgiving in damp environments. These options give you the aesthetic you desire with significantly less risk.
1. Luxury Vinyl Plank (LVP) Flooring
This is often the go-to recommendation for bathrooms and kitchens, and for good reason. LVP is designed to mimic the look of wood (or stone, or tile) but is made from PVC vinyl. This material is inherently waterproof.
- Pros:
- 100% waterproof.
- Extremely durable and scratch-resistant, great for high-traffic areas.
- Easy to install, often using a click-lock system (great for DIY beginners!).
- Wide variety of wood species, colors, and plank sizes available.
- Comfortable underfoot compared to tile.
- Affordable.
- Cons:
- Can be punctured by very sharp objects.
- Some feel it doesn’t have the same “natural” feel as real wood.
- Lower quality LVP might not mimic wood convincingly.
When choosing LVP, look for a thicker wear layer (e.g., 20 mil or higher) for better durability. The “click-lock” installation is a lifesaver for DIYers, as it requires no glue and can often be laid over existing smooth flooring.
2. Waterproof Engineered Hardwood
This is a step up from traditional hardwood and offers a true wood experience with added protection. It consists of a top layer of real hardwood veneer bonded to a core of plywood or HDF. The key is how well the veneer is sealed and how stable the core is.
- Pros:
- Features a real wood veneer for an authentic look and feel.
- More stable than solid hardwood due to its layered construction.
- Can be finished with advanced waterproof or water-resistant sealants.
- Cons:
- Can be more expensive than LVP.
- Vulnerable if the top wood layer is significantly damaged or deeply scratched.
- Installation might require more care than LVP.
- Still requires prompt cleanup of large spills.
When looking for this option, carefully check the manufacturer’s specifications regarding water resistance or suitability for bathrooms. Not all engineered hardwoods are created equal!
3. Porcelain or Ceramic Tile with a Wood Look
Porcelain and ceramic tiles have long been the standard for bathrooms, and with today’s technology, they can incredibly convincingly mimic the look of wood planks. These tiles are formed from clay and fired at extremely high temperatures, making them dense, hard, and virtually waterproof.
- Pros:
- Extremely durable and waterproof.
- Resistant to scratches, stains, and fading.
- Available in a huge array of wood-look designs, sizes (including long planks), and textures.
- Easy to clean.
- Can increase home value.
- Cons:
- Can be cold and hard underfoot.
- Grout lines can be difficult to keep clean and can also be susceptible to staining/mold if not sealed properly.
- Installation can be more challenging for beginners, requiring tile cutters, mortar, and grout.
- If a tile cracks or chips, it can be difficult to replace just one.
To get the most of the wood look, opt for tiles with minimal grout lines (larger plank sizes, rectified straight edges) and consider using epoxy grout for superior resistance to water and stains. You can find excellent resources on tile installation from organizations like The Tile Council of North America (TCNA).
4. Laminate Flooring (with caution)
Laminate flooring is popular for its affordability and ease of installation. It has a core layer of HDF, a photographic image layer, and a clear protective wear layer. While some modern laminates boast water-resistant features, they are generally not considered fully waterproof.
- Pros:
- Very affordable.
- Easy click-lock installation.
- Wide variety of wood looks.
- Cons:
- Not truly waterproof; susceptible to damage from standing water or high humidity.
- Can swell if water seeps into the core layer.
- Can be noisy underfoot.
If you opt for laminate, choose a “water-resistant” product and be prepared for diligent cleanup of any spills immediately. It’s a budget-friendly option but carries higher risks for moisture-prone areas like bathrooms.
Comparing Your Wood-Look Bathroom Flooring Options
To help you make a decision, let’s compare the most popular wood-look options for bathrooms:
| Flooring Type | Waterproof Capability | Durability | Ease of Installation (Beginner) | Cost (Estimate) | Wood Authenticity Factor |
|---|---|---|---|---|---|
| Traditional & Engineered Hardwood | Low to Medium (depends heavily on finish/construction) | Medium | Moderate to Difficult | $$$$ | Very High (Real wood) |
| Luxury Vinyl Plank (LVP) | Very High (100%) | High | Easy | $$ – $$$ | High (Realistic visuals) |
| Porcelain/Ceramic Tile | Very High (Tile itself) | Very High | Moderate to Difficult | $$ – $$$$ | High (Realistic visuals, but with grout) |
| Water-Resistant Laminate | Low to Medium (can be damaged by standing water) | High | Easy | $ – $$ | Medium to High (Photographic) |
As a beginner, you’ll likely find LVP or porcelain/ceramic tile to be the most forgiving and reliable choices for a bathroom that needs to withstand moisture. The ease of LVP installation makes it a particularly attractive option for those new to DIY flooring.
Essential Installation Tips for Water-Resistant Flooring
Even with the best water-resistant materials, proper installation is key to preventing moisture issues and ensuring longevity in a bathroom. These tips apply broadly, but always follow the specific manufacturer’s instructions for your chosen flooring.
- Prepare the Subfloor: Ensure your subfloor is clean, dry, level, and structurally sound. Any unevenness can stress the new flooring and potentially cause damage over time. For bathrooms, it’s extra important to check for any existing moisture issues in the subfloor. If you’re installing over concrete, ensure it’s sealed.
- Acclimate the Flooring: Allow your new flooring materials (LVP, engineered wood, laminate) to sit in the room where they will be installed for at least 48-72 hours. This allows them to adjust to the room’s temperature and humidity, reducing the risk of expansion or contraction after installation.
- Use the Right Underlayment: Some flooring types require an underlayment. For bathrooms, choose an underlayment that offers moisture protection. Many LVP products have an integrated underlayment, but check the specs.
- Seal Gaps and Edges: This is critical, especially around tubs, showers, toilets, and doorways. Use a flexible, waterproof caulk (like silicone caulk) to seal the perimeter of the room and any transitions. This prevents water from getting underneath the flooring. Spaces should be small, only large enough for expansion.
- Install Properly: Follow the brand’s specific installation guide. For click-lock systems (LVP, laminate), ensure planks are fully engaged. For tile, use the correct mortar and ensure full coverage and proper spacing for grout.
- Ventilation: While not directly an installation step, ensuring good ventilation in your bathroom (e.g., using an exhaust fan during and after showers) significantly reduces overall humidity, which benefits any flooring choice. The U.S. Environmental Protection Agency (EPA) offers great advice on improving indoor air quality, which includes proper ventilation.
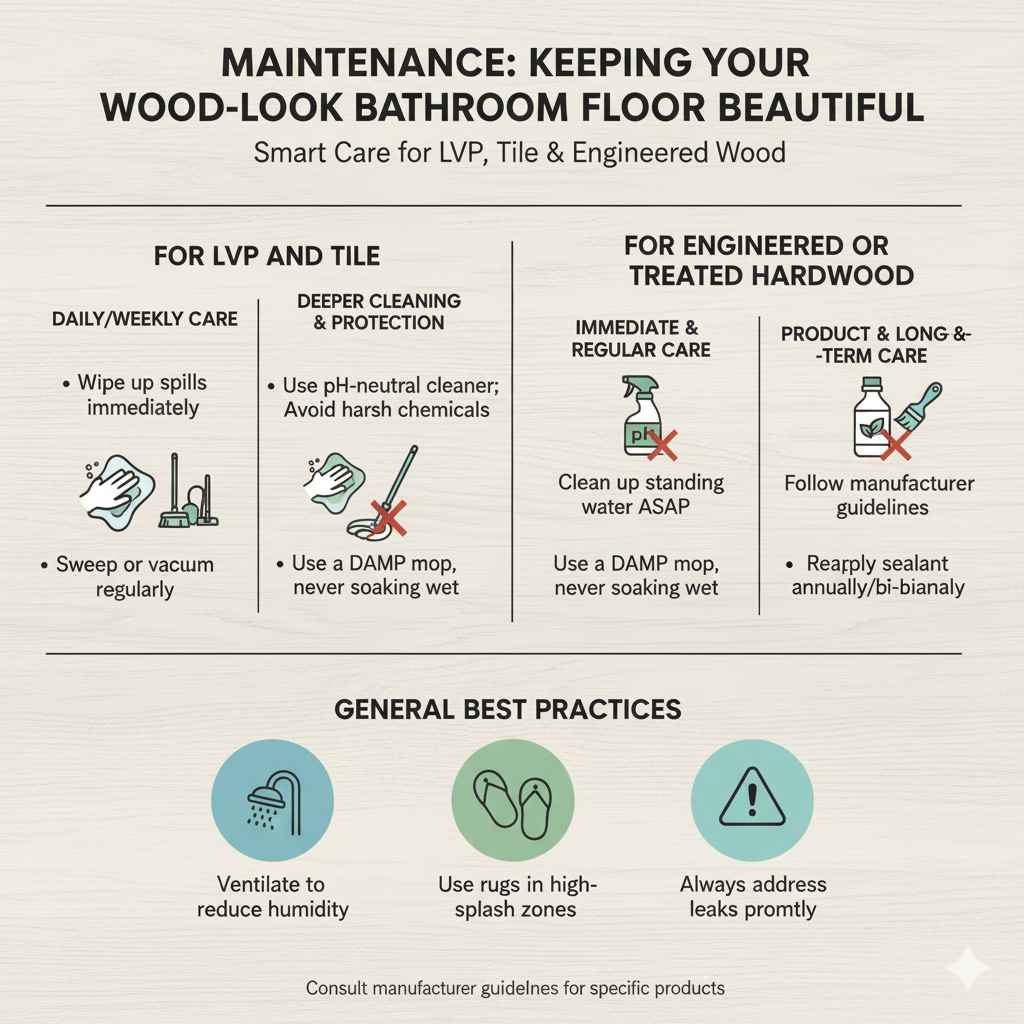
Maintenance: Keeping Your Wood-Look Bathroom Floor Beautiful
Even the most water-resistant floors benefit from good maintenance. This is especially true if you’ve opted for wood-look tiles where grout is involved, or if you have engineered wood.
For LVP and Tile:
- Wipe up spills immediately with a damp cloth.
- Sweep or vacuum regularly to remove grit that can scratch the surface.
- For deeper cleaning, use a pH-neutral cleaner recommended by the manufacturer. Avoid harsh chemicals or abrasive pads that can dull the finish or damage grout.
- Ensure grout is sealed periodically (if using standard grout) to prevent staining and mold.
For Engineered or Treated Hardwood:
- Clean up any standing water as soon as possible.
- Use a damp mop if necessary, but never a soaking wet mop.
- Follow manufacturer guidelines for cleaning products.
- Be prepared to reapply sealant to high-traffic or high-moisture areas as recommended, often annually or bi-annually.
Remember, even the best flooring can be damaged by neglect. Consistent, simple maintenance will make your beautiful wood-look bathroom floor last for years.
Frequently Asked Questions (FAQ)
Q1: Can I install real hardwood in a small guest bathroom that isn’t used often?
A1: You can attempt it, but it’s still risky. Even infrequent use can lead to humidity issues. If you do, you absolutely must use a high-quality, waterproof sealant and maintain it diligently. It’s often better to choose a more robust, water-friendly option for peace of mind.
Q2: What’s the difference between water-resistant and waterproof flooring?
A2: Water-resistant means the material can tolerate some moisture for a limited time but can be damaged by prolonged exposure or standing water. Waterproof means the material itself will not be damaged by water. For bathrooms, waterproof is always the safer bet.
Q3: How do I maintain the grout on my wood-look tiles?
A3: Regularly sweeping and spot-cleaning spills is key! For deeper cleaning, use a gentle tile and grout cleaner. To prevent future stains and mold, ensure your grout is properly sealed. Most sealers need to be reapplied every 1-2 years depending on traffic and exposure.
Q4: Can I put wood floors in a bathroom with a shower/tub?
A4: Traditional hardwood is not recommended directly next to showers or tubs. Water splashes are most frequent and intense there. Water-resistant options like LVP or tile are much more suitable for these high-splash zones.
Q5: What is the easiest wood-look flooring for a beginner to install in a bathroom?
A5: Luxury Vinyl Plank (LVP) with a click-lock system is generally considered the easiest for beginners. It’s forgiving, waterproof, and doesn’t require grout.
Q6: Will wood-look tile look fake in my bathroom?
A6: The technology for wood-look tile has advanced dramatically. High-quality porcelain tiles can be incredibly realistic, mimicking wood grain, texture, and even knots. Choosing wider planks with rectified edges (very straight, clean edges) and a grout color that blends with the tile can enhance the authentic look.
Conclusion: Achieving Your Dream Bathroom with Confidence
So, are wood floors in a bathroom a bad idea? For traditional hardwood, the answer is usually yes, it’s a high-risk endeavor that often leads to disappointment. The constant battle against moisture and humidity can be frustrating, especially for beginners who are learning to manage home renovations. However, this certainly doesn’t mean you have to abandon your dream of a warm, wood-inspired bathroom.