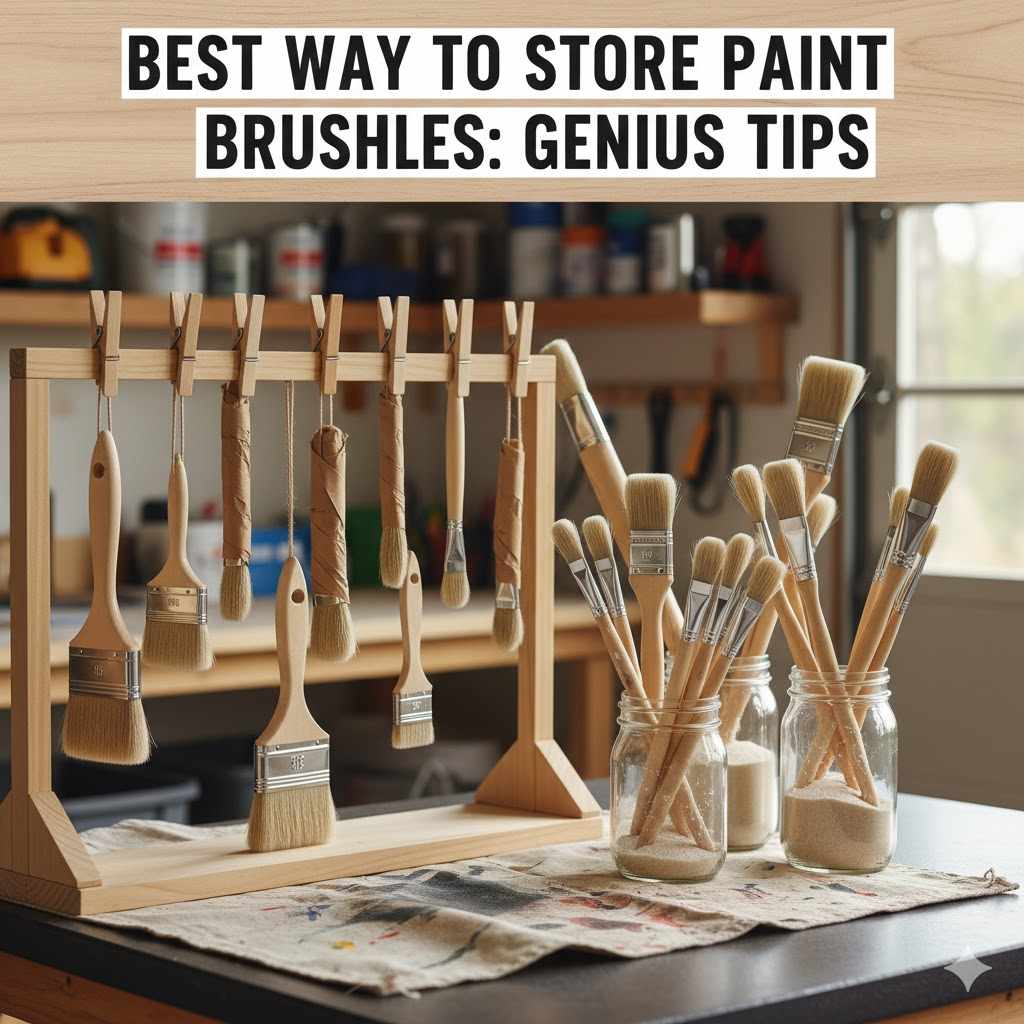
Best Way to Store Paint Brushes: Genius Tips
The best way to store paint brushes is to clean them thoroughly, reshape the bristles, and hang them vertically with the bristles down. This method uses gravity to keep the bristles perfectly straight and allows them to air dry completely. For horizontal storage, lay them flat without anything pressing on the bristles to prevent damage.
Hello there, fellow creator! Md Meraj here, your friendly guide in the workshop. Have you ever reached for a paintbrush, only to find it stiff as a board with splayed, useless bristles? It’s a frustrating moment that can stop a project right in its tracks. A good brush is an investment, and seeing it ruined feels like a waste of money and time.
But don’t worry, this is a super common problem with a very simple fix. You don’t need fancy equipment to keep your brushes in perfect shape. Today, I’m going to show you the simple, proven methods to clean and store your paint brushes so they are ready to go for your next masterpiece. Let’s get those brushes lasting for years!
Why Does Proper Paint Brush Storage Even Matter?
You might be thinking, “It’s just a brush, why all the fuss?” Well, taking a few extra minutes to store your brushes correctly is one of the smartest things you can do in your workshop. Here’s why it’s a game-changer:
- Saves You Money: High-quality paint brushes aren’t cheap! A good Purdy or Wooster brush can be a real investment. Making them last through dozens of projects means you’re not constantly buying replacements. That’s more money in your pocket for wood, paint, and other fun supplies.
- Gives You a Better Finish: A brush with stiff, bent, or crusty bristles will leave ugly streaks, lines, and loose hairs in your paint job. A well-kept brush with soft, straight bristles glides smoothly and applies paint evenly. The difference in the final look of your project is huge.
- Saves You Time and Frustration: Imagine starting a project and being ready to paint, only to spend 20 minutes trying to salvage a rock-hard brush. When your brushes are stored properly, they are clean, soft, and ready to use the moment you need them. No delays, no stress.
- It’s a Sign of Good Craftsmanship: Caring for your tools is a core principle of any craft. Just like a chef sharpens their knives, a woodworker or DIYer should care for their brushes. It’s a habit that shows you respect your tools and your work.
Taking care of your brushes isn’t a chore—it’s the first step to a beautiful, professional-looking finish on every project you do.

Part 1: The Golden Rule — Always Clean Brushes Before Storing
Before we even talk about storage, we have to talk about cleaning. You can have the best storage system in the world, but it won’t matter if you put a dirty brush in it. Dried paint is the number one enemy of a paintbrush. It acts like glue, making the bristles stiff, clumped, and impossible to use.
The type of paint you used determines how you clean the brush. Let’s break it down into simple steps.
How to Clean Brushes Used with Water-Based Paint (Latex, Acrylic)
This is the most common type of paint for home projects, and luckily, it’s the easiest to clean up!
- Scrape Off Excess Paint: Use the rim of the paint can or a painter’s multi-tool to scrape as much paint as you can off the brush and back into the can. Get it out from the base of the bristles (the ferrule) too.
- Rinse with Warm Water: Hold the brush under a running faucet of warm water. Use your fingers to work the paint out of the bristles, starting from the ferrule and pushing toward the tip. Keep going until the water runs clear.
- Use a Little Soap: If stubborn paint remains, put a small drop of dish soap in your palm and gently work it into the bristles. This helps break down any remaining paint residue. Rinse thoroughly again.
- Shake and Comb: Once clean, step outside and give the brush a few vigorous flicks to get most of the water out. Then, use a painter’s comb or an old hair comb to gently straighten the bristles, making them neat and tidy.
How to Clean Brushes Used with Oil-Based Paint (Alkyd, Varnish, Stains)
Oil-based paints are tougher and require a solvent to clean. Water won’t work here. Remember to do this in a well-ventilated area and wear gloves!
- Scrape Off Excess Paint: Just like with water-based paint, remove as much excess paint as you can from the brush.
- Use a Solvent: Pour a small amount of mineral spirits or paint thinner into a small glass or metal container. You only need enough to cover the bristles.
- Swish and Work: Dip the brush into the solvent and press it against the sides and bottom of the container. This helps the solvent get deep into the bristles and dissolve the paint. You will see the paint bleed out into the solvent.
- Repeat with Clean Solvent: Pour the dirty solvent into a separate, sealable “waste” container. Add a little fresh, clean solvent to your working container and repeat the swishing process. Do this until the brush looks clean.
- Wash with Soap and Water: After the solvent bath, wash the brush with warm water and dish soap to remove the oily solvent residue. This will leave the bristles feeling much softer.
- Shake, Comb, and Reshape: Flick out the excess water, comb the bristles straight, and use your fingers to shape the brush back to its original form.
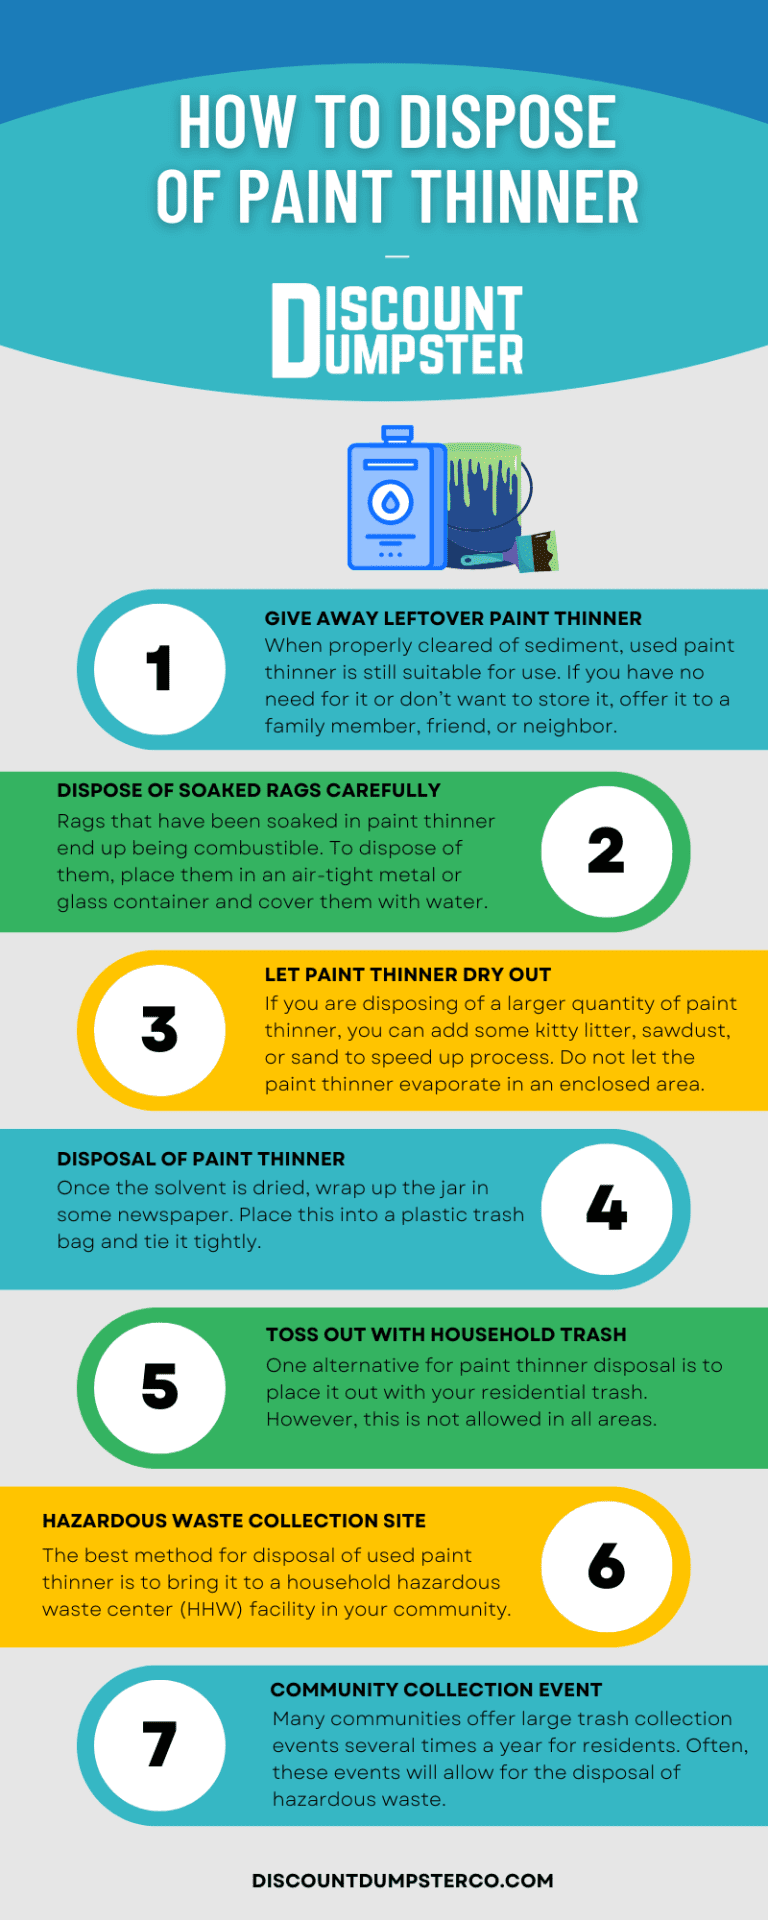
Safety Note: Never pour used mineral spirits or paint thinner down the drain. It’s harmful to the environment. The Environmental Protection Agency (EPA) provides guidelines for properly disposing of household hazardous waste. Label your waste container and take it to a local hazardous waste collection facility.
Part 2: Short-Term Storage (When You’re Taking a Break)
What if you’re not done painting? Maybe you’re just stopping for lunch or continuing the project tomorrow. You don’t need to do a full deep clean for short breaks. These methods will keep your brush fresh for a few hours up to a day or two.
Method 1: The Plastic Wrap Trick
This is my favorite go-to method for short breaks. It’s simple, fast, and works great.
- How to do it: Without rinsing the brush, wrap the bristle end tightly in plastic wrap or put it in a sealable plastic bag. Squeeze out all the air before you seal it. Some pros even wrap the whole brush.
- The Secret: By sealing it from air, you prevent the paint from drying. It keeps the bristles loaded and ready to go.
- Pro Tip: For an overnight break, you can stick the wrapped brush in the refrigerator (not the freezer!). The cold slows down the drying process even more. Just be sure it’s sealed well and kept away from food.
Method 2: Submerging in a Liquid
Another option is to submerge the bristles in a liquid to keep air away.
- For Water-Based Paint: Suspend the brush in a container of water. The key word is suspend. Don’t let the brush rest on the bottom of the container, as this will bend the bristles and ruin their shape. You can drill a hole in the handle and hang it from a wire stretched across the container’s opening.
- For Oil-Based Paint: Do the same thing, but use the appropriate solvent (mineral spirits) instead of water.
- Important Warning: This method should only be used for a day at most. Leaving a brush in water for too long can cause the wooden handle to swell and the metal ferrule to rust.
Comparing Short-Term Storage Methods
Here’s a quick table to help you decide which short-term method is right for your situation.
| Method | Pros | Cons | Best For |
|---|---|---|---|
| Plastic Wrap | Fast, easy, no mess, keeps brush loaded with paint. | Only for 1-2 days max, can be a bit messy to unwrap. | Lunch breaks or continuing the same project the next day. |
| Submerging in Liquid | Effectively prevents drying for up to 24 hours. | Risk of bending bristles if not suspended; can damage the handle/ferrule if left too long. | Overnight storage when you plan to rinse the brush before reusing it. |
Part 3: Long-Term Storage (For Weeks, Months, or Years)
When your project is finished, it’s time to store your brushes for the long haul. The goal here is simple: keep the bristles clean, dry, and perfectly straight.
Method 1: Hanging Brushes (The Gold Standard)
Ask any professional painter, and they’ll tell you this is the absolute best way to store your brushes. Gravity is your best friend here.
- Why it works: By hanging a brush with the bristles pointing down, gravity gently pulls them into a perfectly straight shape as they dry. Air can circulate all around the bristles, ensuring they dry thoroughly and preventing mildew.
- How to do it: Most good-quality brushes come with a hole in the handle for this exact purpose. You can create a simple hanging rack by screwing some hooks into a piece of wood or simply hammering a few nails into a wall in your workshop. Hang them up after cleaning and reshaping, and they will be perfect when you need them next.
Method 2: Storing Brushes Flat
If you don’t have space to hang your brushes, laying them flat is the next best option.
- How to do it: After cleaning and combing your brushes, lay them down on a flat surface, like a shelf or inside a shallow drawer. The key is to make sure nothing is pressing down on the bristles. Don’t stack them on top of each other! Give each brush its own space to rest.
- Keep them covered: To protect them from dust and workshop debris, you can lay a clean cloth or a piece of paper over them. This keeps them clean and ready for action.
Method 3: Storing Brushes Vertically (Bristles UP)
This is a common method because it’s so convenient. Storing brushes in a jar or coffee can is perfectly fine, as long as you do it one way and one way only: bristles up!
- Why it works: Storing them with the handle down and bristles up keeps the bristles safe from bending. The weight of the brush rests on the handle, not on the delicate tips.
- What NOT to do: Never, ever store a brush long-term standing on its bristles. Even for a few hours, this will cause the bristles to bend, splay, and develop a permanent curl. This is one of the fastest ways to ruin a good brush.
Method 4: Using the Original Packaging
Ever wonder why good brushes come in those sturdy cardboard sleeves? They are not just for the store display; they are custom-made brush keepers!
- How to use them: After your brush is completely clean and mostly dry, carefully slide it back into its original cardboard cover. This sleeve is designed to hold the bristles in the perfect shape, protecting them from bending and from dust. Reputable paint companies like Sherwin-Williams often provide this type of packaging.
- Make your own: If you’ve lost the original sleeve, you can make your own by folding a piece of stiff paper or cardstock around the bristles and securing it with a rubber band or painter’s tape. Just make sure it’s not too tight!
Comparing Long-Term Storage Methods
Here is a quick look at the best ways to store brushes for the long term.
| Method | Pros | Cons | Overall Rating |
|---|---|---|---|
| Hanging Vertically (Bristles Down) | Keeps bristles perfectly straight; promotes fast, even drying. The ideal method. | Requires a dedicated hanging space. | Excellent (Best) |
| Laying Flat | Easy, requires no special setup, good for drawers. | Takes up more surface area; bristles can get bumped or crushed if not careful. | Good |
| Storing in Original Keeper | Perfectly shapes and protects bristles; keeps them clean. | Easy to lose the keepers; brush must be mostly dry before storing to prevent mildew. | Good |
| Standing Vertically (Bristles Up) | Convenient and easy to see your brushes. | Bristles are exposed to dust and debris. | Okay |
Genius Tips & Workshop Hacks
Over the years, I’ve picked up a few extra tricks that can take your brush care to the next level. Give these a try!
- Use Fabric Softener: After washing your brushes (especially older ones), try a final rinse in a 50/50 mix of water and liquid fabric softener. Work it into the bristles, then give it a final, quick rinse. This conditions the bristles and helps them stay incredibly soft.
- Revive a Stiff Brush: Found an old brush that’s hard as a rock? Don’t throw it out just yet! Try soaking it in hot vinegar for about 20-30 minutes. Then, wash it with soap and water and use a brush comb to work out the softened paint. You can often bring them back to life.
- DIY Brush Storage: You don’t need to buy fancy storage systems. A simple coffee can with holes punched in the lid can hold brushes bristles-up. A pegboard with long hooks is perfect for hanging a large collection of brushes. Get creative with what you have!

Frequently Asked Questions (FAQ)
What’s the best way to reshape paint brush bristles after cleaning?
After a final rinse, use a painter’s comb or even just your fingers to gently stroke the bristles from the base to the tip. Squeeze out excess water and shape them into their original form—a flat chisel edge for flat brushes or a point for sash brushes. Wrapping them in their original cardboard keeper while they dry is also an excellent way to reshape them.
Can I really store a wet paint brush in a plastic bag?
Yes, but only for short-term storage (up to 24-48 hours). Tightly wrapping the brush in plastic wrap or a sealed bag prevents air from getting to the paint, which stops it from drying. It’s a fantastic trick for when you’re continuing a project the next day. For anything longer, you must clean the brush thoroughly.
Why are my paint brush bristles still stiff after washing?
Stiffness after washing is usually caused by paint residue left deep inside the bristles, right near the metal ferrule. The brush might look clean on the outside, but trapped paint hardens as it dries. To fix this, be more thorough with your cleaning. Use a brush comb while rinsing to get all the paint out from the base.
How long can you leave a paint brush in water?
You should avoid leaving a paint brush in water for more than a few hours. While it’s a handy trick for an overnight break, prolonged soaking (days) can cause the wooden handle to swell and crack the paint finish. It can also cause the metal ferrule to rust, which will weaken the glue holding the bristles and lead to bristle loss.
Is it better to store paint brushes vertically or horizontally?
Hanging them vertically (bristles down) is the best method because it keeps the bristles perfectly straight and allows for even air drying. Storing them horizontally is the second-best option, provided nothing is crushing the bristles. Storing them vertically with the bristles up is acceptable but can collect dust.
How do you revive a really old, hardened paint brush?
For a hardened water-based paint brush, soak it in hot white vinegar for about an hour, then try to comb out the softened paint. For oil-based paint, a commercial brush restorer or lacquer thinner might be necessary. It may take several soaks, but many brushes can be saved with a little patience.
Conclusion: Your Brushes Are Your Partners
And there you have it! Taking care of your paint brushes isn’t complicated at all. It just takes a little bit of know-how and a few minutes at the end of your project. Think of your brushes not as disposable tools, but as trusted partners in your creative journey. When you care for them, they will repay you with smooth, beautiful finishes project after project.
By cleaning them well, choosing the right storage method for your needs—whether it’s for a day or a year—and avoiding those common mistakes, you’ll save money, reduce frustration, and take pride in the quality of both your tools and your work. Happy painting!