Best Way to Paint on Wood (Including Cedar & Pine Bleed-Through Fix)
The best way to paint wood is: sand it smooth, prime it with a primer matched to the wood species, then apply two to three thin coats of a quality acrylic latex paint. That sounds simple, and the sanding and coats part is — the part most guides skip is that “prime it” isn’t one-size-fits-all: some common woods actively fight paint unless you use the right primer chemistry.
Choosing the Right Wood and Reading Its Quirks
Best Primer For Stain-Prone Woods (Cedar, Pine, Redwood)
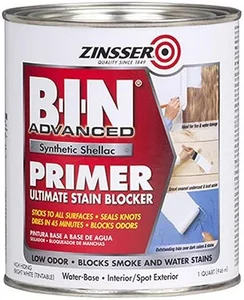 |
Zinsser B-I-N Advanced Shellac Primer, 1 Quart – $25.10 This is the fix for the yellow-brown blotches that bleed through paint on cedar, redwood, or knotty pine within weeks — an ordinary latex primer won’t block them, but shellac does.
|
Hardwoods like oak and maple hold paint well because their tight, dense grain resists over-absorption — you’ll get even coverage with standard primer. Softwoods are more variable: pine takes paint fine in most cases but its knots ooze resin that can bleed through for months if not sealed individually, while cedar and redwood contain natural tannins (the compounds that give them their reddish color and rot resistance) that migrate through ordinary paint and primer as ugly brown-yellow stains, sometimes not showing up until weeks after the paint looks perfect. If you’re painting either of those species, a shellac-based stain-blocking primer isn’t optional — it’s the difference between a finish that lasts and one that needs repainting by next season.
Preparing the Wood Surface
Clean the wood with a damp cloth to remove dust, dirt, and any grease or oil residue, then let it dry fully. Sand with fine-grit sandpaper (150-220 grit) in the direction of the grain — this isn’t just for smoothness, it also opens the wood’s surface pores slightly so paint and primer grip mechanically instead of just sitting on top. Fill any holes, dents, or gaps with wood filler, let it cure completely, then sand the filled areas flush before wiping the surface clean of dust one more time.
On pine specifically, spot-treat any visible knots with a dab of the shellac primer above before priming the whole piece — even a full coat of ordinary primer often isn’t enough to stop resin bleed right at a knot.
Priming for Adhesion
Primer does three jobs: it seals the wood so the topcoat doesn’t soak in unevenly, it blocks tannins, resin, and old stains from bleeding through, and it gives the paint a uniform surface to grip. Apply with a brush or roller in a thin, even coat, and let it dry fully per the label — shellac-based primers dry to the touch in well under an hour, while standard latex or oil primers usually need several hours. Skipping primer on bare wood is the single most common reason a paint job peels or blotches within the first year.
Choosing Paint: Type and Finish
Acrylic latex paint is the practical default for most wood projects — it’s flexible enough to handle wood’s natural expansion and contraction without cracking, cleans up with water, and dries fast enough for same-day recoats. Oil-based paint is more durable and better suited to high-wear outdoor pieces, but it’s slower to dry, requires mineral spirits for cleanup, and has largely been phased out or restricted in some states due to VOC regulations. Chalk paint skips most prep work and gives a matte, rustic look, but it’s less durable without a wax or topcoat sealer over it.
For finish sheen: satin is the practical middle ground for most furniture and trim, hiding minor surface flaws while still being easy to wipe clean. Gloss shows every brush mark and imperfection but is the most washable and durable, making it a common choice for high-traffic surfaces like doors and cabinets. Matte gives the flattest, most contemporary look but shows fingerprints and is harder to clean without burnishing the sheen.
Application Technique
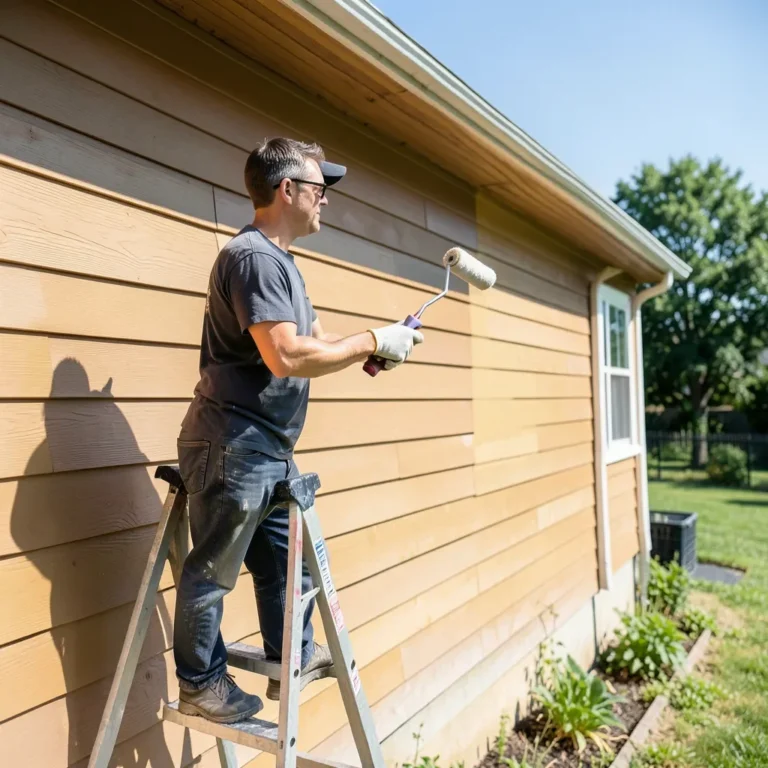
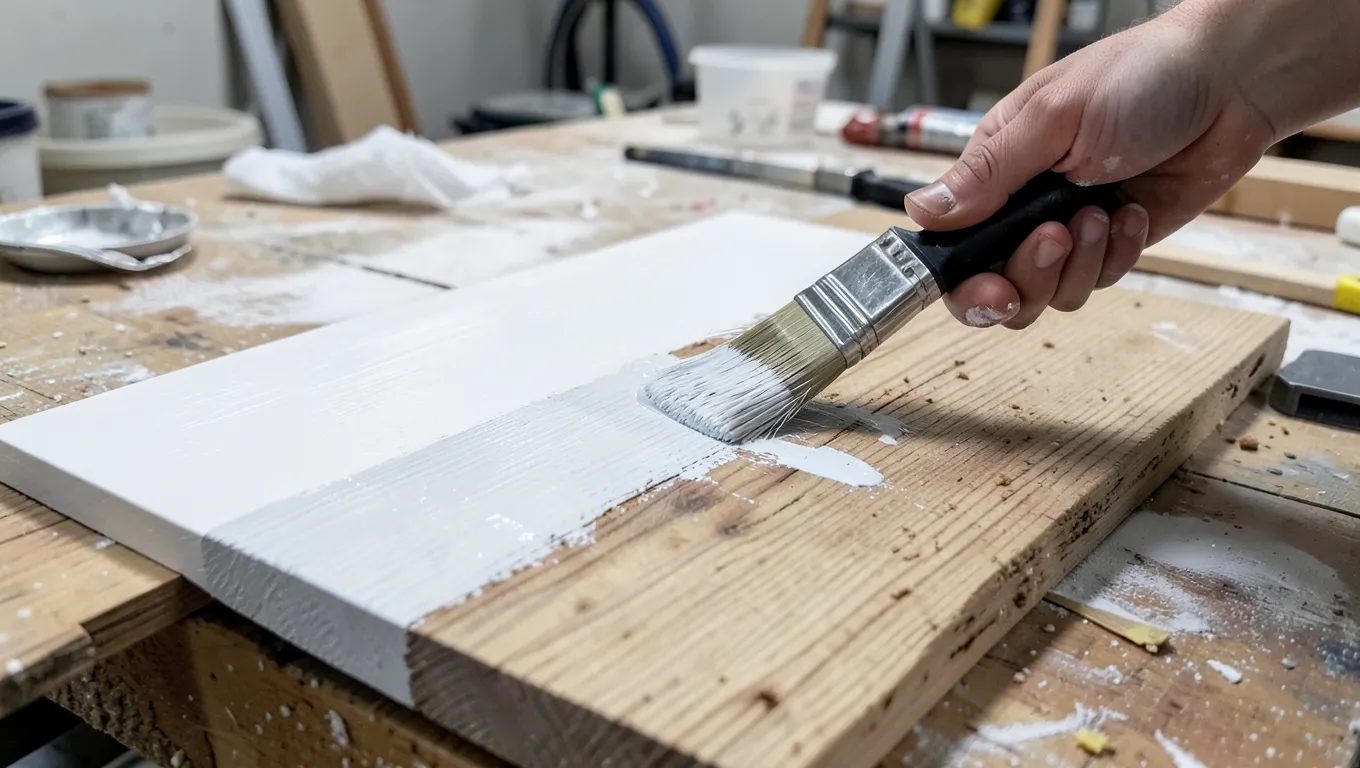
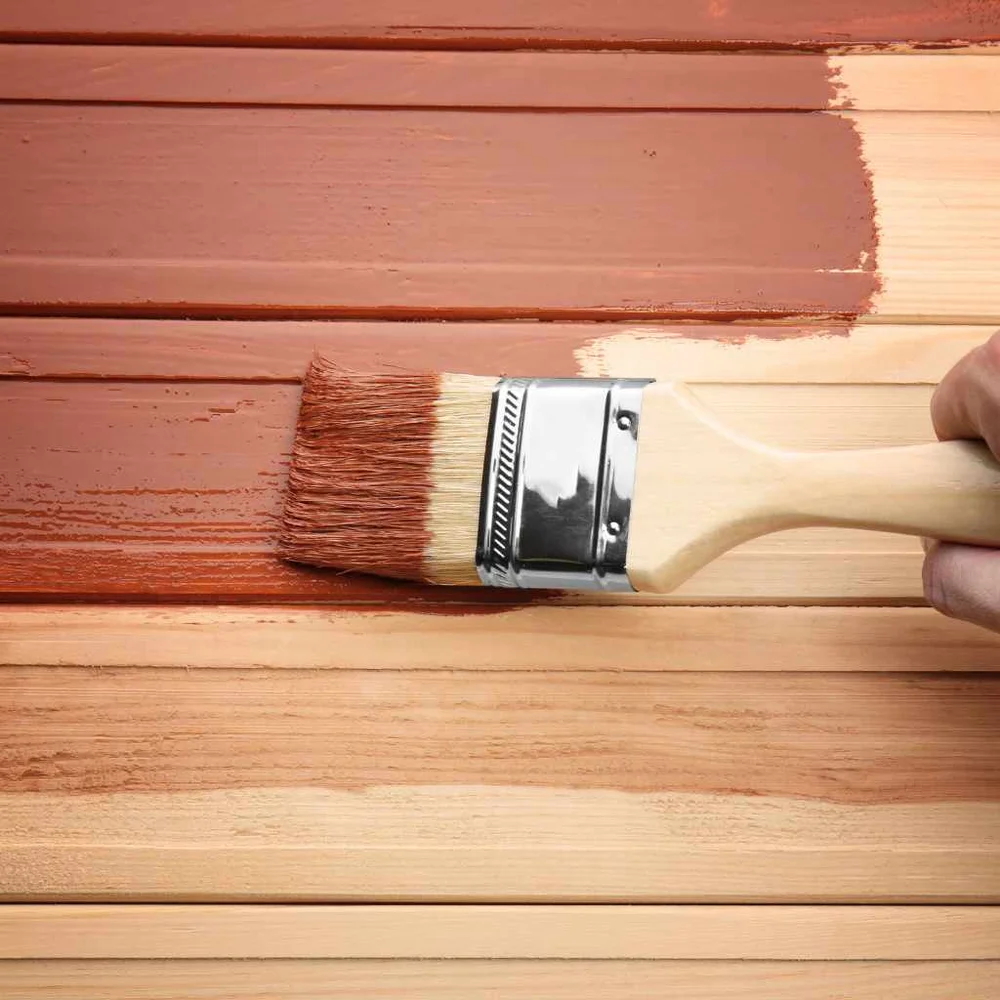
Brushes give the most control for detailed pieces, moldings, and tight corners, and a natural-bristle or high-quality synthetic brush leaves fewer visible strokes than a cheap one. Sprayers cover flat panels and large pieces faster with a smoother finish, but need more masking of the surrounding area and more practice to avoid drips or an uneven coat. Whichever tool you use, apply thin coats rather than one thick one — thick paint runs, dries unevenly, and takes far longer to fully cure — and maintain a “wet edge” by always painting into the still-wet section rather than restarting on a partially dried area, which avoids visible lap lines.
Drying and Curing: They’re Not the Same Thing
“Dry to the touch” and “fully cured” are different milestones, and treating them as the same is why people accidentally damage a fresh paint job. Most latex paints are dry enough to handle lightly within 1-4 hours and safe to recoat within about 4 hours, but full chemical cure — the point where the finish reaches its final hardness and washability — typically takes 2-4 weeks. Avoid stacking anything on a painted surface, sliding drawers, or scrubbing it hard during that full window, not just the first day or two. Keep the piece in a warm, dry, well-ventilated space out of direct sunlight while it cures; heat and UV during the vulnerable curing window can cause bubbling or an uneven sheen.
Finishing Touches
Lightly sand between coats with fine-grit (320-400) sandpaper to knock down any dust nibs or brush texture, wiping clean before the next coat. If the piece will see heavy use or moisture — a tabletop or outdoor furniture — a clear topcoat (polyurethane or a dedicated furniture varnish) adds real scratch and moisture resistance on top of the paint. Once fully cured, ongoing care is simple: clean with mild soap and a soft cloth, skip abrasive cleaners, and touch up small chips as soon as you notice them, since bare wood exposed at a chip point is where moisture damage and future peeling actually start.
Frequently Asked Questions
What is the best paint type for wood surfaces?
Acrylic latex paint is the best all-around choice for most wood projects — it’s flexible enough to move with the wood, dries quickly, cleans up with water, and holds up well indoors and outdoors. Oil-based paint is more durable but slower to dry and harder to clean up.
How should I prepare wood before painting?
Sand the wood smooth with the grain, clean off dust with a damp cloth, fill any holes or dents with wood filler, and apply a primer suited to the wood species — a shellac-based primer specifically if you’re working with cedar, redwood, or knotty pine, since ordinary primer won’t block their natural stains.
Can I paint untreated wood directly without primer?
It’s not recommended. Untreated wood absorbs paint unevenly, which causes blotchy color and premature peeling, and on species like cedar or pine, skipping primer means tannins and resin will likely bleed through the paint later even if the first coat looks fine.
How many coats of paint are needed on wood?
Two to three thin coats is typical: the first seals and establishes base color, the second builds full coverage, and a third is often needed for darker colors, lighter base colors covering a stained surface, or rougher wood that soaks up more paint.
Why is paint bleeding through on my cedar or pine project?
Cedar and redwood contain natural tannins, and pine knots ooze resin — both can migrate through ordinary latex or oil primer over weeks or months, showing up as yellow-brown stains. A shellac-based stain-blocking primer physically seals these compounds in and prevents the bleed-through that standard primers can’t stop.
Bottom Line
Sanding, primer, and thin coats are the fundamentals — but matching your primer to your wood species is the step most guides skip and the one that actually determines whether a paint job lasts. On oak or maple, standard primer is fine. On cedar, redwood, or knotty pine, a shellac-based stain blocker is the difference between a finish that holds and one that bleeds through by next season.
Sponsored / affiliate links. As an Amazon Associate I earn from qualifying purchases. I may earn additional commission from eligible campaigns.