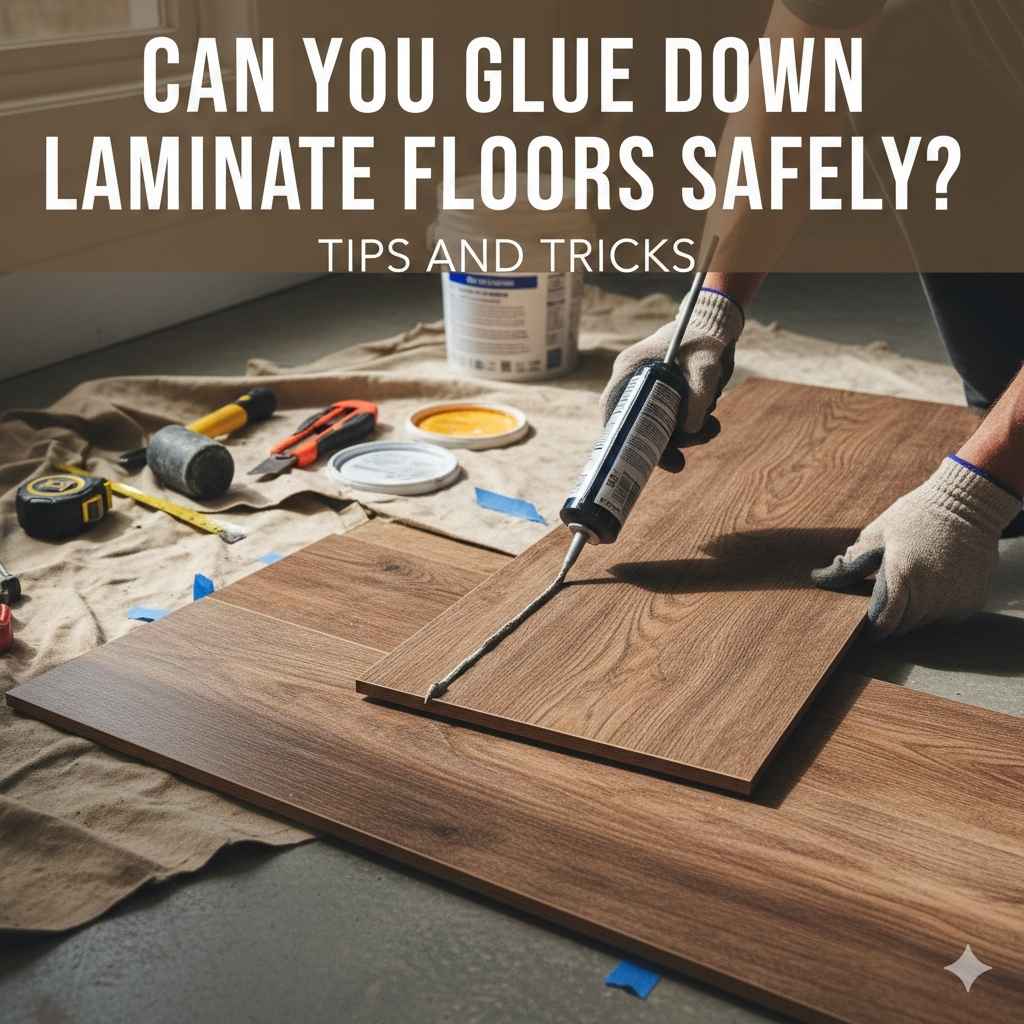
Can You Glue Down Laminate Floors Safely? Tips and Tricks
Thinking about installing new laminate flooring? A common question beginners ask is, Can You Glue Down Laminate Floors Safely? It seems like a simple project, but getting it right can be a little tricky. Don’t worry, though! This guide will break down everything you need to know. We’ll show you how to get professional-looking results without any headaches. We’re going to explore how to do it step-by-step, making the process easy to follow. Let’s get started!
Choosing the Right Laminate Flooring
Before you begin, selecting the correct laminate flooring type is essential. Not all laminate floors are meant to be glued. Some are designed for floating installations, meaning they click together without adhesive. Others are specifically engineered for gluing down, often featuring a core that is resistant to moisture. Choosing the wrong type will lead to problems like the floor buckling, separating, or not adhering correctly. Always verify the manufacturer’s instructions. These instructions will clearly state whether the flooring is suitable for gluing. Checking the label and product specifications is the first thing you want to do.
Understanding Laminate Flooring Types
Laminate flooring comes in different types, and knowing the differences is key. Understanding the differences will help you make the right choice. Some are made for floating installations, where the planks snap together and “float” on top of the subfloor. Others are designed to be glued directly to the subfloor. Then there are some types that are better at handling moisture or heavy foot traffic. The construction of the core is the main factor. Different core materials affect the strength and water resistance. Consider your needs and the specific conditions of your area. Always verify the manufacturer’s guidelines, they are very helpful when installing any flooring.
- Floating Floors: These floors don’t require adhesive. The planks click together to form a surface that “floats” above the subfloor. This style is an easy option for do-it-yourself projects.
- Glue-Down Floors: These are meant to be glued directly to the subfloor using a special adhesive. This method is usually more permanent and can offer better stability, but it’s more difficult.
- Water-Resistant Floors: If you install flooring in a kitchen or a bathroom, water resistance is key. These floors resist water better than standard laminate. The core material is constructed for this.
- High-Traffic Floors: If the area is used a lot, pick a floor made to handle heavy use. This flooring is much more durable and won’t get worn down as quickly. The top layer protects against scratches and dents.
Checking Product Specifications
Before you get started, always look at the product details provided by the manufacturer. These details include what you need to know. Make sure the type of laminate you bought is made for glue-down installation. The label or product sheet will tell you this. Also, see if the manufacturer mentions the type of subfloor. Some flooring only works with specific subfloors. It’s also important to check the warranty information. The warranty often depends on whether you install the floor as instructed. Failure to follow the recommendations can void the warranty. Take time to thoroughly review these details before you start.
Considering Subfloor Compatibility
The subfloor is the layer beneath your flooring. Knowing what it is made of is vital. Laminate flooring needs a smooth, level, and clean subfloor. If the subfloor is not properly prepped, the flooring will not lay flat. Different subfloor materials like concrete, plywood, and OSB require different preparations. Concrete must be tested for moisture and leveled. Wood subfloors may need to be sanded. Always check for moisture before gluing, because excess moisture will make the glue fail. This step is also an important part of making sure the flooring lasts. So, before you begin, give it a good look.

Essential Tools and Materials for Gluing
Getting ready to glue down laminate flooring needs the right tools and materials. Having everything you need before you start makes the job easier and helps you get a good result. You’ll need specific types of glue, tools to measure and cut the flooring, and safety gear. The tools and materials will depend on the installation and the size of your area. These steps will help you get ready for the installation. If you are prepared, it is much easier to install your floor, and the results are better.
Choosing the Right Adhesive
Selecting the correct adhesive is very important. Always use an adhesive made for laminate flooring. It is designed to work with the materials and needs. There are different types of glue, but look for one that is recommended by the laminate manufacturer. Look for adhesives with low VOCs (Volatile Organic Compounds), as they are safer for your home. You’ll also need to consider the area and how much moisture it will get. If you are working in a wet area, pick an adhesive that is water-resistant. Following the manufacturer’s directions is key to make sure the bond is strong and the floor stays in place. This will give you the best results.
Necessary Tools for the Project
To glue down laminate flooring, you’ll need some specific tools. A tape measure is important to measure and cut the flooring. A utility knife is also important for cutting the floor planks, and a straight edge helps ensure straight cuts. A trowel is important for spreading the glue evenly. Also, make sure you have safety gear like safety glasses, and gloves. You might also need a tapping block to help fit the planks together. Other tools may be helpful, but these are the basics. Having all these tools on hand will help you make the job easier and safer.
Prepping the Installation Space
Before you start, you have to prep the space. Empty the room completely, removing all furniture and items. Clean the subfloor to make sure it is free of dust, dirt, and any debris. If you have to level the floor, do that first. Also, make sure that the floor is dry. Measure the room to figure out how many planks you’ll need and to plan the layout. It’s smart to open the boxes of laminate and let the planks adjust to the room’s conditions for a few days before you install them. This makes sure that everything goes smoothly and your new floor looks great.
Step-by-Step Guide: Gluing Down Laminate Floors
Installing your laminate floor is easier if you follow these steps carefully. The process includes preparing the subfloor, spreading the adhesive, laying the flooring, and making sure the floor is properly installed. Taking your time and following the directions helps you avoid common mistakes. These steps give you a good idea of what the process looks like. If you follow each step, you can get professional-looking results. Let’s explore the step-by-step process of how to install your laminate flooring.
Preparing the Subfloor Thoroughly
Getting your subfloor ready is important. You want a smooth, level, and clean surface. Make sure that there are no lumps, bumps, or loose debris on the floor. Use a level to check for uneven areas. You can use a floor leveler to fill in any dips or bumps. Sweep and vacuum the area well to remove any dust or dirt. If there’s any moisture, you should fix it before you start. A well-prepared subfloor will ensure your laminate flooring is laid correctly and lasts a long time. This is a very important part of the process.
Applying the Adhesive Correctly
Applying the adhesive correctly is key for your laminate floor to stick. Read the glue instructions carefully. Then, use a notched trowel to spread the glue evenly across the subfloor. You have to make sure you use the right size notches, as the glue will have to go on evenly. Apply only what you can cover in a few minutes. This prevents the glue from drying out before you lay the flooring. Carefully place the first plank, lining it up with your layout lines. Use a tapping block to tap the planks together tightly. Always make sure you clean up any glue spills immediately, before the glue dries. Following these steps helps make sure the glue bonds properly and the floor is stable.
Laying the Flooring and Securing Planks
Once the adhesive is applied, you can start laying your flooring. Begin at one corner of the room, working your way across. Carefully place each plank, and make sure it is lined up with the one next to it. You will need to use a tapping block and a rubber mallet to get the planks tightly together. As you go, check that everything is aligned and that the seams are tight. Keep an eye on the spacing, especially around walls and other fixed objects. As you install each row, make sure it is straight and secure. Doing so helps make sure that the floor will last and look good. Take your time, and enjoy the process.
Cutting and Fitting Around Obstacles
When you’re installing laminate flooring, you will have to cut and fit the planks around obstacles. These could be pipes, doorways, and other fixed things in the room. Always measure carefully before you cut. Use a utility knife and a straight edge to make clean, straight cuts. You might need to use a jigsaw or other specialized tools for complex shapes. When cutting, you should have safety glasses on. To help make a perfect fit, you can use a pencil to trace the shape of the obstacle onto the flooring. Keep the planks close to the walls, and leave a small space for expansion. Accurate cutting is key to a professional finish and a functional floor. Take your time, measure twice, and cut once.
- Measure the distance from the edge of the plank to the obstacle.
- Transfer the measurement onto the laminate plank, mark it carefully.
- Cut the plank, making a clean and accurate cut, and then place it in the space.
- Use a jigsaw to carefully cut around the obstacle, ensuring a snug fit.
- Use a tapping block and mallet to make sure the planks fit together securely.
Ensuring a Professional Finish
Getting a professional finish will involve a few extra steps. These steps involve putting in the trim, cleaning up the mess, and making sure the floor is properly sealed. Paying attention to these extra details will help make your laminate floor look great and last longer. You can enhance the look and durability of your new floor. These steps will make the result really look good and stand the test of time. It’s time to finish the job, and here’s how to do it.
Installing Baseboards and Trim
After you have laid the laminate flooring, you’ll install the baseboards and trim. Baseboards cover the edges of the flooring where it meets the walls. They create a clean, finished look and help protect the flooring. Measure and cut the baseboards. Then, attach them to the wall. Use nails or adhesive. Also, you may need quarter-round molding around the baseboards to cover the expansion gap. This will create a nice, finished appearance. Properly installed baseboards and trim will enhance the overall appearance of your new flooring. Always pay attention to detail.
Cleaning and Sealing the Floor
After finishing the installation, the last steps are cleaning and sealing. Sweep the floor well to remove any dust or debris. Then, clean the floor. Some laminates need special cleaners. Always look at the manufacturer’s recommendations. Then, consider sealing the edges and seams of the flooring. This helps protect against moisture damage. Sealing is particularly important in areas where water is likely, like the kitchen or bathroom. Cleaning and sealing the floor is important for getting the best look and also makes sure that it lasts longer. This completes the installation process and gives you the best results.
Final Inspection and Maintenance
Before you completely finish, do a final inspection. Check the entire floor to make sure there are no gaps, loose planks, or uneven areas. Also, look at the trim and baseboards to make sure they’re installed correctly and look nice. Make sure all edges are clean and secure. After that, follow the maintenance instructions for your flooring. This includes regular sweeping or vacuuming. Avoid using harsh cleaning products that could damage the laminate. It also includes taking steps to protect the flooring from scratches and spills. Following these steps helps make sure your new floor looks great and lasts a long time. Careful maintenance is key to protecting your investment.
According to the National Wood Flooring Association, properly installed and maintained laminate flooring can last for 15-25 years. This highlights the importance of the correct installation and routine care to maximize your floor’s lifespan.
| Factor | Impact on Flooring |
|---|---|
| Incorrect Subfloor Prep | Leading to unevenness, instability, and potentially damaging the planks. |
| Use of the Wrong Adhesive | Making the bond fail and the floor not staying in place. |
| Poor Installation Techniques | Making the seams more susceptible to moisture and wear. |
Common Mistakes to Avoid
Installing a laminate floor can be a fun and rewarding task, but you have to know what to avoid. Making mistakes can cost you time and money. Some things, like not preparing the subfloor or using the wrong type of glue, can cause major issues. Knowing the common mistakes, and avoiding them, will help you get better results. Let’s explore the common pitfalls to keep in mind when installing laminate flooring.
Poor Subfloor Preparation
One of the biggest mistakes is not properly preparing the subfloor. This involves several steps. You want to make sure the subfloor is level. Any high or low spots will cause problems. Fill in any uneven areas. Also, make sure the subfloor is clean and dry. Dirt, dust, and moisture will affect how well the adhesive bonds. The subfloor is the foundation, so make sure it’s perfect. Ignoring these steps can lead to all kinds of issues. Before you start, always give the subfloor a good look.
Using the Wrong Type of Adhesive
Picking the wrong glue is a common mistake that causes problems. When you have laminate flooring, you must use a glue that is made specifically for laminate. Using the wrong glue may not create a strong bond, or it might not work with the flooring materials. Always look at the manufacturer’s recommendations for the best adhesive for your particular laminate. This is a very important step to make sure your floor is stable. Taking the time to pick the right glue will save you problems later on.
Rushing the Installation Process
Rushing the process is a mistake. Take your time, and don’t rush the job. Carefully measure and cut the planks. Double-check your measurements to avoid errors. Check the planks as you are putting them down, to make sure they fit together well. It’s smart to lay out a few rows first before you glue everything. This helps make sure you have it right before you start. It is better to take a bit longer and get good results. Take your time, and you will get a quality result.
Can You Glue Down Laminate Floors Safely? Advanced Tips
As you get more experience, there are extra things you can do to make your floor look great. These are some advanced tips that will help with the installation. These tips can help you achieve a more professional result. When you know these techniques, you can make your laminate flooring installation a success. Here’s a look at more tips and techniques.
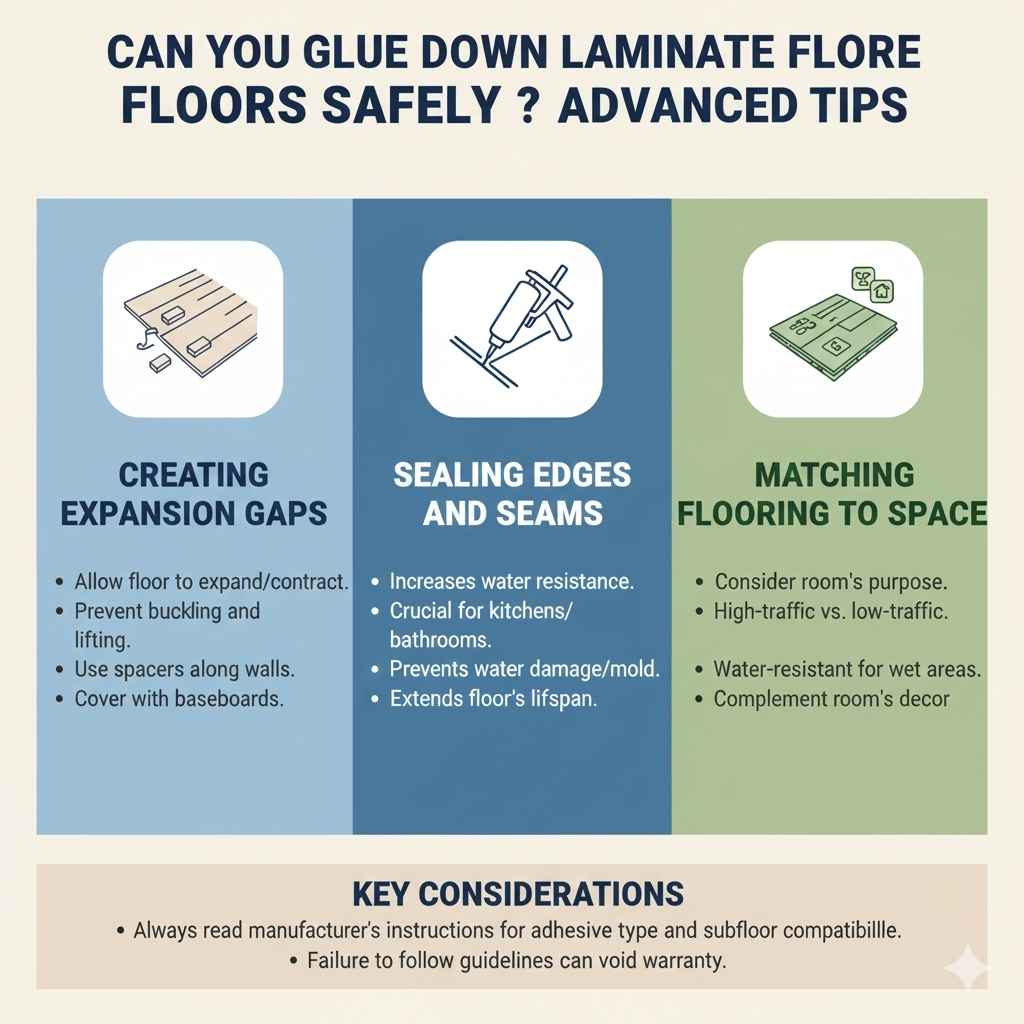
Creating Expansion Gaps for Stability
Expansion gaps are essential for the stability of your flooring. These small gaps allow the laminate to expand and contract with changes in temperature and humidity. Without these gaps, your floor might buckle or lift. The gaps should be left around the perimeter of the room and around any fixed objects. Use spacers when you install the flooring to ensure consistent spacing. After the installation, these gaps are covered by baseboards or quarter-round molding. These simple steps ensure your floor can move freely. The floor will look good, and it will last longer. Pay close attention to these details, it’s a key step.
Sealing Edges and Seams
Sealing the edges and seams of your laminate floor can help protect your floor. Applying a sealant will make the floor more water-resistant, which is especially important in bathrooms or kitchens. Use a sealant made for laminate flooring. Follow the manufacturer’s instructions. This creates a barrier against moisture and helps prevent water damage, mold, and warping. Sealing is a smart way to make sure that the floor will last and look good for years. Always take this step if you want to extend the life of your floor.
Matching the Right Flooring to Your Space
Picking the right flooring for the room is very important. Always consider the room’s purpose and the amount of foot traffic it will get. Bathrooms and kitchens need water-resistant flooring. High-traffic areas need floors that are more durable and wear-resistant. Think about the style and appearance you want to achieve. Choose the color and design of the flooring to complement the room’s decor. Matching the right flooring to the space will ensure the floor looks good and meets your needs. Always pick the right flooring for the job.
Frequently Asked Questions
Question: Can I use any glue for laminate flooring?
Answer: No, you should only use adhesives made specifically for laminate flooring. These are designed to bond with the materials without causing damage or voiding warranties.
Question: What do I do if I spill water on the laminate floor?
Answer: Wipe up any spills immediately. Water can cause damage, so quick action is important. For extra protection, consider using sealant.
Question: How long does it take for the glue to dry?
Answer: Drying times can vary depending on the adhesive. Follow the manufacturer’s instructions for drying times, typically ranging from a few hours to a day.
Question: Is it safe to walk on the floor immediately after installation?
Answer: No, it’s best to wait until the adhesive is fully dry. Usually, you should wait for the period stated by the manufacturer.
Question: Can I install laminate flooring over existing flooring?
Answer: It’s generally not recommended to glue laminate flooring directly over existing flooring. This is because the old flooring might not be level or stable. You must always prepare the subfloor.
Final Thoughts
So, Can You Glue Down Laminate Floors Safely? Absolutely! With the right planning and attention to detail, you can achieve amazing results. It’s about knowing the right steps. This guide has explored the importance of choosing the correct laminate type and adhesive. We have also discussed the essential tools and careful subfloor preparation.
We’ve shown you a step-by-step installation guide. We have touched on some common mistakes to avoid. Now that you have explored everything, it’s time to start. Remember to always follow the manufacturer’s instructions, take your time, and enjoy the process. Good luck!