The Best Guide to Using Exterior Paintable Wood Filler
I once tried fixing a cracked deck board with the wrong filler. It crumbled in a month! That’s when I learned about exterior paintable wood filler. This amazing stuff saves outdoor wood projects. In this guide, I’ll share what it is, how to use it, and tips to make your repairs last. Whether you’re a beginner or a pro, you’ll find easy ideas for your next project.
What Is Exterior Paintable Wood Filler?
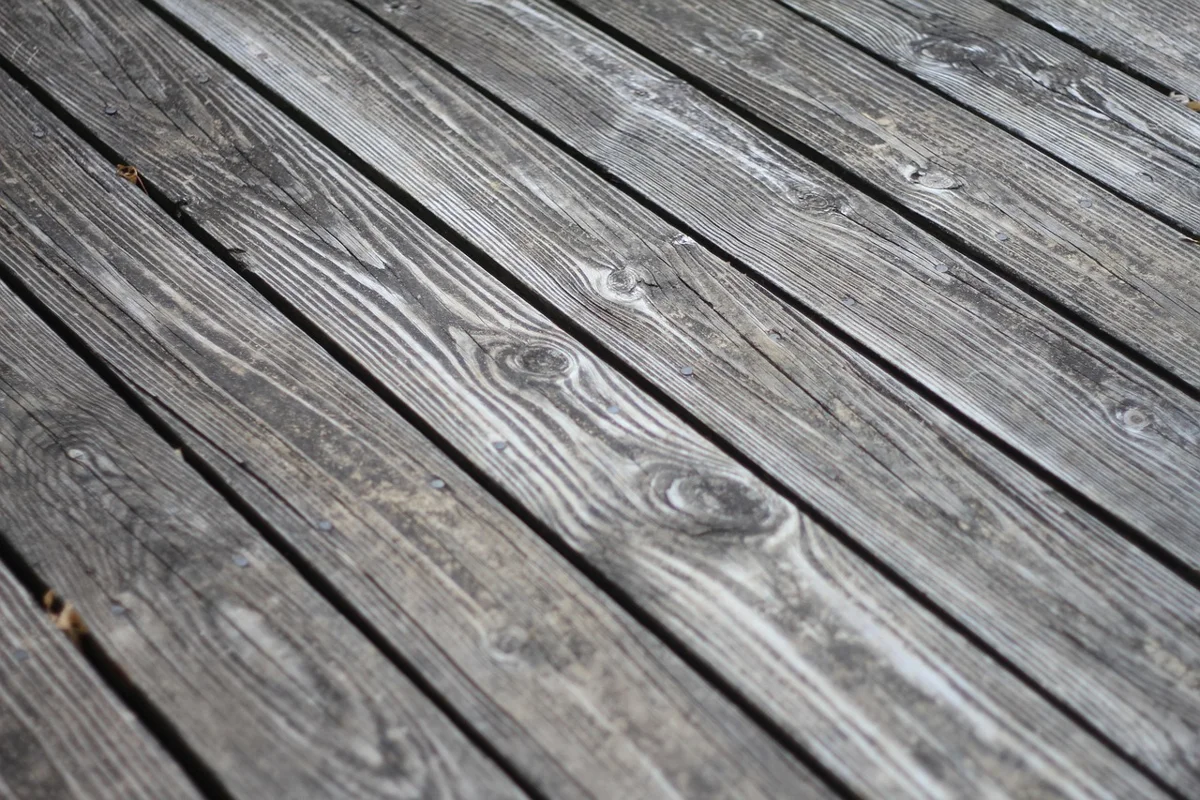
Exterior paintable wood filler is a special paste. It fixes holes, cracks, or dents in outdoor wood. You can paint over it to match your project. It’s tough against rain, sun, and cold. I use it on decks, fences, and window frames. It’s like magic for making wood look new again.
Why Use It?
This filler keeps wood strong outside. It stops water from sneaking into cracks. It’s easy to sand and paint. Unlike regular glue, it won’t shrink or crack. It’s perfect for small fixes or big repairs. You’ll love how it hides flaws!
Types of Exterior Paintable Wood Filler
There are a few types to choose from. Each works best for different jobs. Here’s a quick look:
- Water-based fillers: Easy to clean with soap. Great for small holes.
- Solvent-based fillers: Super tough for harsh weather. Need mineral spirits to clean.
- Epoxy fillers: Rock-hard and long-lasting. Best for deep cracks or rot.
I like water-based fillers for quick jobs. Solvent-based ones are my go-to for fences in rainy areas.
How to Choose the Right Filler
Picking the right filler is easy. Think about your project. Is it a small nail hole or a big crack? Check the weather where you live. Wet areas need stronger fillers. Look for “paintable” on the label. Brands like Minwax and Bondo are great choices.
Table 1: Comparing Popular Exterior Paintable Wood Fillers
| Brand/Product | Type | Drying Time | Best For | Paintable? |
|---|---|---|---|---|
| Minwax Stainable | Water-based | 2-6 hours | Small holes, cracks | Yes |
| Bondo Wood Filler | Solvent-based | 15-30 min | Large gaps, decks | Yes |
| Gorilla Wood Filler | Water-based | 1-2 hours | Furniture, trim | Yes |
Caption: Compare top fillers to pick the best for your project.
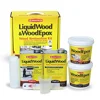
The complete two-step system for actual rot: liquid epoxy hardener plus filler in one kit.
- Best for: soft, punky, or crumbly wood — not just a clean crack or hole
- Why we picked it: includes both the consolidant and the filler, so you’re not guessing which to buy separately
- Main drawback: overkill for a simple nail hole in solid wood — use a basic filler for that instead


As an Amazon Associate, we earn from qualifying purchases.
How to Use Exterior Paintable Wood Filler: A Step-by-Step Guide
Using filler is fun and easy! I fixed my porch railing last summer. Here’s how you can do it:
- Clean the wood: Wipe away dirt or old paint. Use a damp cloth.
- Sand the area: Make it smooth with sandpaper. This helps the filler stick.
- Apply the filler: Use a putty knife to spread it. Press it into cracks.
- Smooth it out: Wipe away extra filler with a cloth.
- Let it dry: Check the label for drying time. Usually 15 minutes to 6 hours.
- Sand again: Make it super smooth. Use fine sandpaper.
- Paint it: Add paint to match your wood. It’ll look perfect!
Is It a Crack, or Is It Rot?
This is the step most DIY guides skip entirely, and it’s the real reason repairs fail within a season or two: filler only works if what’s underneath it is solid. Press a screwdriver into the wood around the damage. If it’s firm, you’re dealing with a clean crack or hole and any of the fillers above will work fine. If the screwdriver sinks in easily or the wood feels soft, spongy, or crumbly, that’s rot — and filler alone won’t fix it.
For actual rot, professionals use a two-step system: a liquid epoxy wood hardener (consolidant) first, then the filler. The hardener soaks into the soft, porous wood and cures it into a solid substrate. Skip this step and the filler sits on top of weak wood that keeps deteriorating underneath — the repair looks fine at first but typically delaminates within one or two freeze-thaw cycles. This single step is what separates a repair that lasts 10-20 years from one that fails in 2-3.
Tips for Success
Here are my favorite tips:
- Work in small batches. Some fillers dry fast!
- Wear gloves. It keeps your hands clean.
- Test paint on a small spot first. It ensures a good match.
Common Mistakes to Avoid
Don’t rush the job. Let the filler dry fully. Don’t use indoor fillers outside. They won’t last. Avoid piling on too much filler. It’s hard to sand. I learned this when I overfilled a fence post!
Table 2: Common Mistakes and How to Fix Them
| Mistake | Why It’s Bad | How to Fix It |
|---|---|---|
| Using indoor filler | Cracks in rain | Choose exterior-grade filler |
| Not sanding before | Filler won’t stick | Sand the area lightly |
| Painting too soon | Paint peels off | Wait for full drying time |
Caption: Avoid these mistakes for a perfect repair.
Benefits of Exterior Paintable Wood Filler
This filler is a game-changer. It’s easy to use. It hides ugly cracks. It saves money by fixing wood instead of replacing it. You can paint it any color. It’s tough against weather. My deck looks brand new after using it!
Drawbacks to Know
Some fillers smell strong. Solvent-based ones need special cleaners. Epoxy fillers are pricey. They can be hard to sand if you use too much. Pick the right one for your job to avoid trouble.
Alternatives to Consider
Not sure about wood filler? Try these:
- Caulk: Good for small gaps. It’s flexible but not sandable.
- Epoxy resin: Super strong for big repairs. Needs mixing.
- Wood glue with sawdust: Cheap but tricky to match colors.
I used caulk for tiny trim gaps. It worked great!
Personal Story: Fixing My Window Frame
Last year, my window frame had a big crack. Rain was getting in! I used Bondo Wood Filler. It dried in 20 minutes. I sanded it smooth and painted it white. It’s still perfect today. This stuff really works!
Table 3: Tools You’ll Need
| Tool | Why You Need It | Cost (Approx.) |
|---|---|---|
| Putty knife | Spreads filler evenly | $5-$10 |
| Sandpaper (120-grit) | Smooths wood and filler | $3-$5 |
| Paintbrush | Paints over filler | $2-$8 |
Caption: Basic tools for using exterior paintable wood filler.
Safety Tips
Always work in a well-ventilated area. Some fillers have strong fumes. Wear a mask if sanding a lot. Keep fillers away from kids. I always store mine in a locked shed.
Cost-Saving Ideas
Buy filler in small tubes for tiny jobs. Mix only what you need for epoxy fillers. Reuse sandpaper for multiple projects. I saved $10 by using leftover paint from another job!
Where to Buy
You can find fillers at hardware stores. Try Home Depot or Lowe’s. Online, Amazon has great deals. Check reviews to pick a trusted brand.
Conclusion
Exterior paintable wood filler is a lifesaver for outdoor projects. It’s easy, affordable, and makes wood look great. From fixing decks to saving window frames, it’s perfect for any skill level. Try it on a small project first. You’ll be amazed at the results! Share your projects in the comments. Let’s make our homes shine!
Frequently Asked Questions
What is exterior paintable wood filler made of?
It’s usually a mix of wood fibers, glue, or chemicals. Water-based fillers have wood flour and water. Solvent-based ones use stronger chemicals. They’re tough and stick to wood well. You can paint them to match your project.
Can I use interior wood filler outside?
No, it’s not a good idea. Interior fillers aren’t made for weather. They crack in rain or sun. Always use exterior paintable wood filler for outdoor jobs. It’s built to last.
How long does it take to dry?
Drying time depends on the filler. Water-based fillers take 1-6 hours. Solvent-based ones dry in 15-30 minutes. Epoxy fillers need 24 hours. Check the label for exact times.
Can I stain exterior paintable wood filler?
Some fillers take stain well, like Minwax Stainable Wood Filler. Others don’t. Check the label for “stainable.” Test on a small spot first. Painting is usually easier for a perfect match.
What’s the best filler for big holes?
Bondo Wood Filler is great for large holes. It dries hard and fast. Epoxy fillers like WoodEpox also work well. They’re strong and won’t shrink. Use them for deep cracks or rot.
How do I clean up after using it?
Water-based fillers clean up with soap and water. Solvent-based ones need mineral spirits. Wipe tools right away. I keep a damp cloth handy to clean messes fast.
Is it safe to use around kids?
Keep fillers away from kids. Some have strong chemicals. Work in a well-ventilated area. Store products in a safe place. I use a locked box to be extra careful.