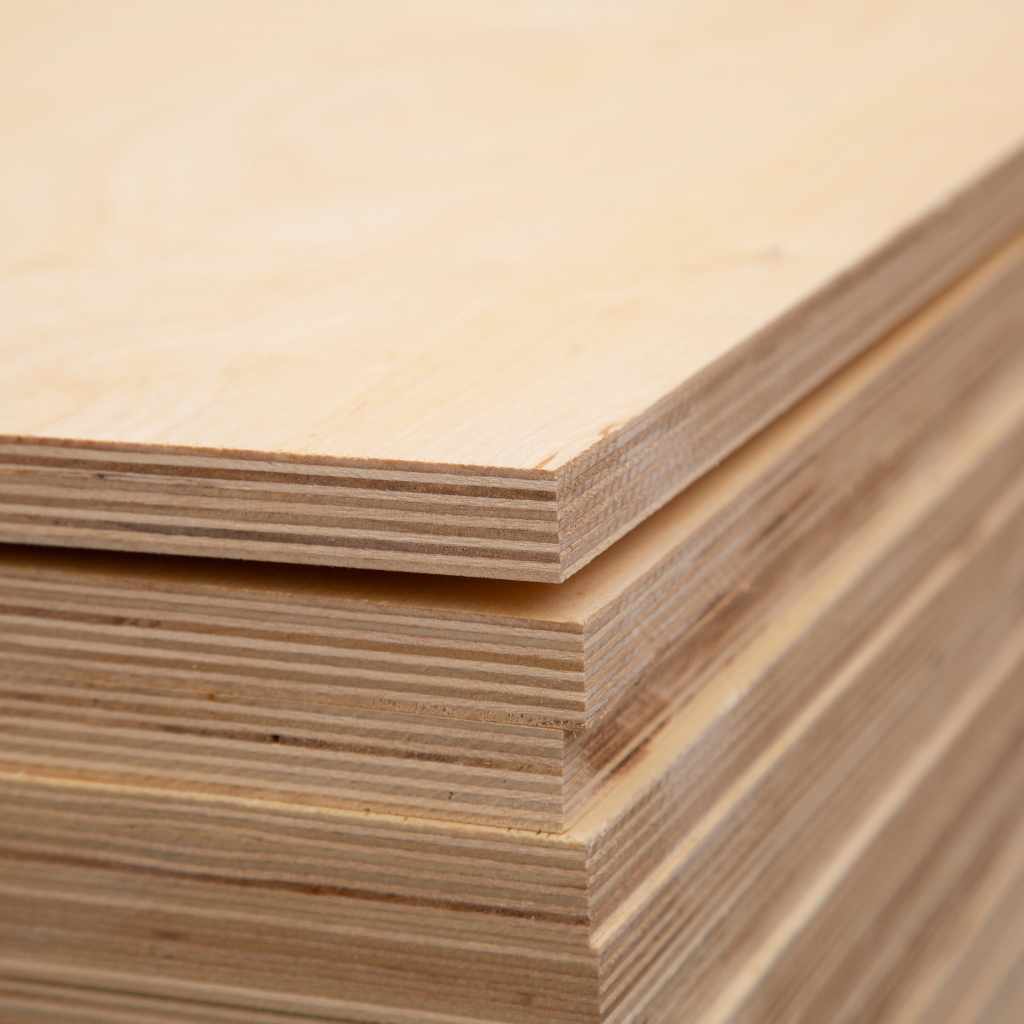
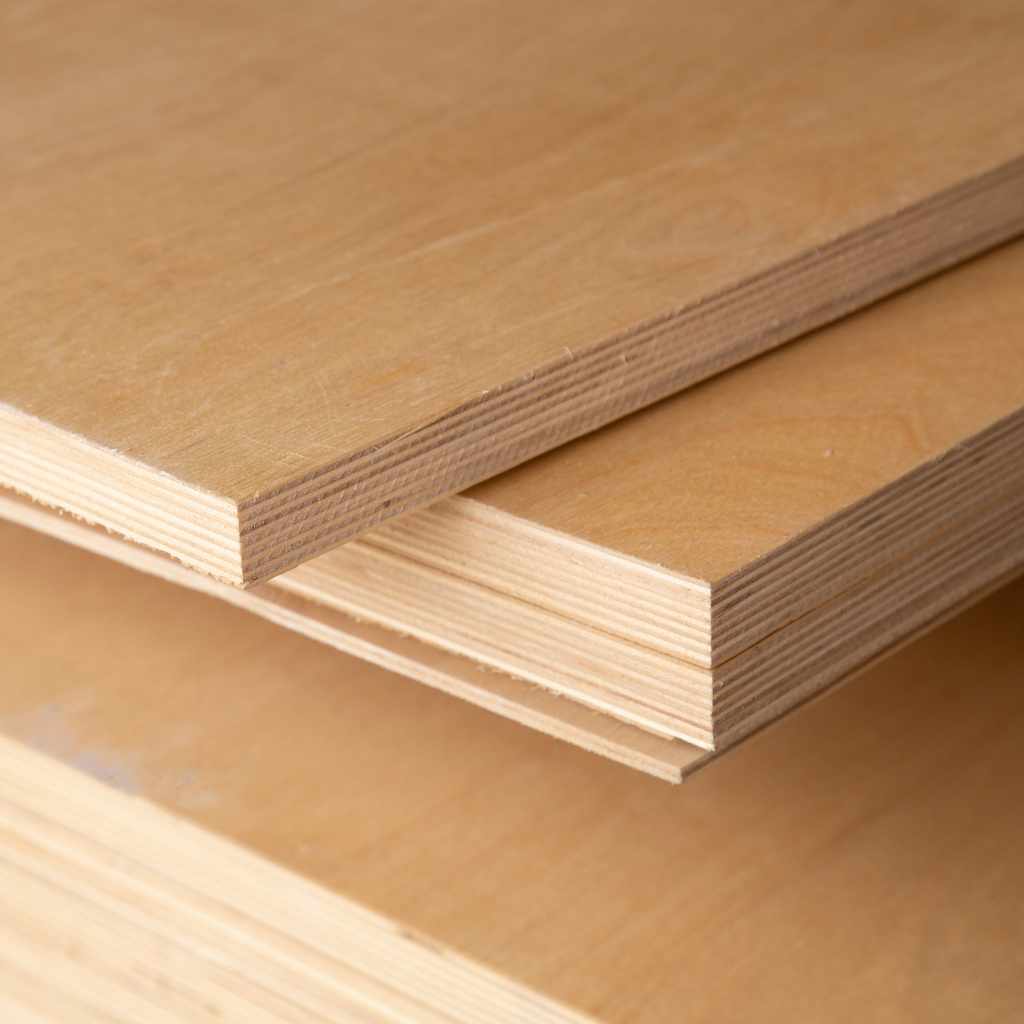
Cedar Plywood Project Panel: Ultimate Guide for Stunning Builds
Looking for the perfect material to bring your next project to life? Cedar plywood project panels might be exactly what you need.
They offer a unique blend of strength, beauty, and durability that can transform your work from ordinary to outstanding. Whether you’re building furniture, crafting decorative pieces, or working on outdoor projects, understanding how to choose and use cedar plywood can make all the difference.
Keep reading to discover why cedar plywood panels could be your secret weapon for success—and how to get the most out of them.
Benefits Of Cedar Plywood
Cedar plywood offers many benefits for your woodworking projects. It is a popular choice for both indoor and outdoor use. The wood combines strength with natural beauty. Its unique properties make it a smart option for various applications.
Explore the key advantages of cedar plywood to understand why it stands out.
Durability And Weather Resistance
Cedar plywood resists moisture and decay well. It holds up strongly against rain, sun, and snow. This makes it perfect for outdoor projects. The wood stays stable and does not warp easily. It lasts longer than many other plywood types.
Aesthetic Appeal And Grain Patterns
Cedar plywood has a warm, natural color. Its grain patterns add character and charm. Each panel shows unique lines and textures. This wood enhances the look of furniture and walls. It creates a cozy and inviting atmosphere.
Lightweight And Easy To Work With
This plywood is lighter than many hardwood options. It is easy to cut, shape, and nail. Beginners and experts find it simple to handle. The lightweight nature reduces strain during projects. It speeds up the building process.
Natural Pest Resistance
Cedar contains oils that repel insects naturally. This quality protects the wood from damage. Termites and other pests avoid cedar plywood. It reduces the need for chemical treatments. Your projects stay safe and strong longer.
Common Challenges And Solutions
Choosing the right cedar plywood is key for a successful project. Different types suit different needs. Understanding grades, thickness, wood type, and sustainability helps make the best choice. This guide breaks down these factors clearly.
Grades And Quality Levels
Cedar plywood comes in various grades. Higher grades have fewer knots and defects. They offer a smoother, cleaner surface. Lower grades may have more knots and imperfections. Choose higher grades for visible surfaces. Lower grades work well for hidden areas.
Thickness Options
Thickness affects strength and flexibility. Common thicknesses range from 1/4 inch to 3/4 inch. Thicker panels provide more support. Thinner panels bend easily and suit curved designs. Match thickness to your project needs for best results.
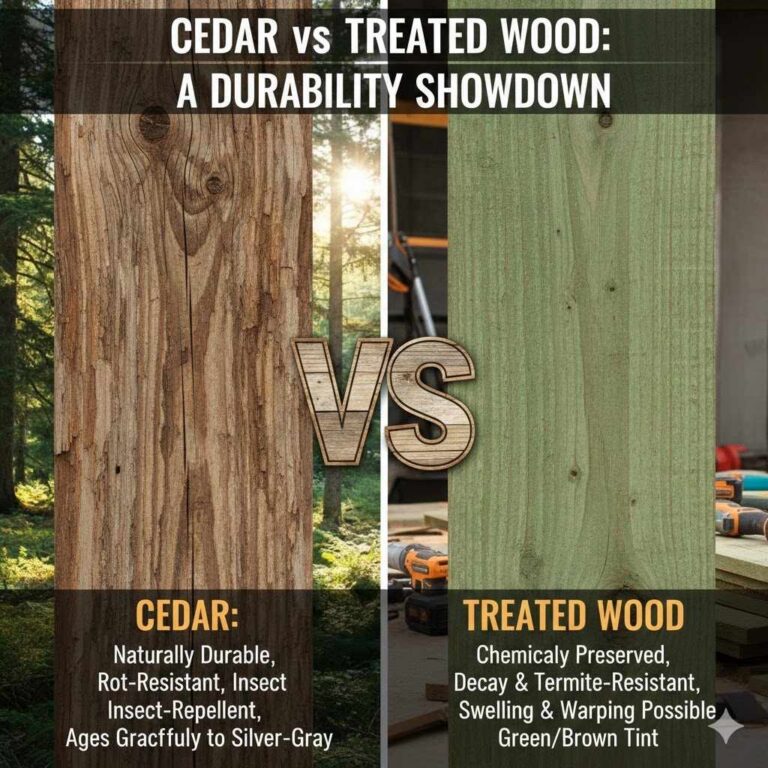
Types Of Cedar Used
Western Red Cedar and Alaskan Yellow Cedar are popular types. Western Red Cedar has a warm, reddish color. It resists decay and insects well. Alaskan Yellow Cedar is lighter in color and very durable. Both types work well outdoors and indoors.
Sustainability And Sourcing
Sustainable sourcing ensures healthy forests and quality wood. Look for certifications like FSC or SFI. These show wood comes from well-managed forests. Buying sustainably sourced cedar plywood protects the environment. It also guarantees long-lasting, reliable panels.
Tools And Materials Needed
Starting a cedar plywood project panel requires the right tools and materials. These help make the work easier and the results better. Using the proper items ensures safety and quality in your project. Below is a list of essential tools and supplies you need to gather before you begin.
Cutting And Shaping Tools
Sharp saws are important for clean cuts. A circular saw or jigsaw works well on cedar plywood. Sandpaper or a power sander smooths rough edges and surfaces. Measuring tape and a pencil help mark exact cutting lines. A straight edge or ruler guides precise cuts and shapes.
Fasteners And Adhesives
Wood screws hold panels firmly together. Choose screws that resist rust and corrosion. Wood glue strengthens joints and adds durability. Clamps keep pieces tight while glue dries. Nails can be used but screws provide better hold.
Finishing Supplies
Wood stain enhances the natural look of cedar. Use brushes or rags to apply stain evenly. Clear sealant or varnish protects the wood from moisture. Allow each coat to dry before applying the next. Finish supplies improve both appearance and lifespan.
Safety Equipment
Safety glasses protect your eyes from sawdust and debris. Ear protection reduces noise from power tools. Dust masks prevent inhaling fine particles. Gloves protect your hands from splinters and cuts. Always wear safety gear to avoid accidents.
Preparing Cedar Plywood For Projects
Preparing cedar plywood for your projects sets a strong base. Proper preparation helps achieve smooth cuts and clean finishes. It also protects the wood during work and storage. Taking time to measure, cut, sand, and store correctly ensures better results.
Follow these simple steps to handle cedar plywood with care. This will make your project easier and improve the final look of your work.
Measuring And Marking
Use a tape measure for precise dimensions. Mark lines with a pencil or chalk on the smooth side. Double-check measurements before cutting. Clear marks guide accurate cuts and reduce mistakes.
Cutting Techniques
Use a fine-tooth saw for clean cuts. A circular saw or jigsaw works well for cedar plywood. Cut slowly to avoid splintering. Keep the plywood supported to prevent bending or cracking during cuts.
Sanding And Smoothing
Start sanding with medium-grit sandpaper. Move to fine-grit for a smooth finish. Sand along the grain to avoid scratches. Smooth edges and surfaces improve stain and paint absorption.
Handling And Storage Tips
Keep cedar plywood flat and dry during storage. Store horizontally on a flat surface to prevent warping. Avoid placing heavy objects on top. Use protective covers to shield from dust and moisture.
Design Ideas For Cedar Plywood Projects
Cedar plywood is a versatile material for many projects. Its natural beauty and durability make it ideal for creative designs. This wood panel adds warmth and style to any space.
Explore simple and practical ideas to use cedar plywood. These projects fit indoor and outdoor spaces. They bring a fresh look with easy DIY steps.
Outdoor Furniture
Cedar plywood is great for outdoor furniture. It resists moisture and insects well. Build benches, tables, or chairs with smooth edges. A natural finish keeps the wood looking fresh. Lightweight pieces are easy to move around. Perfect for patios or garden spots.
Wall Panels And Accents
Use cedar plywood to create stunning wall panels. Add texture and warmth to plain walls. Cut panels in geometric shapes or simple planks. Stain or paint to match your room’s style. Accent walls become cozy and unique. Ideal for living rooms or bedrooms.
Storage Solutions
Build storage units with cedar plywood for a neat space. Shelves, boxes, and cabinets work well. The wood’s strength supports heavy items safely. Customize sizes to fit closets or corners. Stylish storage helps keep rooms tidy and organized.
Decorative Crafts
Cedar plywood suits small craft projects too. Make picture frames, coasters, or signs. Its grain adds natural charm to decorations. Sand the surface smooth for a fine finish. Paint or carve simple designs for a personal touch. Great for gifts or home accents.
Assembly And Construction Tips
Working with cedar plywood project panels requires care during assembly and construction. Proper techniques ensure strong, lasting results. This section shares easy tips for building with cedar plywood. Follow these steps to avoid common problems and create a polished project.
Joinery Methods
Choose joinery methods that fit your project’s needs. Butt joints work for simple frames but add screws or nails for strength. For better hold, try tongue and groove or rabbet joints. These joints lock panels tightly and prevent gaps. Use wood glue with fasteners for extra bond.
Securing Panels
Secure cedar plywood panels with the right fasteners. Use stainless steel or coated screws to avoid rust. Space fasteners evenly, about every 6 to 8 inches along edges. Pre-drill holes to stop wood from splitting. Countersink screws to keep surfaces smooth and neat.
Preventing Warping
Prevent warping by storing panels flat and dry before use. Avoid exposure to moisture and direct sunlight. Seal both sides of the plywood with finish or paint. This balances moisture absorption and reduces bending. Attach panels firmly to a stable frame to keep them flat.
Working With Corners And Edges
Handle corners and edges carefully to avoid damage. Sand edges smooth to prevent splinters. Use corner clamps during assembly to keep angles perfect. Apply edge banding or trim for a clean look. Protect edges with sealant to stop water damage and wear.
Finishing And Maintenance
Finishing and maintenance are key to keeping cedar plywood project panels looking good. Proper care helps protect the wood and extends its life. Simple steps can keep the panels strong and beautiful for years.
Staining And Sealing Options
Staining cedar plywood adds color and highlights the wood grain. Choose stains that suit your style and protect the wood. Sealing the panel after staining blocks water and dirt. Use a clear or tinted sealer for better protection. Always apply stain and sealer in thin, even coats.
Protecting Against Moisture
Moisture can cause cedar plywood to warp or rot. Keep panels dry by placing them away from water sources. Use waterproof sealants to create a strong barrier. Check edges and corners for cracks where water can enter. Cover panels during heavy rain or snow for extra safety.
Regular Cleaning Routines
Clean cedar plywood regularly to remove dust and grime. Use a soft brush or cloth to avoid scratching. Mild soap and water work best for cleaning. Rinse with clean water and let the panel dry fully. Avoid harsh chemicals that can damage the wood finish.
Repairing Damage
Fix small scratches and dents quickly to prevent bigger problems. Light sanding smooths out rough spots. Use wood filler for deeper holes or cracks. Reapply stain and sealer after repairs to keep the look uniform. Regular checks help catch damage early and keep panels strong.
Common Challenges And Solutions
Cedar plywood project panels are popular for many projects. They offer a natural look and durability. Yet, some common challenges can arise during use. Understanding these issues helps keep your project strong and beautiful. Here are common problems and easy solutions.
Dealing With Splintering
Splintering happens when the wood fibers break unevenly. It makes the surface rough and unsafe. To avoid splintering, use sharp cutting tools. Cut slowly and steadily to get clean edges. Sand the edges gently after cutting. This smooths the surface and removes small splinters.
Avoiding Delamination
Delamination occurs when layers of plywood separate. It weakens the panel and looks bad. Keep plywood dry to prevent this problem. Store panels in a dry place, away from water. Use waterproof glue if you join pieces. Press the layers firmly during assembly for a strong bond.
Handling Color Fading
Cedar plywood can lose its color over time. Sunlight and weather cause fading. Apply a clear sealant or wood finish to protect color. Choose a product with UV protection for best results. Reapply the finish every year or two. This keeps the wood looking fresh and bright.
Fixing Surface Imperfections
Surface flaws like dents or scratches are common. Use wood filler to repair small holes and cracks. After filling, sand the area smooth. For larger damage, replace the affected section if possible. Finish with paint or stain to match the rest of the panel.

Frequently Asked Questions
What Is Cedar Plywood Project Panel Used For?
Cedar plywood project panels are ideal for furniture, cabinetry, and decorative projects. They provide durability and natural resistance to decay.
How Does Cedar Plywood Compare To Other Plywood Types?
Cedar plywood is lighter and more resistant to moisture than most plywood. Its natural oils prevent rot and insect damage effectively.
Can Cedar Plywood Project Panels Be Painted Or Stained?
Yes, cedar plywood can be easily painted or stained. Its smooth surface ensures good adhesion and a beautiful finish.
What Are The Benefits Of Using Cedar Plywood Panels?
Cedar plywood offers excellent strength, lightweight design, and natural resistance to moisture. It also has a pleasant aroma and attractive grain.
Conclusion
Cedar plywood project panels offer strength and natural beauty. They work well for many outdoor and indoor tasks. You get a wood that resists weather and lasts long. Easy to cut and shape, it fits any design. Choose cedar plywood for a durable, attractive finish.
It makes your project look professional and neat. Trust cedar plywood to meet your building needs well. Simple, strong, and reliable wood for all projects.