Cedar Wood Boards: Sizes, Grades and Uses
Cedar wood boards are sold by nominal size, not actual size — a “1×6” board measures just 3/4 by 5-1/2 inches once milled and dried. Buying the wrong grade (knotty instead of clear, or an undersized structural grade) can mean early cracking or a failed inspection. This guide covers exact nominal-to-actual dimensions, how cedar grades differ, and which size and grade fit fences, decking, siding, and furniture.
Quick Answer
For fences and siding, use 1×6 boards (actual 3/4 x 5-1/2 in.) in Select Tight Knot grade — it balances cost and appearance. For decking, use 5/4×6 boards (actual 1 x 5-1/2 in.) rated for ground contact if the deck sits low. Save Clear/Select grade for visible furniture and trim where every knot shows.
Cedar Board Sizes: Nominal vs. Actual Dimensions
Best Cedar Sealer Pick
Ready Seal 112 Stain and Sealer – Natural Cedar, 1 Gallon
A one-coat, no-lap oil-based stain-and-sealer combo formulated to match cedar’s natural tone rather than fight it.
- Best for: fences, decks, and siding where you want the sealer and color step done in one pass
- Why we picked it: penetrating oil-based formula, no lap marks on re-coats, no sanding needed between applications
- Main drawback: oil-based finishes need yearly reapplication in full-sun climates
Compare more cedar sealer options
 Option 1 Ready Seal Turbo Spray – Natural Cedar
|
 Option 2 Thompson’s WaterSeal Semi-Transparent – Natural Cedar
|
 Option 3 SEAL-ONCE Nano+Poly – Cedar Wood Sealer/Waterproofer
|
As an Amazon Associate we earn from qualifying purchases.
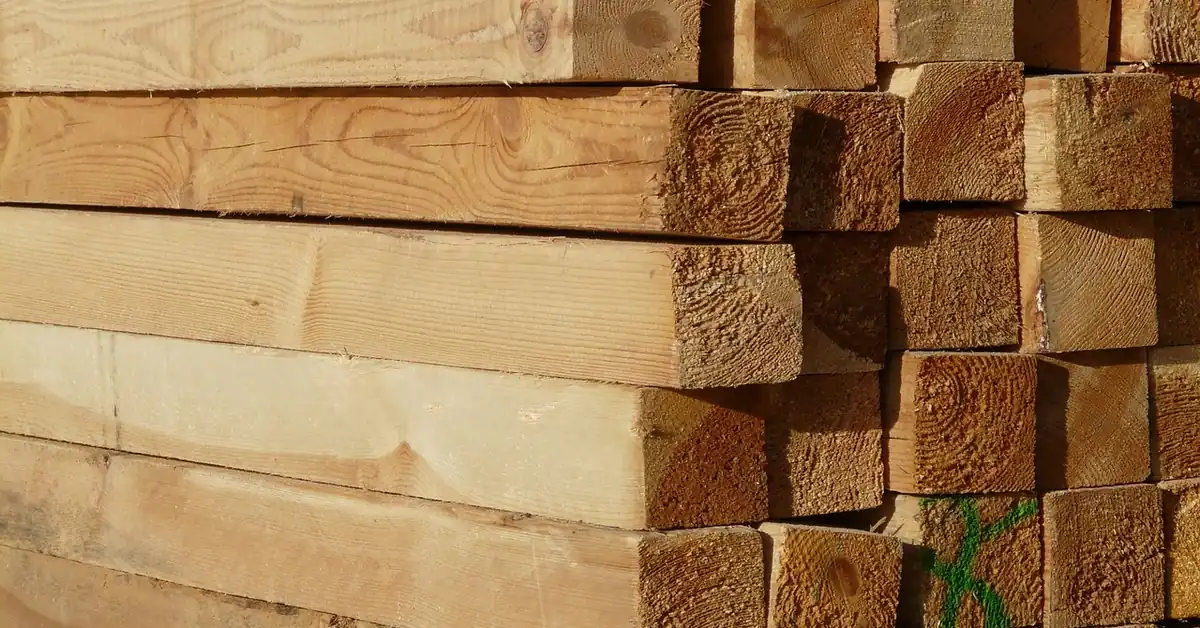
Cedar lumber is milled and kiln-dried after it’s cut, so every board loses roughly 1/4 to 1/2 inch off each face. The number stamped on the price tag (1×6, 2×4) is the nominal size — the rough-cut size before drying and planing. The actual size is what you measure with a tape at the store, and it’s always smaller. Mixing these up is the most common reason a DIY cut list comes up short.
| Nominal Size | Actual Size (inches) | Common Use |
|---|---|---|
| 1×4 | 3/4 x 3-1/2 | Trim, cap boards, small projects |
| 1×6 | 3/4 x 5-1/2 | Fence pickets, siding |
| 1×8 | 3/4 x 7-1/4 | Wide siding, shelving |
| 2×4 | 1-1/2 x 3-1/2 | Framing, furniture legs, planters |
| 2×6 | 1-1/2 x 5-1/2 | Deck joists, benches, raised beds |
| 5/4×6 | 1 x 5-1/2 | Decking boards (walking surface) |
For a full breakdown of what cedar costs per board and per project size, see our cedar wood cost guide — prices are quoted per board foot or linear foot depending on the yard, and nominal-vs-actual sizing is exactly why two boards priced the same can hold noticeably different amounts of wood.
Cedar Board Grades Explained
Cedar grade is a lumber-mill rating that describes how many knots, checks, and surface imperfections a board has — it is not the same thing as species or size. Appearance grades run from knot-free Clear down to rustic Knotty; structural grades (No. 1 through No. 5) rate a thicker board’s ability to carry weight. Most retail cedar boards are never labeled with the full mill grade name, so knowing what to look for on the shelf matters more than memorizing a chart.
| Grade | What You’ll See | Best For |
|---|---|---|
| Clear / Select (VG) | Virtually knot-free, straight vertical grain | Visible furniture, trim, high-end siding |
| Select Tight Knot | Small, tight, sound knots only | Fences, decks, most DIY builds |
| Quality Knotty | More/larger knots, occasional small holes | Rustic paneling, garden structures, budget builds |
| Structural No. 1 | 2″+ thick, fewer/smaller knots, load-rated | Posts, beams, load-bearing framing |
| Structural No. 2 | 2″+ thick, larger knots allowed, still load-rated | Deck framing, non-critical structural use |
Rule of thumb: if the board will be touched, sat on, or seen up close — a tabletop, a bench seat — pay for Clear or Select Tight Knot. If it’s going under a deck or behind a fence line where nobody looks closely, Quality Knotty saves real money with no functional downside.
Cedar Wood Treatment and Maintenance
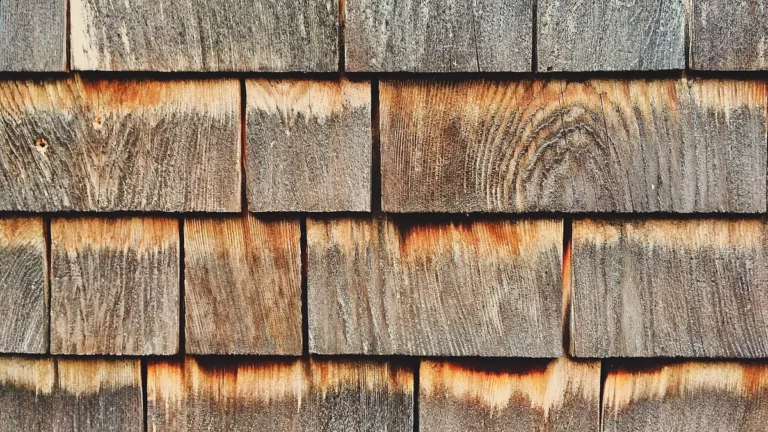
Untreated cedar left outdoors turns silver-gray within 6–12 months as UV light breaks down the surface lignin — this doesn’t weaken the wood, but it does strip the reddish-brown color most buyers want. A UV-inhibiting oil or stain, reapplied every 1–3 years depending on sun exposure, keeps the color and adds water resistance. Clean the board first with a soft-bristle brush and mild detergent; a pressure washer set too high will splinter cedar’s soft grain.
Oils penetrate deepest and look most natural but need yearly reapplication in full sun. Stains last longer and add color control. Sealers/waterproofers protect longest (up to 3–5 years) but leave more of a film finish rather than a natural look — pick based on how much maintenance you want to do versus how much of the wood grain you want visible.
Why Builders Choose Cedar Wood Boards
Cedar’s natural oils (thujaplicins) make it resistant to rot and insects without chemical treatment — the same compounds that give cedar its scent also make it unappetizing to termites and carpenter ants. Combined with a low shrinkage factor that resists warping, this is why cedar shows up in decks, fences, siding, and closets more than almost any other softwood.
Types of Cedar Wood Boards
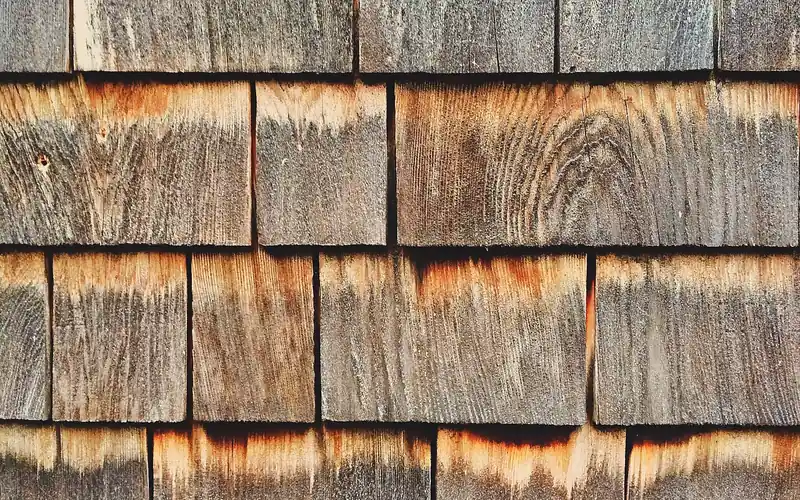
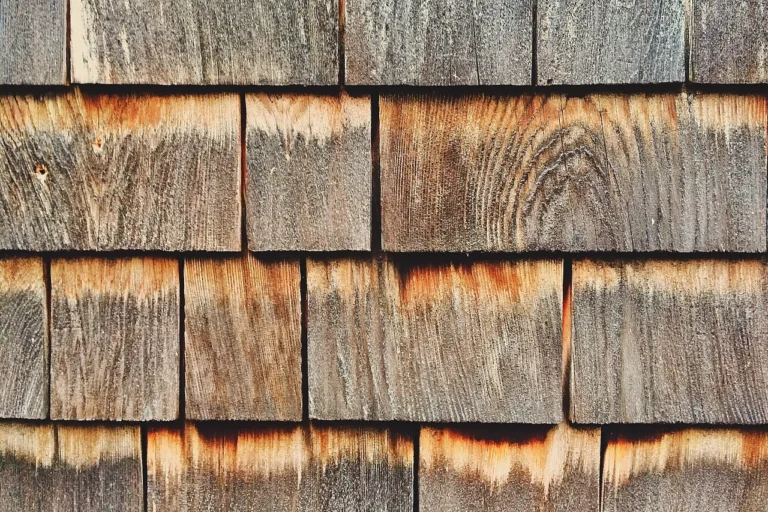
Most boards sold as “cedar” in the U.S. are one of two species. Western Red Cedar is the reddish-brown, aromatic option most common on the West Coast and at big-box stores nationally — it’s the default choice for decking, siding, and fencing. Eastern White Cedar (Northern White Cedar) is paler, straighter-grained, and more common in the Northeast and Canada — it’s the traditional choice for shingles and closet lining. Structurally both perform similarly; the choice usually comes down to regional availability and color preference.
For a specific dimension breakdown, see our cedar wood 2×4 sizing guide, or our broader cedar wood overview if you’re still deciding whether cedar is the right species for your project at all.
Tools and Equipment for Cutting Cedar
Cedar is soft and prone to tear-out, so blade choice matters more than blade power. A carbide-tipped blade with 40–60 teeth gives the cleanest cut on a circular saw, miter saw, or table saw. For sanding, start at 80-grit and work up to 220-grit; apply a wood conditioner before staining so the finish absorbs evenly — cedar’s soft, uneven grain otherwise blotches with some oil-based stains.
- Circular saw or miter saw with a 40–60 tooth carbide blade
- Random orbital sander and 80–220 grit sandpaper
- Wood conditioner (for even stain absorption)
- Dust mask/respirator and safety goggles
How to Build a Simple Cedar Garden Planter
A planter box is the easiest first project for testing a cedar board’s workability before committing to a larger build like a fence or deck. Use 2×6 (actual 1-1/2 x 5-1/2 in.) Select Tight Knot boards for the walls — thick enough to hold soil weight without warping.
- Cut the boards to length: cut four 2×6 cedar boards to your chosen box length, and four more to the box width, using a miter saw for square ends.
- Cut the corner posts: cut four 2×2 cedar posts a few inches taller than the box height so the box has legs for drainage airflow.
- Assemble the frame: screw the side boards to the corner posts with weather-resistant deck screws, stacking boards to reach your desired wall height.
- Add a bottom: attach 1×4 slats across the bottom with small gaps between them for drainage, or use landscape fabric instead.
- Sand and finish: sand all edges to 220-grit, then apply a UV-inhibiting sealer to the outside and let it cure fully before adding soil.
- Fill and plant: line the interior with landscape fabric if desired, fill with soil, and plant.
Design Ideas With Cedar Boards
Beyond fences and decks, cedar boards are a popular choice for interior accent walls and built-in furniture. Varying board widths or angling the boards in a herringbone pattern adds visual texture to an otherwise flat wall. For furniture, cedar’s light weight and workability make it forgiving for a first coffee-table or shelving build — just seal interior pieces with a low-VOC, matte finish rather than an exterior-rated stain.
Safety Tips for Working With Cedar
Cedar dust is a known respiratory and skin irritant for a meaningful share of woodworkers — work in a ventilated space or outdoors, and wear a dust mask or respirator, safety goggles, and gloves when cutting or sanding. If you notice recurring congestion or a skin reaction after working with cedar, that’s a sign to switch to full respirator protection or source a different species.
Frequently Asked Questions
What is the actual size of a cedar 1×6 board?
A cedar 1×6 measures 3/4 by 5-1/2 inches once milled and dried — not a full 1 by 6 inches. The “1×6” is the nominal size, not the actual cut size.
What’s the difference between clear and knotty cedar?
Clear (Select) cedar is virtually knot-free with a smooth, uniform grain, used for visible furniture and premium siding. Knotty cedar has visible knots and costs less — it’s the standard choice for fences and decks where the surface won’t be closely inspected.
Is No. 1 or No. 2 structural cedar better for a fence?
For a standard residential fence, No. 2 structural cedar is sufficient and less expensive — fences carry wind load, not heavy weight. Reserve No. 1 grade for load-bearing posts and beams where fewer, smaller knots matter for strength.
What size cedar board is best for a fence?
1×6 boards (actual 3/4 x 5-1/2 in.) in Select Tight Knot grade are the standard for fence pickets — thick enough to resist warping, thin enough to keep material costs reasonable.
How much does a cedar board cost?
Cedar board pricing depends heavily on grade and size; see our full cedar wood cost guide for current per-board-foot pricing by grade.
Is cedar tougher than pine?
Cedar is more decay- and insect-resistant than pine due to its natural oils, but pine is often mechanically stronger per square inch. For outdoor, moisture-exposed applications cedar typically outlasts untreated pine; for indoor structural framing, pine is usually the more cost-effective structural choice.
Cedar wood boards reward buyers who know the difference between nominal and actual sizing and between appearance and structural grades — getting either wrong is the most common source of DIY budget overruns and cut-list surprises. Match the grade to how closely the board will be seen, the size to the load it needs to carry, and a UV-rated finish to how much upkeep you’re willing to do, and cedar will outlast most other softwood options outdoors.
Sponsored / affiliate links. As an Amazon Associate I earn from qualifying purchases. I may earn additional commission from eligible campaigns.