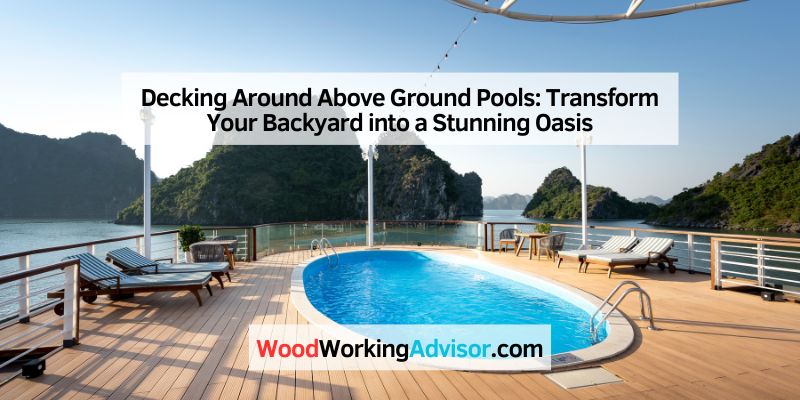
Decking Around Above Ground Pools: Transform Your Backyard into a Stunning Oasis
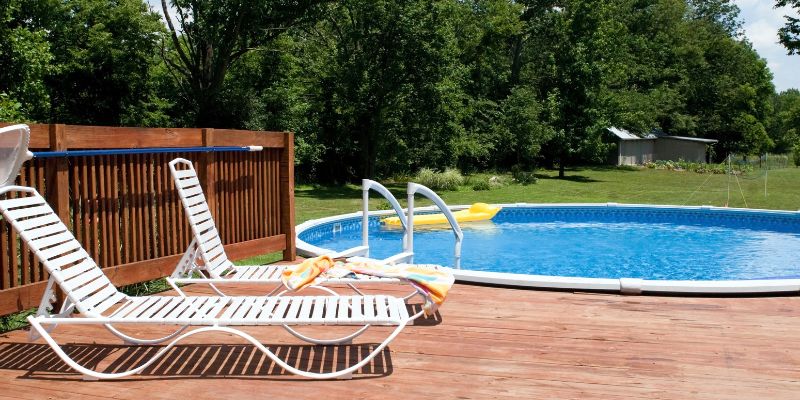
When I first got my above-ground pool, it was a game-changer for summer fun. But climbing up a wobbly ladder to get in and out? Not so fun. That’s where a deck comes in. It makes your pool easier to access, safer for everyone, and way more inviting. A deck gives you a place to lounge, soak up the sun, or host a barbecue without tracking grass into the pool. Plus, it hides the pool’s plain exterior, blending it seamlessly into your backyard.
A deck can also boost your home’s value. I’ve noticed that homes with well-designed pool decks stand out in the neighborhood. They scream “backyard paradise” and make your property feel more like a resort. Whether you’re hosting pool parties or just chilling with family, a deck creates a dedicated space for relaxation and fun. It’s like adding an outdoor living room to your home.
Planning Your Pool Deck: Where to Start
Before you grab a hammer, you need a solid plan. Trust me, I learned this the hard way when I started sketching ideas without measuring my yard. First, think about how you’ll use the deck. Do you want a small platform for easy pool access, or a wrap-around deck for entertaining? I sketched out a few ideas on graph paper, which helped me visualize the size and shape.
Next, measure your pool and yard. My pool is a 21-foot round model, so I needed enough space for a deck that wouldn’t crowd the yard. Consider the pool’s shape—round, oval, or rectangular—and how the deck will fit around it. For curved pools, you’ll need extra planning to frame the deck boards properly. I also checked my local building codes, which dictate things like railing height and gap sizes. It’s a pain, but it keeps your deck safe and legal.
Don’t forget about the ground. My yard had a slight slope, so I had to level it out before building. If your yard isn’t flat, you might need to dig or add fill material. I used a level to check the ground and ended up renting a small excavator for a weekend. It was worth it to avoid a wobbly deck later.
Choosing the Right Materials for Your Deck
Picking the right material is a big decision. I spent weeks researching options, and each one has its pros and cons. Here’s a quick breakdown of the most popular choices:
| Material | Pros | Cons |
|---|---|---|
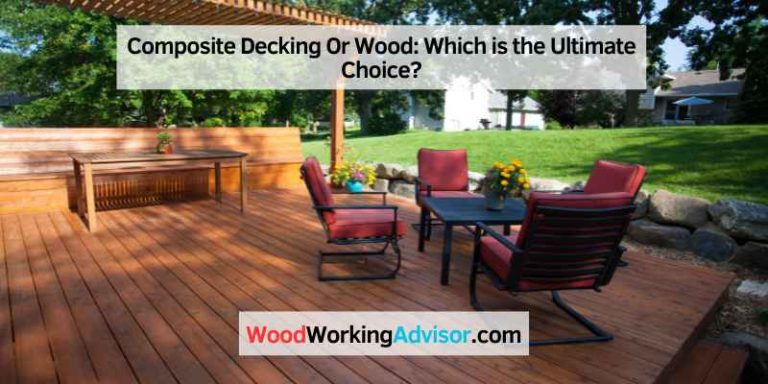
| Pressure-Treated Wood | Affordable, durable, naturally slip-resistant, customizable | Requires regular sealing, can splinter or warp over time |
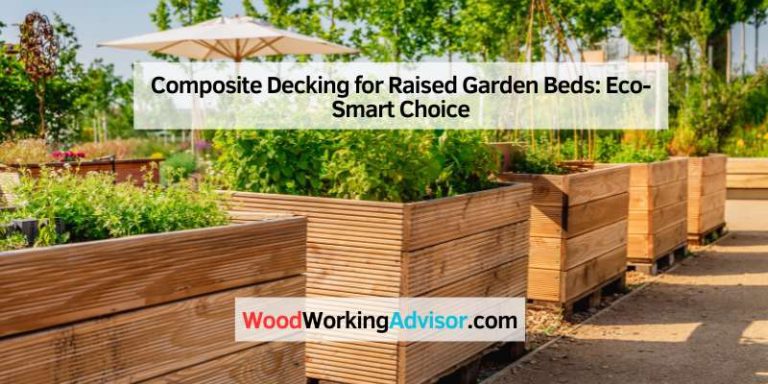
| Composite Decking | Low maintenance, weather-resistant, no splintering, modern look | More expensive, can get hot in direct sun |
| PVC Decking | Lightweight, durable, low maintenance, resistant to moisture | Limited color options, can feel less natural than wood |
| Aluminum Decking | Extremely durable, rust-resistant, lightweight, low maintenance | Higher cost, less common, metallic look may not suit all yards |
I went with pressure-treated wood for my deck because it fit my budget and I love the natural look. To make it last, I coated the posts with a wood preservative and sealed the deck boards with a weather-resistant stain. If you’re low on time for maintenance, composite or PVC might be better. My neighbor chose composite decking, and it looks sleek with zero upkeep.
Consider your climate, too. I live in a humid area, so moisture resistance was key. If you’re in a sunny spot, look for materials that won’t overheat. Aluminum is great for durability, but it’s pricier. Weigh your budget, style, and maintenance preferences before deciding.
Designing Your Deck for Style and Function
The design phase is where the fun begins. I wanted my deck to feel like an extension of my home, so I chose a wrap-around style that surrounds the entire pool. It gives me plenty of space for lounge chairs and a small table for drinks. If space or budget is tight, a partial deck on one side works just as well. I’ve seen friends with smaller decks that still look amazing and provide easy pool access.
Think about the vibe you’re going for. I added a pergola to one corner of my deck for shade, and it’s now my favorite spot to read. You could incorporate built-in benches, planters, or even a fire pit for evening gatherings. Multi-level decks are another option if you want separate areas for lounging and dining. My friend built a two-tier deck with stairs leading to a lower patio, and it feels like a luxury resort.
Safety is non-negotiable. I installed railings around the deck’s perimeter, making sure they were at least 36 inches high to meet local codes. A self-closing gate at the stairs keeps kids and pets safe. I also added non-slip strips to the deck boards since wet feet can make things slippery. Aligning the deck with the pool’s coping (the edge that holds the liner) was tricky but worth it for a seamless look. I left a 1/8-inch gap between the deck and coping to avoid injuries.
Building the Deck: Step-by-Step
Building the deck was the most rewarding part, though it took some sweat and patience. Here’s how I did it, step by step:
- Prepare the Ground: I cleared the area of grass, rocks, and debris. Using a level, I made sure the ground was as flat as possible. For my sloped yard, I added fill dirt and compacted it to create a stable base.
- Set the Footings: I used precast concrete piers with sockets for 4×4 posts. These are easier than pouring concrete footings and work well for above-ground pool decks. I placed them about 4 feet apart, following my local code’s guidelines.
- Install Posts and Frame: I set 4×4 posts into the piers, making sure they were plumb (perfectly vertical). Then, I built the frame using 2×6 boards for the joists. I double-checked measurements to ensure the frame aligned with the pool’s edge.
- Lay the Deck Boards: I used pressure-treated deck boards, leaving a 1/8-inch gap between each for drainage. For a clean look, I notched the boards around the guardrail posts, leaving a 1/4-inch gap for expansion.
- Add Railings and Stairs: I installed railings with balusters spaced no more than 4 inches apart to meet safety codes. The stairs were wide enough for comfortable access, with handrails on both sides.
- Finish the Deck: I sanded the boards to remove rough spots and applied a weather-resistant sealant. This step is crucial for protecting the wood from water and sun damage.
If you’re not a DIY pro, don’t worry. I hired a contractor to help with the framing because I wanted it done right. If you go this route, get quotes from at least three professionals and check their references.
Safety Features to Prioritize
Safety is a big deal when you’ve got a pool and a deck. I have kids, so I made sure my deck was as safe as possible. Railings are a must, especially if your deck is elevated. Mine are 42 inches high, which is taller than the minimum code but gives me peace of mind. I also installed a self-closing gate at the top of the stairs to keep little ones from wandering in.
Non-slip surfaces are critical. I added textured strips to the deck boards and stairs to prevent slips when things get wet. Lighting is another game-changer. I put solar-powered LED lights along the railings and steps, making it easy to see at night. It also adds a cozy ambiance for evening swims.
Finally, keep the gap between the deck and pool coping minimal—mine is 1/8 inch. This prevents toes from getting stuck and keeps the look clean. Check your local codes for specific requirements, as they vary by area.
Enhancing Your Deck with Landscaping
A deck alone is great, but landscaping takes it to the next level. I added potted plants and shrubs around my deck to soften the edges and make it feel like a natural oasis. Bright flowers like marigolds and petunias add pops of color, while evergreen shrubs provide year-round greenery.
Gravel or stone borders are another smart choice. I laid a gravel path around part of my pool to improve drainage and add texture. It’s low-maintenance and looks polished. If you want privacy, consider a tall fence or native shrubs. I planted some fast-growing arborvitae along one side, and it’s already creating a nice screen.
Be careful with plants near the pool. I learned the hard way that chlorinated water can damage flower beds, so I keep them a safe distance away. Hawkinsg the pool with a wooden deck. It’s a practical and stylish way to make your backyard feel like a resort, and with a bit of planning, you can create a space you’ll love for years to come.
FAQs
What is the best material for a deck around an above-ground pool?
It depends on your budget and preferences. Pressure-treated wood is affordable and durable but needs regular maintenance. Composite decking is low-maintenance and weather-resistant but pricier. PVC and aluminum are also durable and low-maintenance, with aluminum being the most expensive. Consider your climate and how much upkeep you’re willing to do.
Do I need a permit to build a deck around my pool?
In many areas, yes. Above-ground pools often don’t require permits, but adding a deck usually does because it’s considered a permanent structure. Check with your local municipality for specific requirements, as codes vary.
How much does it cost to build a pool deck?
Costs vary widely based on size, materials, and labor. A small DIY deck with pressure-treated wood might cost $1,500-$3,000. Larger decks or those using composite materials can range from $5,000 to $15,000 or more. Hiring a contractor adds labor costs, which can be $30-$50 per hour.
Can I build a deck around a curved pool?
Yes, but it’s trickier. You’ll need to plan the framing carefully to support the deck board overhang. This might increase material and labor costs. Consult a professional for advice on curved designs to ensure stability.
How do I make my pool deck safe for kids?
Install railings at least 36 inches high, with balusters no more than 4 inches apart. Add a self-closing gate at the stairs. Use non-slip surfaces or strips on deck boards and stairs. Ensure the gap between the deck and pool coping is minimal to prevent injuries.
How do I maintain a wooden pool deck?
Seal pressure-treated wood every 1-2 years with a weather-resistant sealant. Clean the deck regularly to remove dirt and debris. Inspect for splinters or loose boards and fix them promptly. Composite, PVC, or aluminum decks need less maintenance—just occasional cleaning with soap and water.