Staining Treated Wood Decks: Pro Tips for Rich Color
Treated wood only takes stain evenly once its moisture content drops to 15% or less — stain applied over wetter lumber beads up, blotches, or peels within a season. Skipping that check is the single biggest reason DIY deck stain jobs turn out patchy. This guide covers cleaning and sanding prep, picking the right stain type and base, the coat-by-coat application process, and how to confirm your treated lumber is actually ready to stain.
Preparing Your Deck for Staining
Best Moisture Meter Pick
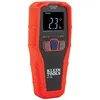
Klein Tools ET140 Pinless Moisture Meter
Reads moisture up to 3/4 inch below the surface without putting pin holes in your new deck boards.
- Best for: checking finished or expensive decking without marking the wood
- Why we picked it: non-destructive reading, trusted brand, fast to use before staining
- Main drawback: pinless meters are slightly less precise than pin-type on rough lumber
Compare more moisture-testing and prep options
 Option 1 General Tools MMD4E Pin Meter
|
 Option 2 TopTes TS-630 Budget Meter
|
 Option 3 Restore-A-Deck Wood Brightener
|
As an Amazon Associate we earn from qualifying purchases.
Before any staining can happen, your deck needs to be prepped. This is the most important step for a great result. If you skip this part, your stain might not stick well or could end up looking blotchy.
Think of it like cleaning a canvas before you paint it. A clean, smooth surface is key for beautiful, even color.
Cleaning Your Deck
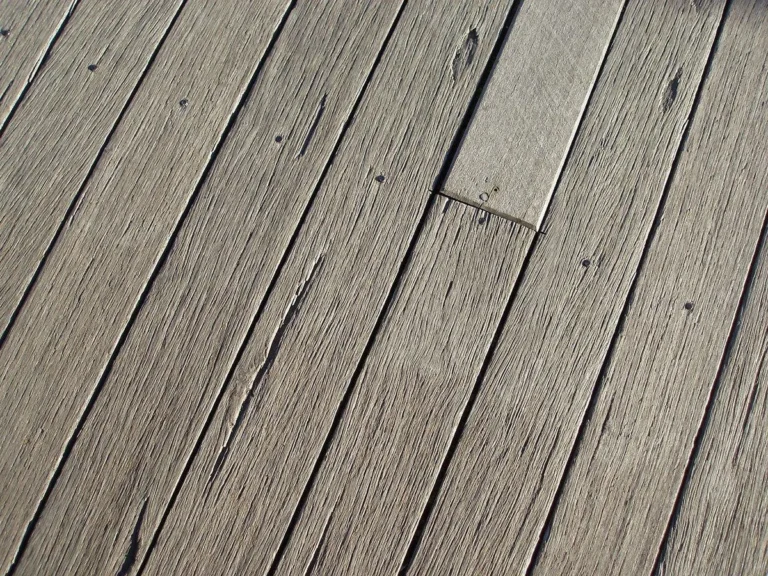
Cleaning is the first big step. You need to get rid of all the dirt, mildew, and old finishes. This ensures the new stain can soak into the wood properly.
Mildew can make your deck look gray and unhealthy. Old stain can peel and prevent new stain from adhering. Removing these things prepares the wood for its fresh new look.
- Scrubbing the Deck — Use a stiff-bristled brush and a deck cleaner. Work the cleaner into the wood in the direction of the grain. Make sure to get into all the nooks and crannies.
- Rinse thoroughly with a garden hose. If you have stubborn spots, you might need to repeat this. A good scrub gets rid of surface grime.
- Dealing with Mildew and Algae — Mildew and algae love damp wood. They can make your deck look green or black. Use a cleaner specifically designed to kill these growths.
- You can find them at most hardware stores. Follow the product instructions carefully. Proper cleaning stops these unwanted guests from returning too soon.
- Rinsing and Drying — After cleaning and rinsing, let the deck dry completely before you even think about moisture-testing it for stain. Wood needs to be dry for the stain to penetrate.
- If you stain wet wood, the water can prevent the stain from absorbing properly. This can lead to peeling or uneven color. Patience here pays off — see the moisture-testing section below for exactly how long that takes.
Should you use a wood brightener? After cleaning, some pros apply a wood brightener before staining. Brighteners neutralize leftover deck-cleaner residue and restore the wood’s natural pH, which helps stain — especially oil-based stain — absorb more evenly. It’s an optional step, not a required one, but it’s worth doing on a deck that still looks gray or blotchy after washing.
Sanding for a Smooth Finish
Sanding smooths out the wood. It removes any raised grain from cleaning. It also helps create a surface where the stain can evenly absorb.
This is especially important if there are old coatings you couldn’t fully remove or if the wood feels rough.
- Sanding Grits — Start with a coarser grit sandpaper, like 60 or 80 grit, if the wood is rough or has old finish. Then, move to a finer grit, like 100 or 120 grit, for a smoother feel. For most treated decks that are already in decent shape, a 100 or 120 grit is often enough — see our full deck sanding grit guide for boards versus rails.
- The goal is a smooth, even surface without splinters. This step is vital for that professional look.
- Using a Sander — An orbital sander or a floor sander can make this job easier. Always sand with the grain of the wood. Don’t stay in one spot too long, or you could create an uneven patch.
- After sanding, sweep or vacuum up all the dust. A clean surface after sanding is just as important as after washing. This dust can show up in your stain.
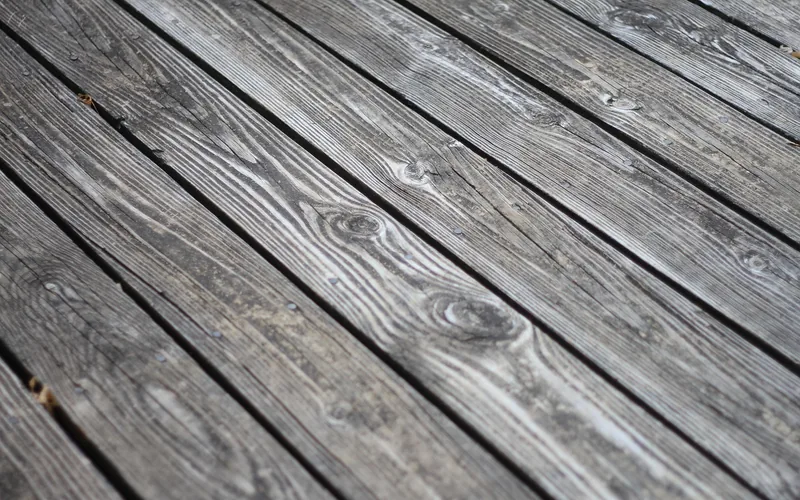
Is Your Treated Wood Actually Dry Enough to Stain?
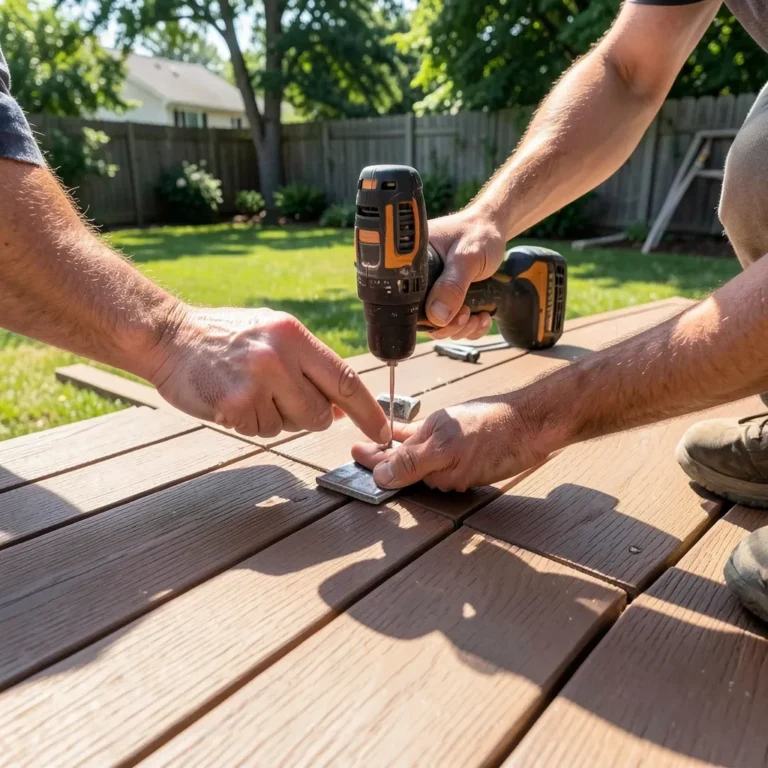
Most treated lumber needs a moisture reading of 15% or lower before stain will absorb evenly instead of beading up or trapping moisture underneath. You can check this with a simple water-bead test or a $20–$50 pin or pinless wood moisture meter — the meter is more reliable because it gives you an actual number instead of a guess.
The Water-Bead Test
Sprinkle a little water on the deck boards. If it beads up and sits on the surface for about 10 minutes, the wood is still too wet to stain. If it soaks in within that window, the deck is dry enough to move forward.
Standard Pressure-Treated Wood vs. KDAT/ADAT Lumber
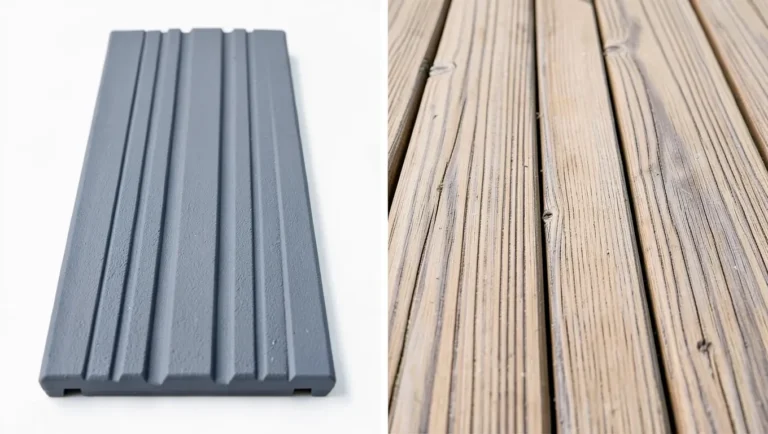
Standard “wet” or “green” pressure-treated lumber is saturated with the chemical treatment solution at the mill and can take several weeks to several months to air-dry naturally, depending on your climate and the thickness of the boards. Staining before it’s dry is the most common cause of blotchy, peeling decks.
Lumber stamped KDAT (Kiln-Dried After Treatment) or ADAT is different: it goes through a kiln-drying cycle after pressure-treating, which removes most of that excess moisture before it ever reaches the lumberyard. KDAT/ADAT boards can typically be stained or sealed the same day they’re installed. If you’re not sure which type you bought, check the tag stapled to the end of the board or ask the lumberyard — it’s worth confirming before you commit to a staining schedule.
For the full week-by-week wait times by lumber type and climate, see our guides on how long to wait before staining treated lumber and when pressure-treated lumber can be stained.
📊 Most deck-stain manufacturers cap moisture content at 15% for application, and warn that anything above 18% risks trapping moisture under the new coat — leading to peeling, cracking, or mildew. — Source: manufacturer application specs (Defy, TWP)
“The water-bead test is a fine gut-check, but it can’t tell you 12% from 18% — and that gap is exactly where peeling starts. A $25 moisture meter pays for itself the first time it stops you from staining a deck that only looks dry.”
Choosing the Right Stain
Selecting the right stain is key to achieving the rich color you desire. There are many types of stains, and they all do slightly different things. Understanding these differences helps you pick the best one for your deck and your desired look.
The color and how long it lasts depend heavily on your choice.
Types of Deck Stains
Deck stains come in different opacities, from transparent to solid. Each offers a different look and level of protection. Knowing what each means helps you make an informed decision for your project.
- Transparent Stains — These stains add a hint of color and UV protection but let the wood grain show through clearly. They offer the least amount of protection against wear and tear. They need to be reapplied more often, usually every year.
- They are good if you love the natural look of the wood and just want to enhance it slightly. They don’t hide imperfections.
- Semi-Transparent Stains — These stains offer more color than transparent stains. They still allow some of the wood grain to be visible, giving a natural yet colored appearance. They provide better UV protection and can last 2-3 years.
- This is a very popular choice because it balances natural wood beauty with added color and protection. It’s a good middle ground for many homeowners.
- Semi-Solid Stains — These have more pigment than semi-transparent stains. They hide more of the wood grain but still show some texture. They offer good UV protection and can last 3-4 years.
- They provide a more uniform color over the deck. If your deck has some minor imperfections, these can help cover them up.
- Solid Stains (Deck Paints) — These act much like paint. They completely hide the wood grain and texture, giving a solid color finish. They offer the most UV protection and can last 5 years or more.
They require more prep to remove if you ever want to switch to a different type of finish. These are a good option for older decks with a lot of wear and tear.
Understanding Stain Base (Oil vs. Water)
The base of the stain affects how it penetrates and dries. Both have pros and cons, and the choice can impact application and durability.
- Oil-Based Stains — Oil-based stains penetrate deep into the wood fibers. This makes them very durable and resistant to cracking and peeling. They often enhance the natural beauty of the wood.
- They can take longer to dry and require mineral spirits for cleanup. They are great for adding a rich, warm tone. Many find they offer superior protection in harsh climates.
- Water-Based Stains — Water-based stains are easier to use and clean up with soap and water. They dry faster than oil-based stains. Modern water-based stains offer excellent durability and color retention.
- They tend to sit more on the surface than oil-based stains, though good ones can still penetrate well. They are a more environmentally friendly option. They are often a preferred choice for DIYers due to ease of use.
Choosing a Color
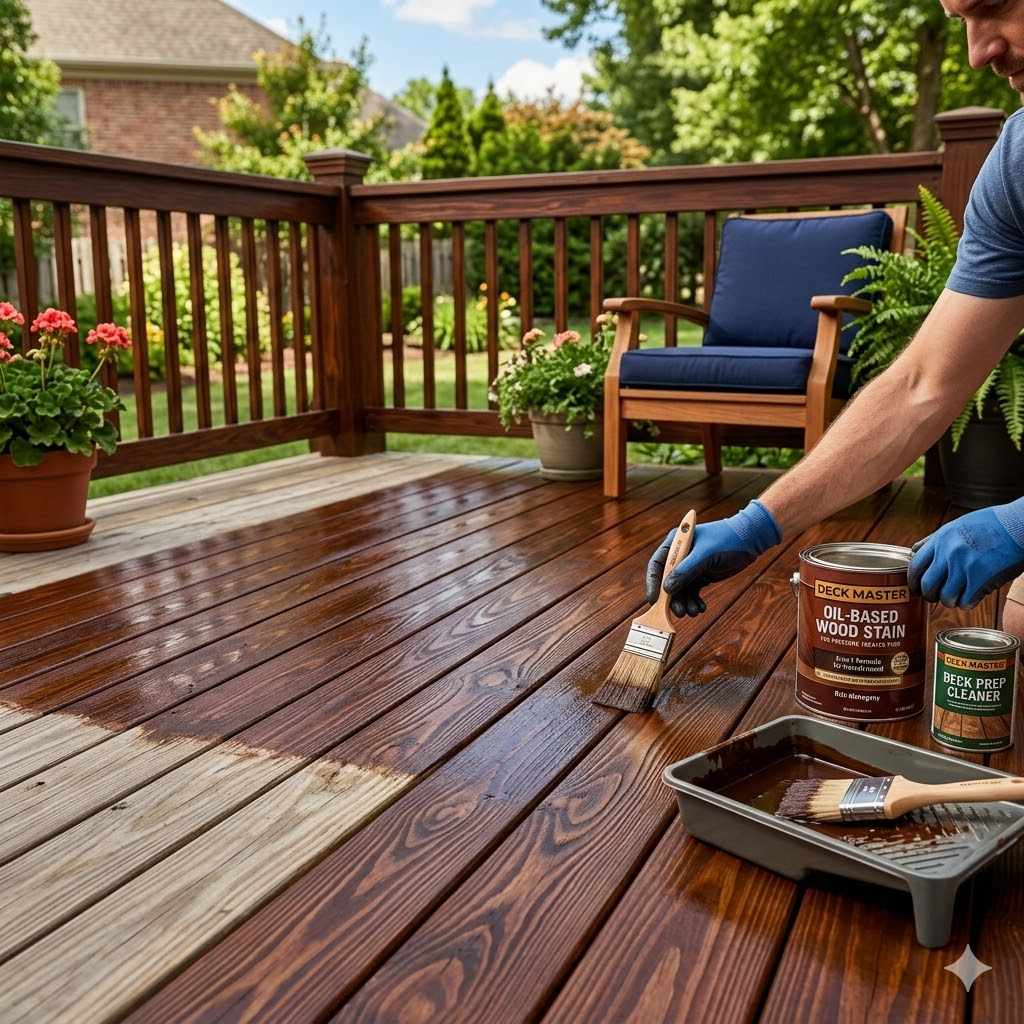
Color is where you bring your deck to life. Think about the colors of your house and landscaping. You want a color that complements your home, not clashes with it. If you want inspiration for a specific tone, our deep mahogany stain guide covers achieving the rich, reddish-brown look shown above.
Natural wood tones like cedar, redwood, or warm browns are always popular. Gray tones can give a modern look. Darker colors can make a deck feel more intimate, while lighter colors can make it feel more open.

The Staining Process Step-by-Step
Applying the stain correctly ensures a beautiful, long-lasting finish. Follow these steps carefully to get the best results. Proper technique makes a big difference in how your deck looks and how long the stain stays on.
- Confirm the wood is dry: run the water-bead test or check with a moisture meter — 15% or below before you open the can.
- Stir, don’t shake, the stain: shaking traps air bubbles that show up as tiny craters once dry.
- Apply the first coat with the grain: work 2–3 boards at a time, end to end, keeping a wet edge.
- Wipe excess before it dries: puddled stain that dries in place leaves dark, sticky patches.
- Check dry time before a second coat: most water-based stains need 2–4 hours; oil-based stains often need 12–24 hours.
- Work edges and gaps last: use a smaller angled brush for railings, borders, and the gaps between boards.
Applying the First Coat
Always start with the first coat. It’s the foundation for the color and protection. Apply it evenly across the deck boards.
Don’t let it puddle or dry in patches, as this can lead to an uneven look.
- Tools for Application — You can use a brush, a roller, or a sprayer. For most decks, a good quality stain brush or a roller with a stain pad is best. A sprayer can be faster but requires more masking of surrounding areas and careful back-brushing to ensure even coverage.
- Brushes are great for getting into the gaps between boards. Rollers cover large areas quickly and evenly.
- Working with the Grain — Always apply the stain in the direction of the wood grain. This helps the stain penetrate the wood properly and gives a more natural look. Overlap your strokes slightly to avoid creating lines or uneven patches.
- Work in small sections so the stain doesn’t dry before you can spread it evenly. This technique is vital for a professional finish.
- Avoiding Puddles and Drips — Wipe up any excess stain that pools on the surface with a clean cloth. Puddles can lead to dark spots that might not dry correctly. If you’re using a sprayer, back-brush immediately to even out the coat.
- Drips can also create thick areas that don’t cure well. Vigilance during application prevents these issues.
Applying Subsequent Coats
Depending on the stain type and the look you want, you might need more than one coat. For semi-transparent or solid stains, a second coat can deepen the color and improve protection. For transparent stains, one coat is usually enough.
- Drying Times Between Coats — Always allow the recommended drying time between coats. This information is on the stain can. Rushing this step can cause the wet stain to lift or smear.
- Most water-based stains need 2-4 hours, while oil-based stains might need 12-24 hours. Proper drying ensures adhesion and durability.
- Checking for Evenness — After the first coat is dry, check for any missed spots or uneven areas. You can gently run your hand over the surface. If you feel rough patches or see light spots, address them with your second coat.
This is your chance to perfect the look. A little touch-up now saves a lot of hassle later.
Dealing with Tough Spots and Edges
Edges and areas where boards meet can be tricky. Pay special attention to these spots. They often get more wear and tear.
Using a smaller brush can help you get into tight spaces precisely.
- Edge Work — Use a quality angled brush to get a clean line along the house, railings, and any other borders. This prevents stain from getting where you don’t want it. A steady hand here makes a big difference in the final appearance.
- It looks much more professional when edges are clean and crisp.
- Gaps Between Boards — Make sure to get stain into the gaps between the deck boards. This protects the wood from moisture and also helps the overall color look consistent. A smaller brush or a putty knife can help push stain into these areas.
This thoroughness prevents rot and extends the life of your deck.
Maintenance and Longevity
Once your deck is stained, you want to keep it looking great for as long as possible. Regular maintenance is the key to longevity — see our full deck care and staining hub for cleaning, sealing, and repair guides. A little bit of work each year can save you from major refinishing jobs later.
Regular Cleaning and Inspections
Keep your deck clean from leaves, dirt, and debris. Trapped moisture under leaf litter promotes mold and mildew growth. Regularly check your deck for any signs of wear, such as peeling stain or graying wood.
Addressing small issues early prevents them from becoming big problems.
- Annual Cleaning — Give your deck a good cleaning once a year, usually in the spring. Use a mild deck cleaner and a soft brush. Rinse thoroughly and let it dry completely.
- This removes accumulated dirt and grime. It also refreshes the surface for a better appearance. A clean deck is a happy deck.
- Spot Repairs — If you notice any small areas where the stain is wearing off, touch them up. Lightly sand the area, clean it, and apply a thin coat of the same stain. This prevents water from seeping into the exposed wood.
It maintains the protective barrier. Small fixes now prevent larger problems down the road.
When to Re-Stain
The frequency of re-staining depends on the type of stain used, the climate, and how much your deck is used. Generally, transparent and semi-transparent stains need reapplication every 1-3 years. Semi-solid and solid stains can last 3-5 years or more.
- The Water Test — A simple water test can tell you if it’s time to re-stain. Sprinkle some water on the deck. If the water beads up, the stain is still protecting the wood.
- If the water soaks into the wood, it’s time to reapply. This test is quick and effective. It shows you the condition of your deck’s protection.
- Signs of Wear — Besides the water test, look for areas where the stain has faded significantly or is peeling. If the wood starts to look gray, it’s losing its protection from the sun’s UV rays. These visual cues are important indicators.
Don’t wait until the wood starts to show serious damage.
Frequently Asked Questions
How long should I wait after buying treated lumber before staining it?
Standard pressure-treated lumber needs at least several weeks to dry, and sometimes months, since treated wood can hold a lot of moisture. KDAT or ADAT-stamped lumber is the exception and can usually be stained the same day it’s installed. A moisture meter reading of 15% or below, or a water-bead test that soaks in within 10 minutes, confirms it’s ready.
What moisture percentage should treated wood be before staining?
Aim for 15% or lower on a wood moisture meter; 12–15% is ideal for most oil-based and water-based deck stains. Above 18%, you risk trapping moisture under the new coat, which shows up later as peeling, cracking, or mildew.
Can treated wood be stained the same day it is installed?
Only if it’s KDAT or ADAT-stamped lumber, which is kiln-dried after treatment and ready for stain or sealer immediately. Standard “wet” pressure-treated lumber needs weeks to months to dry naturally first — staining it the same day it’s installed is a common cause of early peeling.
Can I stain over an existing stain that is still in good condition?
Yes, if the existing stain is in good condition and clean, you can usually stain over it. However, if you are switching from an oil-based to a water-based stain, or vice versa, it’s essential to prep the surface properly. Light sanding and thorough cleaning are recommended for good adhesion.
What is the best time of year to stain a deck?
The best time to stain a deck is during mild, dry weather. Avoid extremely hot or cold temperatures, and steer clear of rainy days or periods of high humidity. Temperatures between 50°F and 80°F (10°C and 27°C) are generally ideal. Check the weather forecast for a few days before and after staining.
Do I need to seal my deck after staining?
Most deck stains are designed to act as both a colorant and a sealer. They contain pigments for UV protection and binders to create a protective film. Therefore, an additional sealer is typically not necessary after applying a quality deck stain. Always check the product label to confirm.
How can I make sure my stain color turns out evenly?
Even application is key. Work in small sections, maintaining a wet edge so that fresh stain blends seamlessly into the previously applied area. Avoid letting stain dry in patches. Applying stain in the direction of the wood grain and ensuring the wood is uniformly clean and dry also contribute to an even finish.
Final Thoughts
Achieving a beautiful, rich color on your treated wood deck is a rewarding project, and it comes down to three things: proper preparation, choosing the right stain, and confirming the wood is actually dry — not just dry-looking — before you start. Follow these pro tips, check your moisture reading before you open the can, and your deck will look stunning for years.
Sponsored / affiliate links. As an Amazon Associate I earn from qualifying purchases. I may earn additional commission from eligible campaigns.