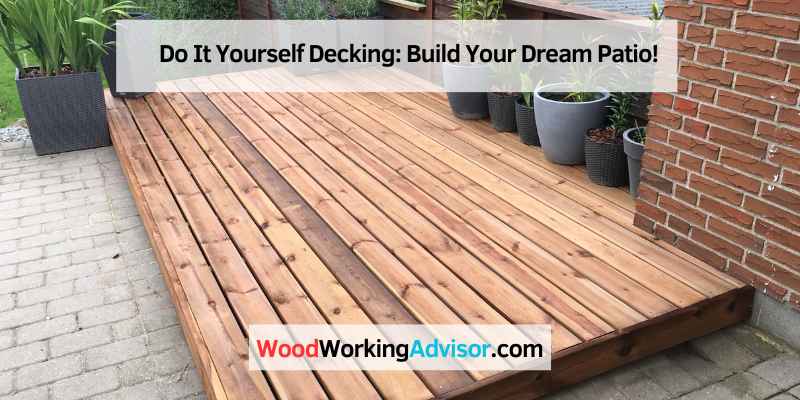
How to Build a Deck Yourself: Permit, Footing & Cost Guide
Building a deck yourself is realistic for most homeowners: a 12×16 ground-level deck runs $2,000 to $4,000 in materials and takes about 2–3 days, unless it attaches to the house or tops 200 square feet, which usually triggers a permit. Skip the IRC footing-depth rule and you risk a failed inspection. This guide covers permits, footing and framing code, and real 2026 material costs.
[Insert Affiliate Disclosure reusable block here]
Quick Answer
Most jurisdictions exempt a deck from permitting only if it is freestanding, under 30 inches above grade, and under 200 square feet — anything larger or attached to the house needs a permit. Footings must sit at least 12 inches below grade and below your local frost line (IRC R403.1.4), and joists are spaced 16 inches on center. Always confirm exact numbers with your local building department.
How to Build a Deck Yourself: 6-Step Overview
Best Deck Screws Pick

LIONMAX Deck Screws, 3″ #10 Star Drive, 300-Pack
A general-purpose exterior screw sized right for fastening 5/4 and 2x decking boards to joists.
- Best for: General deck framing and board fastening on standard 5/4 and 2x lumber
- Why we picked it: Star-drive heads resist cam-out under torque, and the coating is rated against a 1,500-hour salt-spray test — a reasonable match for ACQ pressure-treated lumber
- Main drawback: Not code-rated for structural connections that call for listed structural screws or joist-hanger nails
Compare more deck screw options
 Option 1 LIONMAX 2-1/2″ #10 Deck Screws, 300-Pack
|
 Option 2 FIXLINK 3″ Deck Screws, 310-Pack
|
 Option 3 Bulk 1-1/2″ Deck Screws, 5-lb / 805-Pack
|
As an Amazon Associate we earn from qualifying purchases.
Every deck build follows the same sequence, whether you’re framing a small ground-level platform or a multi-level deck off the back of the house.
- Check permits and codes: Confirm whether your deck size and height require a permit, and look up your local frost-line depth before you plan footings.
- Prepare the site and set footings: Clear and level the area, call 811 to mark utilities, then dig and pour footings below the frost line.
- Build the frame: Attach the ledger board with flashing, then install posts, beams, and joists spaced 16 inches on center.
- Install the decking boards: Lay boards perpendicular to the joists, leaving a consistent gap for drainage and expansion.
- Add railings and stairs: Install code-height railings (36 inches minimum on most residential decks) and any stairs.
- Finish and seal: Add skirting or lighting if desired, then seal or stain the wood to protect it from weather.
Do You Need a Permit to Build a Deck?
Most building departments require a permit if any one of three conditions is true: the deck attaches to the house, the deck surface sits more than 30 inches above grade, or the deck is larger than 200 square feet. A freestanding, ground-level deck under 200 square feet is often exempt — but some cities require a permit for any deck, so call your local building department before you dig a single footing.
📊 Call 811 before you dig. The national utility-locating hotline is free and required in most states before excavating for footings — Source: 811 national call-before-you-dig program.
An inspector will typically check your footing holes before you pour concrete and again once the frame is up, so schedule inspections around those two milestones rather than waiting until the deck is finished.
Materials and Tools You’ll Need
Decking Material Costs Per Square Foot (2026)
DIY material costs run $14 to $28 per square foot depending on what you build with — and that range swings widely by species and board type:
- Pressure-treated pine: $3 to $6 per sq ft — the cheapest option and the most common for DIY framing and decking
- Composite decking (Trex-style): $5 to $14 per sq ft — higher upfront cost, little to no annual sealing or staining
- Exotic hardwood (Ipe and similar): $10 to $20 per sq ft — the most durable and the most expensive, and it typically requires pre-drilling
For reference, a 12×16 ground-level deck built with pressure-treated pine runs roughly $2,000 to $4,000 in materials for a DIY build — see our deck cost calculator to run the numbers for your own dimensions.
Essential Tools for Deck Building
- Circular saw (see our circular saw picks if you don’t already own one)
- Drill/driver and bits
- 4-foot level and a laser level for footings
- Tape measure and chalk line
- Post-hole digger or auger
- Safety goggles and gloves
Fastener choice matters as much as the tools themselves — standard zinc screws corrode within a couple of years on ACQ pressure-treated lumber, so stick with coated or stainless exterior-rated deck screws throughout the build.
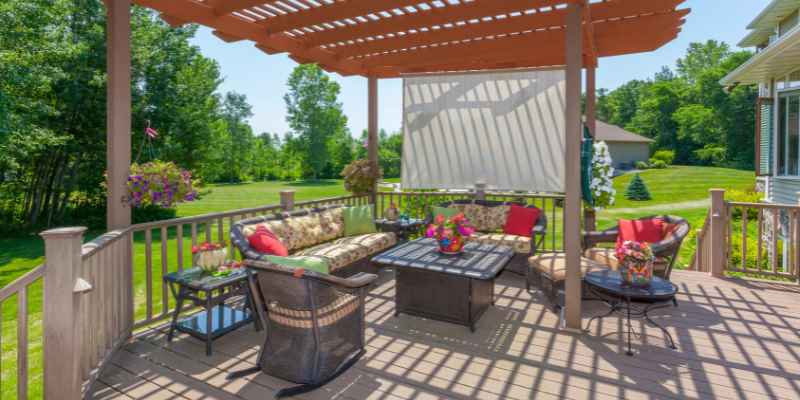
Preparing the Site and Setting Footings
Preparing the Ground
Clear the area of rocks, roots, and plants, then level the ground with a shovel or rake. Call 811 before you dig — it’s free and most states require it at least two to three business days before excavating.
Footing Depth and Frost Line Requirements
Per IRC R403.1.4, footings must sit at least 12 inches below undisturbed grade and below your local frost line — whichever depth is greater. Frost depth swings enormously by climate: it’s under 12 inches in southern Florida and Hawaii, and 42 to 60+ inches across the northern tier (Minnesota, North Dakota, and similar states). Your local building department publishes the exact number for your zip code — don’t guess it from a national map.
Typical residential footings run 12 to 24 inches in diameter, poured with at least 2,500 PSI concrete around an approved post-base connector.
Building the Deck Frame
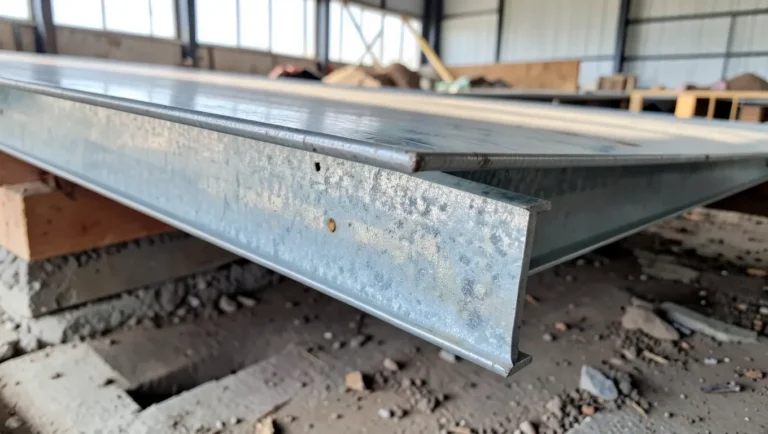
The frame carries the entire structural load of the deck, so this is not the step to rush. It breaks into three parts: box beams, joists, and the ledger board connection to the house (if your deck is attached).
Constructing Box Beams
- Measure and cut pressure-treated lumber to your deck’s dimensions.
- Arrange the boards in a rectangular shape, checking that corners are square.
- Fasten the boards together with galvanized screws or nails.
- Repeat to build additional box beams as your deck layout requires.
Installing Joists and Joist Hangers
Deck joists are spaced 16 inches on center in the vast majority of builds — some composite manufacturers spec 12 inches on center for their boards, so check your decking material’s installation guide before you lay out joist positions. Attach joists to the box beams with joist hangers and galvanized fasteners, and check that every joist is level before moving to the next.
Ledger Board Attachment and Flashing
If your deck attaches to the house, the ledger board connects to the band joist with staggered 1/2-inch lag or through-bolts, typically spaced 16 to 30 inches on center depending on your joist span (IRC Table R507.9.1.3(1) sets the exact spacing). Never use nails alone on a ledger connection — it’s one of the leading causes of deck collapse.
“The mistake we see most often on a first deck build isn’t the framing — it’s skipping ledger flashing. Water gets trapped behind the band board and starts rotting the rim joist from the inside, long before it’s visible from outside. Flash it every time, even on a small platform deck.”
Installing the Decking Boards
Choosing Your Decking Boards
Board choice affects both the upfront cost and how much maintenance you’ll do every year. Here’s how the common options compare, sized to a typical 12×16 deck (192 sq ft):
| Decking Board | Cost (192 sq ft) | Best For |
|---|---|---|
| Pressure-treated pine | $576–$1,150 | Lowest upfront cost, annual sealing required |
| Composite (Trex-style) | $960–$2,690 | Low-maintenance, fade- and scratch-resistant |
| Cedar or redwood | $960–$1,900 | Natural look, moderate maintenance |
| Exotic hardwood (Ipe) | $1,920–$3,840 | Longest lifespan, requires pre-drilling |
Laying the Decking
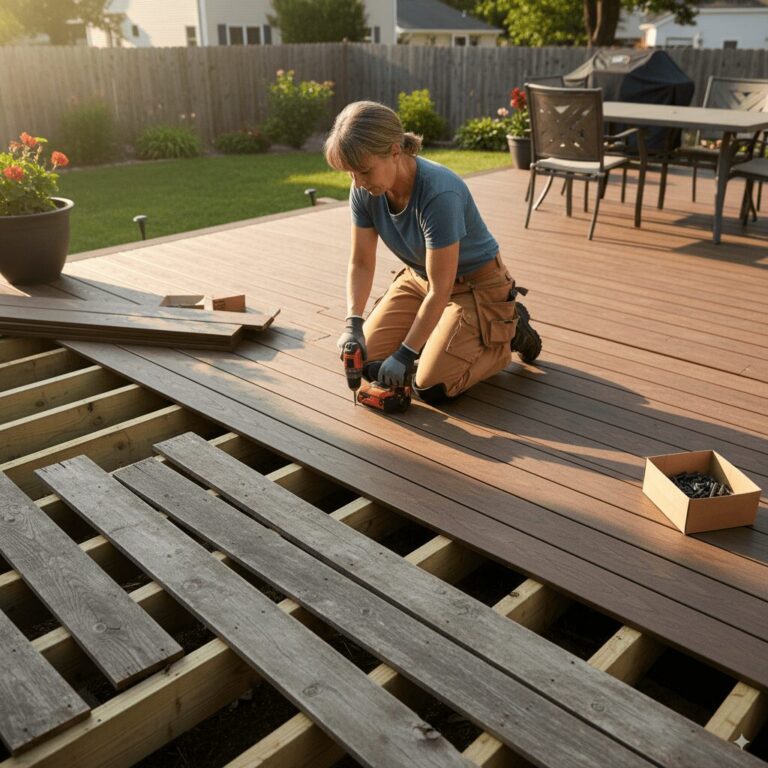
- Confirm the frame surface is clean, level, and free of debris.
- Start laying boards perpendicular to the joists from one corner of the deck.
- Leave a consistent gap between boards (usually 1/8 to 3/16 inch) for drainage and seasonal expansion.
- Fasten each board with coated deck screws or hidden clips, evenly spaced.
- Continue until the deck area is fully covered, then trim excess boards to the actual board size at the edges.
- Inspect the finished surface for loose boards or unevenness before moving on to railings.
Railings, Stairs and Finishing Touches
Installing Railings and Stairs
Most residential building codes require a railing at least 36 inches tall once the deck surface is 30 inches or more above grade (some jurisdictions require 42 inches, so confirm locally). Aluminum, composite, and wood railings all meet code when installed to the manufacturer’s spacing — balusters typically can’t allow a 4-inch sphere to pass through, a rule aimed at keeping small children safe.
Adding Skirting and Lighting
Skirting conceals the structural framing underneath the deck and keeps animals from nesting there. Low-voltage deck lighting along stairs and post caps extends usable hours into the evening and is inexpensive to add before you seal the wood.
How Long Does It Take to Build a Deck Yourself?
A standard 12×16 ground-level deck typically takes an experienced DIYer with one helper about 2 to 3 full days of hands-on work — plus another 2 to 3 days waiting for concrete footings to cure before you can frame on top of them. Add a day if you’re building stairs and railings for the first time, and expect a first attempt to run longer than a second or third deck as you work out layout and fastening mistakes.
DIY Deck Code and Permit Quick-Reference
Most guides spread this information across separate articles. Here’s every code number from this guide in one table, sourced from the 2021 International Residential Code (IRC) — always confirm with your local building department, since local amendments can change these numbers.
| Requirement | Typical Rule | Source |
|---|---|---|
| Permit threshold | Required if attached, >30 in. above grade, or >200 sq ft | Local building dept. |
| Footing depth | 12 in. minimum, and below local frost line | IRC R403.1.4 |
| Joist spacing | 16 in. on center (some composite: 12 in.) | IRC / board manufacturer |
| Ledger bolt spacing | 1/2 in. lag/through-bolts, staggered 16–30 in. o.c. | IRC Table R507.9.1.3(1) |
| Railing height | 36 in. minimum (42 in. in some areas) | Local building dept. |
Cost Analysis and Budgeting
DIY vs. Professional Deck Building
Building a deck yourself typically saves 30 to 50 percent versus hiring a contractor, since labor makes up a large share of a professional quote. See our full average cost of a wood deck breakdown for a side-by-side of DIY versus contractor pricing.
Saving Money on Your Deck Project
- Compare material prices across at least two or three suppliers before buying.
- Use pressure-treated pine if annual sealing doesn’t bother you — it’s the cheapest option by a wide margin.
- Watch for seasonal sales on lumber and composite decking, typically in early spring and late fall.
- Rent tools like a laser level or post-hole auger instead of buying them for a one-time build.
Maintenance and Upkeep
Regular cleaning, sealing, and routine checks keep a deck looking good and structurally sound for decades rather than years.
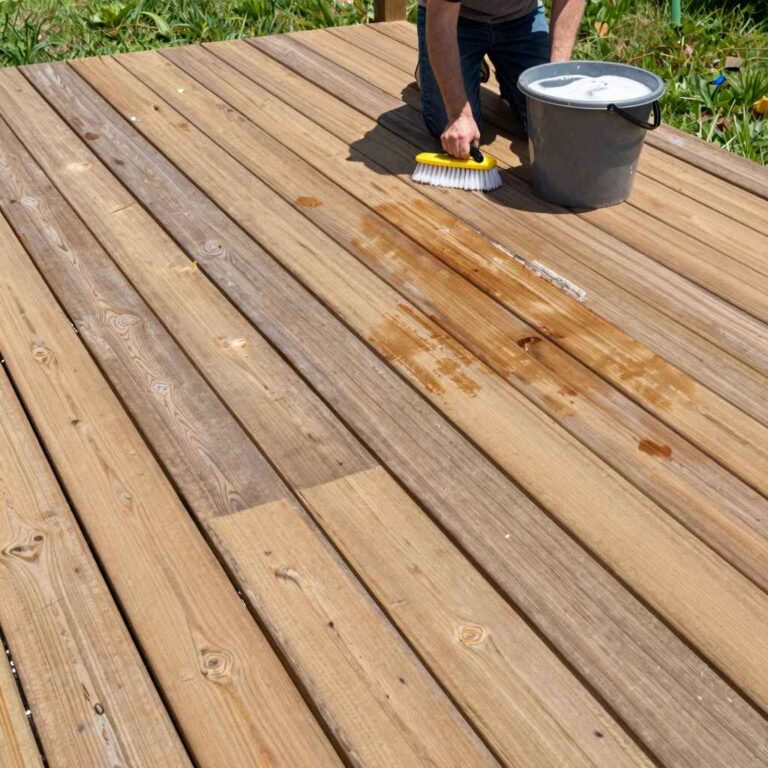
Cleaning and Sealing Your Deck
- Clean regularly to remove dirt, debris, and mold buildup.
- Reseal wood decks with a weather-resistant sealant — annually for pine, every 2–3 years for cedar or redwood.
- Pressure wash carefully; too much pressure or too close a nozzle distance can gouge softwood.
- If you have composite decking and want to change its look, see whether composite decking can be painted before you buy paint.
Routine Checks and Repairs
- Inspect for loose boards, rusted or popped fasteners, and soft spots at least once a year.
- Replace damaged boards and tighten loose hardware before it becomes a structural issue.
- Check the ledger connection and any spots prone to standing water for rot.
Frequently Asked Questions
Is it cheaper to build a deck yourself?
Yes — building a deck yourself is generally 30 to 50 percent cheaper than hiring a contractor, mainly because you avoid labor costs. Pressure-treated wood keeps material costs lowest, but factor in the sealing and staining that wood decks need every year or two.
What is the cheapest way to create decking?
Pressure-treated pine is the cheapest decking material at $3 to $6 per square foot, versus $5 to $14 for composite and $10 to $20 for exotic hardwood. It requires more maintenance than composite, and it will need resealing regularly to avoid warping and rot.
How much does a 14×20 deck cost?
A 14×20 deck (280 sq ft) built by a contractor typically runs $5,000 to $15,000 depending on materials, location, and features. Building it yourself with pressure-treated lumber cuts that to roughly $3,900 to $7,800 in materials alone, since you’re not paying for labor.
Can you build a deck by yourself?
Yes. A ground-level deck is the easiest starting point since it skips stairs and tall railings. Budget 2 to 3 full days of hands-on work for a standard 12×16 deck, plus 2 to 3 days for footing concrete to cure before you frame on top of it.
Do you need a permit to build a deck?
Usually, if the deck attaches to the house, sits more than 30 inches above grade, or exceeds 200 square feet. A small, freestanding, ground-level deck is often exempt, but requirements vary by city — confirm with your local building department before you start digging footings.
How deep do deck footings need to be?
At least 12 inches below undisturbed grade and below your local frost line, whichever is deeper, per IRC R403.1.4. Frost line depth ranges from under 12 inches in southern Florida to 42 inches or more across the northern United States, so check your specific zip code with your building department.
Conclusion
Building a DIY deck is a realistic weekend-and-a-half project for most homeowners, and it can save 30 to 50 percent versus hiring a contractor. The steps that trip people up aren’t the ones you’d expect — it’s skipping the permit check, guessing at footing depth, or leaving out ledger flashing. Confirm your local code numbers first, then work through the frame, decking, and railings in order.
Whether you’re a first-time DIYer or building your second or third deck, planning ahead on permits and footings is what separates a deck that passes inspection from one that doesn’t. For stains, sealers, cleaning, and fastener specifics once your deck is built, browse our full wood decking guide.
Sponsored / affiliate links. As an Amazon Associate I earn from qualifying purchases. I may earn additional commission from eligible campaigns.