Drying Pressure Treated Wood: Essential Tips & Techniques
Have you ever wondered why your pressure treated wood projects don’t quite turn out as expected? If you’ve noticed warping, splitting, or uneven finishes, you’re not alone.
The secret to achieving that perfect look and long-lasting durability lies in one crucial step: properly drying pressure treated wood. This might sound technical, but it’s simpler than you think. By understanding the drying process, you can protect your investment and ensure your wood projects stand the test of time.
Keep reading to discover the essential tips and tricks that will transform your woodworking experience and give your projects the flawless finish they deserve.
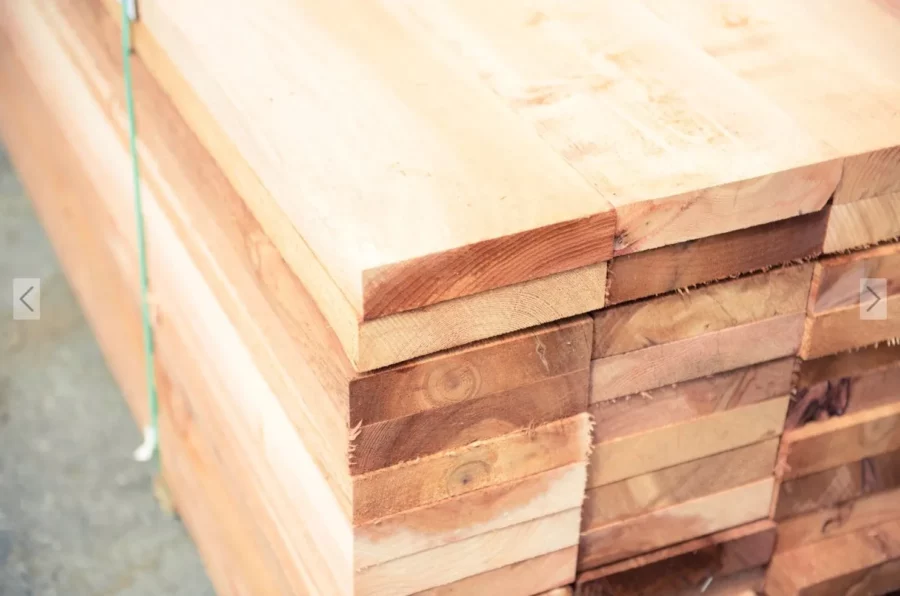
Credit: crossarm.com
Preparing Pressure Treated Wood
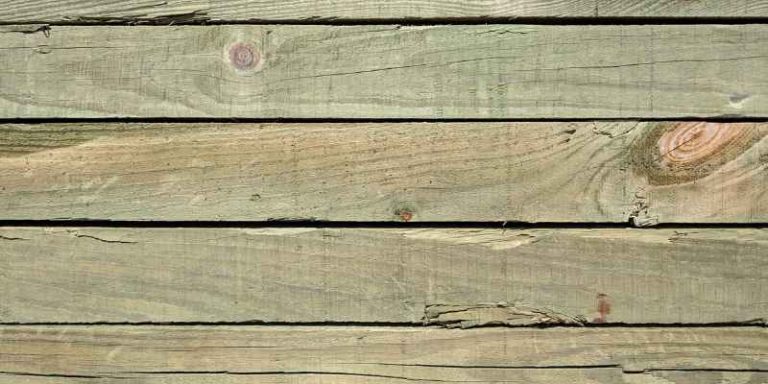
Pressure treated wood is easy to spot. Different chemicals make the wood look different. Some wood is green. Some wood is brown. Check for tags or stamps. These tell you the type of treatment. Softwood, like pine, is often treated. Hardwood is less common but can be treated too.
Safety comes first with treated wood. Wear gloves to protect your skin. Use a mask to avoid breathing in dust. Keep kids and pets away when working. Wash hands after handling the wood. Don’t burn treated wood. It releases dangerous fumes. Always work in a well-ventilated area. Dispose of scraps properly.

Credit: www.reddit.com
Natural Drying Methods
Pressure treated wood needs time to dry. Air drying is simple. Lay the wood out in the open air. Make sure sunlight can reach it. Space the wood pieces apart. This helps air flow between them. Air removes moisture. Drying can take weeks. Rain can slow drying. Cover the wood if it rains. This keeps it dry.
Humidity affects drying. Check the weather forecast often. Use a humidity meter if possible. High humidity makes wood dry slow. Low humidity helps wood dry fast. Keep wood in a dry place. Indoor drying is sometimes better. This is when outside is too wet. Be patient. Dry wood lasts longer and is stronger.
Accelerated Drying Techniques
Heathelps wood dry faster. Use a hairdryeror a heat lamp. Keep the heat source moving. Do not let it touch the wood. Heat can harm the wood. Keep the wood warm but not too hot. This speeds up drying.
Airflowis key. Open windows for better air. Use a fanto move air around. Place the fan near the wood. Fresh air dries wood quicker. Avoid damp rooms. Wood dries best in dry places. Good air makes a big difference.
Tools And Equipment
Moisture meters help check if wood is dry. They show the moisture levelinside. This tool is easy to use. Just press it on the wood. A number will appear. This number tells you if the wood is ready. Dry wood has a low number. Wet wood has a high number. Always use a moisture meter before using the wood. This helps avoid problems later.
Drying racks keep wood off the ground. Air can flow around the wood. This helps it dry faster. Shelves work in the same way. They hold the wood up. This prevents the wood from touching wet surfaces. Both racks and shelves are important. They help keep wood straight and dry. Always place wood on racks or shelves to dry. This makes sure the wood stays in good shape.
Common Drying Challenges
Drying pressure treated wood can be tricky. It often warps or cracks if not dried properly. Ensuring even drying is key to maintaining its integrity.
Avoiding Warping
Warping can ruin pressure-treated wood. Wood fibers change shape when they dry. This causes uneven shrinking. Keep wood in a controlled environment. It helps maintain shape. Humidity and temperature should stay steady. Avoid direct sunlight exposure. This can speed up drying unevenly. Use weights to keep wood flat. This helps avoid bending.
Preventing Mold Growth
Mold loves damp places. Pressure-treated wood is treated to resist it. But mold can still grow. Dry wood quickly to stop mold. Keep air circulating around wood. Fans can help with this. Dry wood elevated off ground. This helps air flow underneath. Clean wood before drying. Remove dirt and debris. These can trap moisture.
Post-drying Treatment
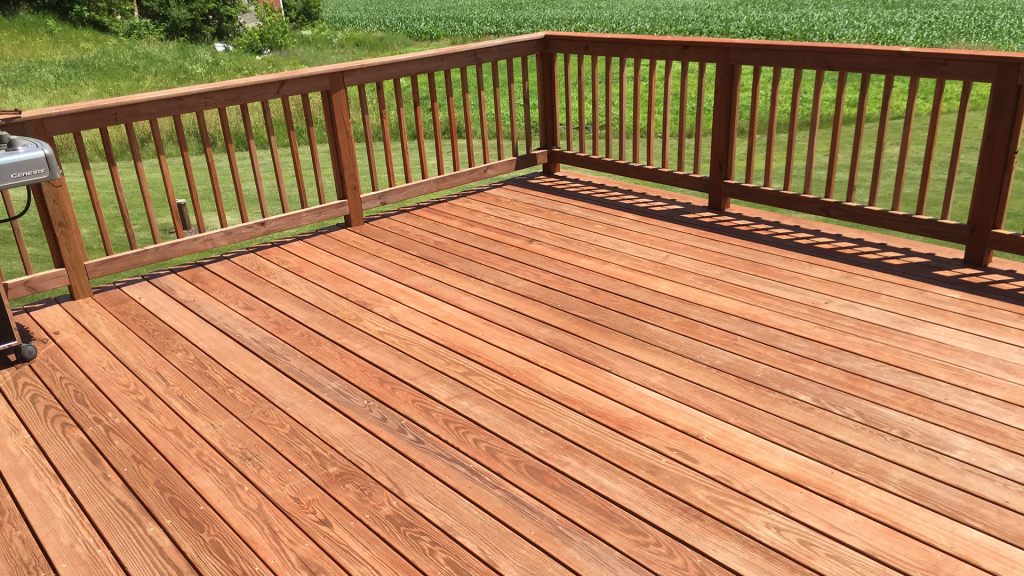
Sealingthe wood helps keep moisture away. This step is very important. It stops water from entering. Use a brush or spray for sealing. Choose a sealantthat suits your wood type. Make sure to cover all areas.
Next, apply a finish. Finishes protect and add shine. There are many types. Pick one that you like. Follow the instructions on the finish can. Let the wood dry completely.
Check the wood regularly. Look for any signs of damage. Fix small cracks quickly. This keeps the wood strong. Clean the wood with a soft cloth. Do not use too much water.
Reapply sealant every few years. This keeps the wood safe. Proper care makes the wood last longer. Keep it out of direct sun. This prevents fading.
Frequently Asked Questions
How Long To Dry Pressure Treated Wood?
Pressure treated wood typically takes several months to dry completely. The drying time can vary based on weather conditions and wood thickness. It’s essential to ensure the wood is thoroughly dry before painting or staining to prevent peeling or warping.
Can You Speed Up Drying Pressure Treated Wood?
Yes, you can speed up the drying process by ensuring proper air circulation and using fans. Positioning the wood in a sunny, dry area and elevating it from the ground can also help. However, patience is key, as rushing the process can lead to damage.
Why Does Pressure Treated Wood Need To Dry?
Drying pressure treated wood is crucial to prevent warping, cracking, and mold growth. Excess moisture can interfere with painting or staining. Proper drying ensures the wood maintains its structural integrity and appearance, enhancing its longevity and effectiveness.
How Can You Tell If Wood Is Dry?
To determine if wood is dry, check its weight and appearance. Dry wood feels lighter and has a consistent color throughout. You can also use a moisture meter to ensure the wood’s moisture content is below 19%, which indicates it’s ready for use.
Conclusion
Drying pressure treated wood takes time and patience. Proper drying prevents warping and cracking. Place wood in a dry, sunny spot for best results. Monitor moisture levels regularly with a moisture meter. Allow air to circulate around the wood freely.
Avoid stacking wood too tightly. This ensures even drying. Once dried, seal or stain the wood to protect it. This maintains its durability and appearance. Drying treated wood correctly extends its lifespan. So, take care and follow these steps. You’ll have strong, reliable wood for your projects.