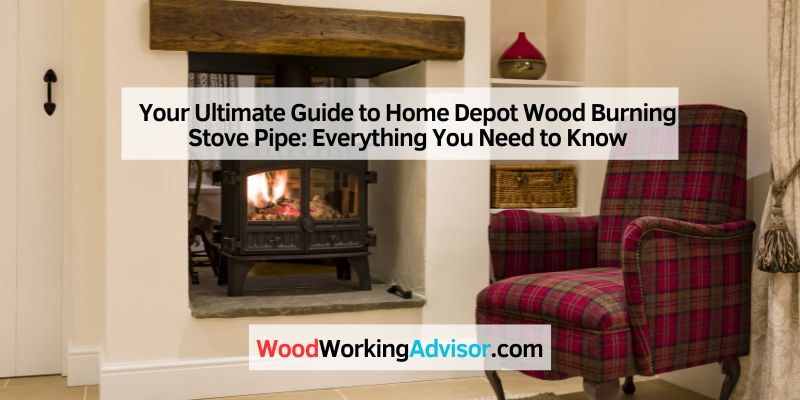
Your Ultimate Guide to Home Depot Wood Burning Stove Pipe: Everything You Need to Know
Hey there! If you’re diving into the world of wood-burning stoves, you’ve probably come across the term “wood burning stove pipe” while browsing at Home Depot. I totally get it—picking the right stove pipe can feel overwhelming with all the options out there. I’ve spent hours researching, installing, and even troubleshooting stove pipes for my own home, so I’m excited to share what I’ve learned. Whether you’re a seasoned woodworker or a homeowner looking to cozy up your space, this guide will walk you through everything you need to know about Home Depot’s wood burning stove pipes. Let’s make this simple, fun, and super informative!
What Is a Wood Burning Stove Pipe, and Why Does It Matter?
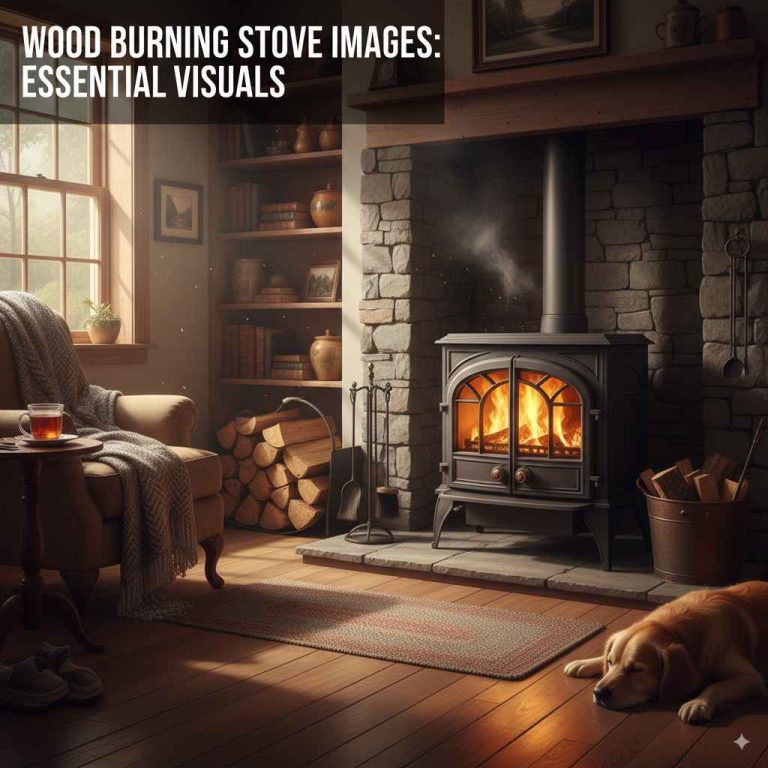
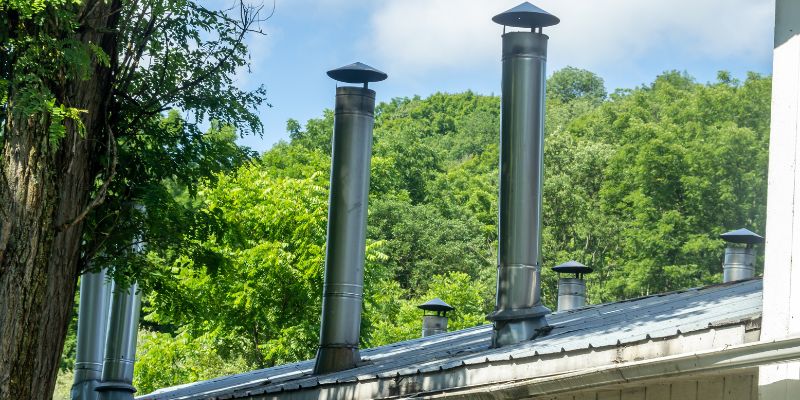
Let’s start with the basics. A wood burning stove pipe, often called a chimney connector, is the pipe that connects your wood stove to your chimney. It carries smoke and exhaust gases safely out of your home. Think of it as the highway for all the byproducts of your fire. Without a good stove pipe, you’re risking smoke leaks, poor stove performance, or even dangerous situations like chimney fires.
I remember when I first got my wood stove. I was so focused on the stove itself that I almost overlooked the pipe. Big mistake! The pipe is just as important as the stove because it ensures your fire burns efficiently and safely. At Home Depot, you’ll find a variety of stove pipes designed to fit different stoves and setups, from single-wall to double-wall options. Each type has its own perks, which I’ll break down later.
Why Choose Home Depot for Your Stove Pipe?
Home Depot is my go-to for home improvement projects, and their selection of wood burning stove pipes is no exception. They stock trusted brands like DuraVent and Master Flow, which are known for durability and safety. Plus, Home Depot offers both in-store and online shopping, so you can browse from your couch or head to a store to see the pipes in person.
What I love most is their range of options. Whether you need a 6-inch elbow for a tricky installation or a 24-inch straight pipe, they’ve got you covered. They also have kits that bundle everything you need, which is a lifesaver if you’re new to this. Prices are reasonable too—think $11 to $40 for most single pieces, with kits around $40 to $130 depending on what’s included.
Another perk? Home Depot’s return policy. If you buy a pipe and realize it’s the wrong size, you’ve got 90 days to return it. That kind of flexibility is great when you’re figuring things out. Plus, their website has customer reviews, which I always read to get a sense of how products perform in real homes.
Types of Wood Burning Stove Pipes at Home Depot
Let’s talk about the different types of stove pipes you’ll find at Home Depot. Knowing the options helps you pick the right one for your setup. Here’s what I’ve learned from my own projects and browsing their aisles.
Single-Wall Stove Pipe
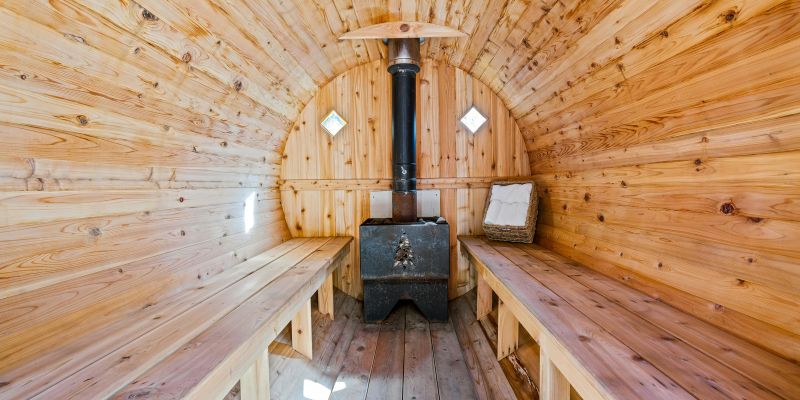
Single-wall stove pipes are the most common and affordable option. They’re made of 24-gauge steel, which is sturdy enough to handle the heat from your stove. These pipes are black, sleek, and great for radiating heat into your room. I used a single-wall pipe in my cabin, and it does a fantastic job of warming up the space.
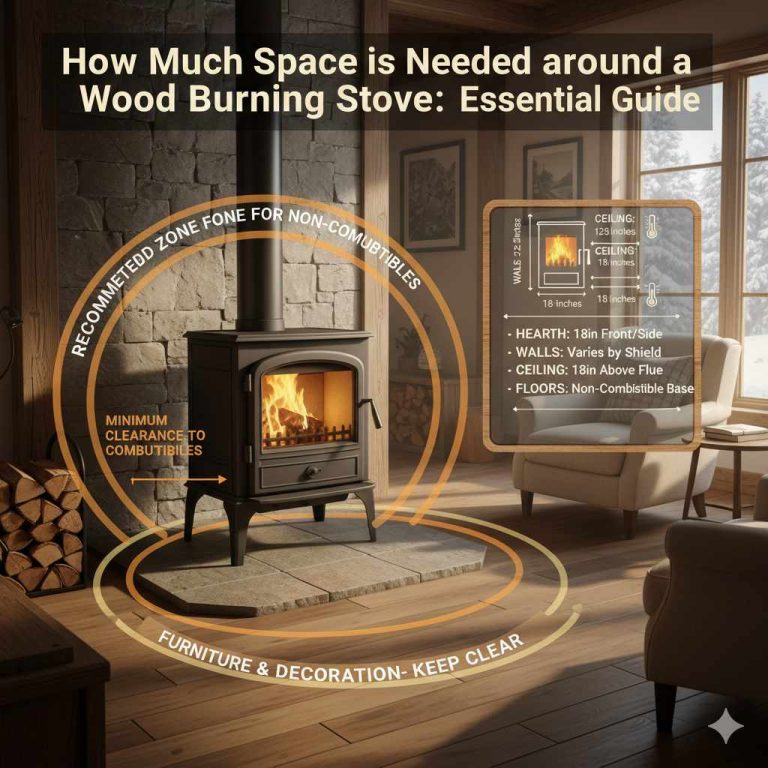
However, single-wall pipes need more clearance from walls and ceilings—usually 18 inches—to prevent fire hazards. If your stove is close to combustible materials, you’ll need to be extra careful. Home Depot carries single-wall pipes like the Master Flow 6 in. x 24 in. Black Stove Pipe, which costs about $13 and snaps together easily.
Double-Wall Stove Pipe
Double-wall pipes are a step up. They have an inner and outer layer with insulation between them, which makes them safer for tighter spaces. You only need 6 to 8 inches of clearance from walls, which is perfect if your stove is in a cozy corner. They’re pricier—think $40 for a DuraVent DuraBlack 6 in. x 60 in. kit—but worth it for safety and efficiency.
I switched to a double-wall pipe in my living room setup because my stove was closer to the wall. The peace of mind was worth every penny. Double-wall pipes also reduce creosote buildup, which is a sticky, flammable substance that can form inside your pipe. Less creosote means fewer chimney fires.
Specialty Components
Home Depot also stocks elbows, adapters, and dampers. Elbows, like the Master Flow 6 in. x 6 in. Black Stove Pipe Elbow, let you angle your pipe around corners. Adapters connect your pipe to your stove or chimney, and dampers help control airflow. I learned the hard way that you need to match the diameter of your pipe to your stove’s outlet—usually 6 or 8 inches—so double-check your stove’s specs before buying.
Here’s a quick comparison of single-wall vs. double-wall pipes:
| Feature | Single-Wall Stove Pipe | Double-Wall Stove Pipe |
|---|---|---|
| Material | 24-gauge steel | Insulated steel |
| Clearance Needed | 18 inches | 6-8 inches |
| Price Range | $11-$20 | $30-$50 |
| Heat Radiation | High | Moderate |
| Creosote Buildup | Higher risk | Lower risk |
| Best For | Open spaces | Tight spaces |
How to Choose the Right Stove Pipe for Your Home
Picking the right stove pipe depends on a few things: your stove, your home’s layout, and your budget. Here’s how I approach it.
First, measure your stove’s exhaust outlet. Most wood stoves use a 6-inch or 8-inch pipe, but don’t assume—check the manual or measure it yourself. Next, think about your installation path. Will the pipe go straight up through the ceiling or out through a wall? If you need to make turns, you’ll need elbows. Home Depot’s website has a handy “Project Calculators” section to help you estimate how much pipe you’ll need.
Consider your space too. If your stove is near walls or furniture, a double-wall pipe is safer. If you’ve got plenty of room, a single-wall pipe might be fine and will save you some cash. Finally, think about maintenance. Double-wall pipes are easier to clean because they reduce creosote, but they’re more expensive upfront.
When I installed my first stove, I made the mistake of buying too few sections of pipe. I had to run back to Home Depot mid-installation, which was a hassle. My advice? Plan your route carefully and buy a bit more than you think you’ll need. You can always return extras.
Installation Tips for Home Depot Wood Burning Stove Pipes
Installing a stove pipe might sound intimidating, but it’s doable if you’re handy. I’ve done a few installations myself, and while it takes patience, it’s rewarding. Here’s what you need to know.
Step 1: Plan Your Route
Map out how your pipe will connect your stove to the chimney. The goal is to keep the path as short and vertical as possible. Horizontal runs are less efficient and can cause creosote buildup. If you need to go through a wall or ceiling, you’ll need a transition to Class A chimney pipe, which is designed for outdoor use. Home Depot sells ceiling support boxes and wall thimbles to make this easier.
Step 2: Check Clearances
Safety first! Single-wall pipes need 18 inches of clearance from combustible materials like wood or drywall. Double-wall pipes need 6 to 8 inches. I always double-check with a tape measure to avoid any risks. If you’re unsure, consult a professional or your local building codes.
Step 3: Install with the Male End Down
This was a game-changer for me. Always install the pipe with the male end (the narrower end) pointing down toward the stove. This way, any creosote drips back into the stove to be burned off, not onto your floor. Home Depot’s snap-lock pipes make this easy—just slide the male end into the female end and secure with three self-tapping screws.
Step 4: Secure and Seal
Use self-tapping screws at each joint to keep the pipe stable. I also paint the screws with high-temperature black paint to match the pipe—it looks cleaner. If you’re using a damper, install it close to the stove so you can control airflow easily.
Step 5: Test Your Setup
Once everything’s connected, light a small fire and check for leaks. I once had a tiny gap in a joint that let out a wisp of smoke. A quick tighten of the screws fixed it. If you smell smoke or see leaks, stop and recheck your connections.
If this feels overwhelming, don’t hesitate to hire a professional. I did my first installation with a friend who’s a chimney sweep, and his expertise saved me from a lot of mistakes.
Maintaining Your Wood Burning Stove Pipe
Maintenance is key to keeping your stove pipe safe and efficient. Creosote buildup is the biggest concern—it’s a flammable substance that forms when smoke cools in the pipe. Here’s how I keep my pipe in top shape.
Regular Inspections
I check my pipe every month during the burning season. Just collapse the slip connector or telescopic section and shine a flashlight inside. If you see more than a thin layer of ash or creosote, it’s time to clean. Home Depot sells chimney brushes for about $20 that make this easy.
Cleaning the Pipe
You can clean from the top down or bottom up. I prefer the top-down method because it’s less messy. Remove the chimney cap, attach a poly brush to a rod, and scrub the inside of the pipe. Creosote will fall to the bottom, where you can vacuum it out. Do this at least once a year, or after every cord of wood you burn.
Burn Smart
Burning well-seasoned hardwood reduces creosote. I learned this the hard way when I used green wood and ended up with a sticky mess in my pipe. Also, avoid burning trash or treated wood—it releases harmful chemicals and clogs your pipe.
Professional Help
If you’re not comfortable cleaning yourself, hire a chimney sweep. I do this every couple of years for a thorough check. It’s usually $100-$200, but it’s worth it for safety.
Common Mistakes to Avoid
I’ve made my fair share of mistakes, so let me save you some trouble. First, don’t use galvanized duct pipe—it’s not designed for high heat and can release toxic fumes. Stick to Home Depot’s black stove pipes or chimney connectors. Second, don’t skimp on clearances. I once saw a friend install a pipe too close to a wall, and it scorched the paint. Not fun.
Another mistake is ignoring the male-end-down rule. Creosote leaks are a pain to clean up. Finally, don’t skip maintenance. A clean pipe is a safe pipe. Trust me, you don’t want to deal with a chimney fire.
Why Proper Stove Pipe Installation Saves Money
A good stove pipe setup isn’t just about safety—it saves you money. A well-installed pipe improves your stove’s efficiency, so you burn less wood. When I upgraded to a double-wall pipe, I noticed my wood lasted longer because the stove burned hotter and cleaner. Plus, regular maintenance prevents costly repairs from creosote damage or chimney fires.
Home Depot’s affordable options make it easy to invest in quality without breaking the bank. For example, a $40 double-wall pipe might seem like a splurge compared to a $13 single-wall pipe, but it could save you hundreds in wood costs and repairs over time.
Environmental Considerations
Wood stoves are a great way to heat your home, but they’re not without environmental impact. The EPA has strict guidelines, requiring new stoves to emit no more than 4.5 grams of smoke per hour. A good stove pipe helps meet these standards by ensuring proper airflow and complete combustion. I always burn dry, seasoned wood to minimize smoke and pollution. It’s better for the planet and keeps my pipe cleaner.
My Personal Experience with Home Depot Stove Pipes
When I set up my wood stove, I bought a DuraVent DuraBlack kit from Home Depot. It came with everything I needed—pipes, an elbow, and an adapter. The snap-lock design was a breeze to install, and the black finish looked sleek in my living room. I also grabbed a chimney brush for maintenance, which has been a lifesaver. The whole setup cost me about $80, and it’s been going strong for three winters now.
What I appreciate most is Home Depot’s customer service. When I wasn’t sure if I needed a 6-inch or 8-inch pipe, I called their helpline, and they walked me through measuring my stove’s outlet. That kind of support makes a big difference when you’re tackling a project like this.
Conclusion
There you have it—everything I’ve learned about Home Depot’s wood burning stove pipes. From choosing between single-wall and double-wall pipes to installing and maintaining them, the right stove pipe makes all the difference in keeping your home warm and safe. Home Depot’s wide selection, affordable prices, and reliable brands like DuraVent and Master Flow make it easy to find what you need. Whether you’re a DIY enthusiast or just want a cozy fire, their stove pipes are a solid choice.
Take your time to plan your installation, prioritize safety, and don’t skip maintenance. A little effort goes a long way in preventing headaches down the road. So, head to Home Depot, grab the right pipe for your setup, and enjoy those warm, crackling fires all winter long. Got questions? I’ve got answers below!
Frequently Asked Questions
What’s the difference between a stove pipe and a chimney pipe?
A stove pipe, or chimney connector, is used inside your home to connect your wood stove to the chimney. It’s usually black and made of single- or double-wall steel. A chimney pipe, like Class A pipe, is insulated and designed for outdoor use, running through walls or roofs. Home Depot sells both, but you’ll need to transition from stove pipe to chimney pipe if your setup goes outside.
Can I install a wood burning stove pipe myself?
Yes, if you’re handy and follow safety guidelines. Plan your route, ensure proper clearances, and install the male end down to prevent creosote leaks. Always check your stove’s manual and local building codes. If you’re unsure, hire a professional—it’s worth it for safety.
How often should I clean my stove pipe?
Clean your stove pipe at least once a year or after every cord of wood you burn. Check it monthly during the burning season for creosote buildup. A chimney brush from Home Depot makes it easy, or you can hire a chimney sweep for a thorough job.
Why does my stove pipe leak creosote?
Creosote leaks usually happen if the pipe is installed with the male end pointing up. Always install with the male end down so creosote drips back into the stove. Also, burn seasoned hardwood and keep your fire hot to reduce creosote buildup.
Are Home Depot stove pipes safe for all wood stoves?
Home Depot’s stove pipes, like DuraVent and Master Flow, are designed for most wood stoves, but you need to match the pipe diameter to your stove’s outlet (usually 6 or 8 inches). Check your stove’s manual to confirm compatibility, and ensure proper clearances to avoid fire hazards.