How Long Before Sanding Bin Primer: Essential Guide
The wait time before sanding bin primer is typically between 1 to 4 hours for water-based primers and 24 hours for oil-based primers. Always check the specific product label for the manufacturer’s recoat time, as surface temperature and humidity significantly influence how quickly your primer truly cures and is ready for the next step.
Welcome back to the workshop! As Md Meraj, I know that priming is the unsung hero of any great paint job. But timing that crucial sanding step right after priming can feel like a guessing game. Wait too long, and you risk ruining a perfect surface; sand too soon, and you might lift or clog your sandpaper.
If you’ve ever wondered exactly, “how long before sanding bin primer,” you’re not alone. This wait time is vital for durability. Whether you are priming cabinets, furniture, or outdoor storage bins, getting this timing right makes a huge difference.
Don’t worry! We’re going to break down the science simply. We will cover the factors affecting dry time, explain the difference between primers, and give you concrete timelines so you can sand with confidence every time. Let’s build a fantastic finish!
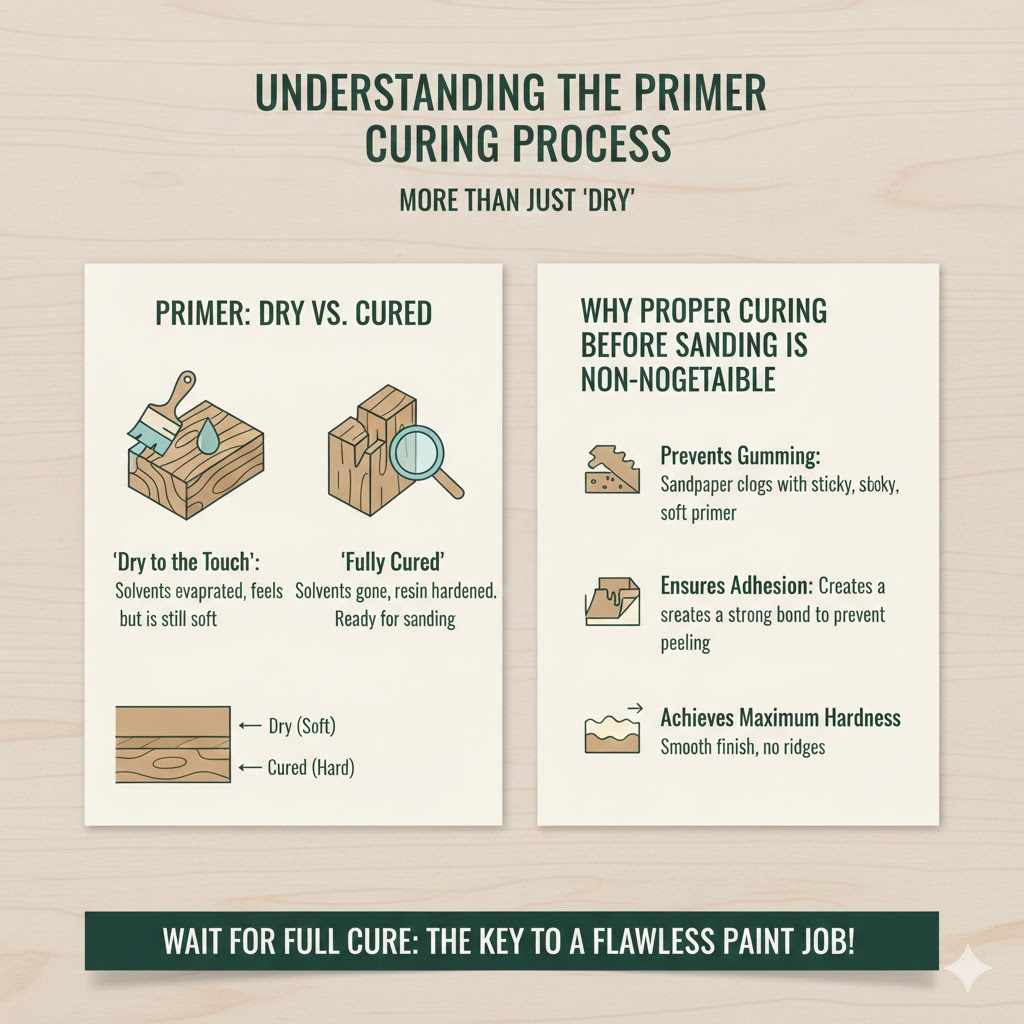
Understanding the Primer Curing Process: More Than Just “Dry”
When we say primer is “dry,” we usually mean it’s dry to the touch. However, for sanding, we need it to be fully cured. Curing is when the solvents (water or mineral spirits) have completely evaporated, allowing the resin and binder to harden fully. This hardness is what allows sandpaper to cut cleanly without dragging the soft primer.
Why Proper Curing Before Sanding is Non-Negotiable
Sanding prematurely is one of the most common rookie mistakes that leads to frustration. Here’s why you must wait:
- Prevents Gumming: If the primer isn’t cured, the sandpaper simply rubs the soft layer around, creating a sticky mess (gumming) instead of a smooth powder.
- Ensures Adhesion: Allowing full curing helps the primer chemically bond tightly to the substrate (like bare wood or plastic). This strong bond prevents the topcoat from peeling later.
- Achieves Maximum Hardness: Sanding too early can create tiny ridges or depressions in the soft primer that will telegraph right through your final paint layer, ruining your smooth finish.
The Golden Rule: Always Check the Can!
Before we dive into general guidelines, remember this golden rule: The manufacturer knows their product best. Every primer is formulated differently based on its base ingredients and intended use (like shellac vs. stain-blocking acrylic).
Your can label will almost always specify two times:
- Recoat Time: The minimum time before applying the next coat of primer or paint.
- Sanding Time: The minimum time before it can be safely sanded.
Often, the sanding time is slightly shorter than the recoat time, but following the specific label instructions will always yield the most predictable results for your chosen material.
Type Matters: Different Primers, Different Waiting Times
The material your primer is made of dramatically changes how fast it dries and cures. For most DIY projects involving bins (wood, metal, or composite), you will encounter three main types. Understanding these types is key to setting your sanding schedule correctly.
1. Water-Based (Latex or Acrylic) Primers
These are generally the easiest to clean up and have the lowest odor. They are very popular for indoor projects and lightweight priming.
- Drying Time (To Touch): Usually very fast, often 30 minutes to 1 hour.
- Sanding Time (Cured): Because the water must evaporate, curing can take longer than you expect. Expect to wait 1 to 4 hours for true sandability.
- Pros: Low VOCs, easy cleanup with soap and water.
- Cons: Less durable on challenging surfaces like glossy plastic without special preparation.
2. Oil-Based (Alkyd) Primers
These offer superior sealing and adhesion, especially over tricky surfaces or stains. They are workhorses in the painting world, great for older furniture or outdoor storage units.
- Drying Time (To Touch): Slower than water-based, typically 3 to 8 hours.
- Sanding Time (Cured): Because they cure through oxidation (reacting with air), they take much longer to harden fully. You should generally wait at least 12 to 24 hours before attempting to sand oil-based primer.
- Pros: Excellent adhesion, superior stain blocking.
- Cons: Strong fumes (requires excellent ventilation—always wear a respirator!), slower drying, requires mineral spirits for cleanup.
3. Shellac-Based Primers
Shellac primers are fantastic problem solvers—especially for knot bleed-through or strong odors. They dry incredibly fast but have strong denatured alcohol solvents.
- Drying Time (To Touch): Extremely fast, often less than 30 minutes.
- Sanding Time (Cured): Because they are thin and fast-evaporating, they often sand well after just 1 to 2 hours. Always double-check, as thick applications can retain solvent longer.
- Pros: Acts as an incredible sealer, fastest dry time.
- Cons: Strong odor, can soften some plastics, alcohol cleanup only.
To give you a quick snapshot comparison:
| Primer Type | Typical Dry Time (To Touch) | Recommended Minimum Sanding Time | Best For |
|---|---|---|---|
| Water-Based (Acrylic) | 30 min – 1 hour | 1 – 4 hours | General wood, easy surfaces |
| Oil-Based (Alkyd) | 3 – 8 hours | 12 – 24 hours | Stain blocking, heavy-duty sealing |
| Shellac-Based | < 30 minutes | 1 – 2 hours | Odor sealing, fast turnaround |
The Workshop Climate Factor: Environmental Conditions
This is where many DIYers run into trouble. You read the can and wait two hours, but it still feels tacky. Why? Because the can assumes “ideal conditions.” In the real world, humidity and temperature are huge variables. For an authoritative look at how environment affects drying coatings, review guidelines from the Forest Products Laboratory on Wood Coatings.
How Humidity Affects Your Wait Time
High humidity is the enemy of drying time, especially for water-based primers.
- When the air is already saturated with moisture, water-based coatings cannot release their water content easily into the atmosphere. This slows down evaporation significantly.
- If the relative humidity (RH) is above 75%–80%, drying times can easily double, sometimes triple.
Temperature Considerations
Paint and primer need a certain level of energy (heat) to cure properly.
- Cold Conditions: If your shop temperature drops below 50°F (10°C), the chemical reaction (especially for oil-based products) slows to a crawl or stops entirely. Never sand cold primer.
- Hot Conditions: While faster drying is generally good, extreme heat (above 90°F/32°C) can cause surface drying too quickly, trapping solvents underneath. This can lead to poor adhesion or bubbling once topcoats go on. Aim for 65°F to 80°F (18°C to 27°C).
Tip for Faster Drying: Airflow is Your Friend
Moving air helps carry away the evaporated solvents, speeding up the process. Set up a fan pointing across the surface (not directly at it, which can cause texture issues). Excellent ventilation helps move both water vapor and chemical fumes out of the area.
The Hands-On Test: How to Tell if Bin Primer is Ready to Sand
Beyond staring at the clock, you need to know the physical feel. Here are the simple, non-destructive tests you can perform to verify your primer is ready.
Test 1: The Touch Test (Lightest Check)
Gently, with the back of a clean finger (where the skin is less sensitive), press lightly on a hidden area of the primer.
- FAIL: If it feels tacky, gummy, or leaves a faint smear on your finger, it is NOT ready. Stop waiting and go make coffee.
- PASS (Maybe): If it feels hard but slightly cool to the touch, proceed to Test 2.
Test 2: The Scrape Test (Most Reliable Physical Check)
This is the best way to ensure true hardness before you bring out the sandpaper.
- Find a non-scratching tool, like a plastic credit card edge, a clean fingernail, or the back (blunt side) of a putty knife.
- Firmly drag the edge across a flat, visible surface of the primer.
- If it is ready: The tool will cleanly scrape off a small line of dry, powdery material, and the area underneath will be perfectly smooth.
- If it is NOT ready: The tool will gouge the material, or, worse, it will peel up a soft film, leaving behind a visible smear line.
The Fine Art of Priming Bin Surfaces
Since we are focusing on “bin primer,” let’s assume you are priming items that need serious durability—like plastic storage totes, metal trash cans, or perhaps exterior wood planters. These surfaces can be tricky!
Priming Plastic Totes
Most standard water-based primers won’t stick well to slick plastic without a special adhesion promoter or using a specific bonding primer. If you are using a suitable bonding primer (often labeled for plastic), the curing time tends to follow the standard 2–4 hour window for water-based products.
- Safety Note: Never sand an oil-based or shellac-based primer over soft plastic. The strong solvents in those types can actually melt or severely warp the plastic bin before it even cures!
Priming Galvanized or Bare Metal Bins
Metal holds temperature differently than wood. It can get cold quickly, slowing the cure down significantly, especially oil-based types.
- Always use a specialized metal etching primer or rust-inhibiting primer.
- Give metal at least the full 24-hour cure for oil-based primers, even if it feels dry faster in warm weather, to ensure maximum adhesion before sanding.
Why Sanding Primer is Necessary (And When It’s Not)
As a woodworking mentor, I preach sanding between coats. It is the single easiest step to improve your final result, but sometimes, for a quick job, you might skip it. Here is the rationale.
When You ABSOLUTELY MUST Sand
If you are preparing a surface for a high-gloss topcoat (like automotive paint on a trailer or a kitchen cabinet finish), sanding primer is mandatory to create the microscopic valleys that the next coat will adhere to.
- Sanding knocks down any dust nibs or imperfections.
- It creates “tooth” for the topcoat to bite into, preventing peeling.
When You Can Get Away With Light Sanding or Skipping
If your goal is a durable but matte finish on a utility bin that just needs protection and color, and you are using a good quality paint and primer combo, you might get away with:
- Applying the primer smoothly.
- Waiting the full cure time (e.g., 4 hours for acrylic).
- Sanding very lightly (180-220 grit) just to dull the shine, or not sanding at all if the application was flawless.
My advice: For any project that will see handling or exposure to weather, spend the extra 15 minutes sanding lightly. That small effort dramatically boosts longevity.
Grits and Techniques for Sanding Cured Primer
Once you are absolutely certain your primer is cured, the grit you choose controls the final result. Remember, primer is relatively soft compared to cured paint, so you don’t need harsh abrasives.
Recommended Sandpaper Grits Post-Primer
Start with the higher grit number and move down if necessary.
- 320 Grit: Excellent starting point for fully cured primer. It levels minor surface imperfections without digging in.
- 220 Grit: Use if you had noticeable drips or orange-peel texture in the primer layer. This will flatten it quickly.
- 400 Grit and Above: Use these fine grits if you are prepping the primed surface for a final coat of high-gloss enamel paint where mirror smoothness is the goal.
Sanding Technique
When sanding any cured surface, remember that sanding dusty products can harm your respiratory system. Always work in a well-ventilated area and wear an N95 or P100 dust mask. (See safety recommendations from the NIOSH Pocket Guide to Particulate Respirators for more on safety.)
- Always use a sanding block or pole sander for flat surfaces to ensure even pressure. Hand-sanding curved areas works fine.
- Keep your motion light and even. Don’t try to remove deep defects; focus on smoothing the texture.
- Periodically wipe the surface clean with a tack cloth to check your progress. You are aiming for a perfectly flat, uniformly dull surface color across the entire piece.
Troubleshooting Common Curing Problems
Sometimes, despite your best efforts, the primer just doesn’t seem to want to cooperate. Here are solutions for the most common timing-related frustrations:
| Symptom | Probable Cause | Md Meraj’s Fix |
|---|---|---|
| Primer feels sticky after 12 hours. | High humidity, primer applied too thick (trapped solvents). | Increase airflow significantly. Use a dehumidifier if possible. Wait another 6–12 hours. Do not rush. |
| Sandpaper instantly loads up and gums. | Primer is only surface dry, not cured. | Stop sanding immediately! Let it sit longer. Ensure your ventilation is adequate. |
| Oil-based primer smears even after 24 hours. | Temperature is too cold (below 60°F/15°C). | Warm the object and the room slightly (use a safe space heater away from solvents). Oil primers rely on warmth. |
| Sand marks leave noticeable pale white valleys. | You sanded through the primer layer back to the bare substrate. | Clean dust, apply one very thin final coat of primer over the sanded area, let cure fully (4 hours minimum), and sand lightly again with a finer grit (400). |
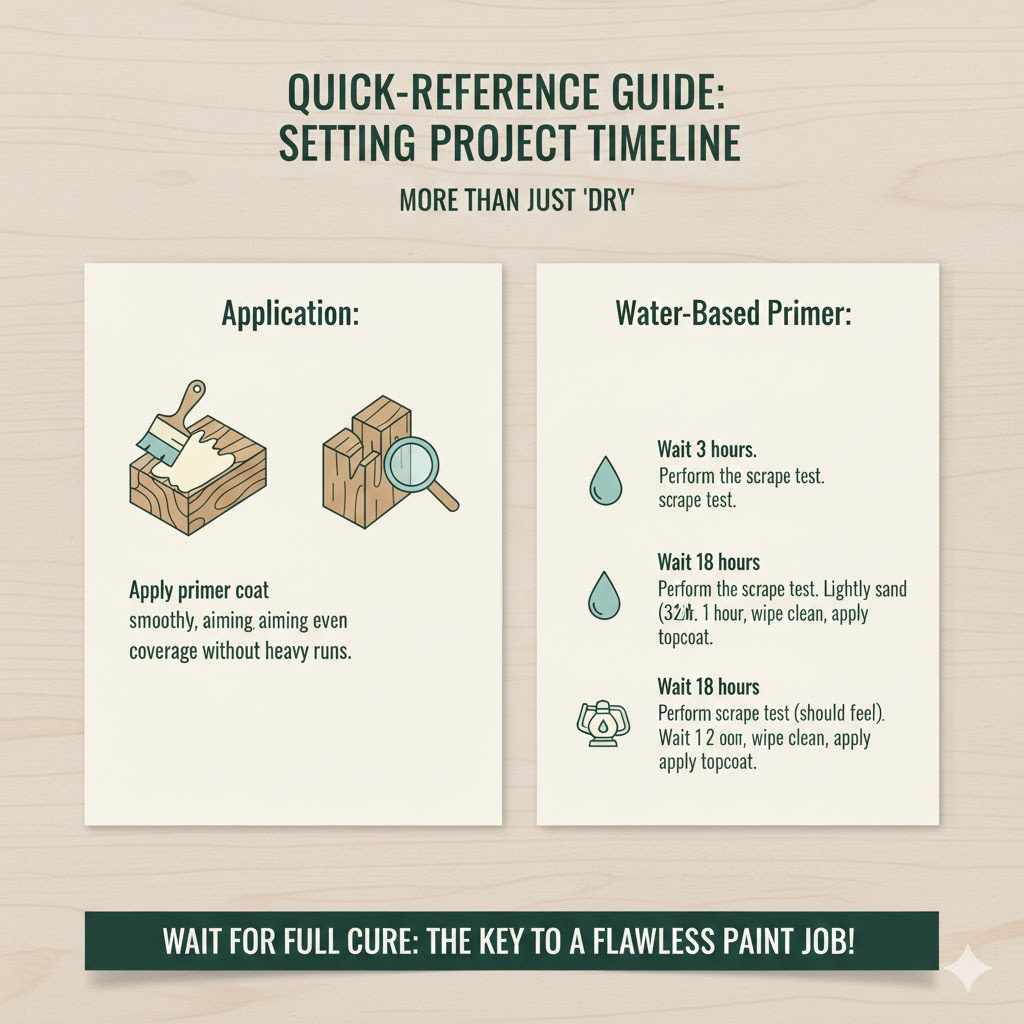
Quick-Reference Guide: Setting Your Project Timeline
To simplify your workflow, here is a generic, high-confidence timeline assuming standard indoor conditions (about 70°F and 50% RH):
- Application: Apply primer coat smoothly, aiming for even coverage without heavy runs.
- Water-Based Primer: Wait 3 hours. Perform the scrape test. If it passes, lightly sand with 320 grit. Wait 1 hour, wipe clean, and apply topcoat.
- Oil-Based Primer: Wait 18 hours. Perform the scrape test (it should feel very firm). Sand lightly with 320 grit. Wait 2 hours, wipe clean, and apply topcoat.
Remember, faster doesn’t always mean better adhesion! A well-cured, sanded surface is the foundation of a durable finish on your bins, furniture, or whatever you are crafting.
Frequently Asked Questions (FAQs) for Beginner Finishers
Q1: Can I use a heat gun to speed up how long before sanding bin primer?
A: Use caution. A heat gun can speed up surface drying on water-based primer, but it often dries the surface too fast, trapping moisture underneath. For oil or shellac, excessive heat can cause bubbling or poor bonding. Gentle airflow is much safer than direct heat.
Q2: Does sanding primer really need to be done in every project?
A: Not always, but it’s highly recommended for the best quality. You must sand if you are going for a smooth, professional finish or a high-gloss topcoat. If it’s just a utility bin where durability matters more than looks, a light scuff with 220 grit after a full cure is usually enough.
Q3: What happens if I sand my water-based primer after only 30 minutes?
A: It will gum up your sandpaper immediately. The primer will feel sticky and might pull off the surface in sticky sheets rather than sanding into a fine powder. You’ll spend more time cleaning sandpaper than painting!
Q4: I waited 24 hours, but my oil-based primer still feels a little soft. What now?
A: Congratulations—you have a humid environment or low temperature! If it’s not tacky, you can usually proceed carefully with 320 grit sanding. Just use very light pressure. If it smears, give it another 12 hours and test again.
Q5: Is it okay to wipe down the sanded primer with water?
A: Never wipe down an oil-based primer with plain water. If you sanded oil-based primer, use a cloth slightly dampened with mineral spirits or denatured alcohol (depending on the primer solvent) to remove dust. For water-based primer, a tack cloth or slightly damp clean rag works great.
Q6: How much finer should my grit be for the second coat of paint compared to the primer coat?
A: Generally, you should increase the grit number (meaning finer grit) for subsequent layers. If you used 320 grit on the primer, try 400 or 600 grit on the first coat of paint, ensuring you only dull the surface gloss and don’t sand down to the primer underneath.
Conclusion: Confidence in Your Curing Time
Mastering the wait time—learning exactly “how long before sanding bin primer”—isn’t about memorizing arbitrary numbers; it’s about respecting chemistry and environment. As you start more projects, you will intuitively learn how your specific garage, primer, and humidity levels interact.
Always prioritize the can instructions, factor in the environmental drag of humidity and cold, and always, always trust the scrape test over the clock when you’re in doubt. By being patient during this crucial curing stage, you ensure that your primer does its job perfectly: creating a rock-solid foundation that locks in durability and leads to a finish you can be truly proud of. Happy crafting, and may all your finishes be smooth!