Sam Maloof’s Finish Recipe: Exact Oil, Wax & Sanding Ratios
Sam Maloof’s furniture gets its silky feel from two oil mixtures, not one — a penetrating tung-oil-and-varnish blend for durability, followed by a beeswax-and-oil blend for sheen. Skip the first mixture or stop sanding before 400 grit, and the surface never develops that signature warmth. This guide covers the exact ratios Maloof’s shop used, the sanding progression before finishing, and how to apply and cure both coats without streaking.
Quick Answer
Maloof’s shop finish is two mixtures applied in sequence: (1) equal parts boiled linseed oil, raw tung oil, and semigloss urethane varnish, wiped on and completely wiped off, repeated about four times with 24 hours between coats; (2) equal parts linseed and tung oil melted with shredded beeswax in a double boiler, applied in two coats. Wood is sanded to 400 grit and burnished with 0000 steel wool before either mixture goes on.
The Two-Part Sam Maloof Finish Recipe
Best Finish-Recipe Base Oil Pick
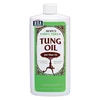
HOPE’S 100% Pure Tung Oil, Food Safe
Pure tung oil is one-third of Mixture 1 and half of Mixture 2 — the ingredient both formulas share.
- Best for: the tung-oil component of either Maloof mixture
- Why we picked it: 100% pure with no added metallic driers, food-safe once cured
- Main drawback: slower to dry than boiled linseed oil alone
Compare more finish-recipe supplies
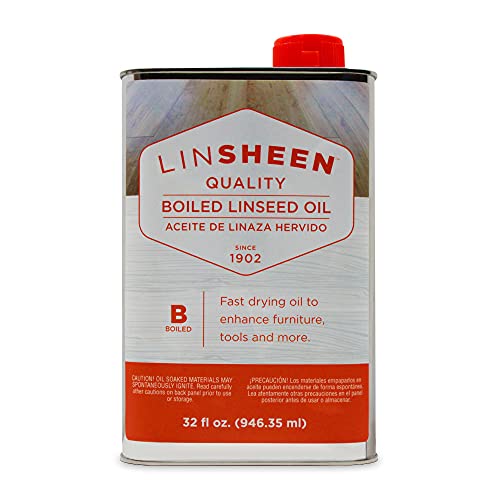
 Option 1 Furniture Clinic Boiled Linseed Oil
|
 Option 2 Howard Feed-N-Wax Beeswax Polish
|
 Option 3 Homax #0000 Extra-Fine Steel Wool
|
As an Amazon Associate we earn from qualifying purchases.
Most articles describe Maloof’s finish as “a blend of oils and waxes” without giving ratios. The actual recipe, documented by tool suppliers who worked with his shop, is two separate mixtures used back-to-back — not one all-purpose can.
| Mixture | Ratio | Used On | Purpose |
|---|---|---|---|
| 1 — Oil/varnish | 1/3 boiled linseed oil, 1/3 raw tung oil, 1/3 semigloss urethane varnish | Chairs and general work | Penetration, durability, base sheen |
| 1 (case goods) | 1/2 boiled linseed oil, 1/2 raw tung oil + beeswax | Tables, cabinets, case pieces | Same penetration without the varnish’s higher-build sheen |
| 2 — Oil/wax | 1/2 linseed oil, 1/2 tung oil, shredded beeswax melted in | All pieces, final coats | The soft, silky hand-feel |
For dense, oily woods like rosewood or ziricote — species that resist oil penetration — Maloof’s shop dropped the first mixture and used wax alone, accepting the tradeoff of slower drying for a finish that would actually bond to the wood.
If you’re choosing between finish families for a different project entirely, our wood finishing guide, wax, film, and hardwax-oil finishes side by side.
Sanding Before You Finish: The Grit Progression His Shop Used
Sand with the grain, not across it — cross-grain scratches show up as soon as oil hits the wood and telegraph straight through every coat that follows. Maloof’s employees worked through a full progression rather than jumping straight to a fine grit:
- 80 grit — only on tearout or interlocked grain that needs leveling. Skip this step on wood that’s already flat.
- 120, 150, 180, 220 grit — progressive smoothing, each grit removing the previous one’s scratch pattern.
- 320 grit — the pre-finish pass. This is where most home shops stop, and it’s one full step short of what the recipe needs.
- 400 grit, then 0000 steel wool — the step that actually produces the “silky” surface. Steel wool burnishes the wood fibers instead of cutting them, closing the pores slightly before oil goes in.
Wipe the surface with a tack cloth after the steel wool pass — steel wool sheds fine metal fibers that will rust under an oil finish if left in the grain.
Mixing and Applying Both Coats
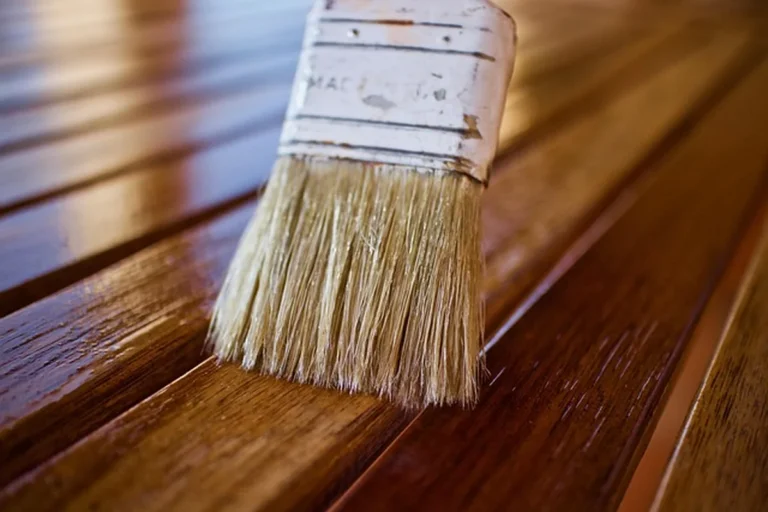
Mixture 1 (oil/varnish): Combine equal parts boiled linseed oil, raw tung oil, and semigloss urethane varnish. Apply generously with a rag or brush, let it sit for a few minutes, then wipe the surface completely dry — no wet spots left anywhere, or they’ll stay tacky. Repeat this coat-and-wipe cycle about four times, with roughly 24 hours between coats. No sanding is needed between these coats; each one melts slightly into the last.
Mixture 2 (oil/wax): Combine equal parts linseed and tung oil with shredded beeswax, and heat gently in a double boiler — a metal container set inside a pan of simmering water, never direct heat — just until the wax melts into the oil. Apply two coats of this mixture over the fully cured oil/varnish base, wiping off the excess the same way. This second mixture is what gives the wood its soft, matte-satin hand-feel rather than a glossy film.
Tools of the Trade
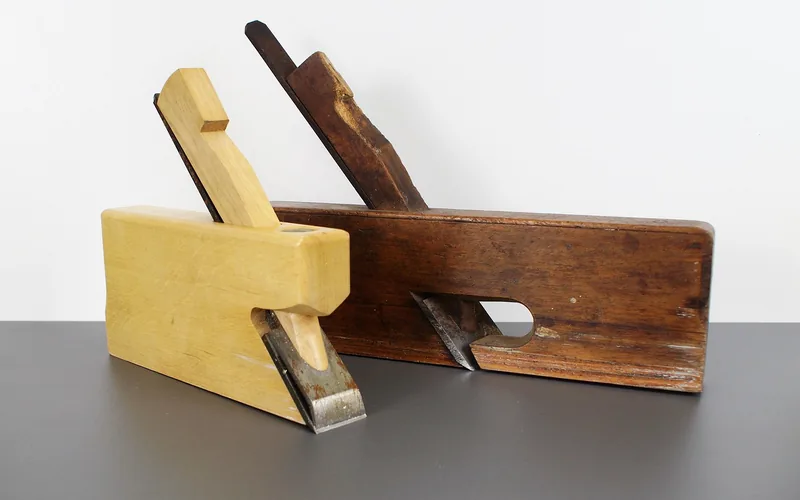
Beyond the oils themselves, the finish depends on a short, specific tool list: sandpaper through 400 grit, 0000 steel wool, a soft lint-free rag for wiping (not applying — the rag’s real job is removing excess), a double boiler for the wax mixture, and a tack cloth for dust between grits.
Curing and Long-Term Care
Cure both mixtures at 60–80°F with humidity around 40–50%. Good airflow prevents bubbling in the oil/wax coat; direct sunlight during curing can skin the surface before the oil beneath has finished penetrating. Let the final coat cure at least a week before regular use, longer for pieces that will see food contact.
Maintenance is dry-cloth dusting only — water and household cleaners strip the wax layer. A thin reapplication of Mixture 2 every year or two, wiped on and buffed off the same way as the original coats, keeps the sheen from dulling. Small scratches usually respond to a light 0000 steel wool pass and a fresh coat of Mixture 2 rather than a full strip-and-refinish.
Common Mistakes
- Stopping at 220 grit. That’s the standard pre-finish stop for most projects, but it’s two full grits short of what this recipe needs — the surface will look fine wet with oil and feel noticeably rougher once it dries.
- Leaving wet spots in Mixture 1. Any oil/varnish left un-wiped will stay tacky for days and collect dust. Wipe until the rag comes away clean.
- Melting the wax mixture over direct heat. Beeswax and oil can scorch or flash on a stovetop; a double boiler keeps the temperature low enough to melt wax without cooking the oils.
- Skipping the tack cloth after steel wool. Steel fibers trapped under an oil finish rust and leave dark specks that only show up weeks later.
Sam Maloof put it simply when describing why the finish mattered as much as the joinery: finishes “should invite touching and caressing the wood surface.” That’s the actual design goal behind the two-mixture process — not just protection, but a surface built to be handled.
Frequently Asked Questions
What is Sam Maloof’s finish made of?
It’s two separate mixtures. The first is equal parts boiled linseed oil, raw tung oil, and semigloss urethane varnish, applied and wiped off about four times. The second is equal parts linseed and tung oil melted with shredded beeswax, applied in two coats over the cured first mixture.
What grit should I sand to before applying it?
Sand progressively through 220 and 320 grit, then finish at 400 grit followed by 0000 steel wool. Stopping at 220, the common pre-finish grit for most projects, leaves the surface visibly rougher than Maloof’s signature feel once the oil dries.
How many coats does the finish need?
About four coats of the first oil/varnish mixture, roughly 24 hours apart with no sanding needed between them, followed by two coats of the oil/wax mixture once the first has fully cured.
Does the ratio change for tables and cabinets?
Yes. Case goods like tables and cabinets typically use half boiled linseed oil and half tung oil with beeswax, skipping the varnish used on chairs — it gives a softer, lower-sheen result better suited to flat surfaces than the higher-build finish chairs get.
For the broader picture of finish types — film finishes, hardwax-oils, and how to choose between them for a project that isn’t trying to replicate a specific recipe — see our full Sam Maloof wood finishes overview or the site’s wood finishing guide. For the shaping work that happens before any of this sanding, our Maloof shaping techniques guide covers the rasp work that comes first.
Conclusion
The “secret” to Maloof’s silky surface isn’t a mystery ingredient — it’s sanding a full grit further than most projects need, then applying two distinct oil mixtures in the right order and giving each one time to cure. Follow the ratios and the grit progression above, and the same two-mixture process works on any hardwood project, not just chairs.
Sponsored / affiliate links. As an Amazon Associate I earn from qualifying purchases. I may earn additional commission from eligible campaigns.