How Long Does Mulch Glue Take to Dry? Complete Timeline
Ever looked at a freshly mulched garden bed and wondered how long it’ll stay put, especially after a windy day or a sudden downpour? You’ve probably seen those neat, landscape-ready beds and admired their tidy appearance. If you’re considering using mulch glue to keep your mulch looking its best, you’re likely curious about its drying time. Knowing how long mulch glue takes to dry is essential for planning your landscaping projects and ensuring the best results. This guide will walk you through everything you need to know about mulch glue drying, helping you achieve that perfect, long-lasting finish for your garden.
Understanding Mulch Glue Drying Times
When you’re working on your garden, whether it’s a small flower bed or a larger landscape project, keeping mulch in place is a common challenge. Wind, rain, and even pets can scatter loose mulch, ruining the aesthetic and requiring frequent touch-ups. Mulch glue offers a solution by binding the mulch particles together, creating a protective, stable layer. But the effectiveness of mulch glue hinges on proper application and, most importantly, adequate drying time. Understanding the complete timeline for mulch glue to dry is key to successful use.
Factors Affecting Mulch Glue Drying
The time it takes for mulch glue to dry isn’t a single, fixed number. Several environmental and application factors play a significant role in how quickly the glue sets and becomes effective. Paying attention to these elements will help you predict and manage the drying process more accurately.
Temperature and Humidity
Temperature is a primary driver for drying. Warmer conditions generally speed up the evaporation of the water content in the mulch glue. When temperatures are high, the glue can set faster. Conversely, cold weather slows down the chemical reactions and the evaporation process.
Humidity works in opposition to temperature. High humidity means there’s already a lot of moisture in the air, making it harder for the water in the glue to evaporate. This can significantly extend the drying time. On a very humid day, the glue might take much longer to become tack-free or fully set. Low humidity, especially when combined with warm temperatures, will lead to the fastest drying.
Sunlight Exposure
Direct sunlight can also accelerate the drying process. The sun’s warmth helps to heat the mulch and the glue, encouraging faster evaporation. Areas that are shaded might take longer to dry than those fully exposed to the sun.
Wind Conditions
A gentle breeze can be beneficial for drying. It helps to carry away the moisture evaporating from the glue, promoting a quicker set. However, extremely strong winds immediately after application might disturb the mulch before the glue has a chance to bond effectively. It’s often best to apply mulch glue on a day with moderate wind or to have a plan to protect the area if very strong winds are expected right after application.
Type of Mulch
Different types of mulch have varying absorbency and particle sizes. Finer mulches might hold onto moisture slightly differently than larger, chunkier mulches. While mulch glue is designed to work with most common types, the surface area and density of the mulch can indirectly influence how the glue permeates and dries.
Application Thickness
How thickly you apply the mulch glue is a critical factor. If you apply a very heavy, saturated layer, it will naturally take longer to dry than a thinner, more evenly distributed coat. The goal is to have enough glue to bind the mulch without creating puddles or overly thick patches that will take ages to cure.
Product Formulation
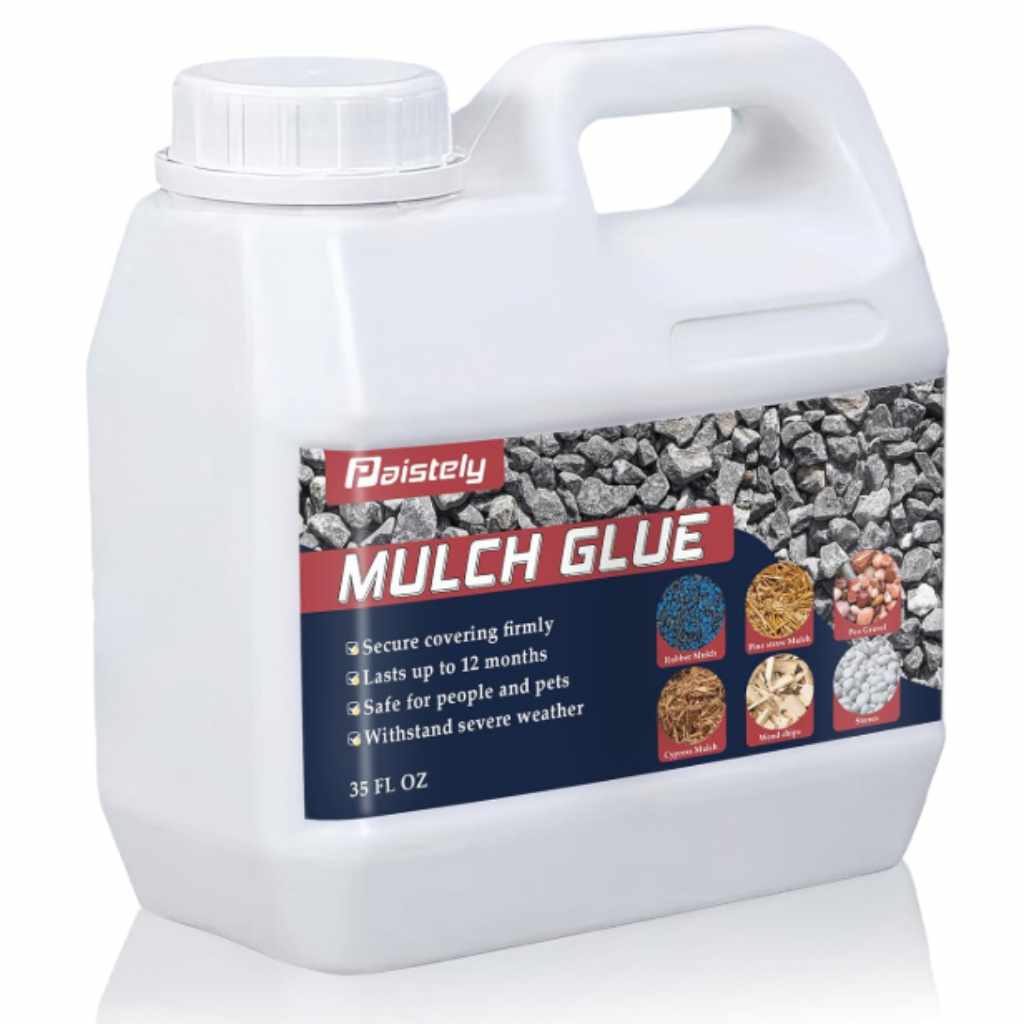
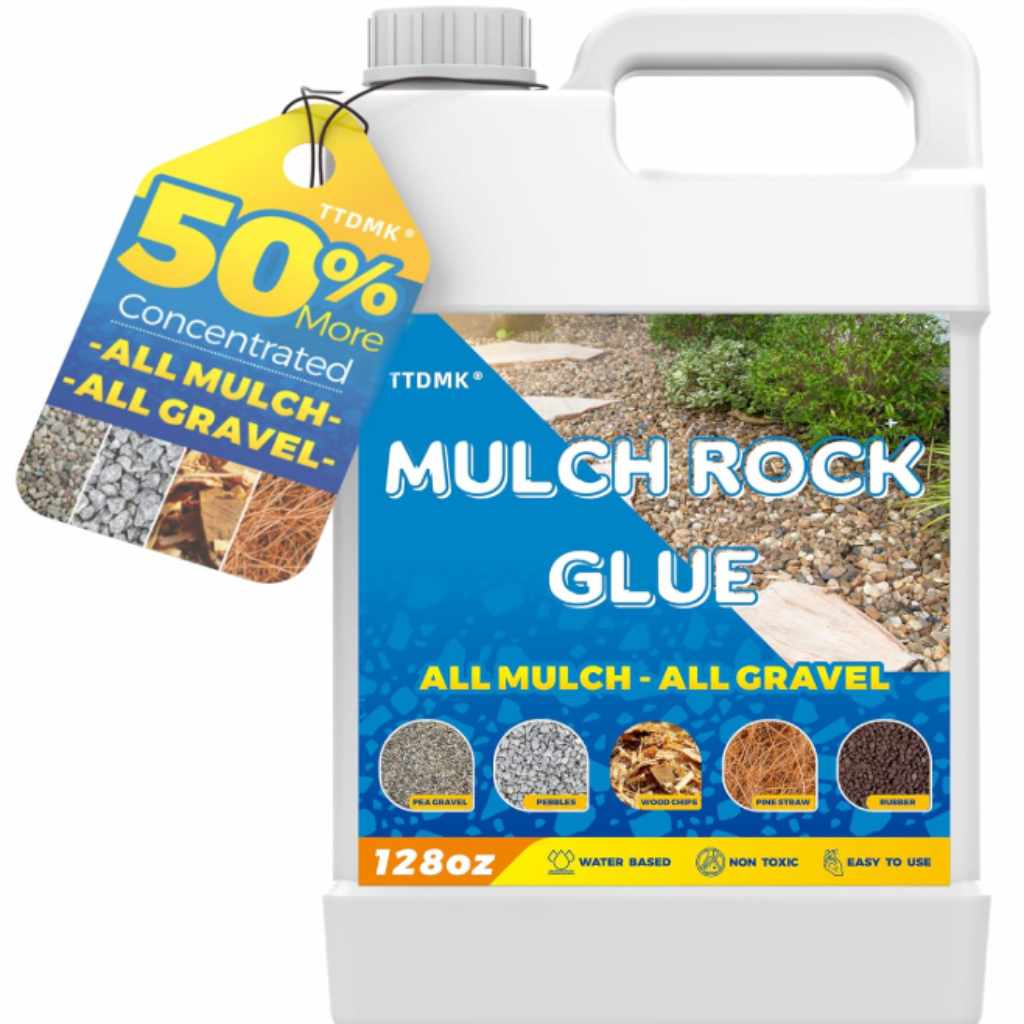
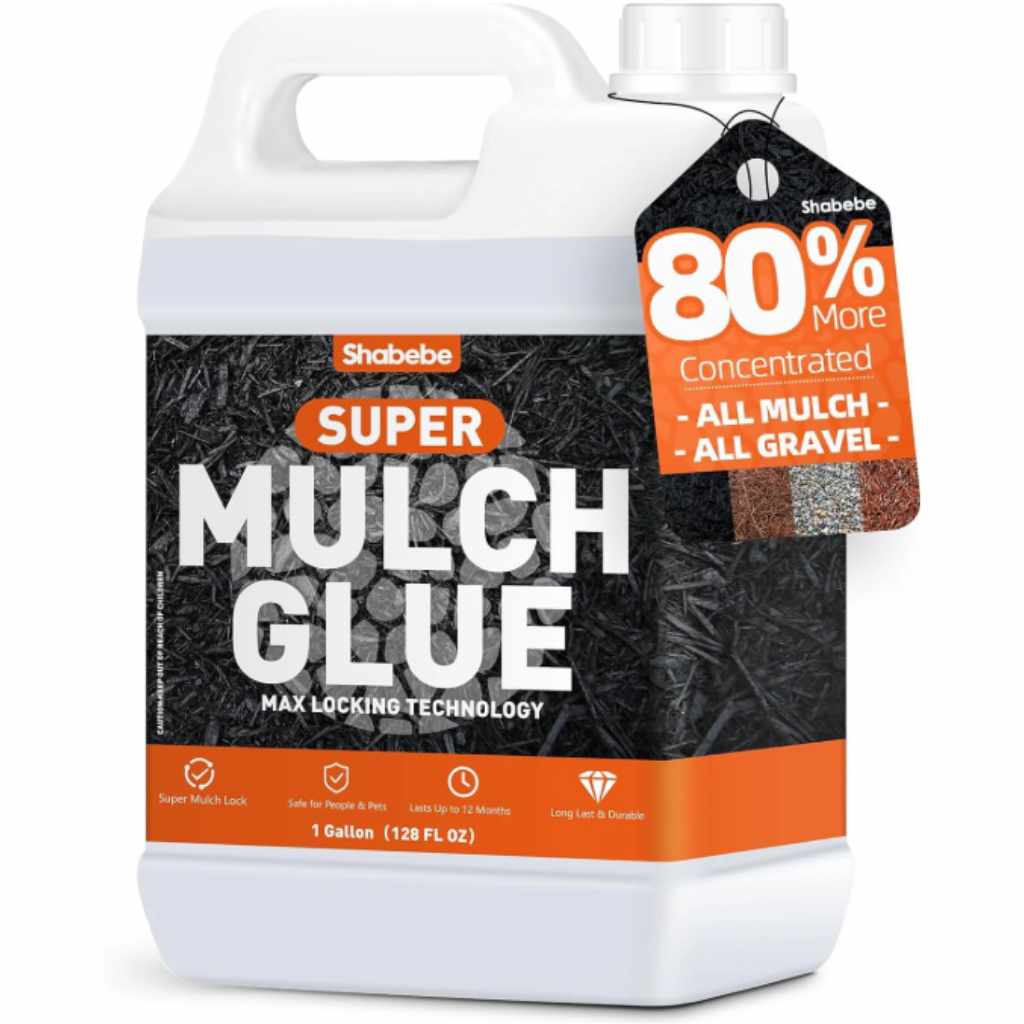
While most mulch glues work on similar principles, slight variations in their chemical formulations can affect their drying and curing times. Always refer to the manufacturer’s instructions on the specific product you are using, as they will provide the most accurate guidance for their particular blend.
The Complete Mulch Glue Drying Timeline
Understanding the different stages of the drying process will help you know when your mulch is secure and when it’s fully cured. This timeline is a general guide, and remember that the factors above can influence these times.
Initial Tackiness (0-2 Hours Post-Application)
Immediately after applying the mulch glue, it will be wet and visibly glossy. During this initial phase, the glue is still very liquid. You should avoid walking on the area or disturbing the mulch in any way. Any significant movement can disrupt the bonding process and cause the glue to spread unevenly. At this stage, the mulch is still fully loose, held only by the liquid adhesive.
Becoming Tack-Free (2-6 Hours Post-Application)
This is a crucial stage. As the water content begins to evaporate, the mulch glue will transition from a wet, liquid state to a tacky, semi-solid one. You can usually test this by gently touching a small, inconspicuous area of the mulch. If it no longer sticks to your finger or feels like sticky tape, it’s becoming tack-free.
At this point, the mulch is starting to form a cohesive mat. While it’s not yet fully hardened, it will be much more resistant to displacement from light breezes or casual contact. You can often walk on it carefully at this stage, but it’s still best to minimize traffic.
Partial Curing (6-24 Hours Post-Application)
Over the next several hours, the glue continues to harden and solidify. The bond between the mulch particles strengthens significantly. By the end of this period, the mulch should feel firm to the touch and be very resistant to being dislodged. A moderate rain shower would likely not cause any significant issues at this point, though heavy downpours might still pose a minor risk to extremely new applications.
Full Curing (24-72 Hours Post-Application)
The mulch glue achieves its maximum strength and durability after a full curing period, typically lasting 1 to 3 days. During this time, the glue completely hardens and forms a solid, resilient layer. Once fully cured, your mulched area will be highly resistant to wind, rain, and foot traffic. It will maintain its appearance for extended periods, fulfilling the primary purpose of using mulch glue.
When Is Mulch Glue Truly Dry and Ready
So, when can you consider your mulch glue completely dry and your project finished? The answer generally lies in the full curing period.
Tack-Free Stage: This is when the surface feels dry to the touch and doesn’t stick to your fingers. It indicates the initial drying has occurred and the mulch is starting to bond.
Resistant to Disturbance: If a gentle poke or light foot traffic doesn’t dislodge the mulch, it’s a good sign the glue is working.
Fully Cured: This is the ultimate goal. After 24-72 hours, depending on conditions, the glue is rock solid and provides the maximum durability. Your mulch is then ready to withstand typical weather and foot traffic without issue.
Tips for Achieving Optimal Drying
To ensure your mulch glue dries effectively and provides the best results, consider these helpful tips:
Check the Weather Forecast: Apply mulch glue on a clear day with moderate temperatures and low humidity. Avoid applying before expected heavy rain or strong winds.
Read Manufacturer Instructions: Always follow the specific drying and curing times provided by the mulch glue manufacturer.
Apply Evenly: A consistent, thin layer of glue across the mulch surface will dry more uniformly than thick patches.
Ensure Proper Ventilation: Good airflow around the mulched area aids evaporation.
Avoid Over-Saturation: While the mulch needs to be moistened for the glue to work, excessive watering can dilute the glue and prolong drying.
Test Gently: Periodically check the tackiness of the mulch to gauge the drying progress.
Comparison of Drying Times Under Different Conditions
To illustrate how conditions impact drying, consider this general comparison.
| Condition | Estimated Tack-Free Time | Estimated Full Cure Time |
|---|---|---|
| Warm, Low Humidity, Sunny, Breezy | 2-4 Hours | 18-36 Hours |
| Moderate Temperature, Average Humidity, Some Shade | 4-6 Hours | 24-48 Hours |
| Cool, High Humidity, Cloudy, Still Air | 6-12+ Hours | 48-72+ Hours |
This table highlights the significant variations you might encounter. Planning your application around favorable weather conditions is your best strategy for a faster, more effective dry.
Frequently Asked Questions
Question: How soon can I water my mulched area after applying mulch glue
Answer: It is generally best to wait until the mulch glue has at least become tack-free, ideally for 6-12 hours after application, before watering. For full curing, waiting 24-72 hours is recommended to ensure the bond is fully set and won’t be compromised by water.
Question: Can I apply mulch glue on damp mulch
Answer: Yes, mulch glue is designed to be applied to damp, not soaking wet, mulch. The moisture helps the glue spread and activate. However, if the mulch is saturated, it can dilute the glue and significantly slow down the drying process.
Question: What happens if it rains shortly after I apply mulch glue
Answer: If it rains lightly within the first few hours, especially before the glue becomes tack-free, some of the glue might wash away, weakening the bond. Heavy rain can be more problematic. If rain is imminent, it is best to postpone application or use a product specifically designed for wetter conditions, if available.
Question: How do I know if the mulch glue has failed to dry properly
Answer: If your mulch remains loose and easily dislodged after several days, or if you notice areas where the glue has clumped or not adhered, it likely failed to dry and bond properly. This could be due to incorrect application, unfavorable weather, or product issues.
Question: Will mulch glue wash away in heavy rain after it’s cured
Answer: Once fully cured (typically 24-72 hours), mulch glue forms a strong, water-resistant bond. It should not wash away in normal to heavy rain. The cured glue binds the mulch particles together effectively, making the layer very stable.
Final Thoughts
When you’re looking to keep your garden looking neat and tidy, understanding the drying process of mulch glue is fundamental. You’ve learned that factors like temperature, humidity, sunlight, and wind all play a role in how long it takes for your mulch to become secure. We’ve explored the stages from initial tackiness, where the glue starts to set, to becoming tack-free, allowing for light traffic, all the way to full curing, which can take up to 72 hours for maximum durability.
Remember to always check the manufacturer’s instructions for your specific product and plan your application around favorable weather conditions. By paying attention to these details, you can ensure your mulch glue performs its best, creating a stable and attractive landscape that you can enjoy for seasons to come. Go ahead and give your garden the professional finish it deserves with informed application.