Can I Use Glue as Silicone? What Fails and What to Use
No, you should not use glue as a substitute for silicone sealant. Glue cures hard and bonds; silicone stays flexible and seals, and a joint that moves will crack a glue seal. The one exception is a joint that never moves and never sees water. This guide covers why glue fails, what to use for each job, and how to apply it.
Why Glue Fails Where Silicone Works
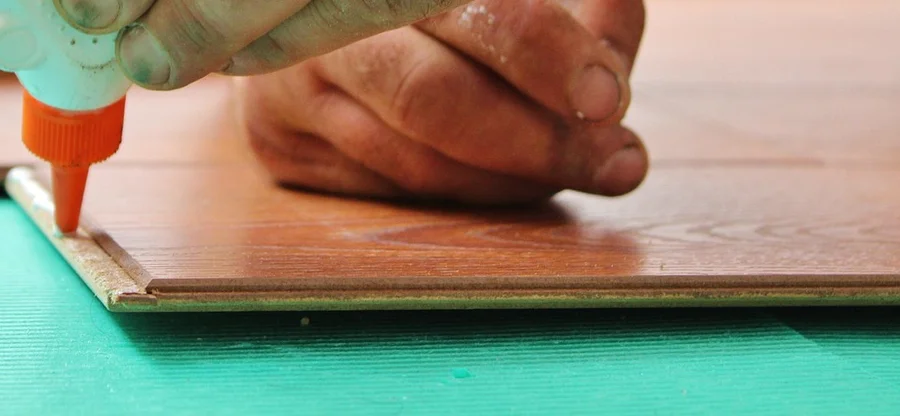
The two products solve opposite problems. A wood glue such as Titebond III is a polymer that dries into a rigid bond between two close-fitting surfaces. Its own technical data lists an open assembly time of 8 to 10 minutes and a total assembly time of 20 to 25 minutes at 70 F and 50 percent humidity, which tells you it is designed for clamped joints, not for filling open gaps. A sealant does the reverse: it fills a gap and then stays elastic so the joint can move without breaking the seal.
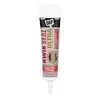 | Best Kitchen and Bath Sealant Pick DAP Kwik Seal Ultra Advanced Kitchen and Bath Siliconized Sealant, White, 5.5 oz A flexible, water-resistant sealant made for tub, sink and backsplash joints, which is the job people try to do with glue.
|
As an Amazon Associate we earn from qualifying purchases.
Here is the misconception that trips people up. Waterproof does not mean it works as a sealant. Titebond III passes the ANSI/HPVA Type I water-resistance specification, which means the glue line survives water exposure. That says nothing about whether it can seal a seam that opens and closes. The maker also states it is not for continuous submersion or use below the waterline, so even in its own job it has limits.
How Each Product Behaves When the Joint Moves
Compare what actually happens after each product cures. The last column is the job it was built for.
| Product | After curing | Paintable? | Built for |
|---|---|---|---|
| Wood glue (PVA, such as Titebond III) | Hard, rigid bond | Not applicable, it sits inside the joint | Wood-to-wood joints that are clamped tight |
| Super glue (cyanoacrylate) | Hard and brittle | No | Small rigid repairs with tight-fitting parts |
| Polyurethane construction adhesive | Firm bond, little give | Check the label | Bonding panels and trim, not filling or sealing gaps |
| 100% silicone (for example DAP kitchen and bath) | Flexible rubber, 24 hour full cure | No, the maker lists it as not paintable | Tubs, sinks, glass, exterior joints |
| Siliconized or acrylic latex caulk | Moderately flexible | Usually yes, check the label | Painted trim, baseboard gaps, interior seams |
| Hybrid (SMP) sealant | Flexible, good adhesion to many surfaces | Yes, accepts paint | Mixed materials where you need paint and movement |
Sources for the table: DAP technical data sheets for the silicone line, Loctite for silicone facts, Titebond for glue data, and Qualified Remodeler for the adhesive versus sealant distinction.
The Movement Math: Why a Rigid Seal Cracks
Sealants are graded by how far a joint can move before the seal fails. Under ASTM C920, a Class 25 sealant is rated for roughly 25 percent movement in either direction, and Class 50 products, such as GE Supreme Silicone, are rated for about 50 percent. Take a quarter-inch joint: at plus or minus 25 percent, the sealant can stretch or compress about 1/16 inch. A glue with essentially no movement capability has no margin at all, so the first temperature swing, door slam or settling cycle opens a crack.
This is why the failure looks the same every time. The glue line looks perfect on day one, then a hairline appears where the joint flexes most, and water follows the crack behind the tile or trim. Once water gets behind the seam you are dealing with swollen MDF, lifted laminate or mold, not a bad caulk line.
What to Use Instead of Silicone, by Job
Tub, shower, sink and backsplash seams
Use a 100% silicone or a kitchen and bath siliconized sealant. These are the joints that move with water weight, heat and humidity. Allow the full 24 hours before heavy water exposure with pure silicone; DAP lists 24 hours for full cure on its kitchen and bath silicone. Some siliconized products advertise shorter water-ready times, so follow the label on the tube you buy.
Painted trim, baseboards and crown gaps
Use a paintable acrylic latex or siliconized acrylic caulk. Loctite notes that acrylic-silicone blends such as Polyseamseal can be painted about 30 minutes after application, while pure silicone cannot be painted at all. If you are deciding whether to glue or nail trim in the first place, our guide on whether you can glue baseboards instead of nailing covers the adhesive side, and caulk handles only the gap at the top and bottom edges.
Exterior joints and windows
Use 100% silicone, a polyurethane sealant or a hybrid rated for exterior use. Polyurethane dries denser than silicone and resists abrasion and tearing better, while hybrid (SMP) products combine some of each and accept paint. Check that the tube says exterior-rated before using any caulk outdoors, since interior-only products are not built for sun and freezing weather. Also read our note on choosing wood for exterior trim, because a stable board moves less and asks less of any sealant.
Wood-to-wood joints that must carry a load
This is the case where glue is the correct answer, and silicone would be wrong. For a marine or damp-location glue joint, see our roundup of the best waterproof wood glue for marine projects. If you are weighing a tube of adhesive against a bottle of glue for furniture, our comparison of Liquid Nails versus wood glue explains the trade-offs.
Should You Use Silicone on Wood at All?
Be careful here. Silicone makers list wood among the surfaces their products can bond to, but trade sources such as Qualified Remodeler note that silicone adheres poorly to bare wood, and woodworking restorers warn about the downsides. Cured silicone will not take paint, and when it is finally removed it can pull wood fibers with it and leave residue that stops later caulk or paint from sticking. A practical rule for woodworkers: if the wood will ever be painted, stained or finished, do not put pure silicone on it. Use a paintable caulk or hybrid there, and keep silicone for tile, glass, tubs and metal.
Silicone residue is also why a repair with the wrong product is worse than it looks. Once silicone has touched a board, the surface needs to be cleaned back before finish will adhere, so the mistake costs extra time as well as a leak. For dried glue on the wood side, our guide on removing wood glue from wood helps you prep the surface.
How to Apply Sealant So It Lasts
- Remove the old seal: cut out old caulk, silicone or glue fully, because new sealant will not bond well to cured silicone or crumbling adhesive.
- Clean and dry the joint: wipe with a cleaner suited to the surface and let it dry completely before applying.
- Finish the surfaces first: if the adjoining wood or wall will be painted and you are using silicone, paint it before applying, since silicone is not paintable.
- Mask both edges: run painter’s tape on each side of the joint to get a straight line.
- Cut the nozzle small: cut it at 45 degrees to match the joint width, and lay one continuous bead.
- Tool it right away: smooth with a fingertip or tool and pull the tape while the sealant is still wet.
- Respect the cure: keep the joint dry for the time on the label, and up to 24 hours for full cure on pure silicone.
Common Mistakes to Avoid
- Filling a wide gap with glue and calling it sealed, when the fix is a properly sized sealant bead.
- Choosing “waterproof” glue because it is waterproof, then expecting it to flex.
- Putting pure silicone on trim you plan to paint later.
- Smearing sealant over old, dirty caulk instead of removing it.
- Running water in the shower before the cure or water-ready time on the label has passed.
Frequently Asked Questions
Can I use wood glue instead of silicone sealant?
No. Wood glue cures into a hard, rigid film that is built to hold two pieces of wood together, not to seal a gap that moves. Even Titebond III, which passes the ANSI/HPVA Type I water-resistance test, is not rated for continuous submersion. In a tub or shower joint it will crack and let water behind the seam.
Can I use super glue to seal a leak?
No. Cyanoacrylate glue cures hard and brittle, so it cannot follow a joint that opens and closes with temperature and load. It may stop a drip for a day or two, but the seal breaks the first time the joint moves. Use a sealant made for the material and let it cure fully.
Is construction adhesive the same as caulk?
No. Construction adhesive is made to bond surfaces and carry load. Caulk and sealant are made to fill a gap and stay elastic. Trade sources put it plainly: adhesives are not intended to fill gaps or seal joints. Some products are labeled as both, so check the tube for joint-movement and waterproofing claims.
Can you paint over silicone caulk?
Generally no. Pure silicone sealants such as DAP’s 100% silicone line list themselves as not paintable, and paint tends to bead up on the cured surface. Paint the wood or wall first, then apply silicone. If the joint must be painted, use a paintable acrylic latex, siliconized acrylic or hybrid caulk instead.
Glue and silicone are not interchangeable: glue bonds rigidly, sealant fills and flexes. Match the product to the joint, keep pure silicone away from wood you will finish, and let sealants cure fully before water touches them.
Sponsored / affiliate links. As an Amazon Associate I earn from qualifying purchases. I may earn additional commission from eligible campaigns.